
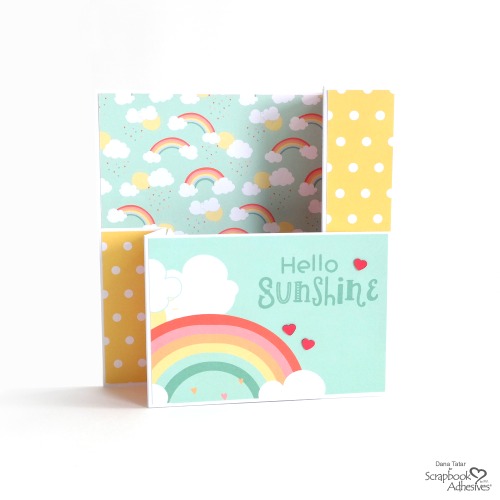
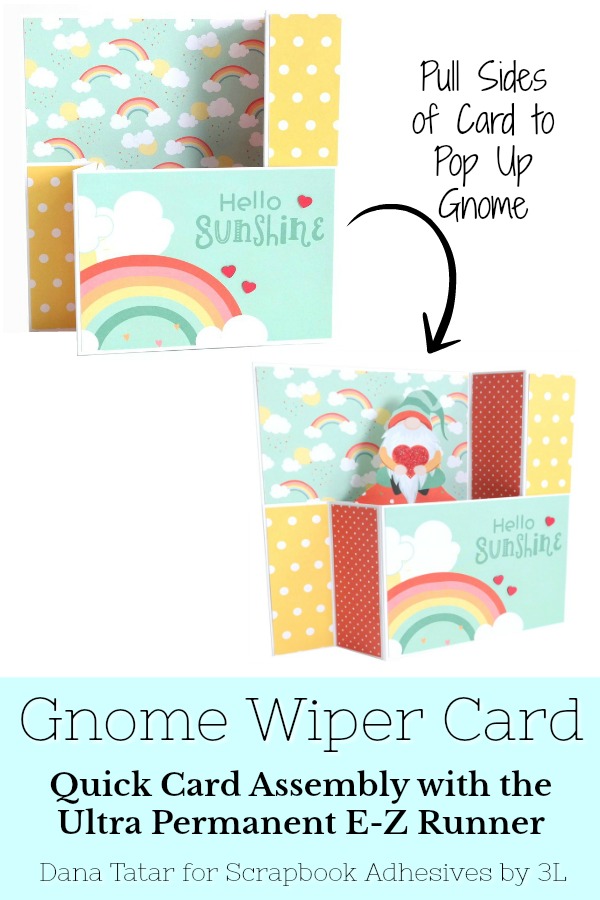
Hi friends! Dana Tatar here today sharing an interactive card tutorial. This colorful card has a surprise inside! Pull the sides of the card to pop up a gnome. This card assembly is quick and easy with a wiper card kit and the Ultra Strong E-Z Runner.

Wiper Card Assembly
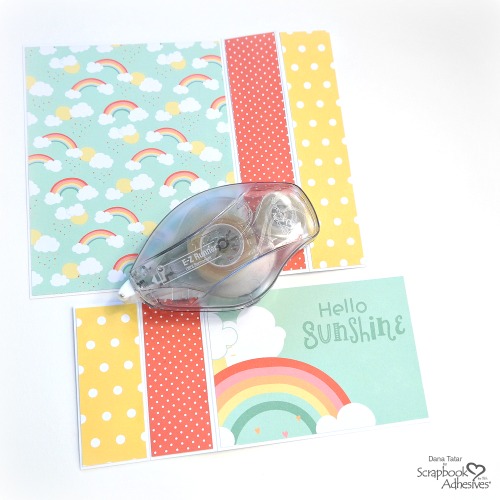
Cut pieces of patterned paper to fit inside the sections of both wiper card panels. Attach the patterned paper to the card bases using the Ultra Strong E-Z Runner.

Adhere the front piece of the card to the left side of the back piece using the Ultra Strong E-Z Runner. Be sure to align the front piece with the bottom left corner of the back card base.
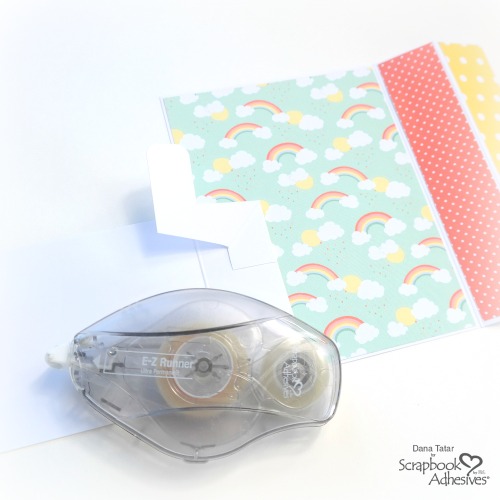
Open the front piece of the card. Attach the wiper mechanism to the back of the front piece as shown. Align the mechanism with the top right corner of the folded section.
Gnome Wiper Mechanism
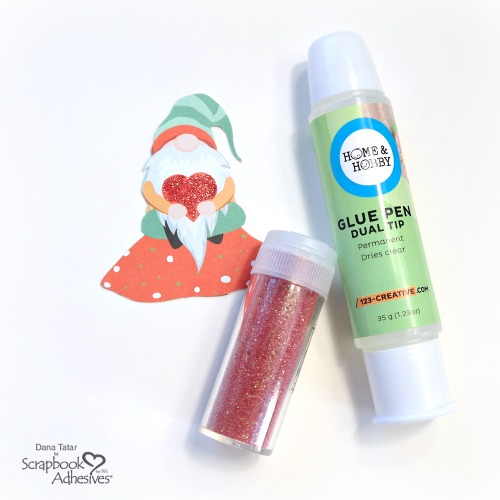
Cut a gnome from patterned paper. Use a Dual Tip Glue Pen to apply liquid adhesive to the heart. Sprinkle red glitter over the glue and let dry.
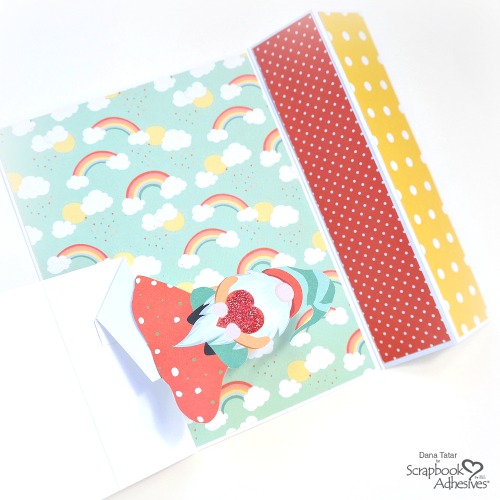
Attach the gnome embellishment to the wiper mechanism using the Ultra Strong E-Z Runner.
Apply Ultra Strong adhesive to the left side of the back of the front piece and fold the panel over onto the folded (yellow) panel of the back piece of the card.
Finishing Touches

Use Micro Adhesive Dots to secure small heart sequins to the front of the card.
Pull both sides of the card out to activate the wiper mechanism and pop up the gnome!
I think everyone could use a gnome in their home! This cheerful card with definitely help brighten someone’s day.
Creative Time: 30 minutes
Skill Level: Beginner
Materials Needed
Scrapbook Adhesives by 3L®
Adhesive Dots Micro
E-Z Runner Ultra Strong Refillable Dispenser
HomeHobby™ by 3L
Dual Tip Glue Pen
Other
Wiper Card Kit and Patterned Papers: Photo Play Paper; Glitter; Heart Sequins
Love It and Save It to Pinterest!
Visit our Website and Blog!
Sign up for our Newsletter so you never miss a contest or giveaway!


By Susie Bentz February 15, 2020 - 8:41 am
Such a cute card Dana! Love the glitter you added to the heart. Great tutorial!