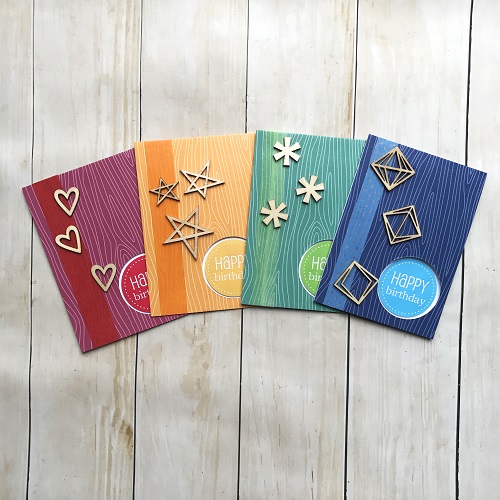
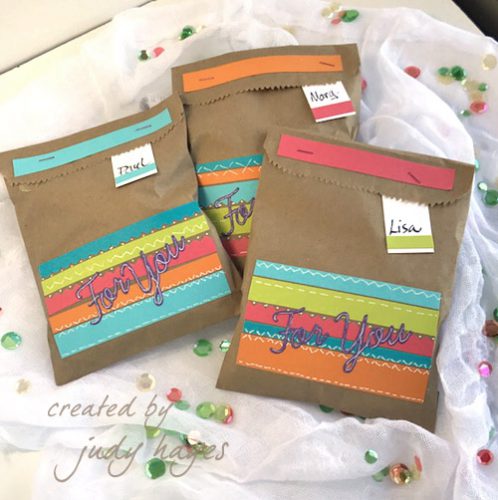
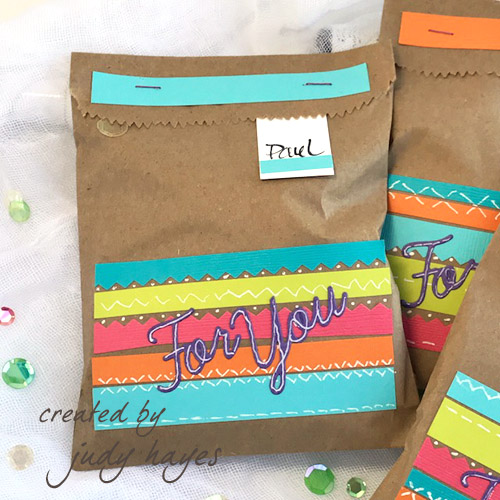
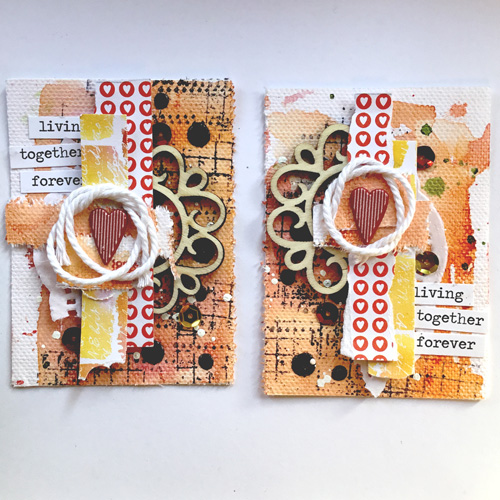
Hello friends! I have had an amazing time as a Guest Designer the last 3 months. For my final project, I created a fun and colorful card set using rolled magazine pages and 3D Foam Frames + 3D Foam Creative Sheets.
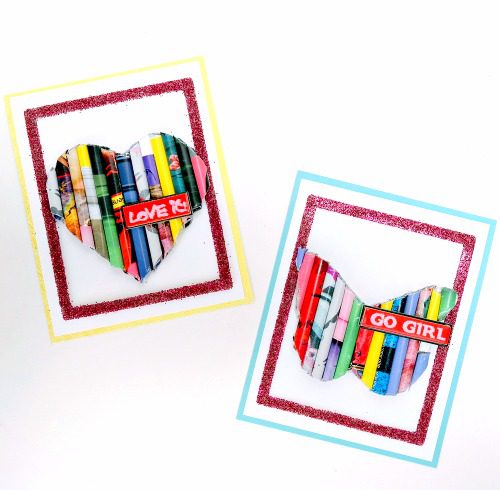
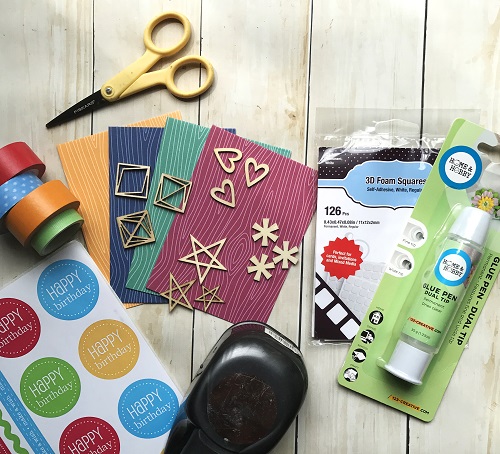
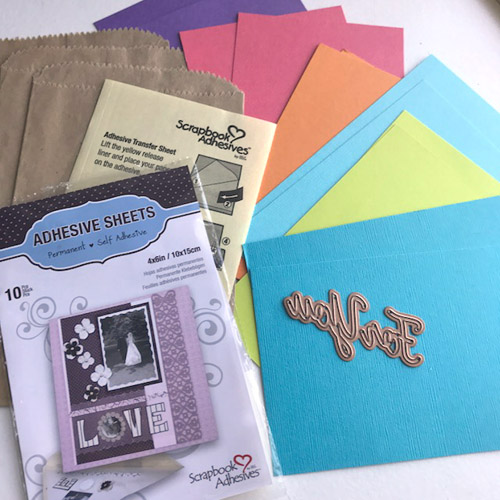
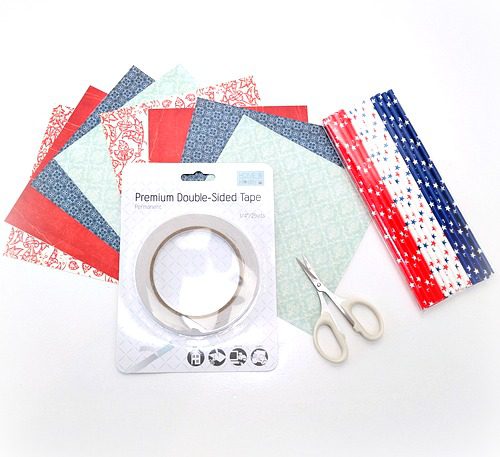
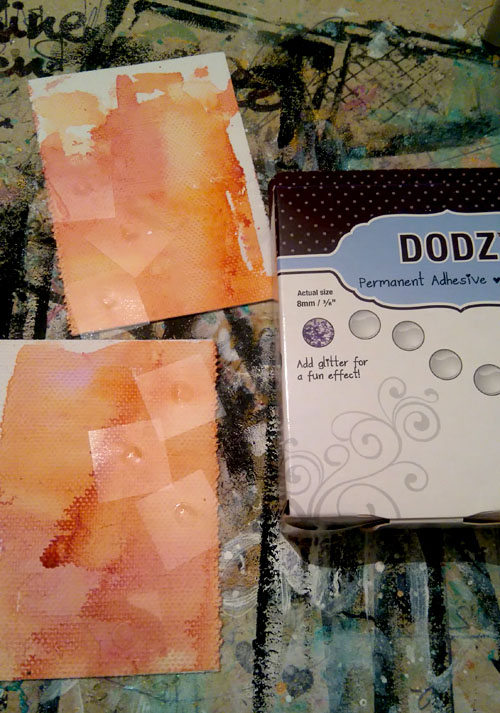
I took a break from the Summer heat and used up some of my stash to create these funky cards. The selection of dry adhesives is amazing and I used four different types here to create dimension all while keeping my hands clean and avoiding drying time.
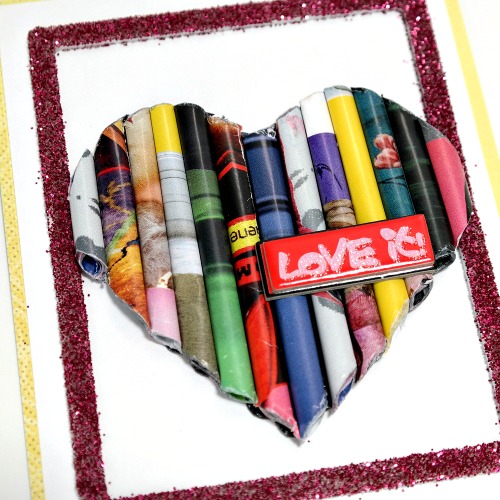
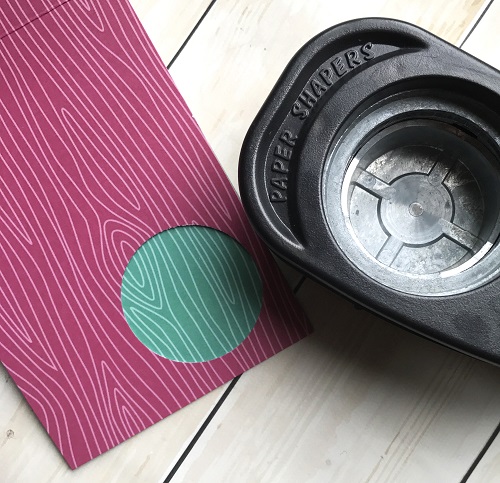
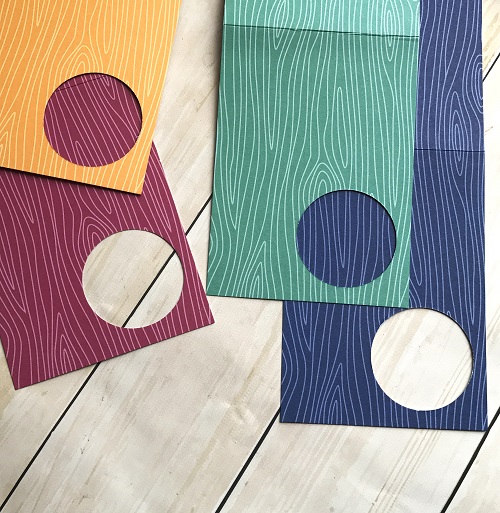
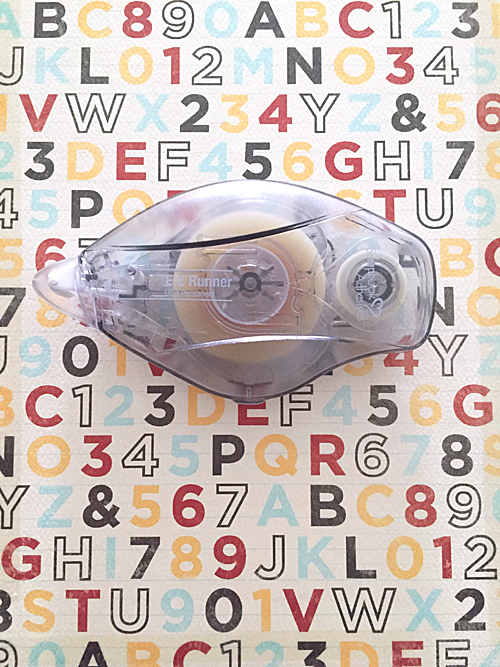
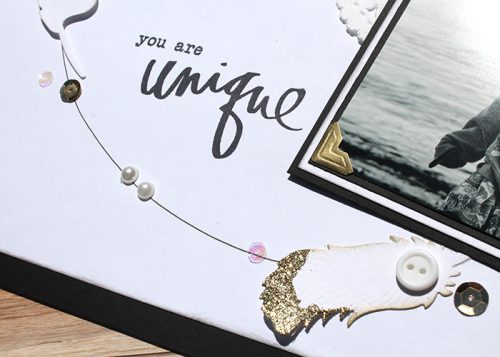
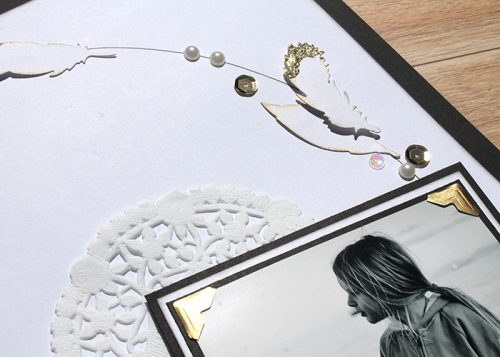
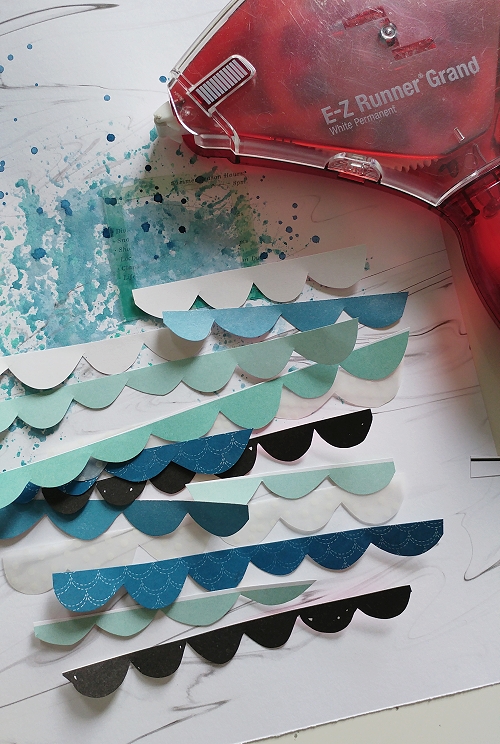
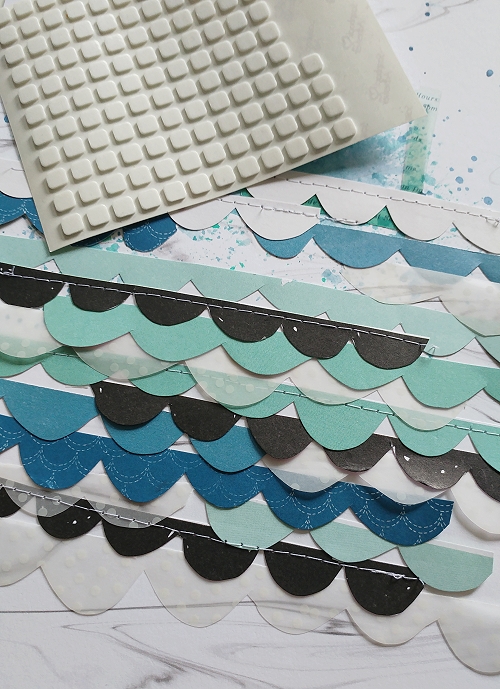
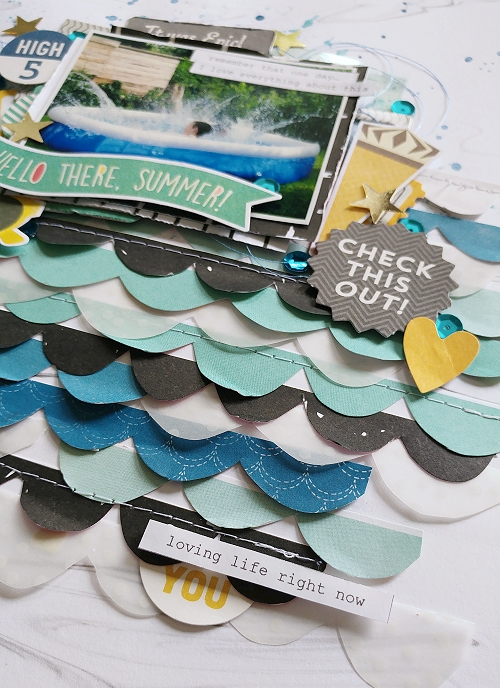
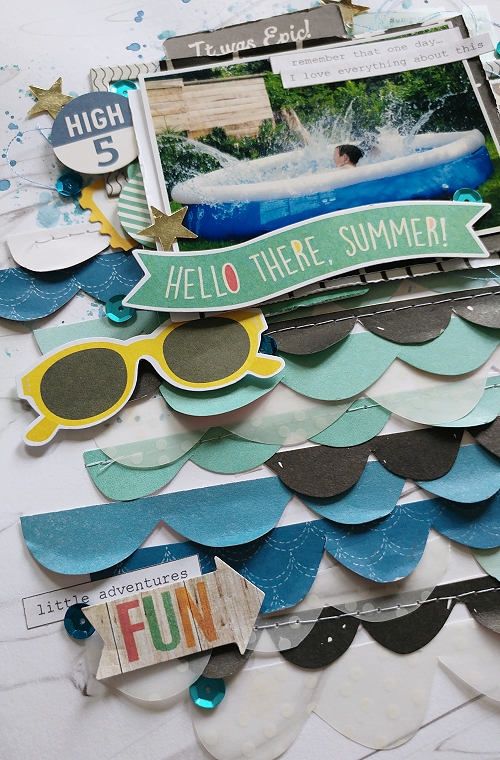
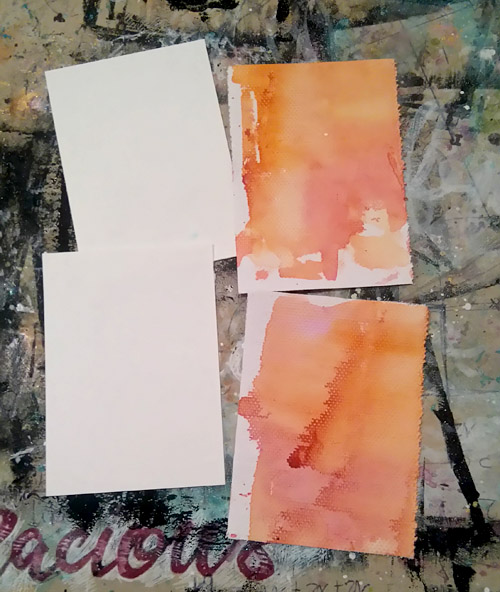
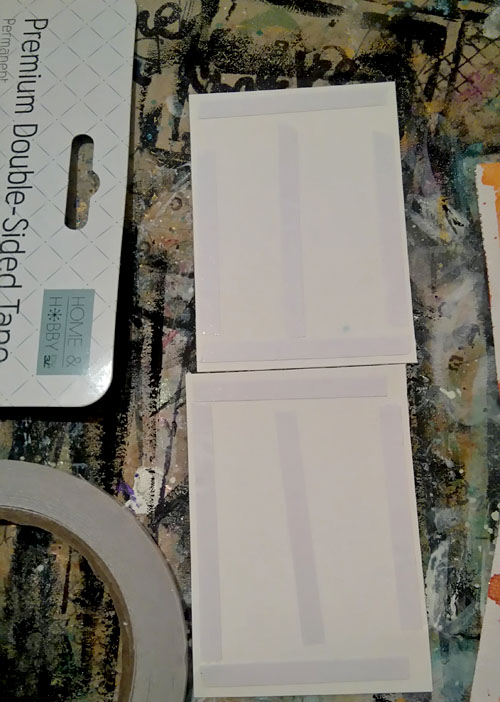
I cut, folded, and layered cardstock for two card bases, securing the paper with an E-Z Runner® Permanent Strips Refillable Dispenser. Next, I added a 3D Foam Frame to the front of each card, which I then covered with glitter.
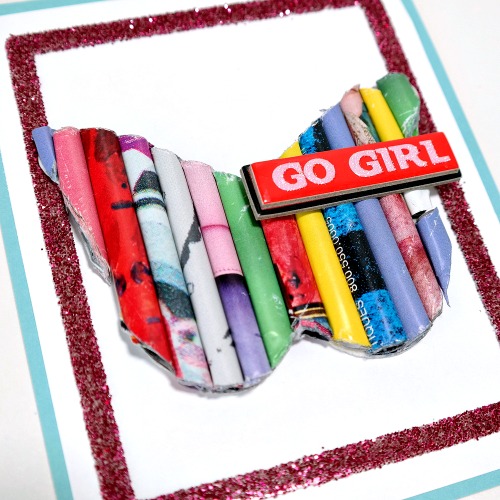
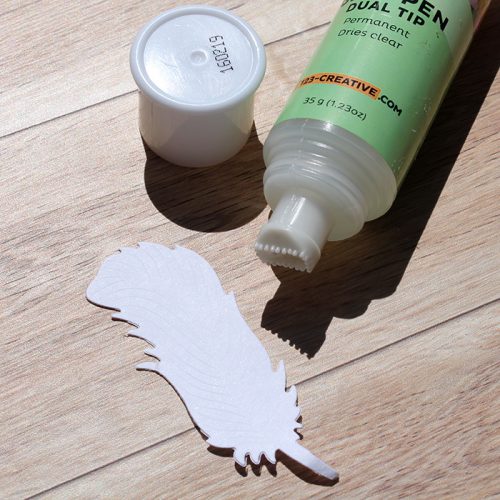
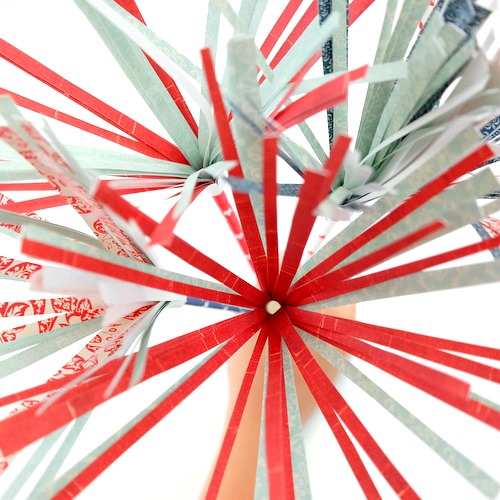
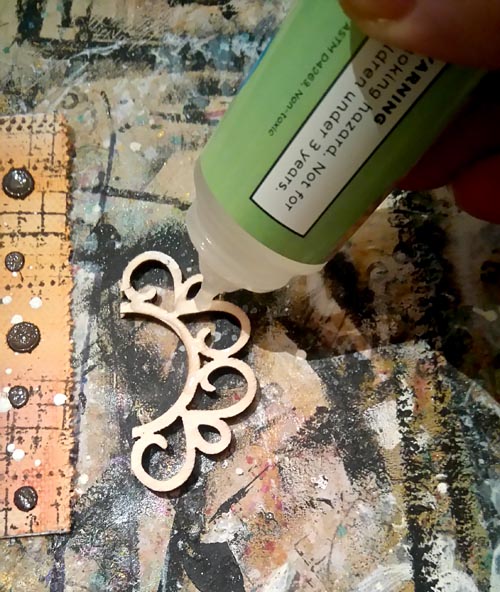
I rolled up magazine pages and secured them with a strip of Premium Double-Sided Tape 1/4″. Then, I die-cut a heart and butterfly from a 3D Foam Creative Sheet. I pressed the rolled magazine pages onto the 3D die cuts, trimmed the excess paper from the edges, and stuck them to the front of the cards. I finished each card with a layered cardstock sticker.
I hope I have inspired you today! If you’ve enjoyed my projects, you can find more of my work on my blog, They Call Me Tatar Salad.
Scrapbook Adhesives by 3L® Supplies:
E-Z Runner® Permanent Strips Refillable Dispenser
3D Foam Frames
3D Foam Creative Sheets
HomeHobby Premium Double-Sided Tape 1/4″
Other Supplies:
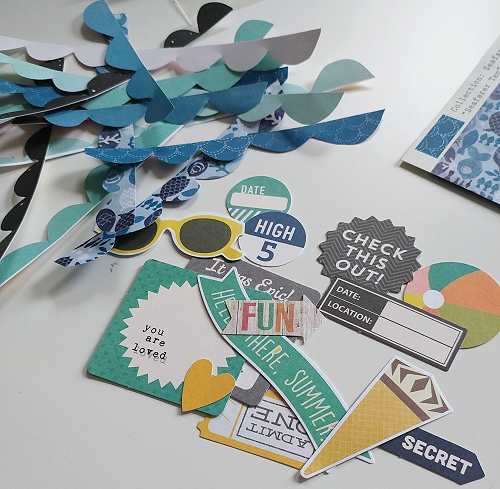
Cardstock (American Crafts); Patterned Paper (Quick Quotes); Glitter (Pink Paislee); Chipboard Stickers (Twitter Pop); Magazine Pages