Hi there,
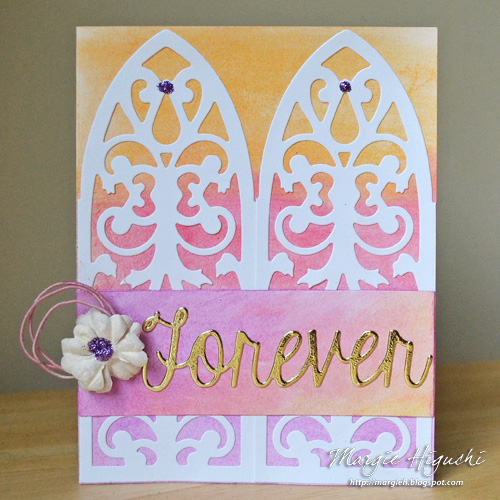
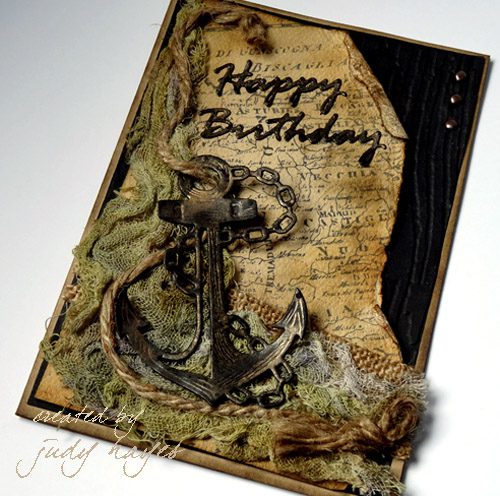
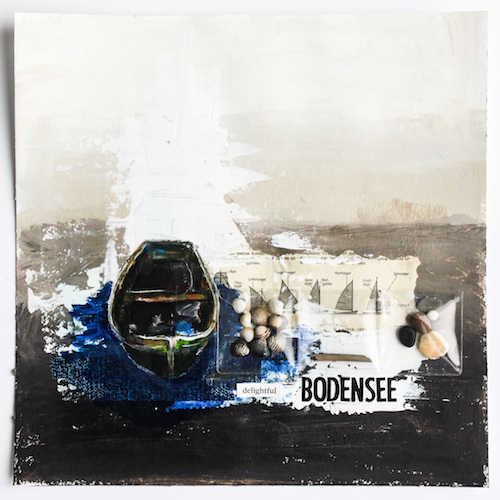
It’s Stephanie here today I want to show you a Scrapbook Layout on which I used Keepsake Envelopes Mix, Tissue Tape Denim and Flower and Art Medium.
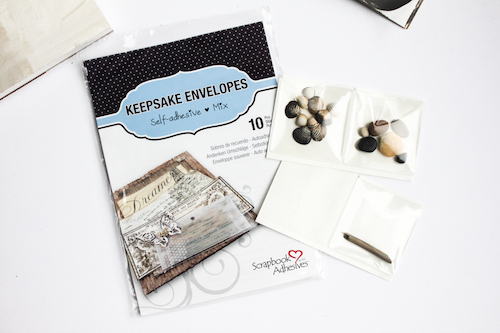
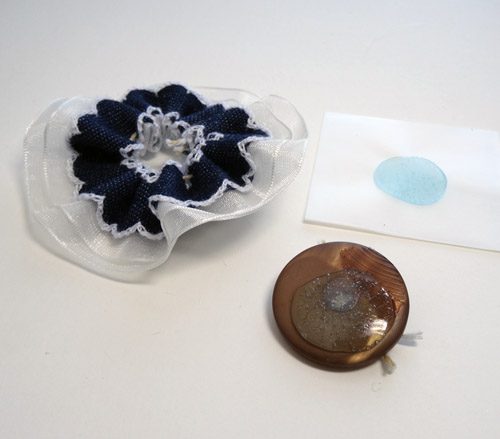
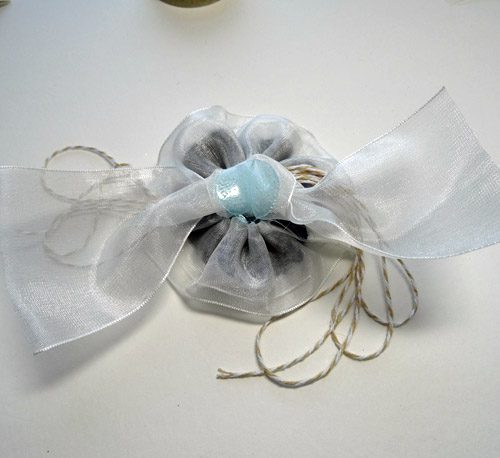
Those envelopes are perfect for treasures, little words to keep in mind, letters, findings on your way or at the beach. Keepsake Envelopes Mix comes with transparent envelopes in several sizes.
A few months ago we were on vacation at the Bodensee (south of Germany) and I enjoyed to search for pretty shells and little stones. For these things I used the small envelopes.
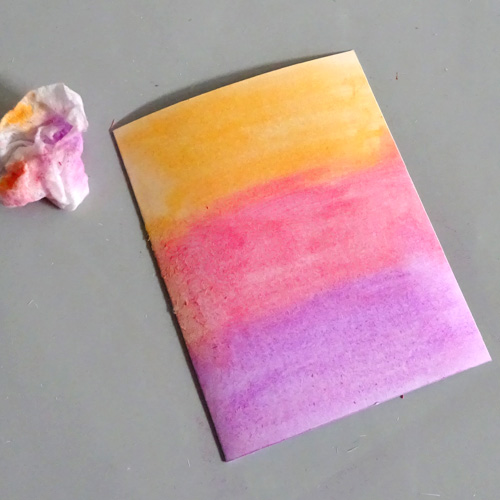
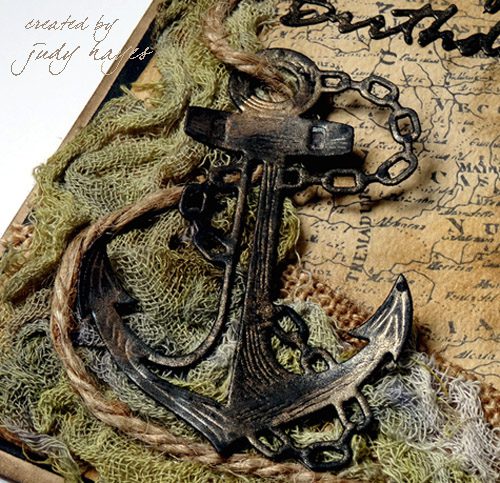
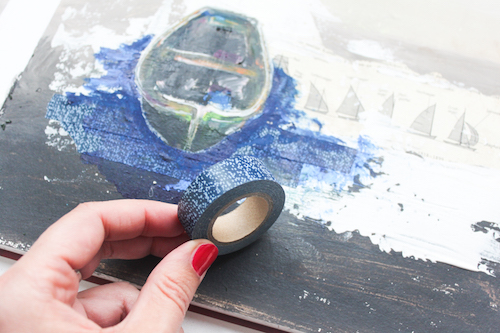
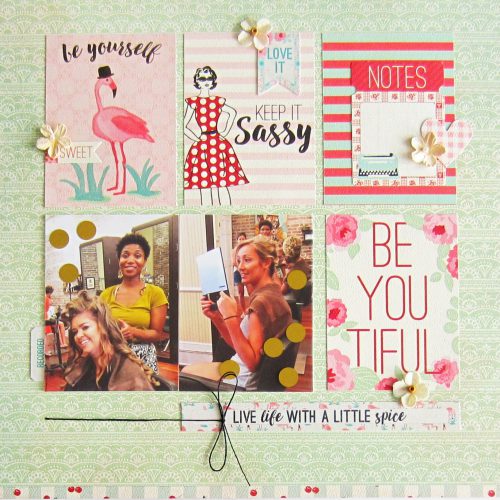
First I prepared my Layout. Instead of a photo I painted a boat and for the water I used the Tissue Tape Denim.
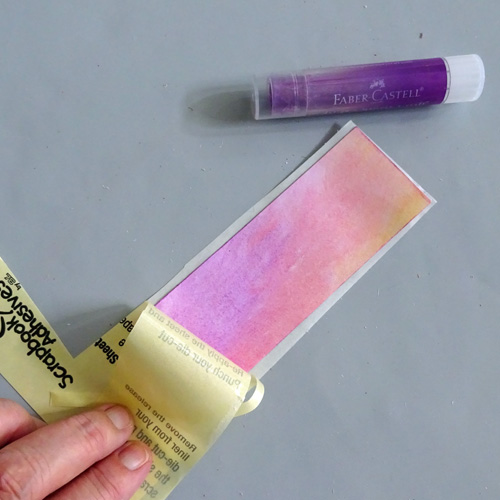
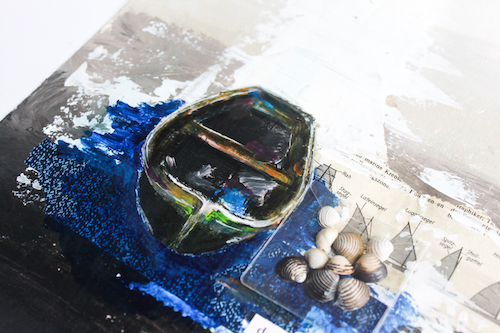
On my painting I added a coat of the Art Medium. I so love this shiny look and it gives my painting a great protection.

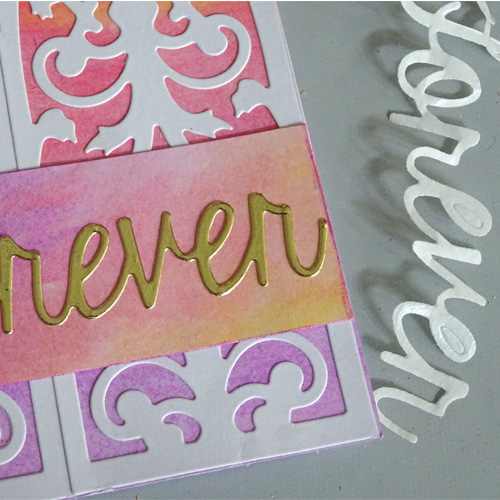
Then I finished the layout with alpha stickers.
Thanks for visiting us today! I wish you a nice creative day!
Stephanie 🙂
Supplies:
Scrapbook Adhesives by 3L®
Keepsake Envelopes Mix
Art Medium
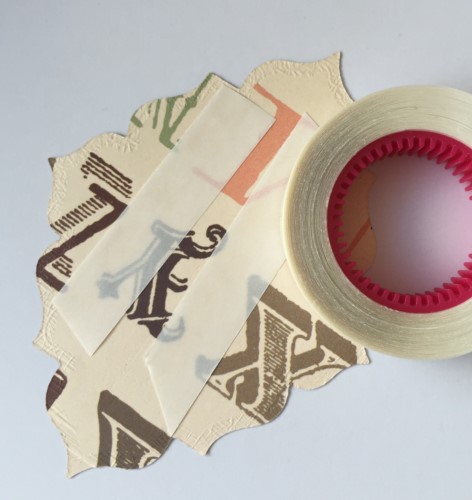
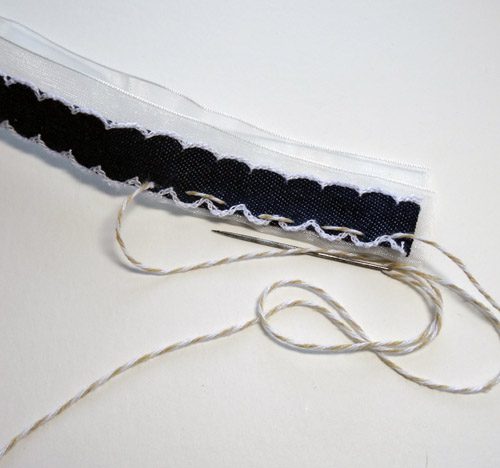
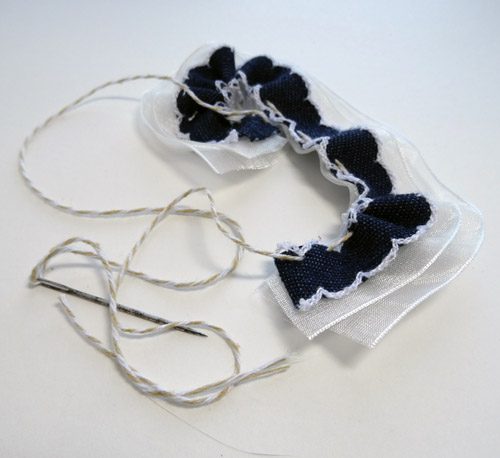
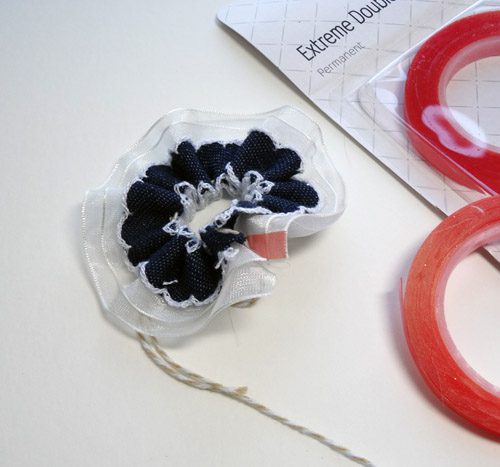
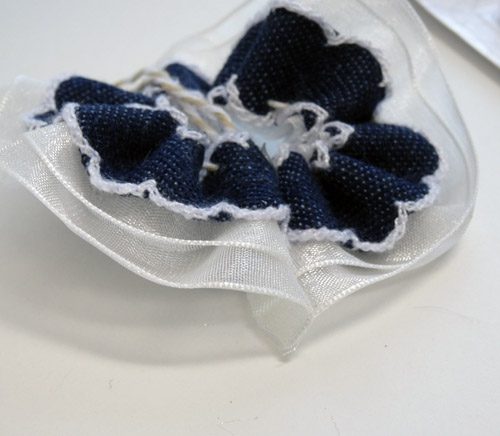
Tissue Tape Denim and Flower


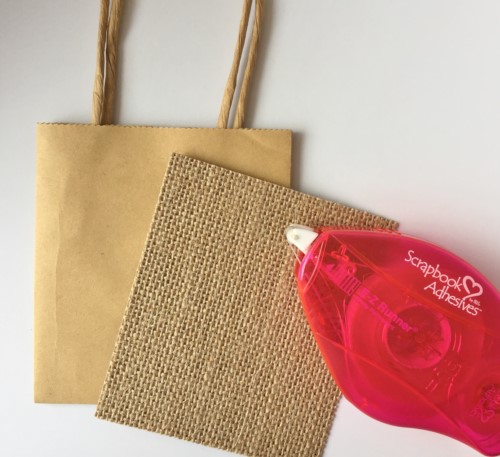
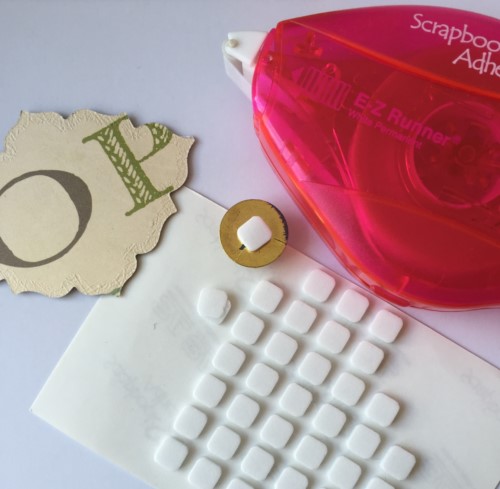
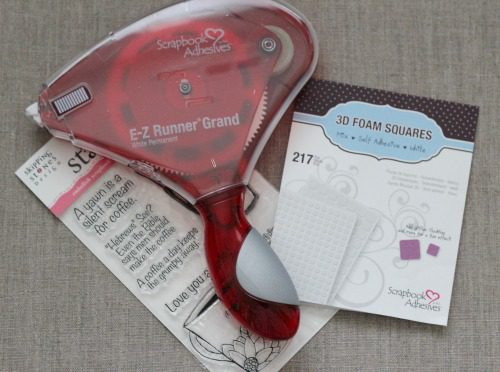
 I used to be one of those paper crafters that used liquid adhesives to adhere their paper and embellishments together. When fellow paper crafters would ask why I opted for a liquid adhesive I would site a negative past experience with a tape runner/dispenser, you know one of the following: it’s not strong enough to hold my layers together; not refillable; difficult to refill; expensive, etc. I had a laundry list of them (ha!)…and then I tried a Scrapbook Adhesives by 3L dispenser and found myself without excuses. Over the years I have used a variety of our dispensers, but as most of you know from previous blog posts, my one true love is