Welcome to Day 2 of our blog hop with LDRS Creative! We are excited to share wonderful inspiration created with both company’s products. See what the two talented design teams have done. If you missed Day 1, click Blog Hop with LDRS Creative – Day 1! Don’t forget an opportunity to win a giveaway…details at the end of the post 🙂
Margie Higuchi here and I am excited to be participating in the Scrapbook Adhesives by 3L® and LDRS Creative Blog Hop!! Using both companies’ products, I created an embossed get well card…
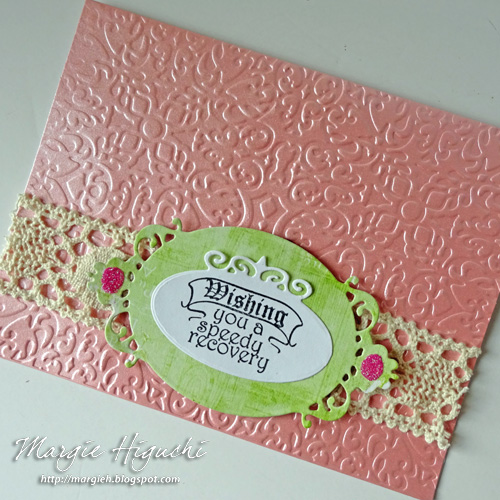
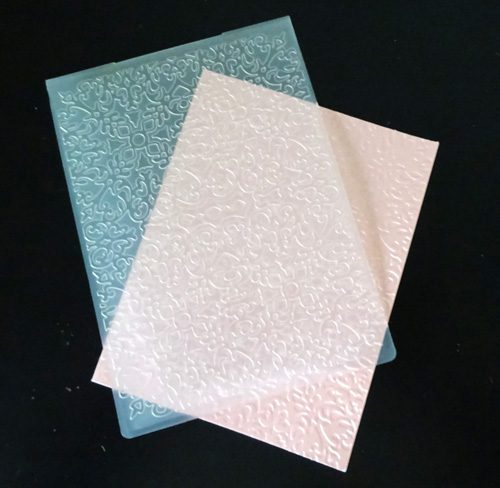
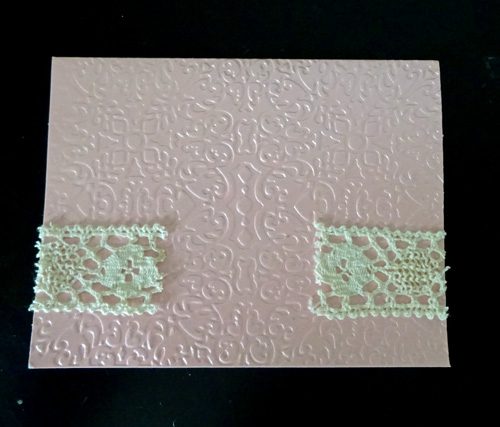
First I embossed the Gilded Embossing Folders to give my pink shimmery card base some dimension. Set aside.
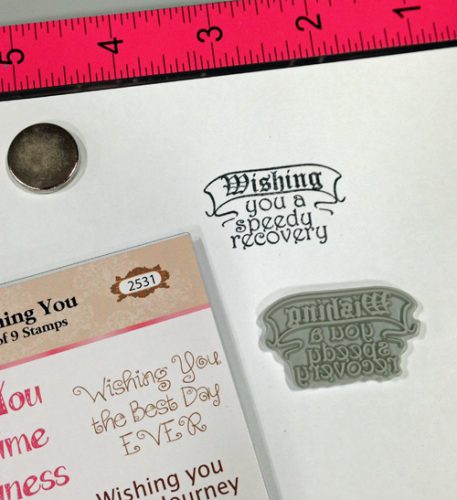
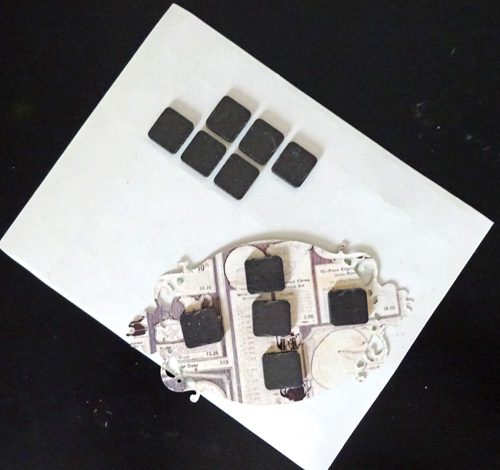
I stamped a sentiment from the Wishing You Stamp Set with black ink on white cardstock. Using the second largest oval from the Gilded Oval Labels Set, I placed over the stamped sentiment and die cut. From the same die set, I cut the largest oval from green patterned paper.
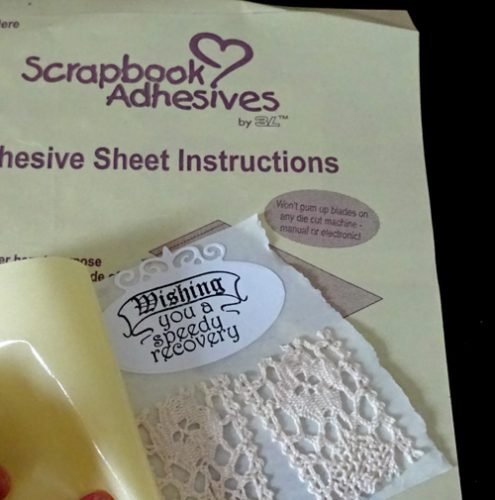
With Adhesive Sheets 12 x 12″, I applied adhesive on the back of leftover Lace Ribbons and sentiment die cut by burnishing the back with a bone folder.
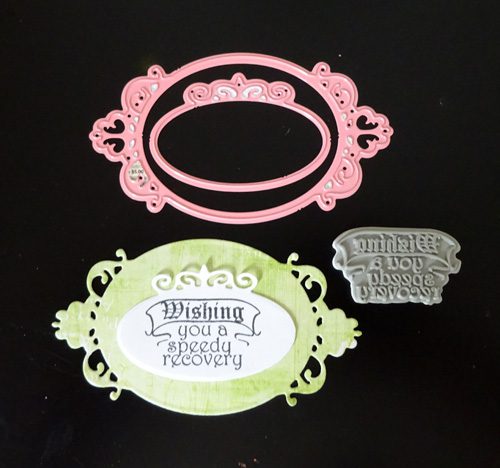
I adhered the two pieces of ribbon on each side of the card base. Next I placed several 3D Foam Squares – Black, Reg on the back of the largest oval die cut. Then centered the smaller oval die cut on top.
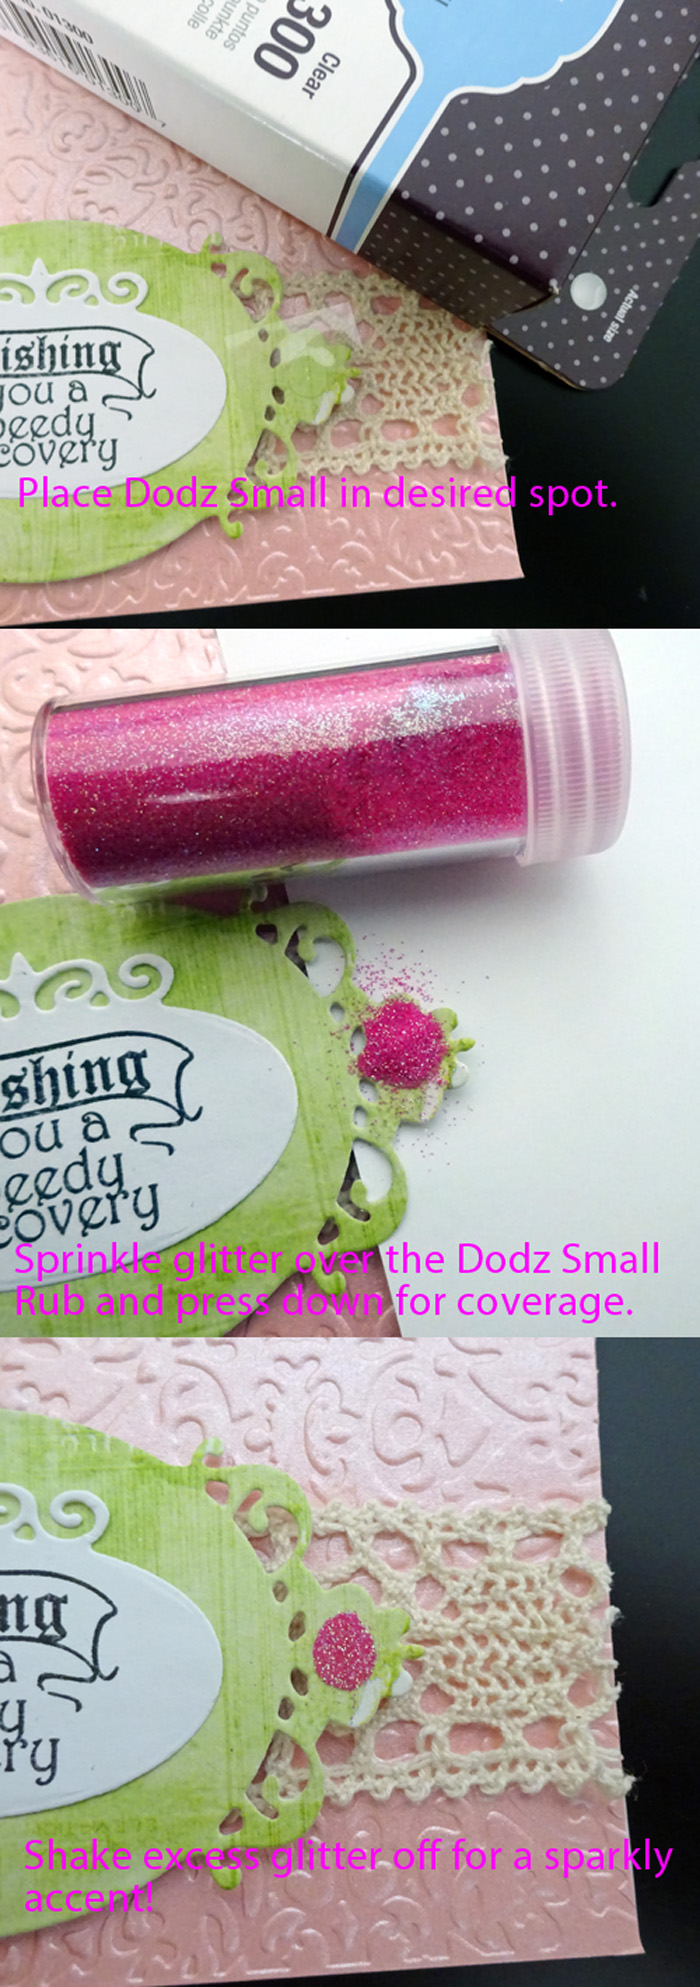
Then I adhered the die cut between the pieces of Lace Ribbons. To finish, I placed Adhesive Dots Small on each side of the large oval die cut, sprinkled pink glitter on top and gently rubbed/pressed into the Adhesive Dots for accents.
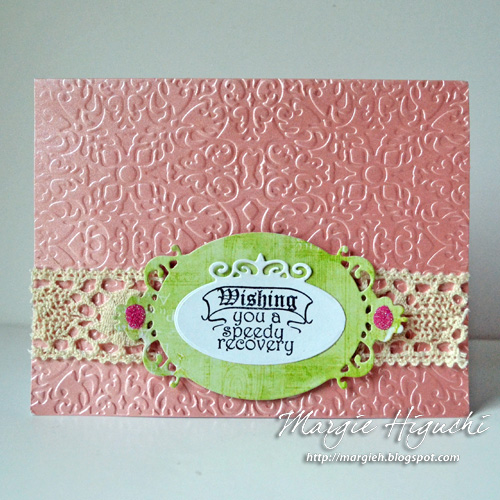
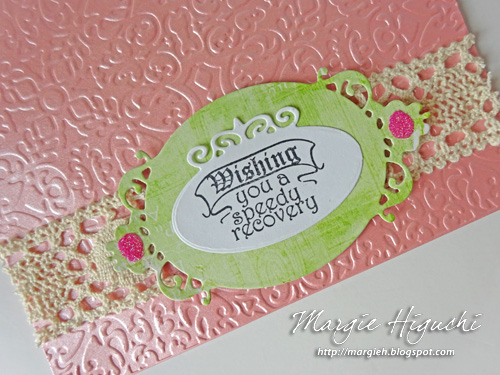
Another look at the finished card….
Supplies:
Scrapbook Adhesives by 3L®: Adhesive Sheets 12 x 12″, 3D Foam Squares Black, Reg. and Adhesive Dots Small
LDRS Creative: Gilded Oval Labels Set, Gilded Embossing Folders and Wishing You Stamp Set
Patterned Paper: Prima Marketing
Card Base and White Cardstock: Core’dinations ColorCore Cardstock®
Pink Micro Glitter: Stampendous®
Black Ink: Imagine Crafts®/Tsukineko®
Tool: MISTI; Spellbinders® Platinum™ Die Cutting and Embossing Machine
Don’t forget to hop over to our friends over at LDRS Creative by clicking Blog Hop with LDRS Creative – Day 2.
Blog Hop Prize Details
Enter to win by leaving a comment through the Rafflecopter App. A winner will be randomly picked. International entries are welcome.
a Rafflecopter giveaway
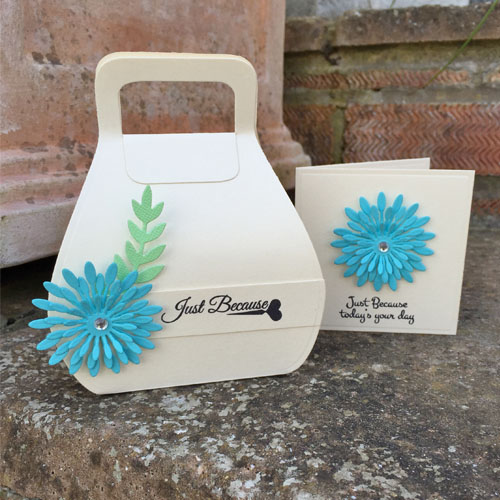
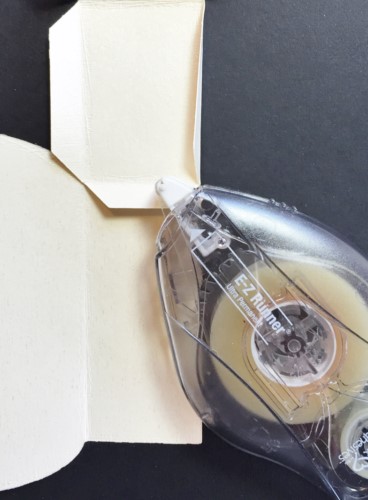

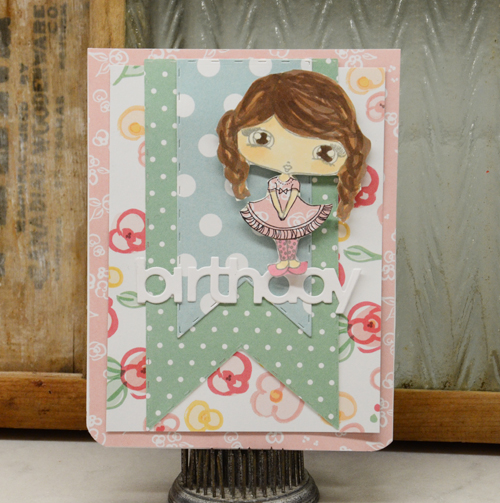
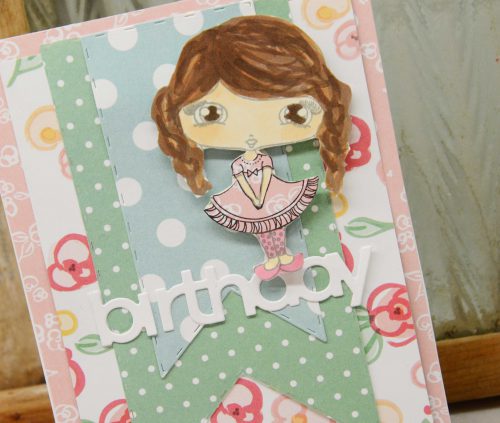

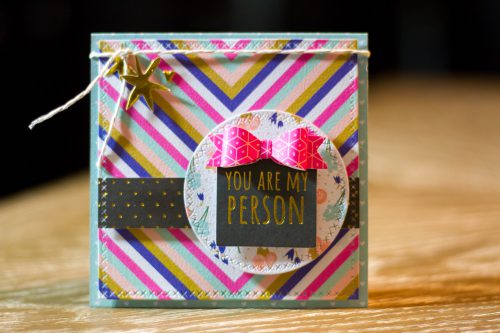
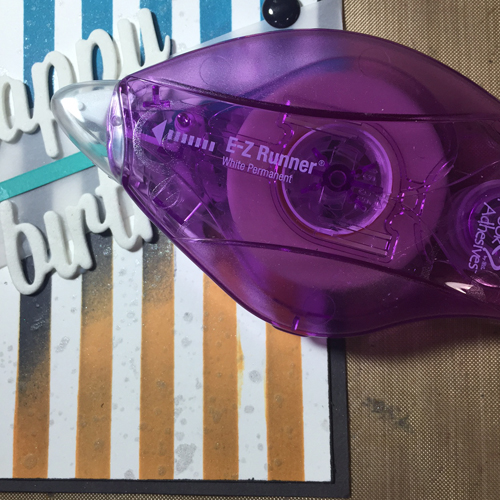
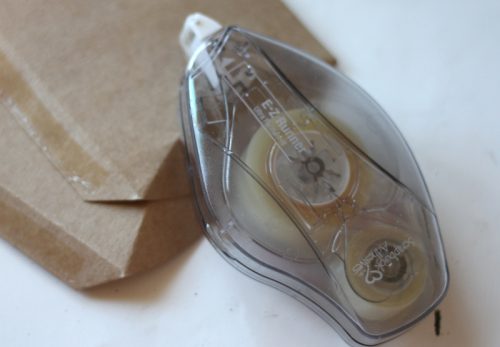 This is the super hero or adhesive runners, with clear adhesive and super hero strength fit for a box that needs to stay closed! The sides are all I use this on for my pillow box, but you can also use it on the ends as well if not tying a cute little Twine piece around.
 To hold my tag in place, I secured the oval with a mini
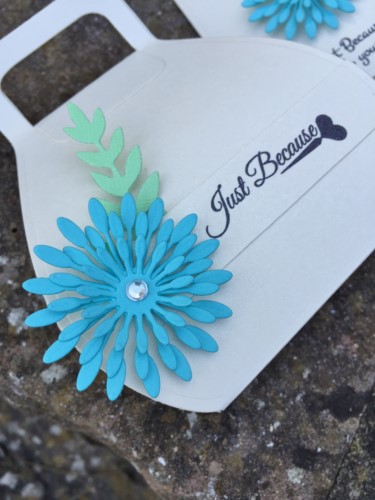
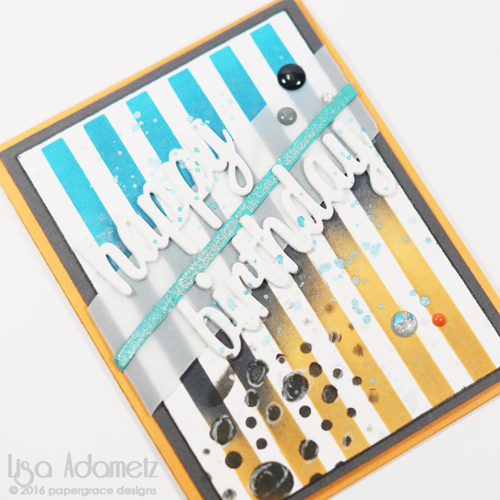
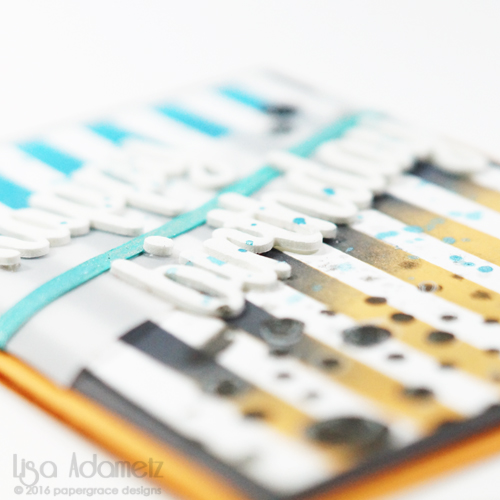


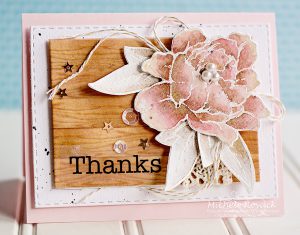
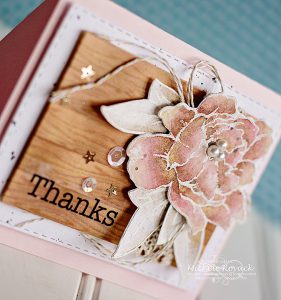 For my finishing touches I added a sticker sentiment and a scattering of sequins and pearls. Those were applied using