Hello! It’s AJ sharing a sweet gift giving pouch idea.
One of my newest faves is any cute new box/pouch/bag you can dress up and fill with treats, it’s sure to be a hit!
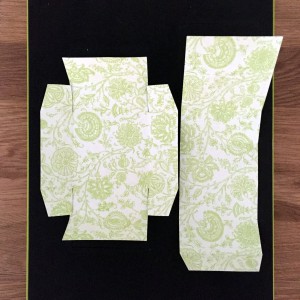
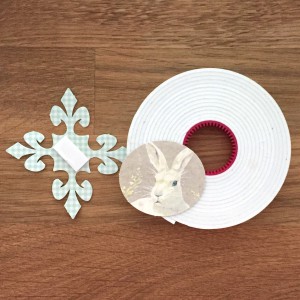
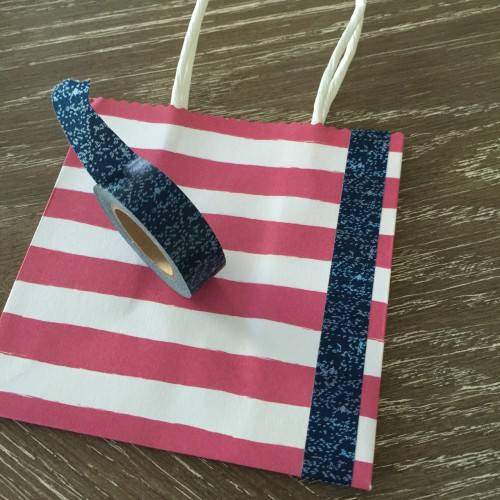
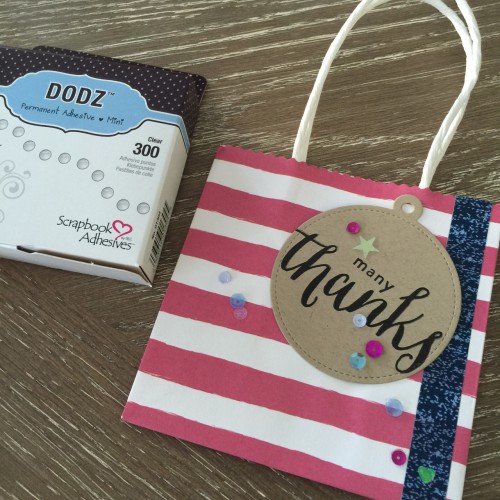
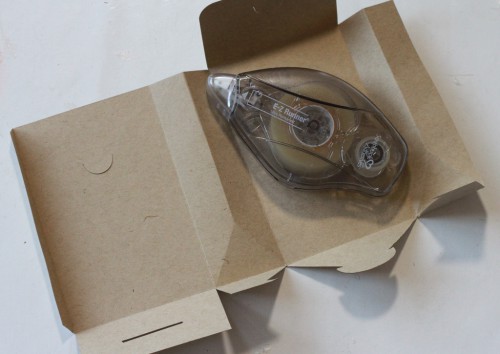 And, to assemble boxes, you need really great strong adhesive! We recently released this fabby new one, E-Z Runner® Ultra Refillable Dispenser. This new adhesives is immediately tacky and strong enough to assemble your boxes, bags, etc.
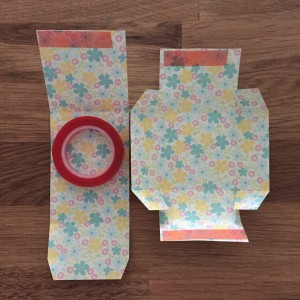
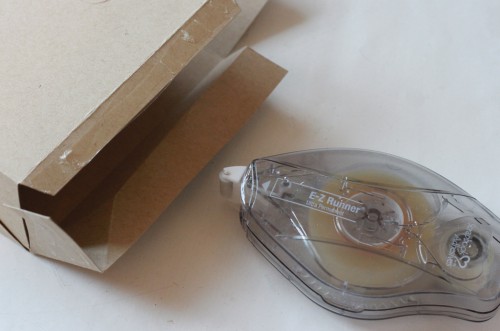 And, my favorite part- it’s clear! Here I added a strip to the tab that holds the sides together.
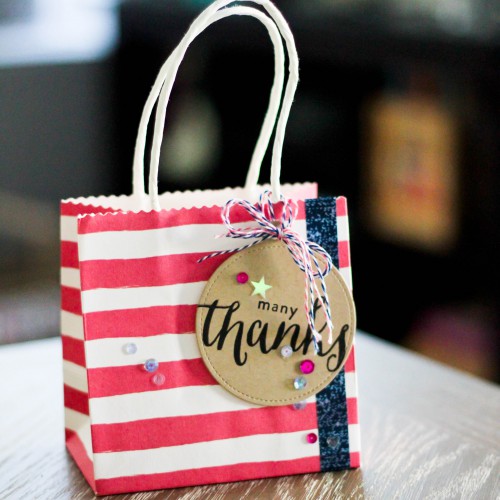
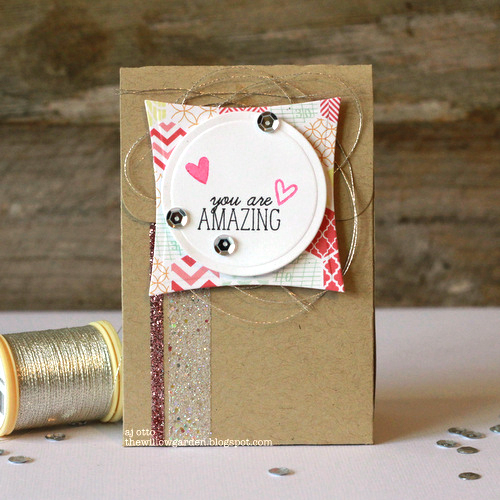
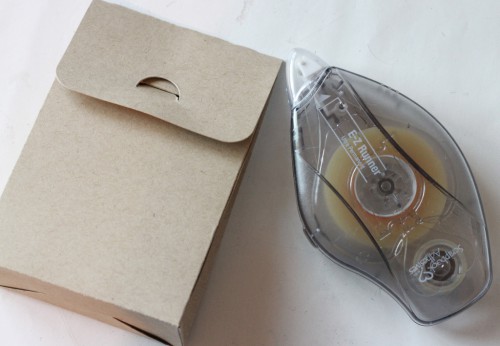 Here’s my adorable much all assembled and just waiting to be dressed up. 🙂 I decided a few stripes of glitter down the front would be in order, so I used the Premium Double-Sided Tape in the 1/8″ and the 1/4″ sizes and covered each with a different color.
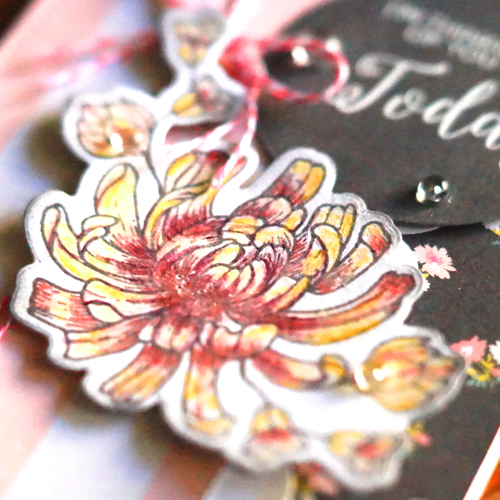
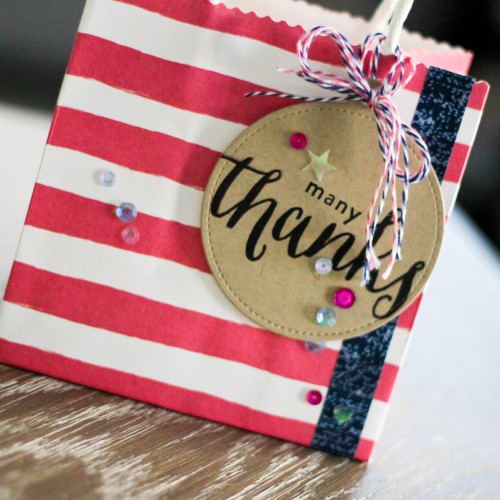
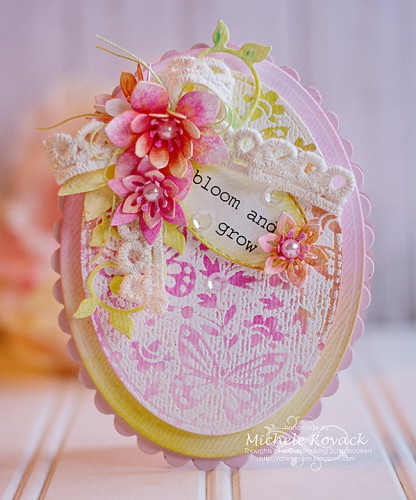
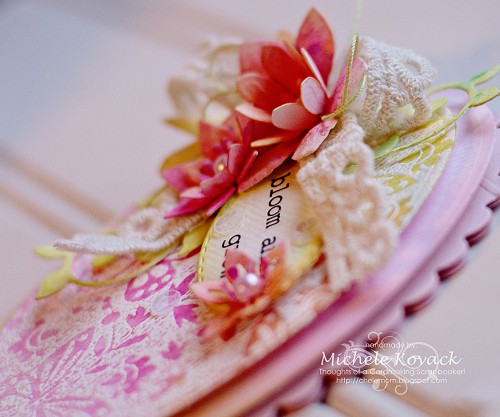
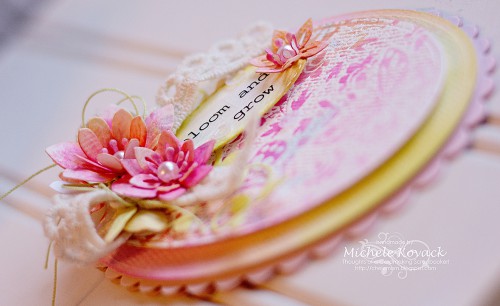
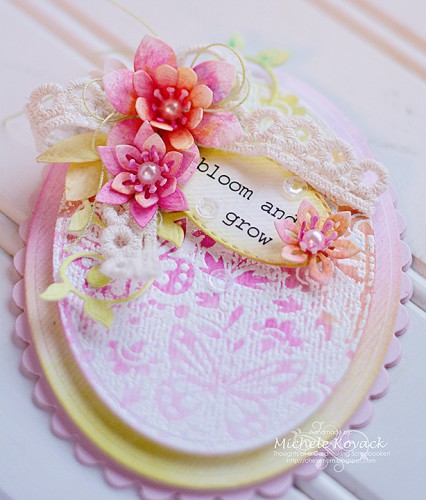
I die cut some fun patterned paper that will contrast against the kraft color, and stamped a sentiment on to a circle. Popped the circle up with some 3D Foam Squares in black to add a little dimension. I adhered the die cuts to the front flap of the pouch with a little bit of thread peeking out from behind and am need to finish it off with a few sequins.
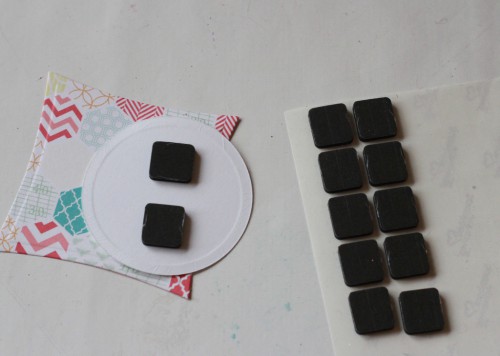
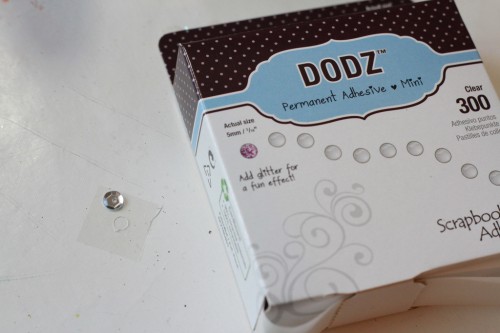 This is HANDS down the MOST exciting thing ever!!! Adhesive Dots MINI!!!!!!!!!!!! Yes, I am totally shouting here, but these are the.perfect.size for sequins! Just a hair smaller in circumference from the average sequin size as you can see.
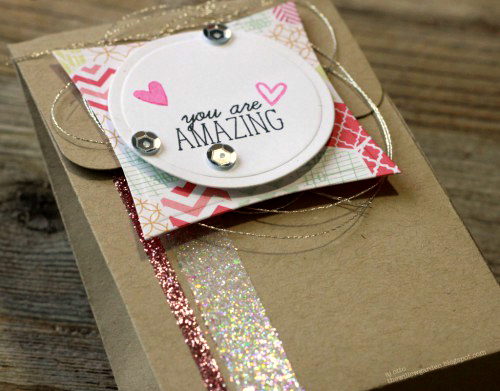
Here’s a close up of my finished pouch. I just love how that premium tape holds glitter, not only is it great for hold on cards/boxes etc, it is an awesome embellishment as well! I am constantly adding a strip of glitter here and there to projects now.
Who wouldn’t love a much filled with something a little sweet dressed up like this? 😉
enjoy! AJ
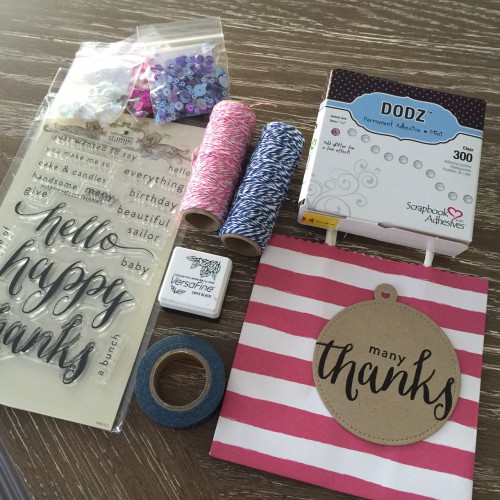
Scrapbook Adhesives by 3L® Products used: Adhesive Dots MINI; Premium Double-Sided Tape 1/4″; Premium Double-Sided Tape 1/8″; 3D Foam Squares; & E-Z Runner® Ultra Refillable Dispenser
Dies- Spellbinders dies; stamps, silver thread, inks, sequins, glitter