You are in our US store • Switch to Europe store

About Me Mini Album

Hi there, it’s Stephanie here today with a Mini Album.

Stephanie_Minibook_1
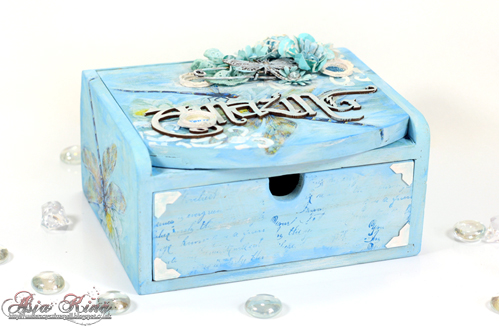
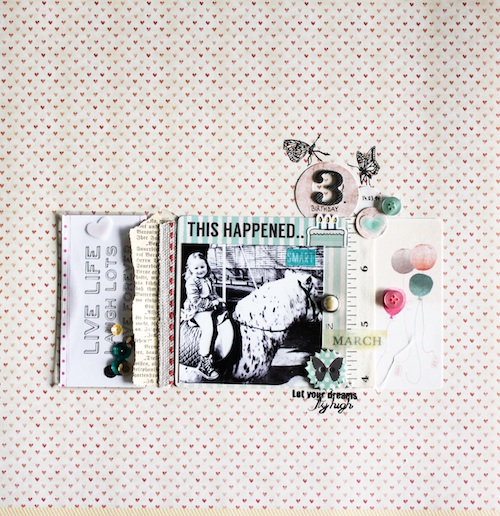
It’s for my younger daughter, where she can start scrapbooking with it. Inside are some pattern paper and she can fill it with photos and little drawings. She is now 3 years old and I think it’s time to start. Maybe she will love it like her Mom.

Stephanie_Minibook_2
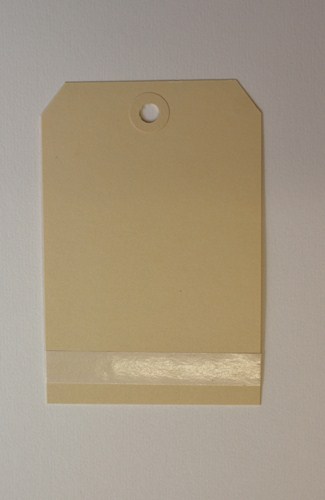
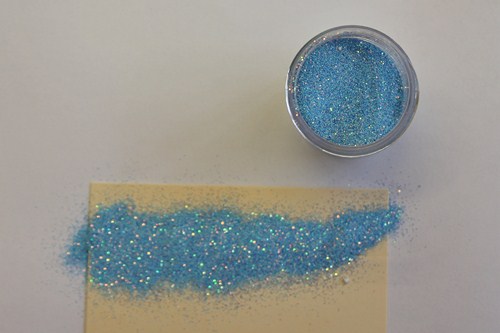
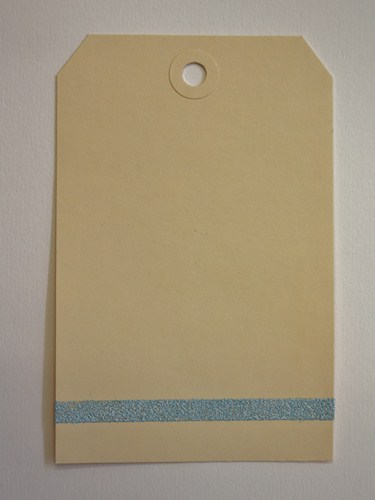
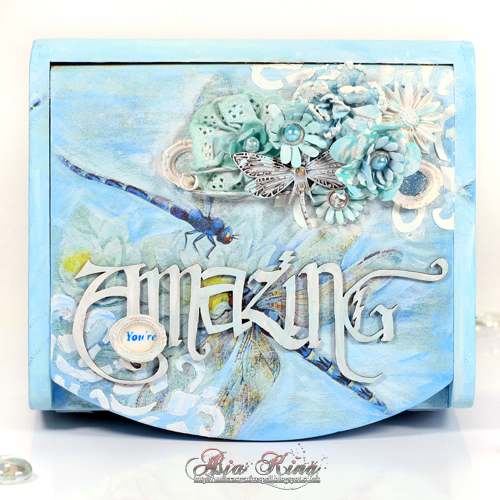
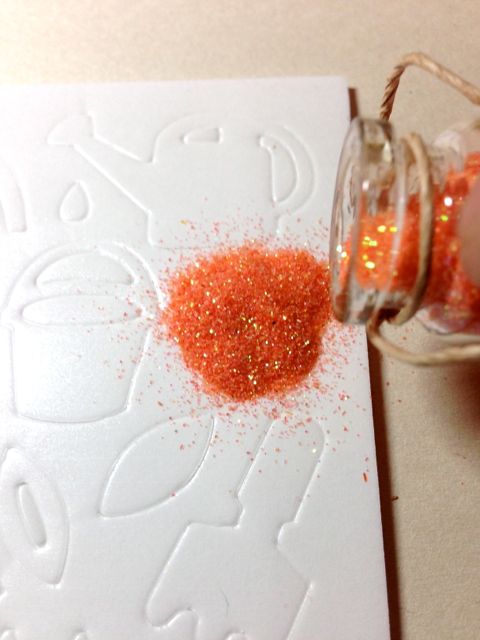
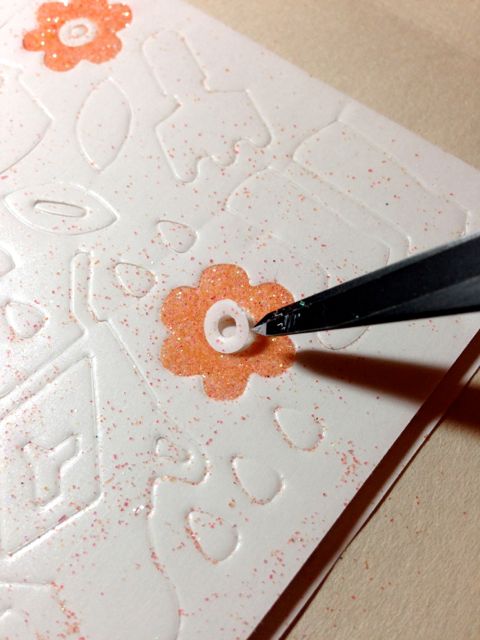
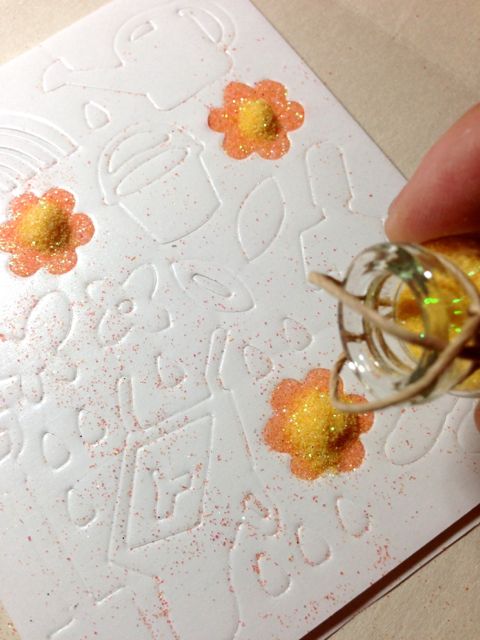
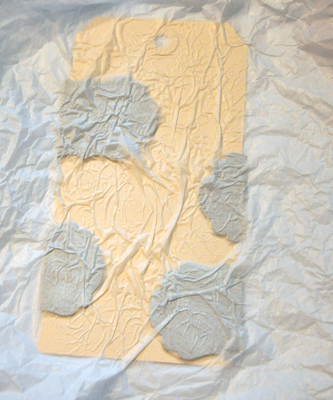
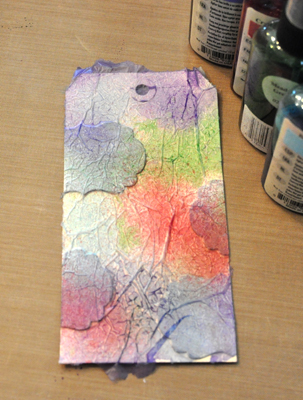
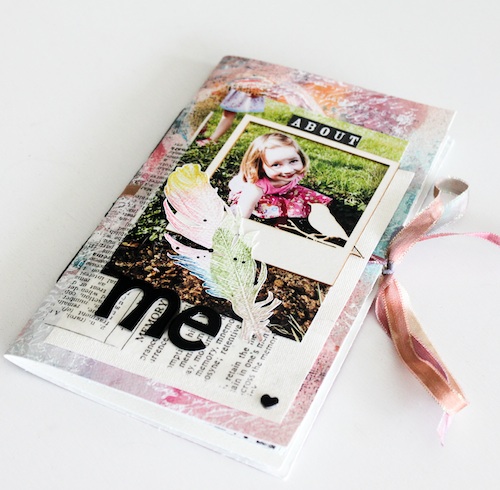
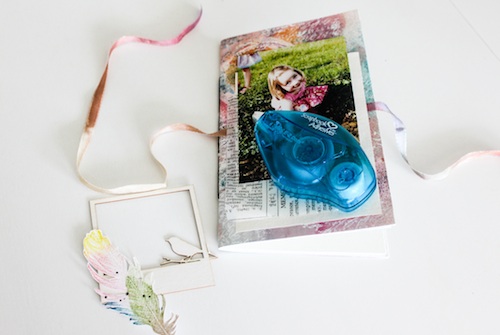
My cover is a handmade colored paper I created with sprays and paint and stamps.

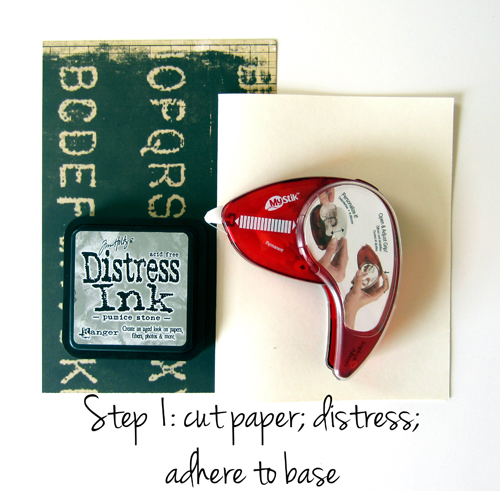
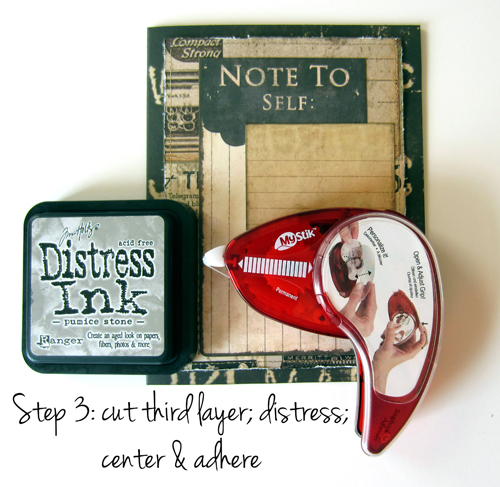
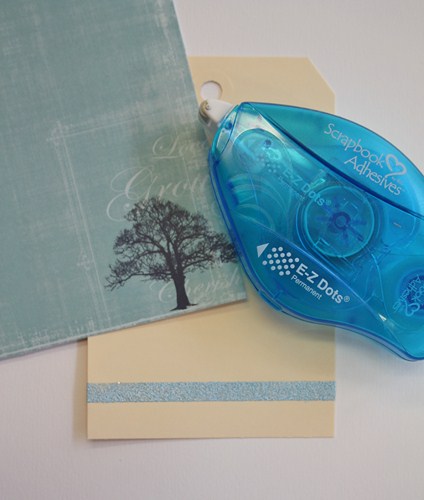
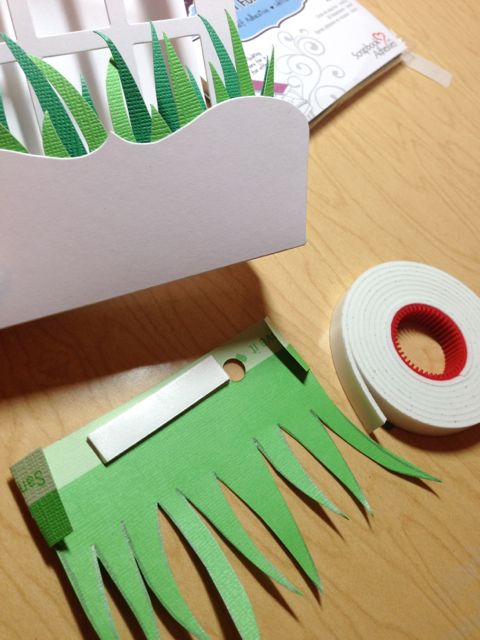
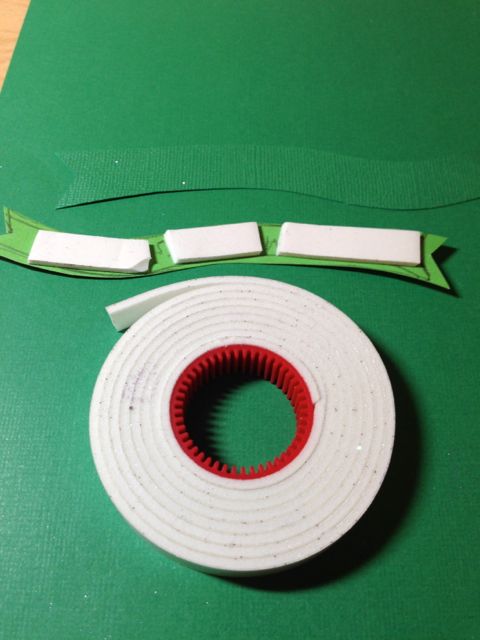
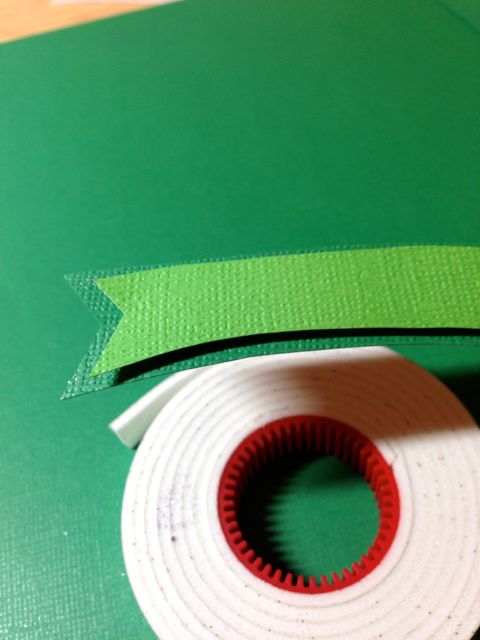
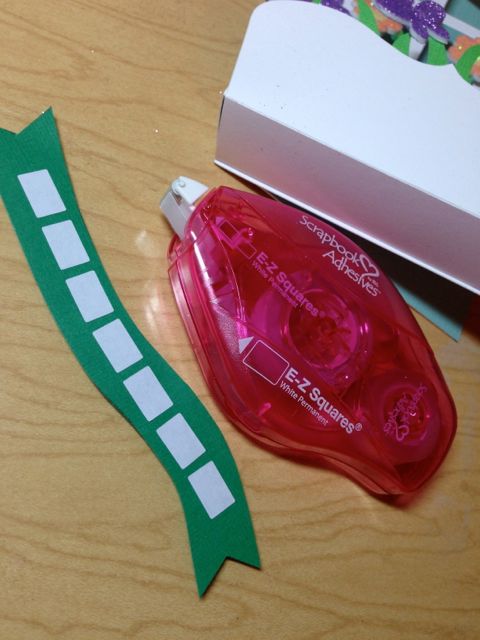
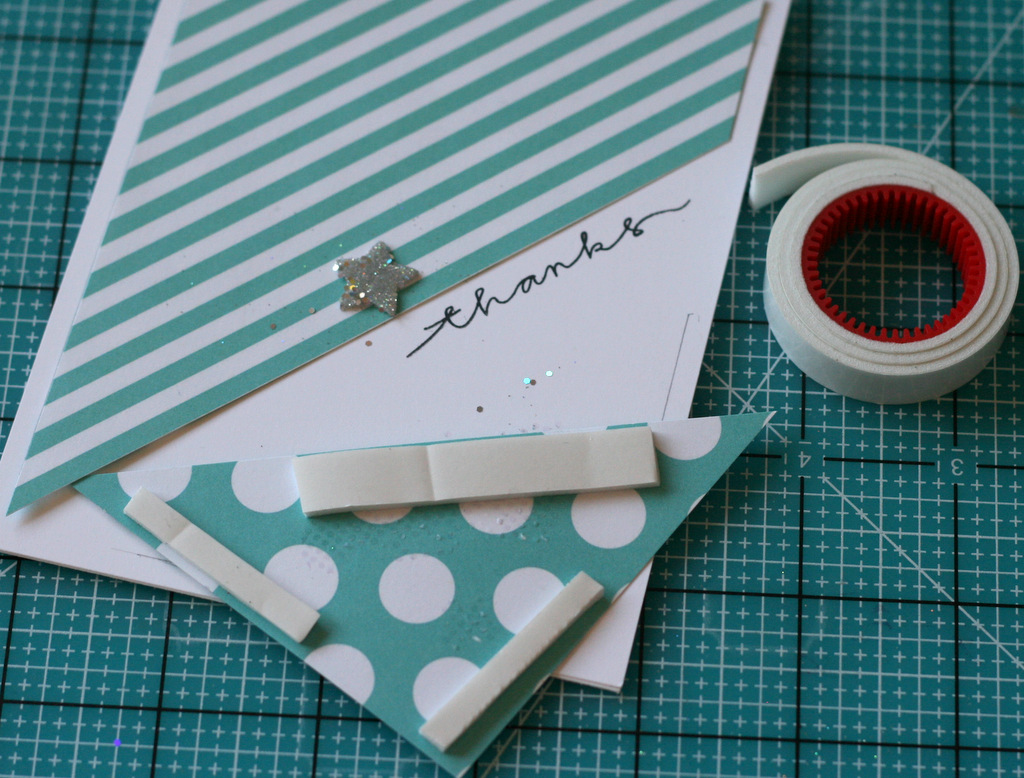
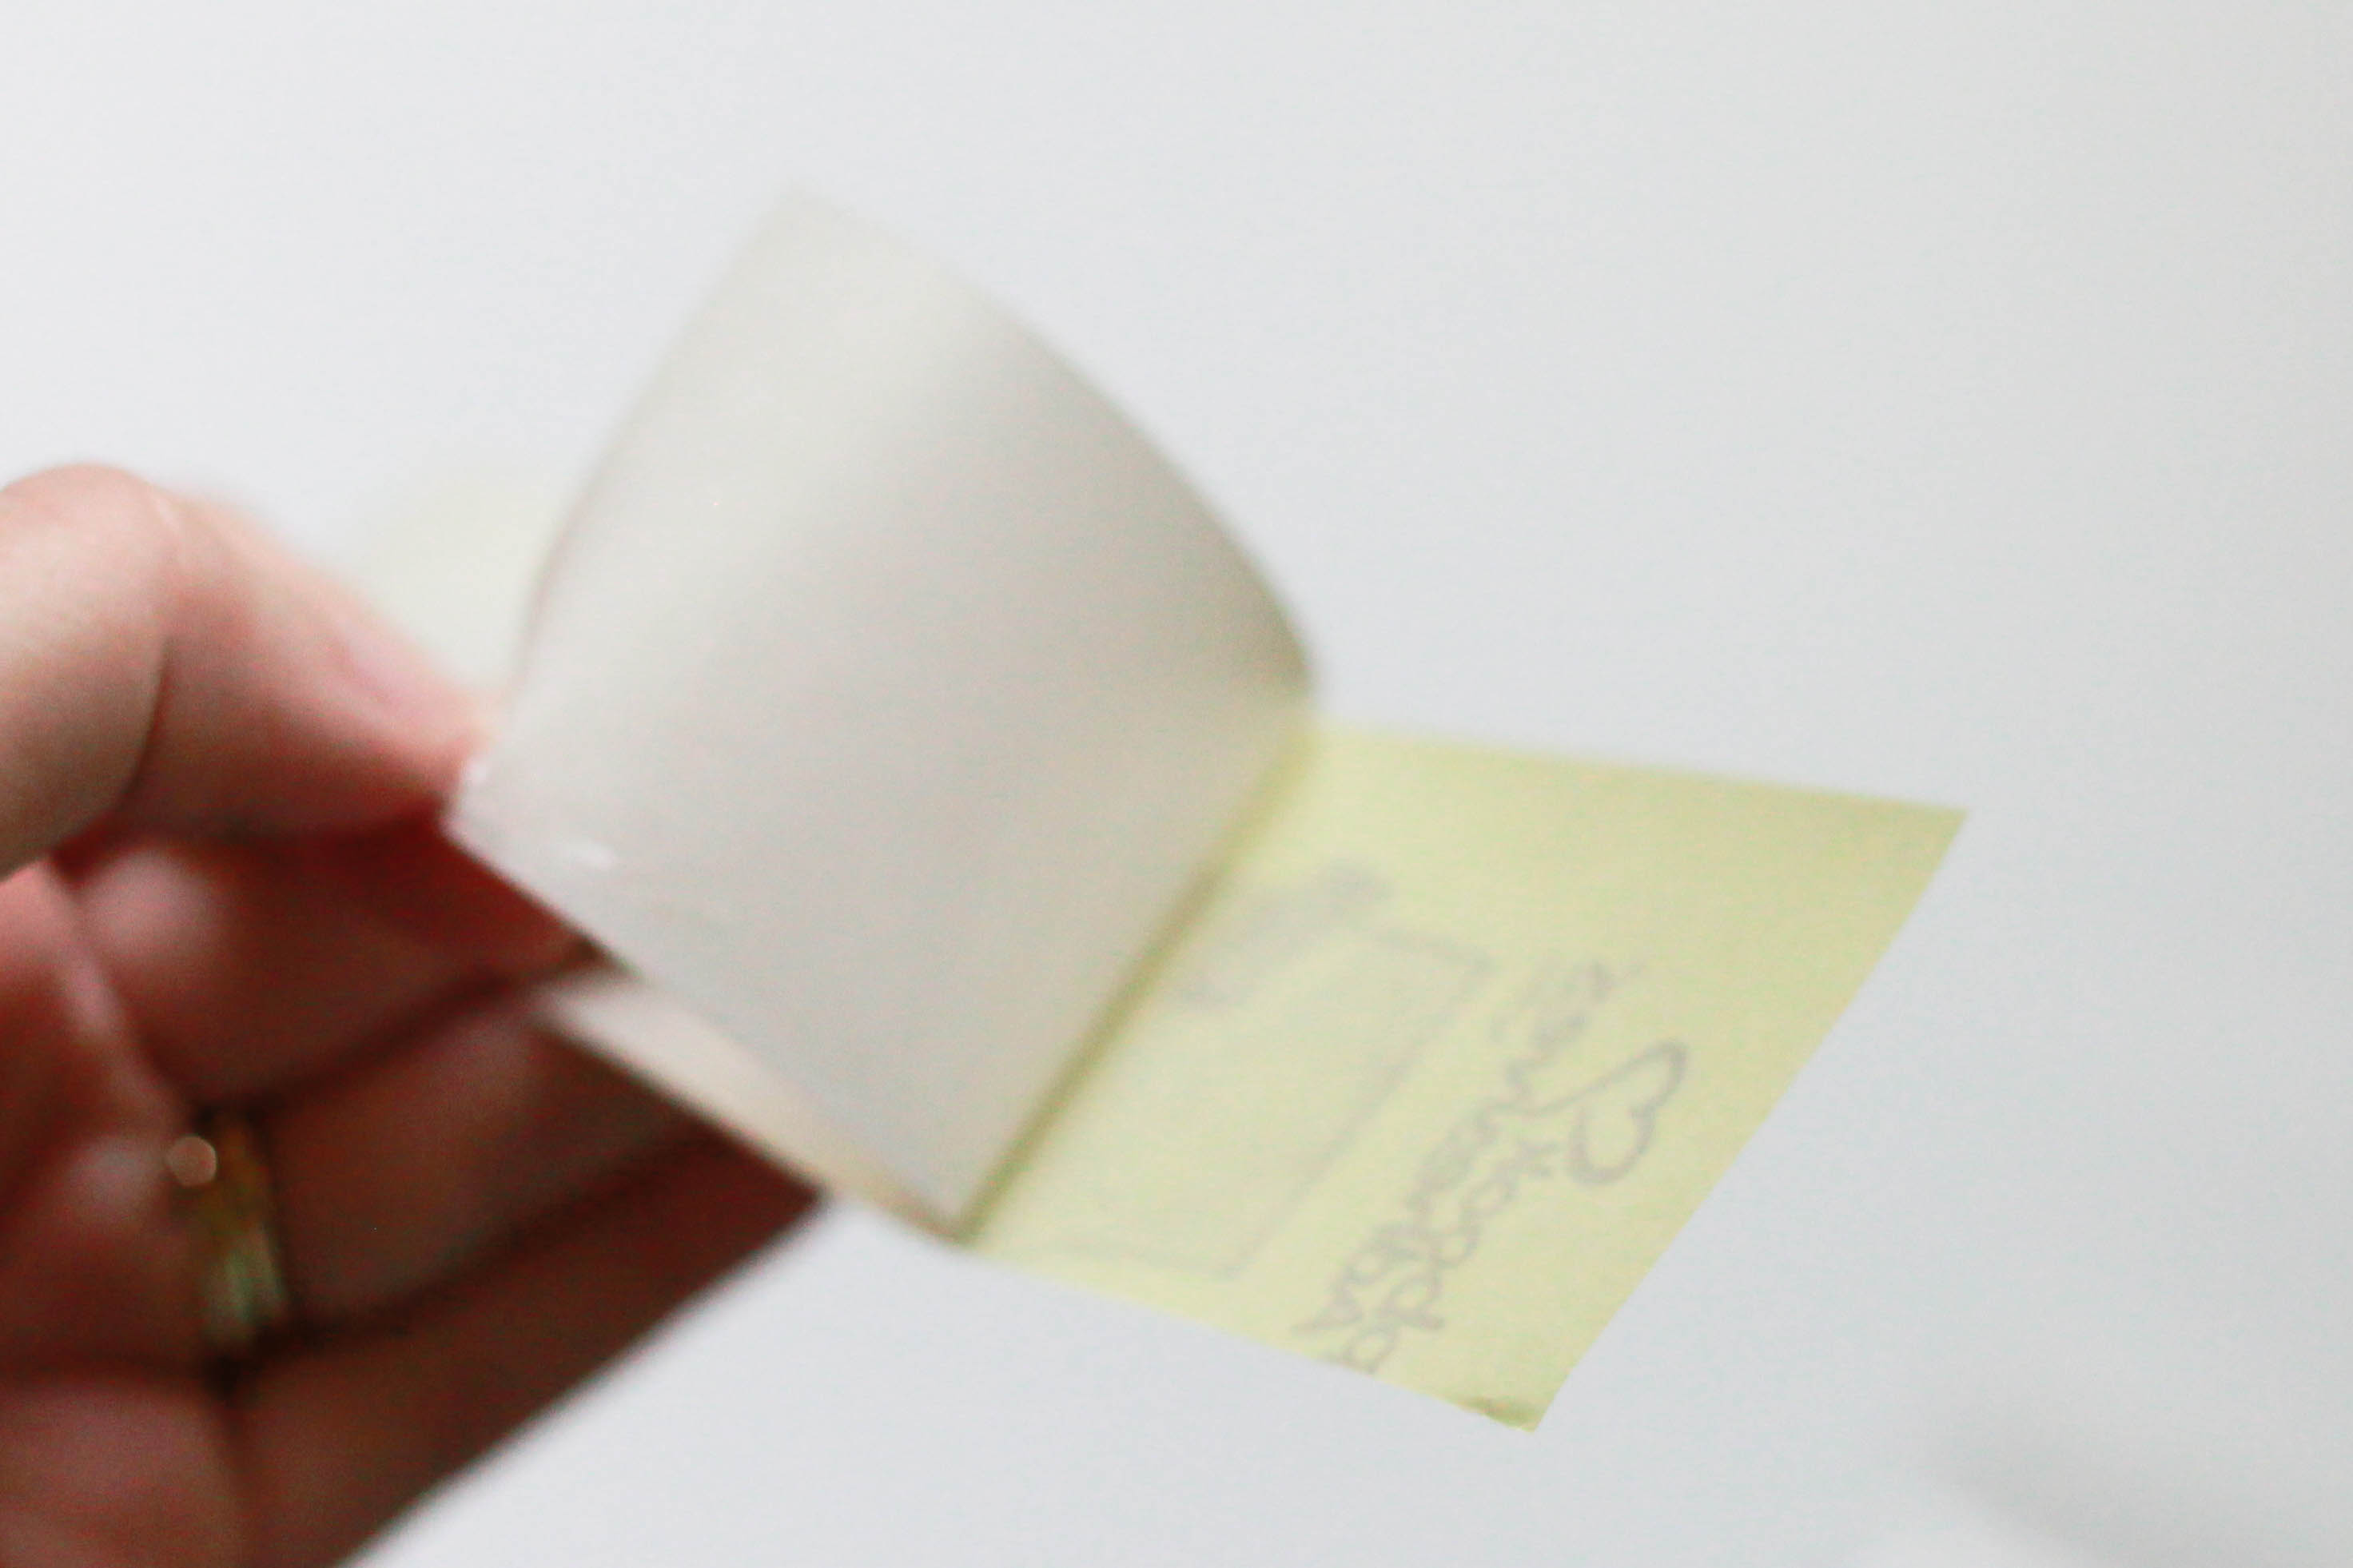
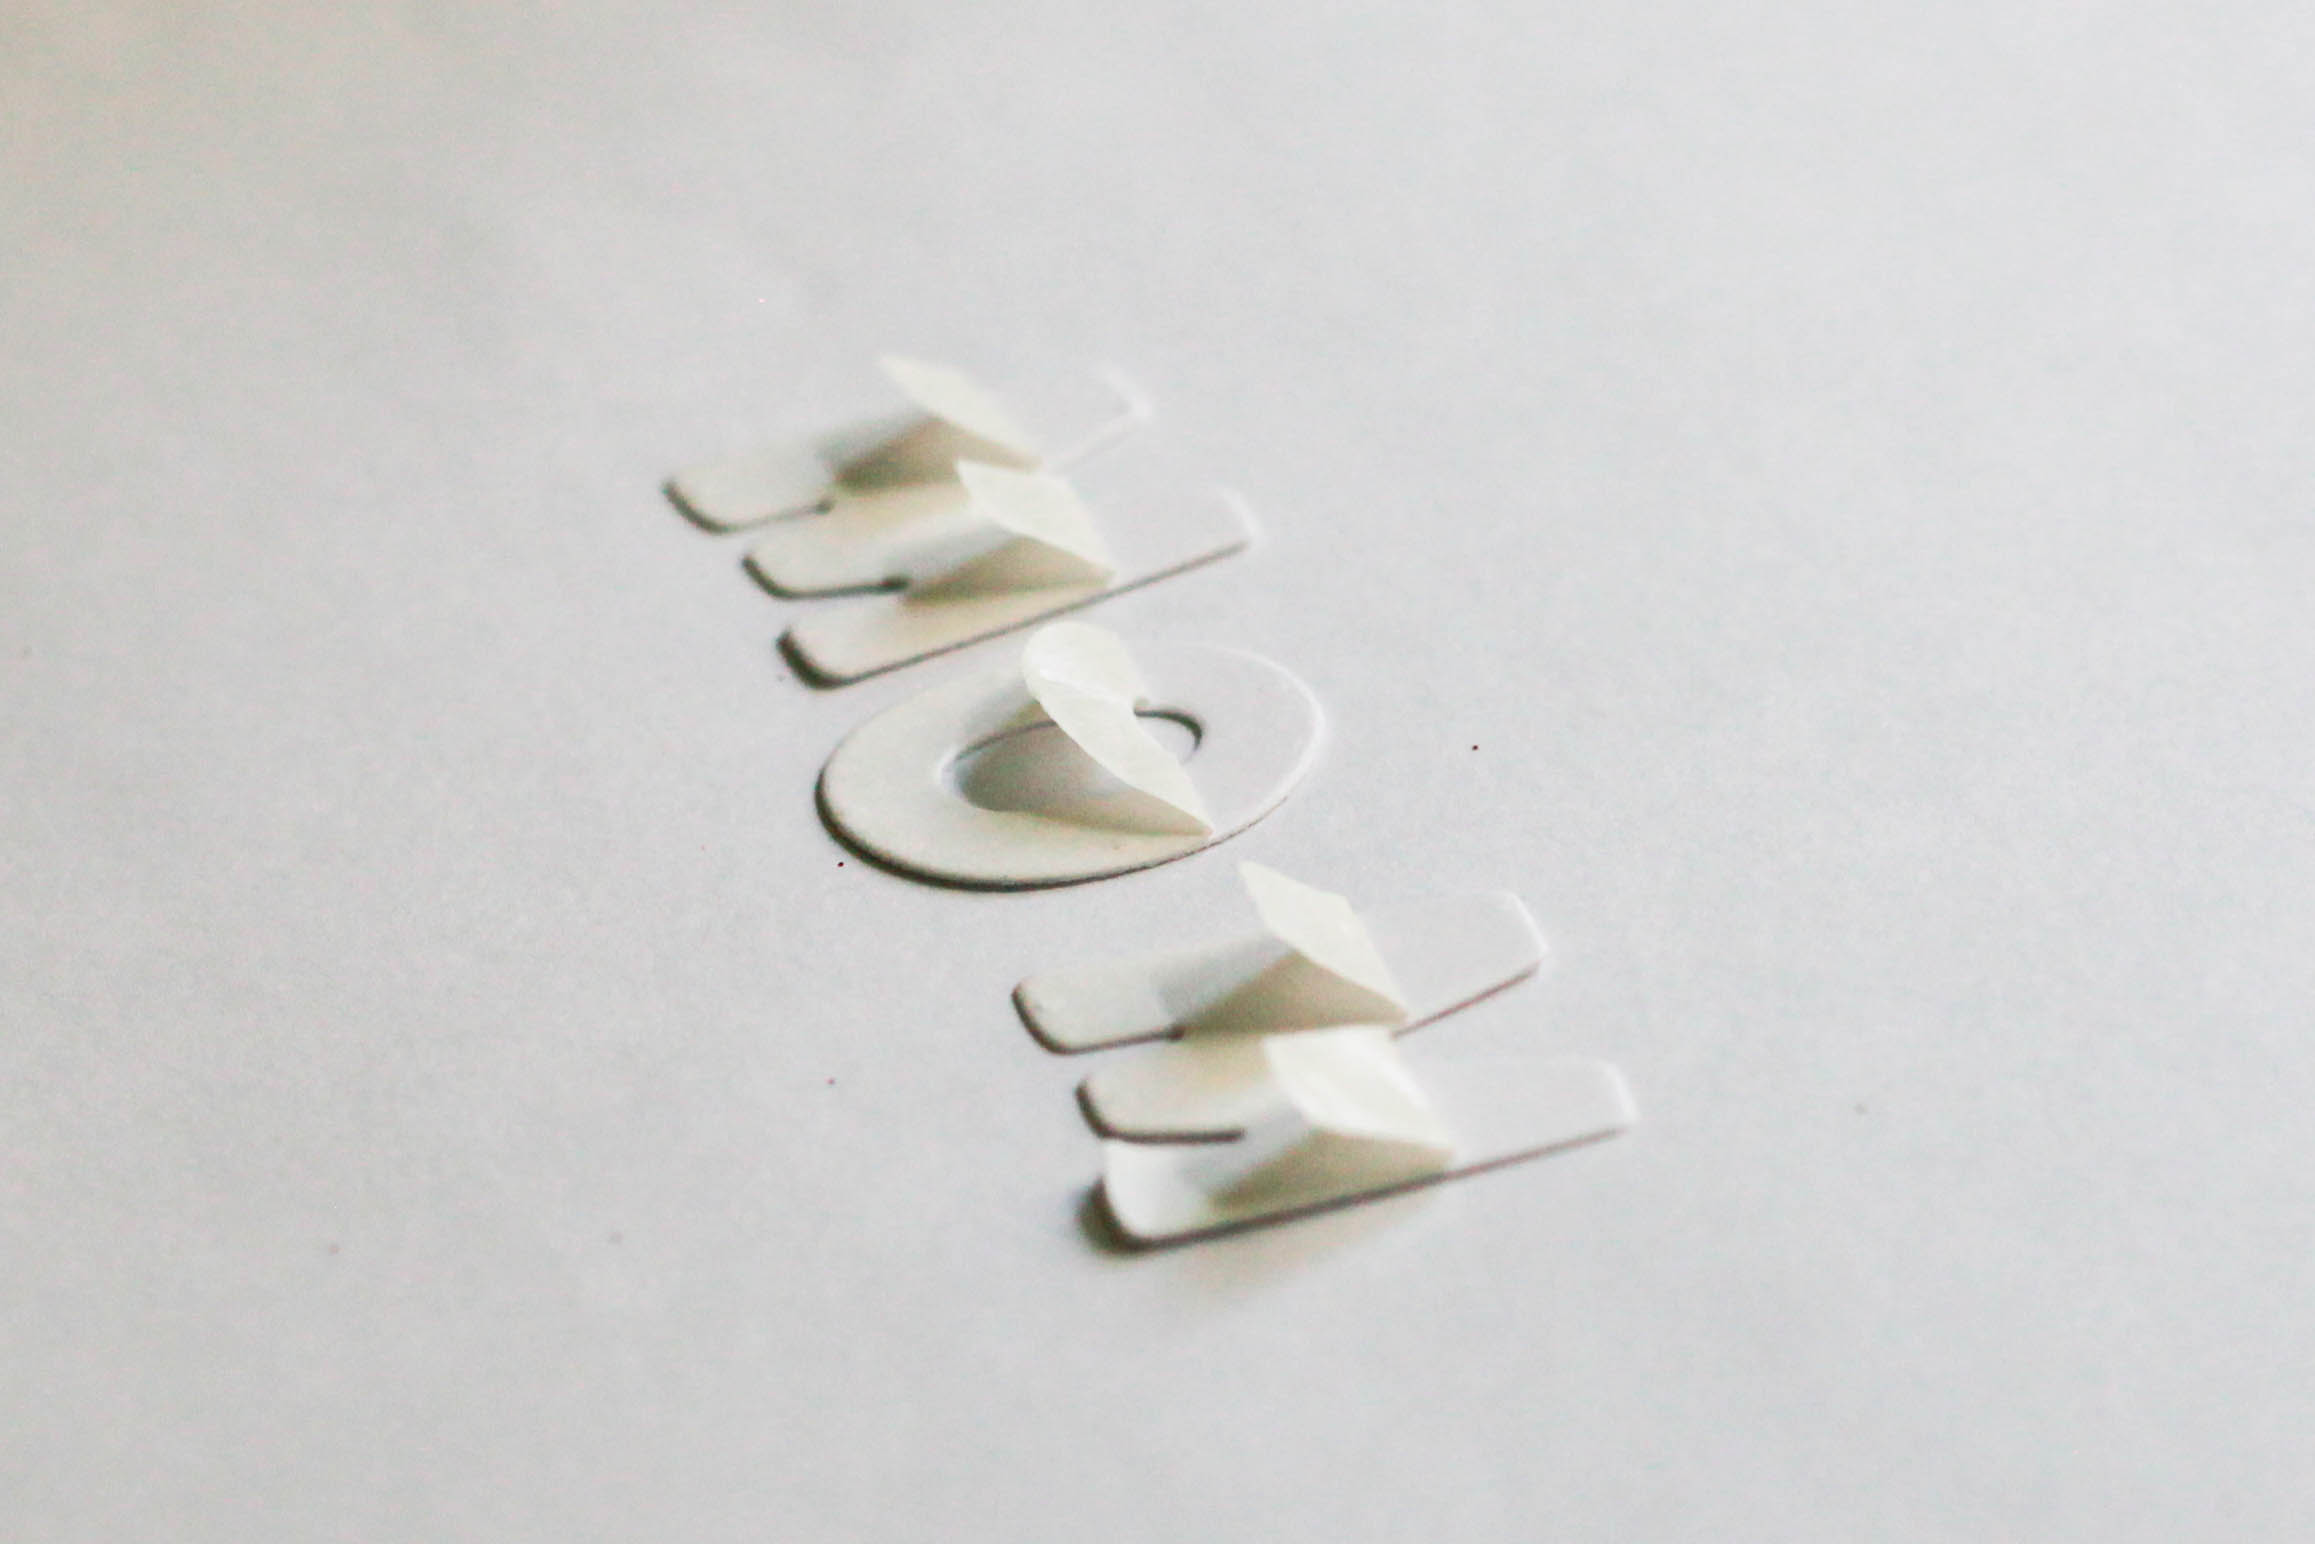
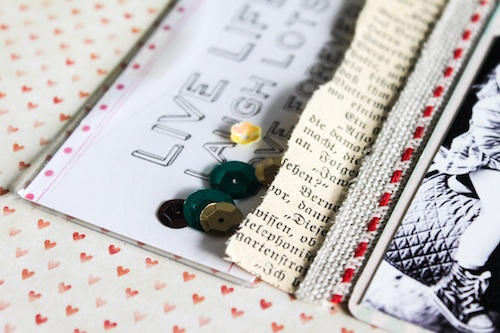
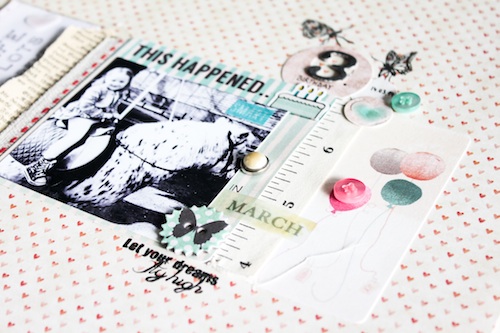
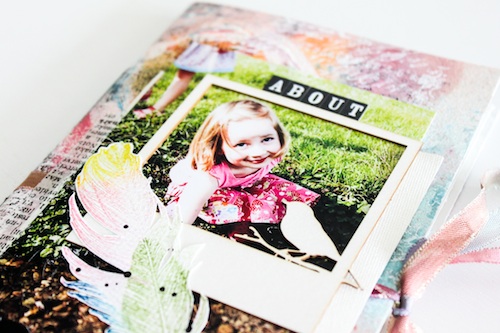
To adhere the paper and the photo I used the E-Z Dots® Permanent – Refillable

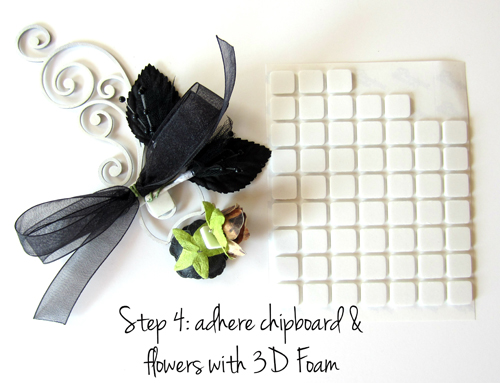
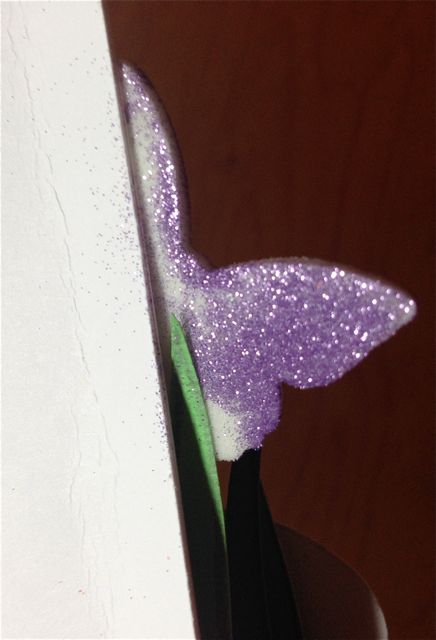
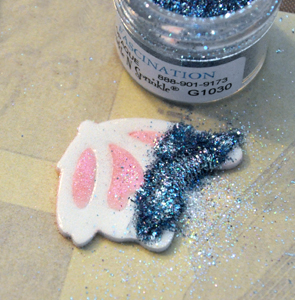
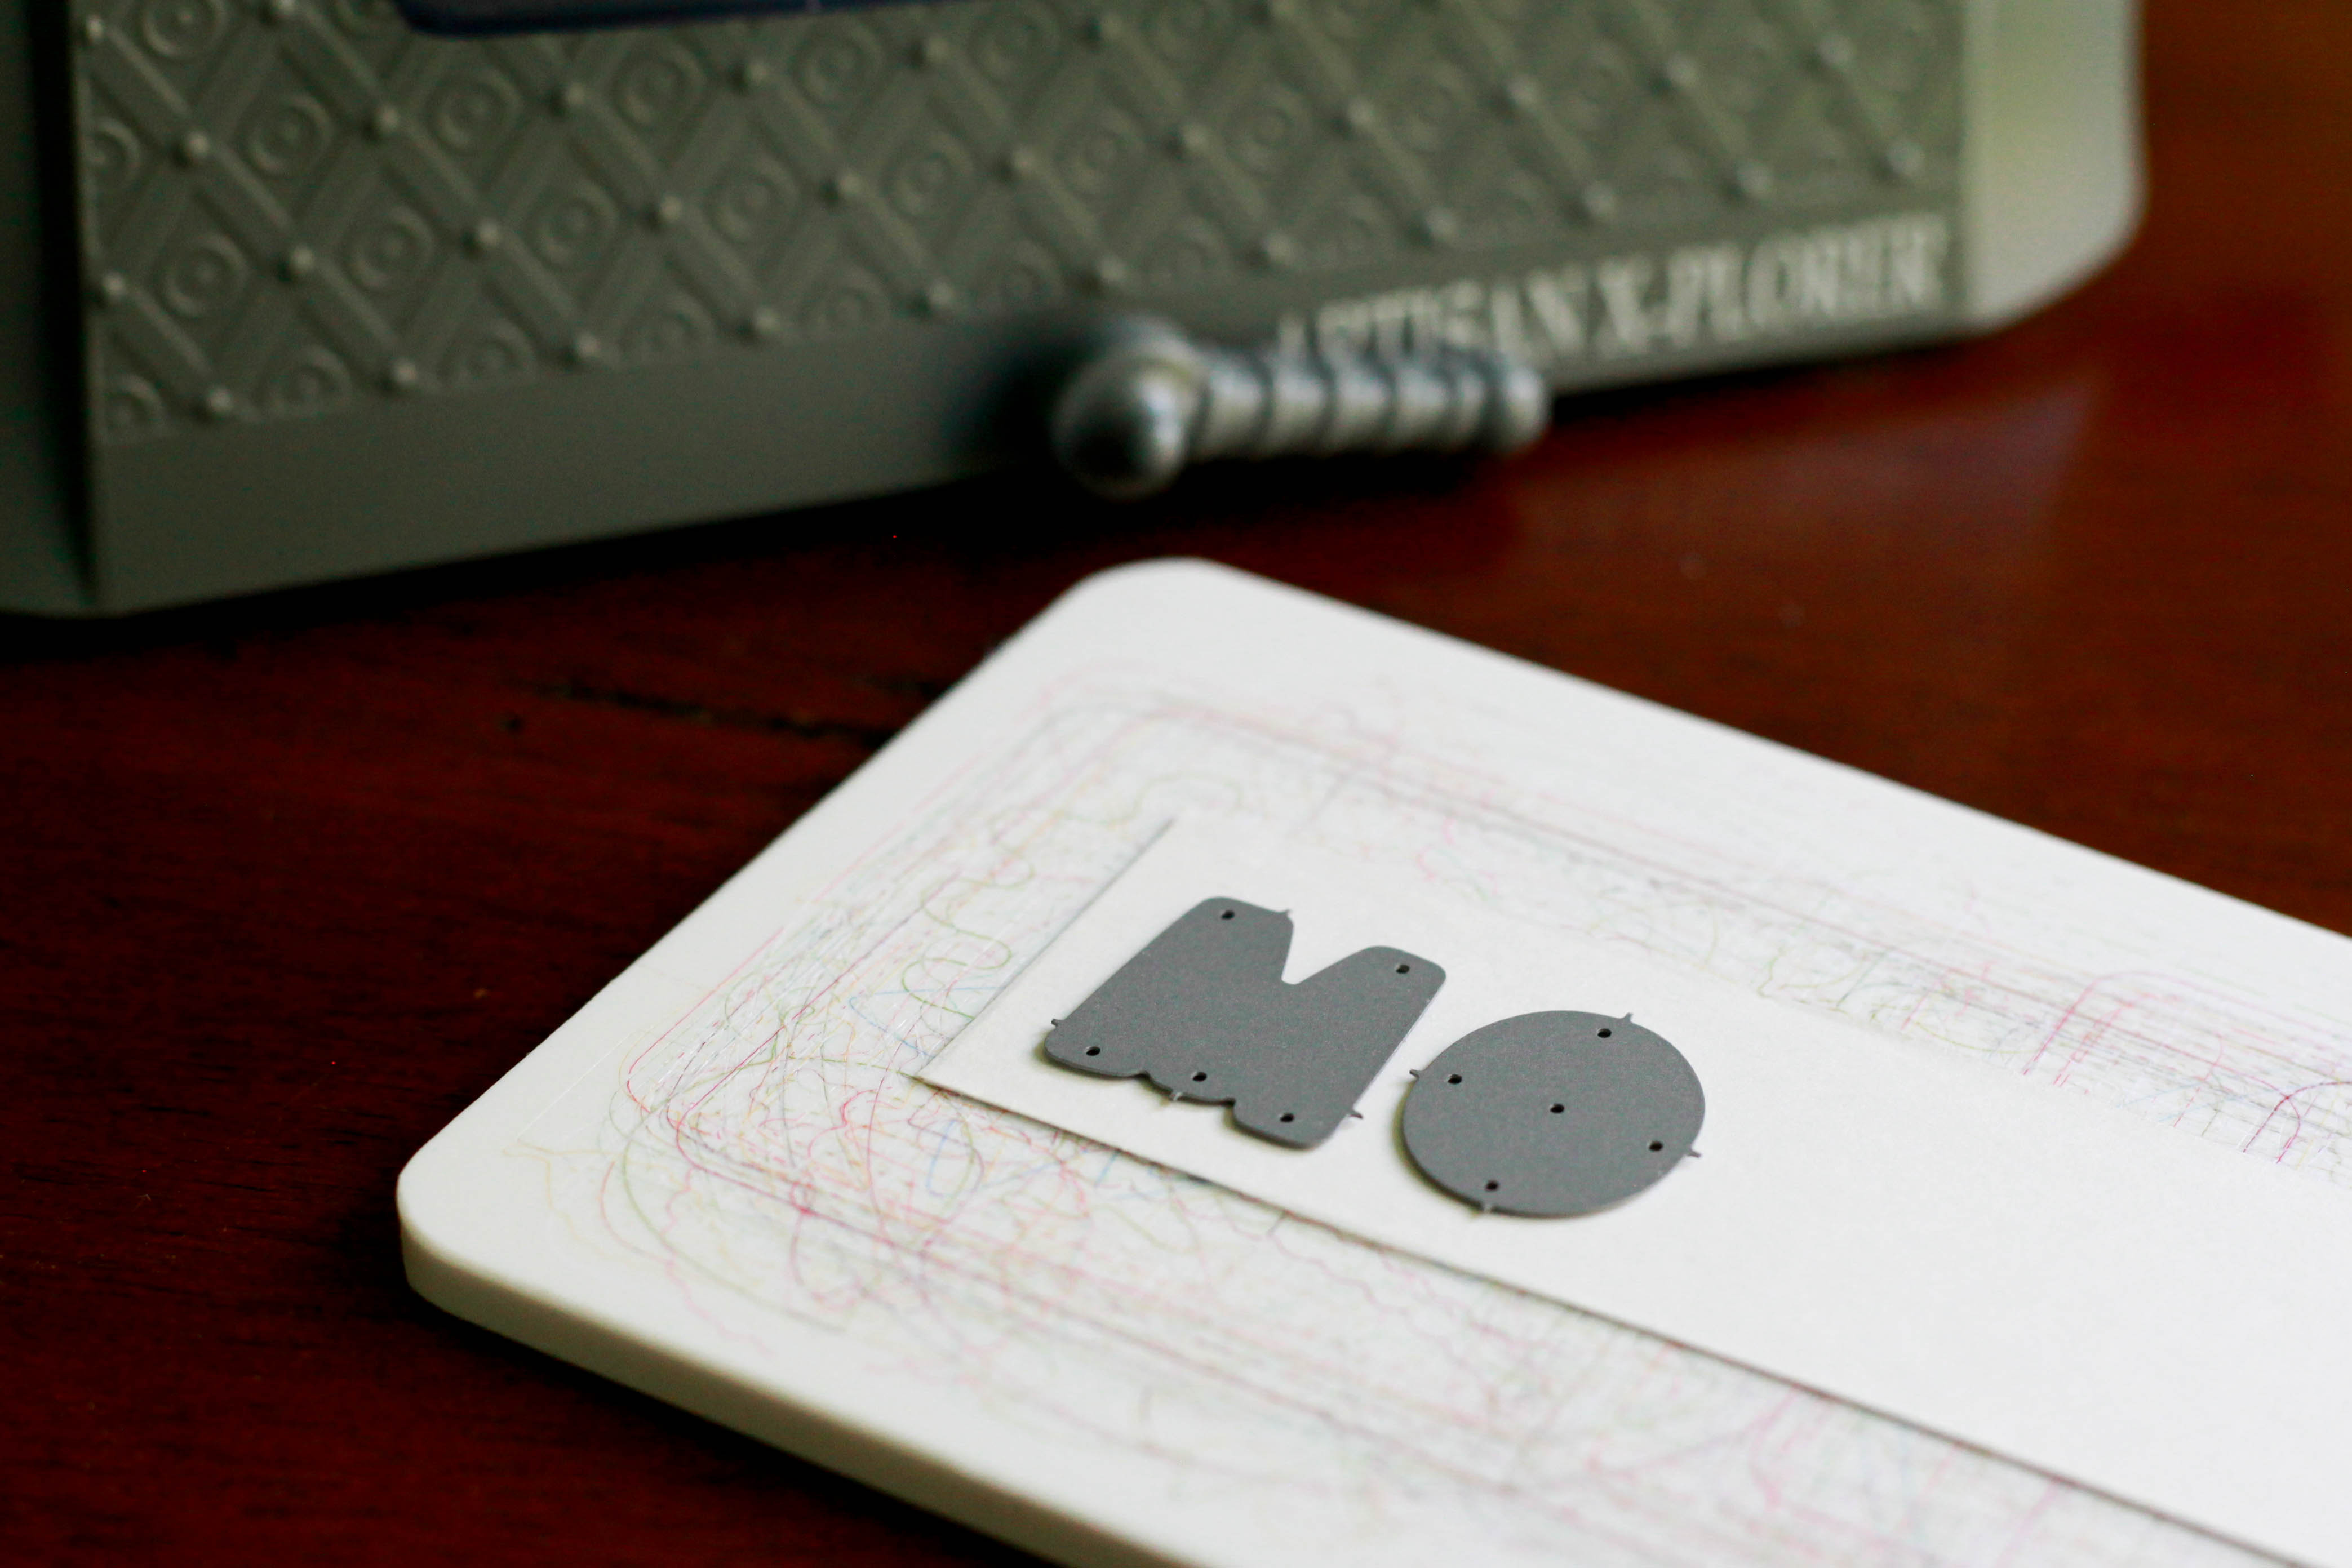
For decoration I used a chipboard frame from Wycinanka and a colored feather. The feather is a stamp I designed for Whiff of Joy and I stamped with paint from Chalk Edgers from Ingvild Bolme. I also use the E-Z Dots® Permanent – Refillable  to glue it. It’s perfect for small or delicate elements because the stick glue points well on them.

Stephanie_Minibook_3
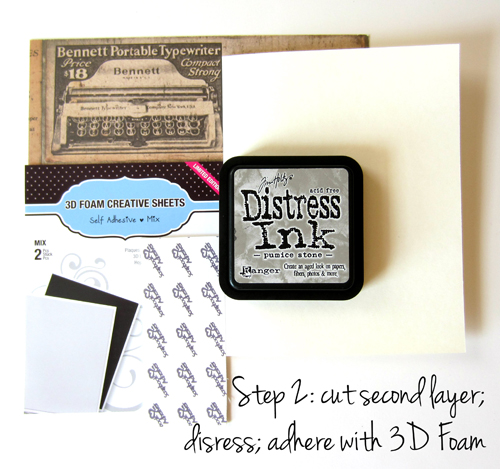
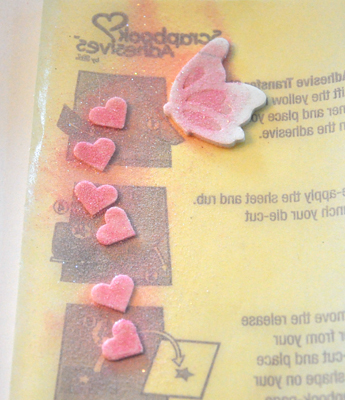
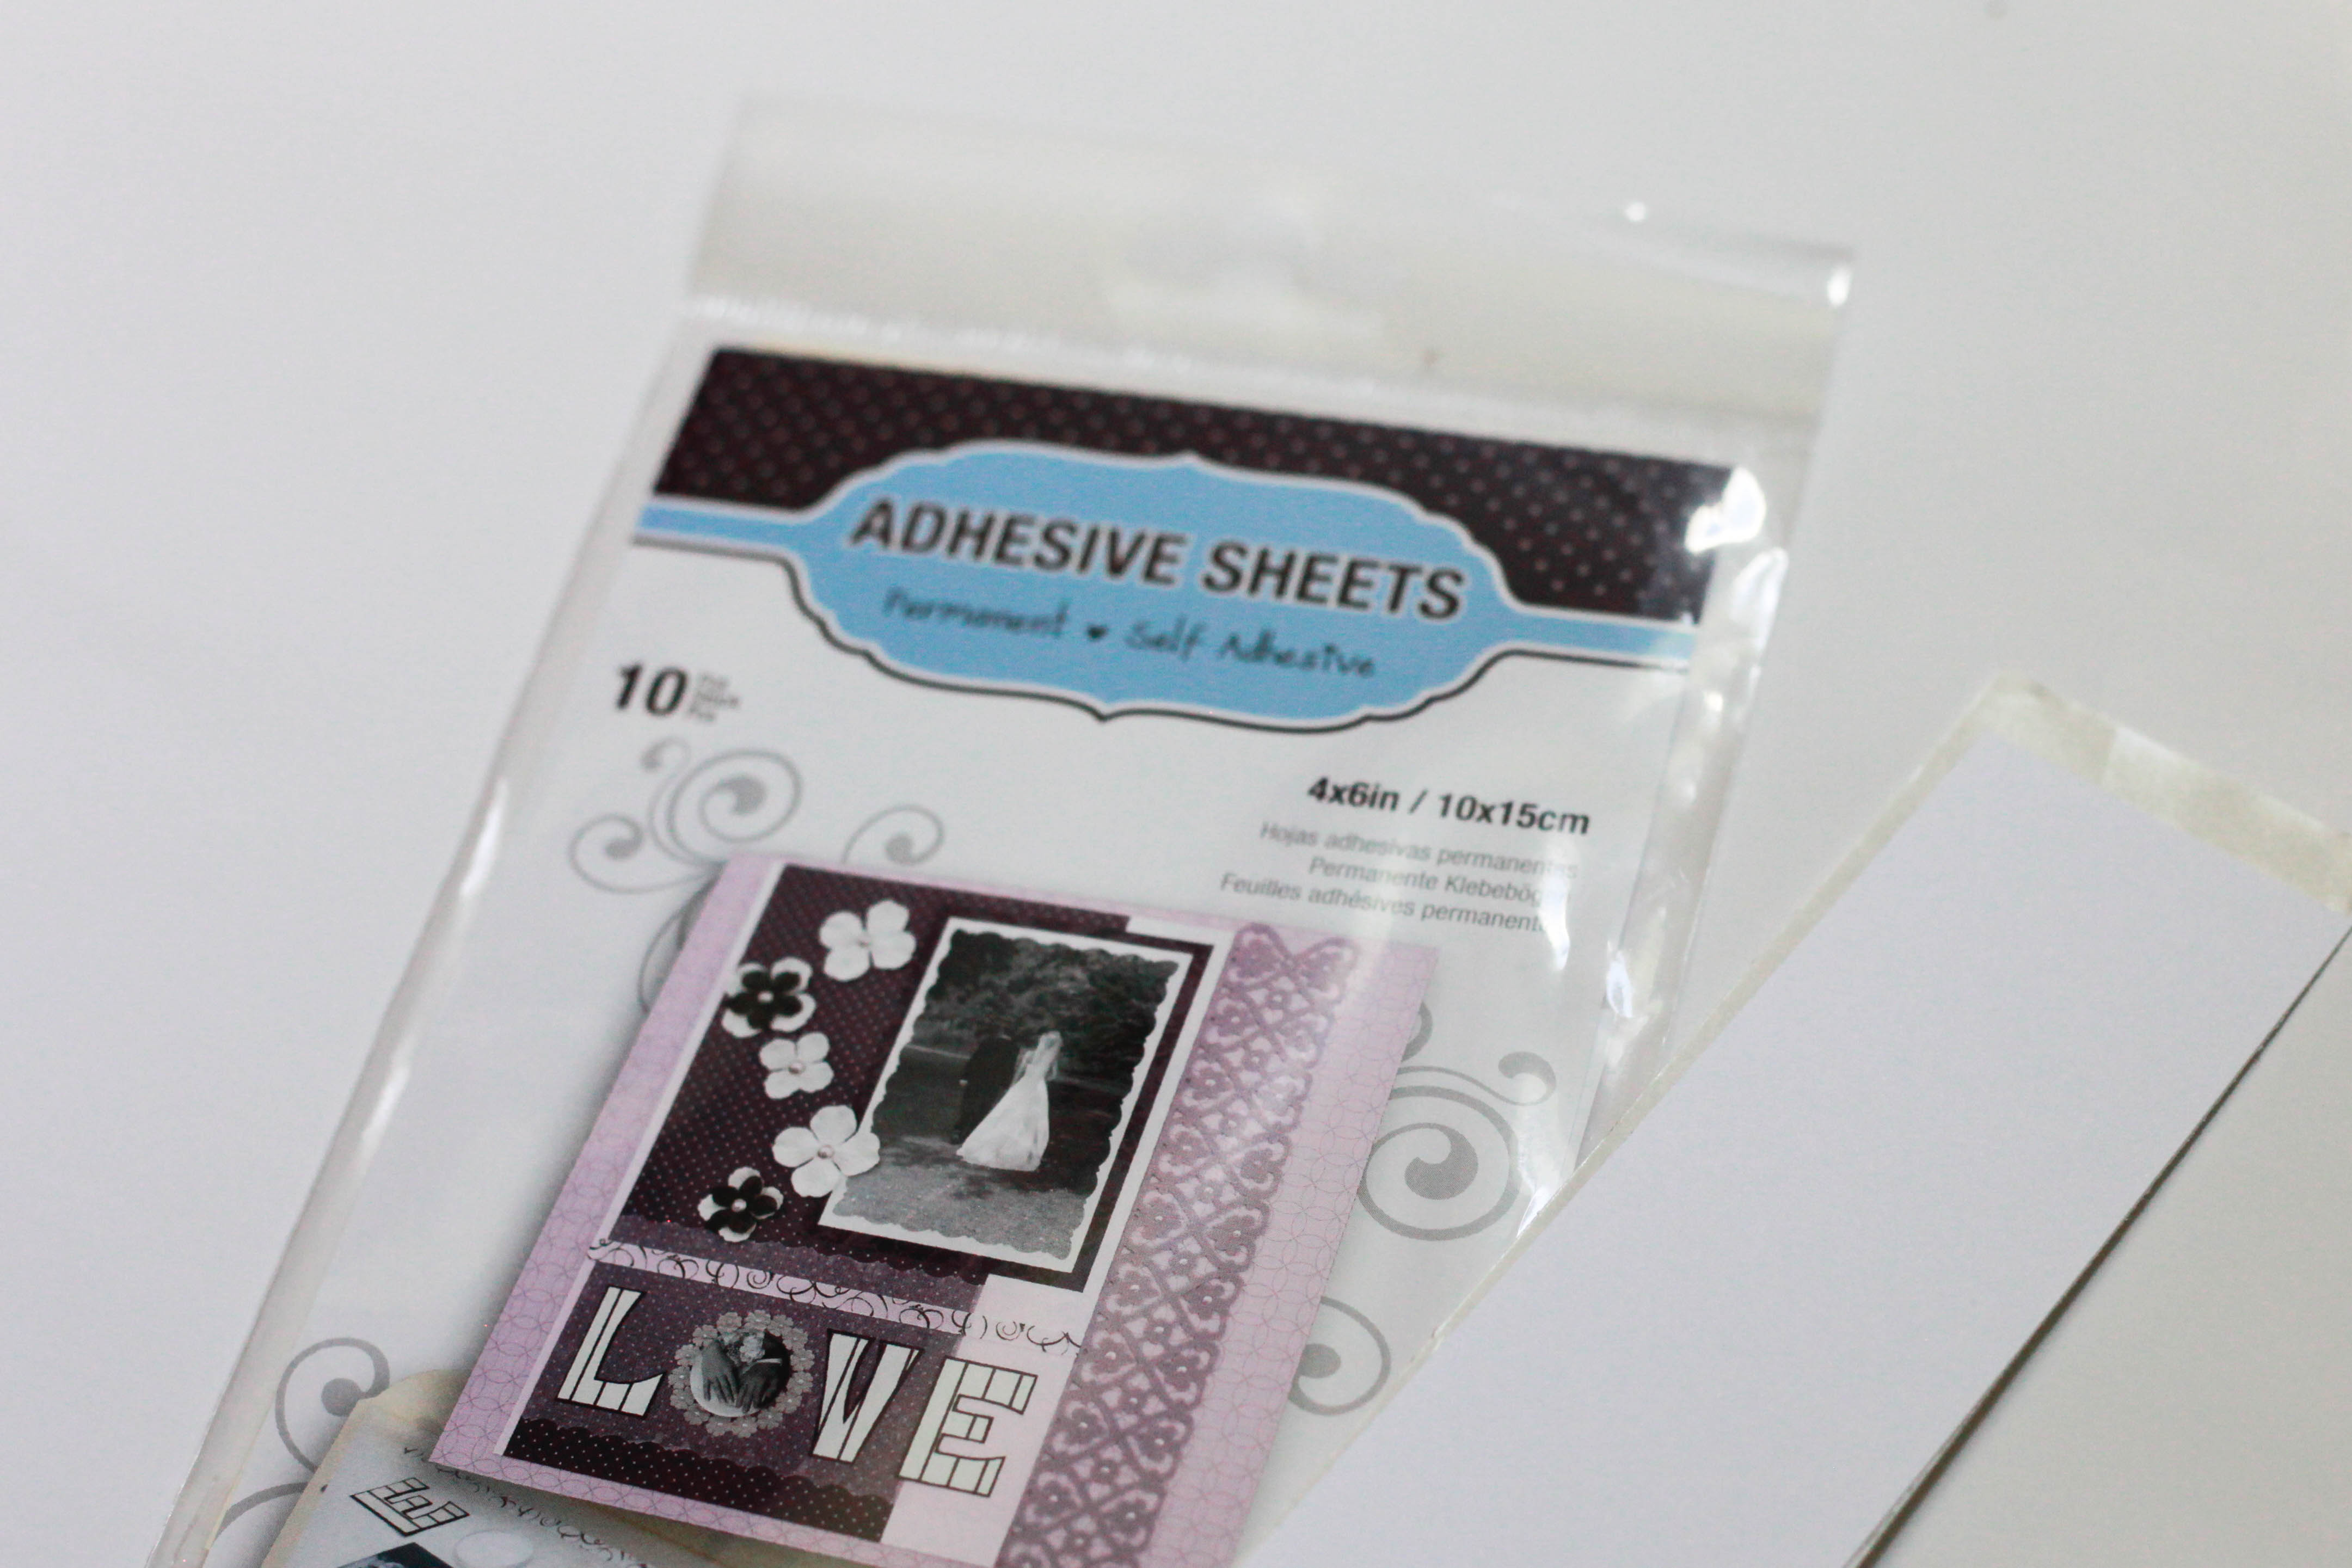
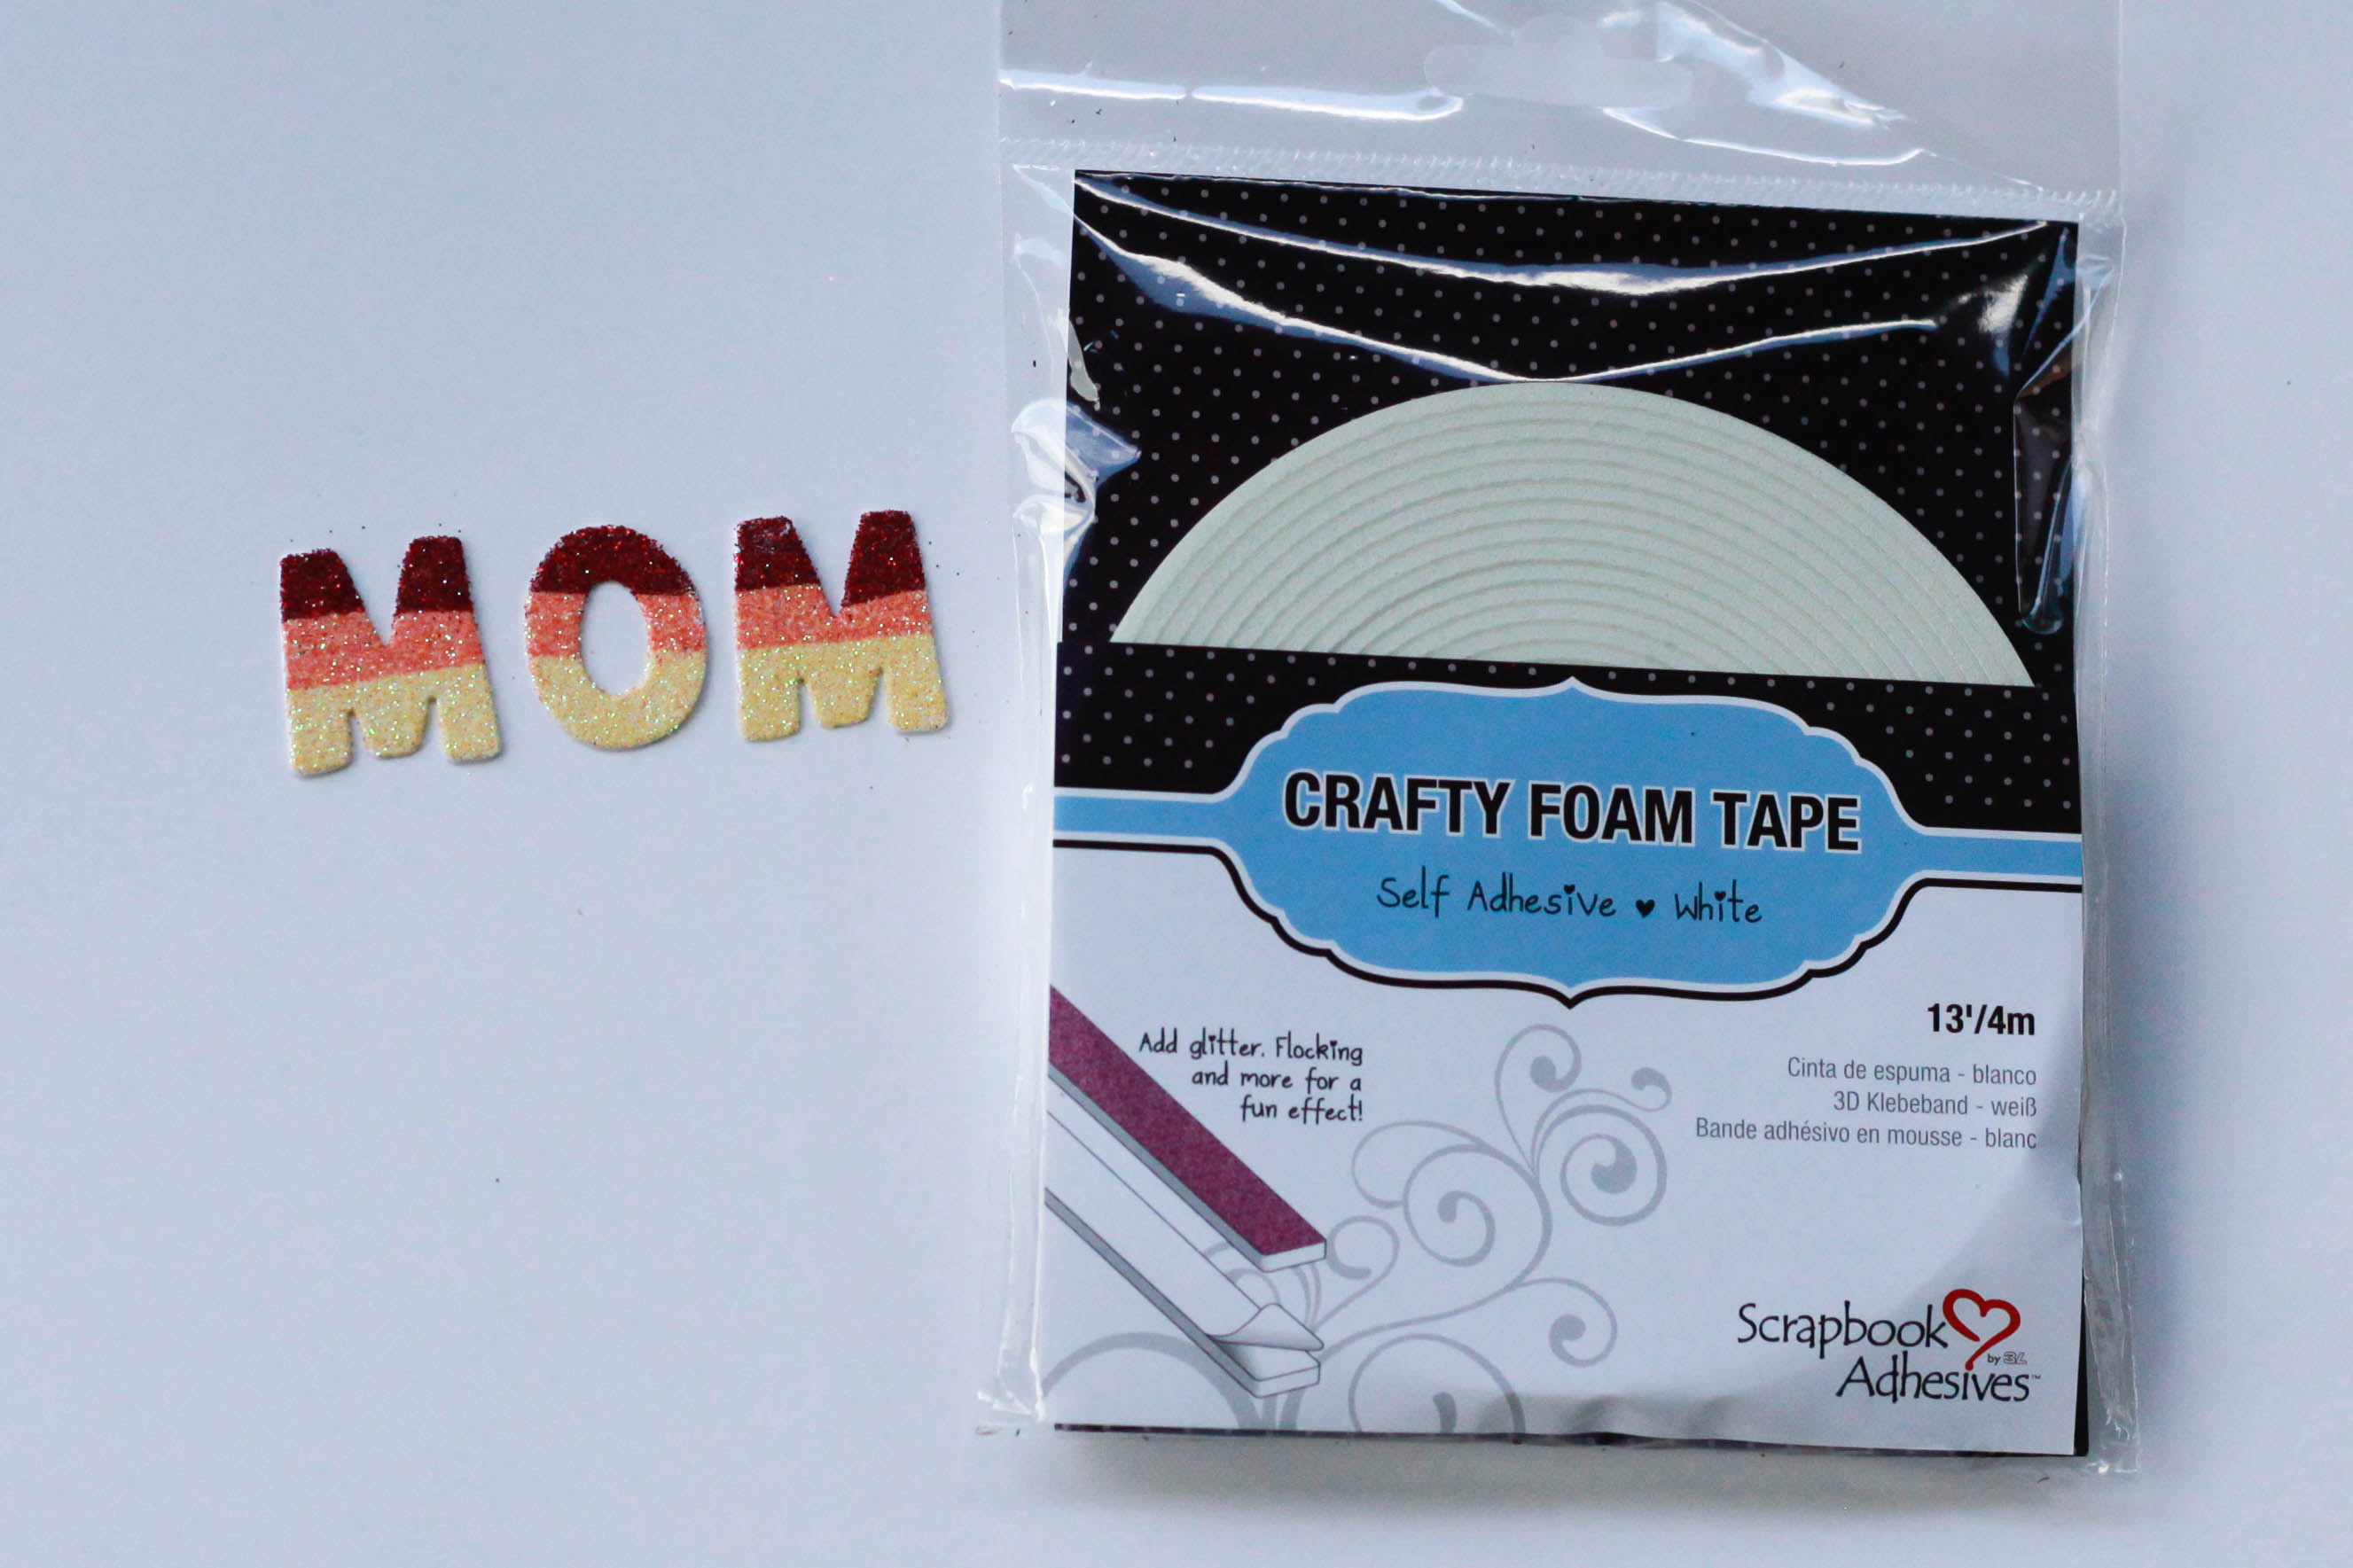
Supplies from Scrapbook Adhesives by 3L®:

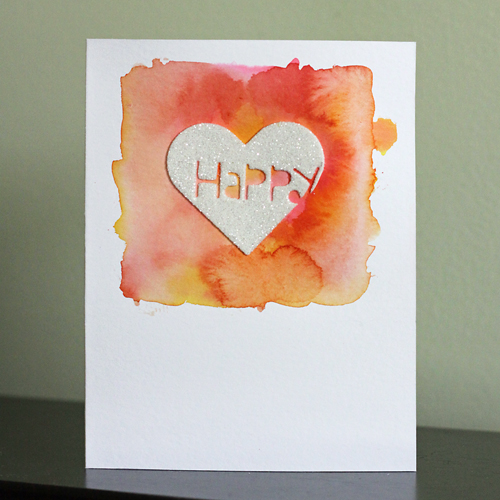
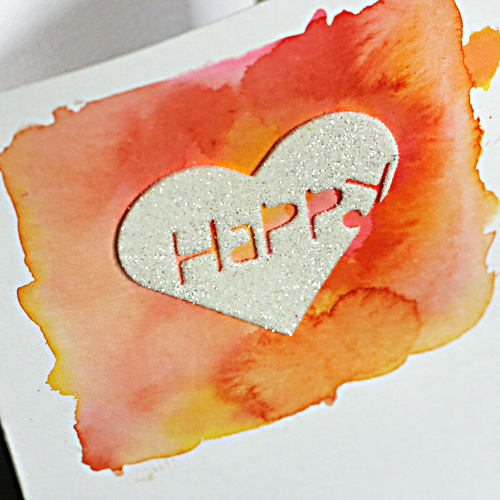
I used my favorite E-Z Dots® Permanent – Refillable

Other supplies:

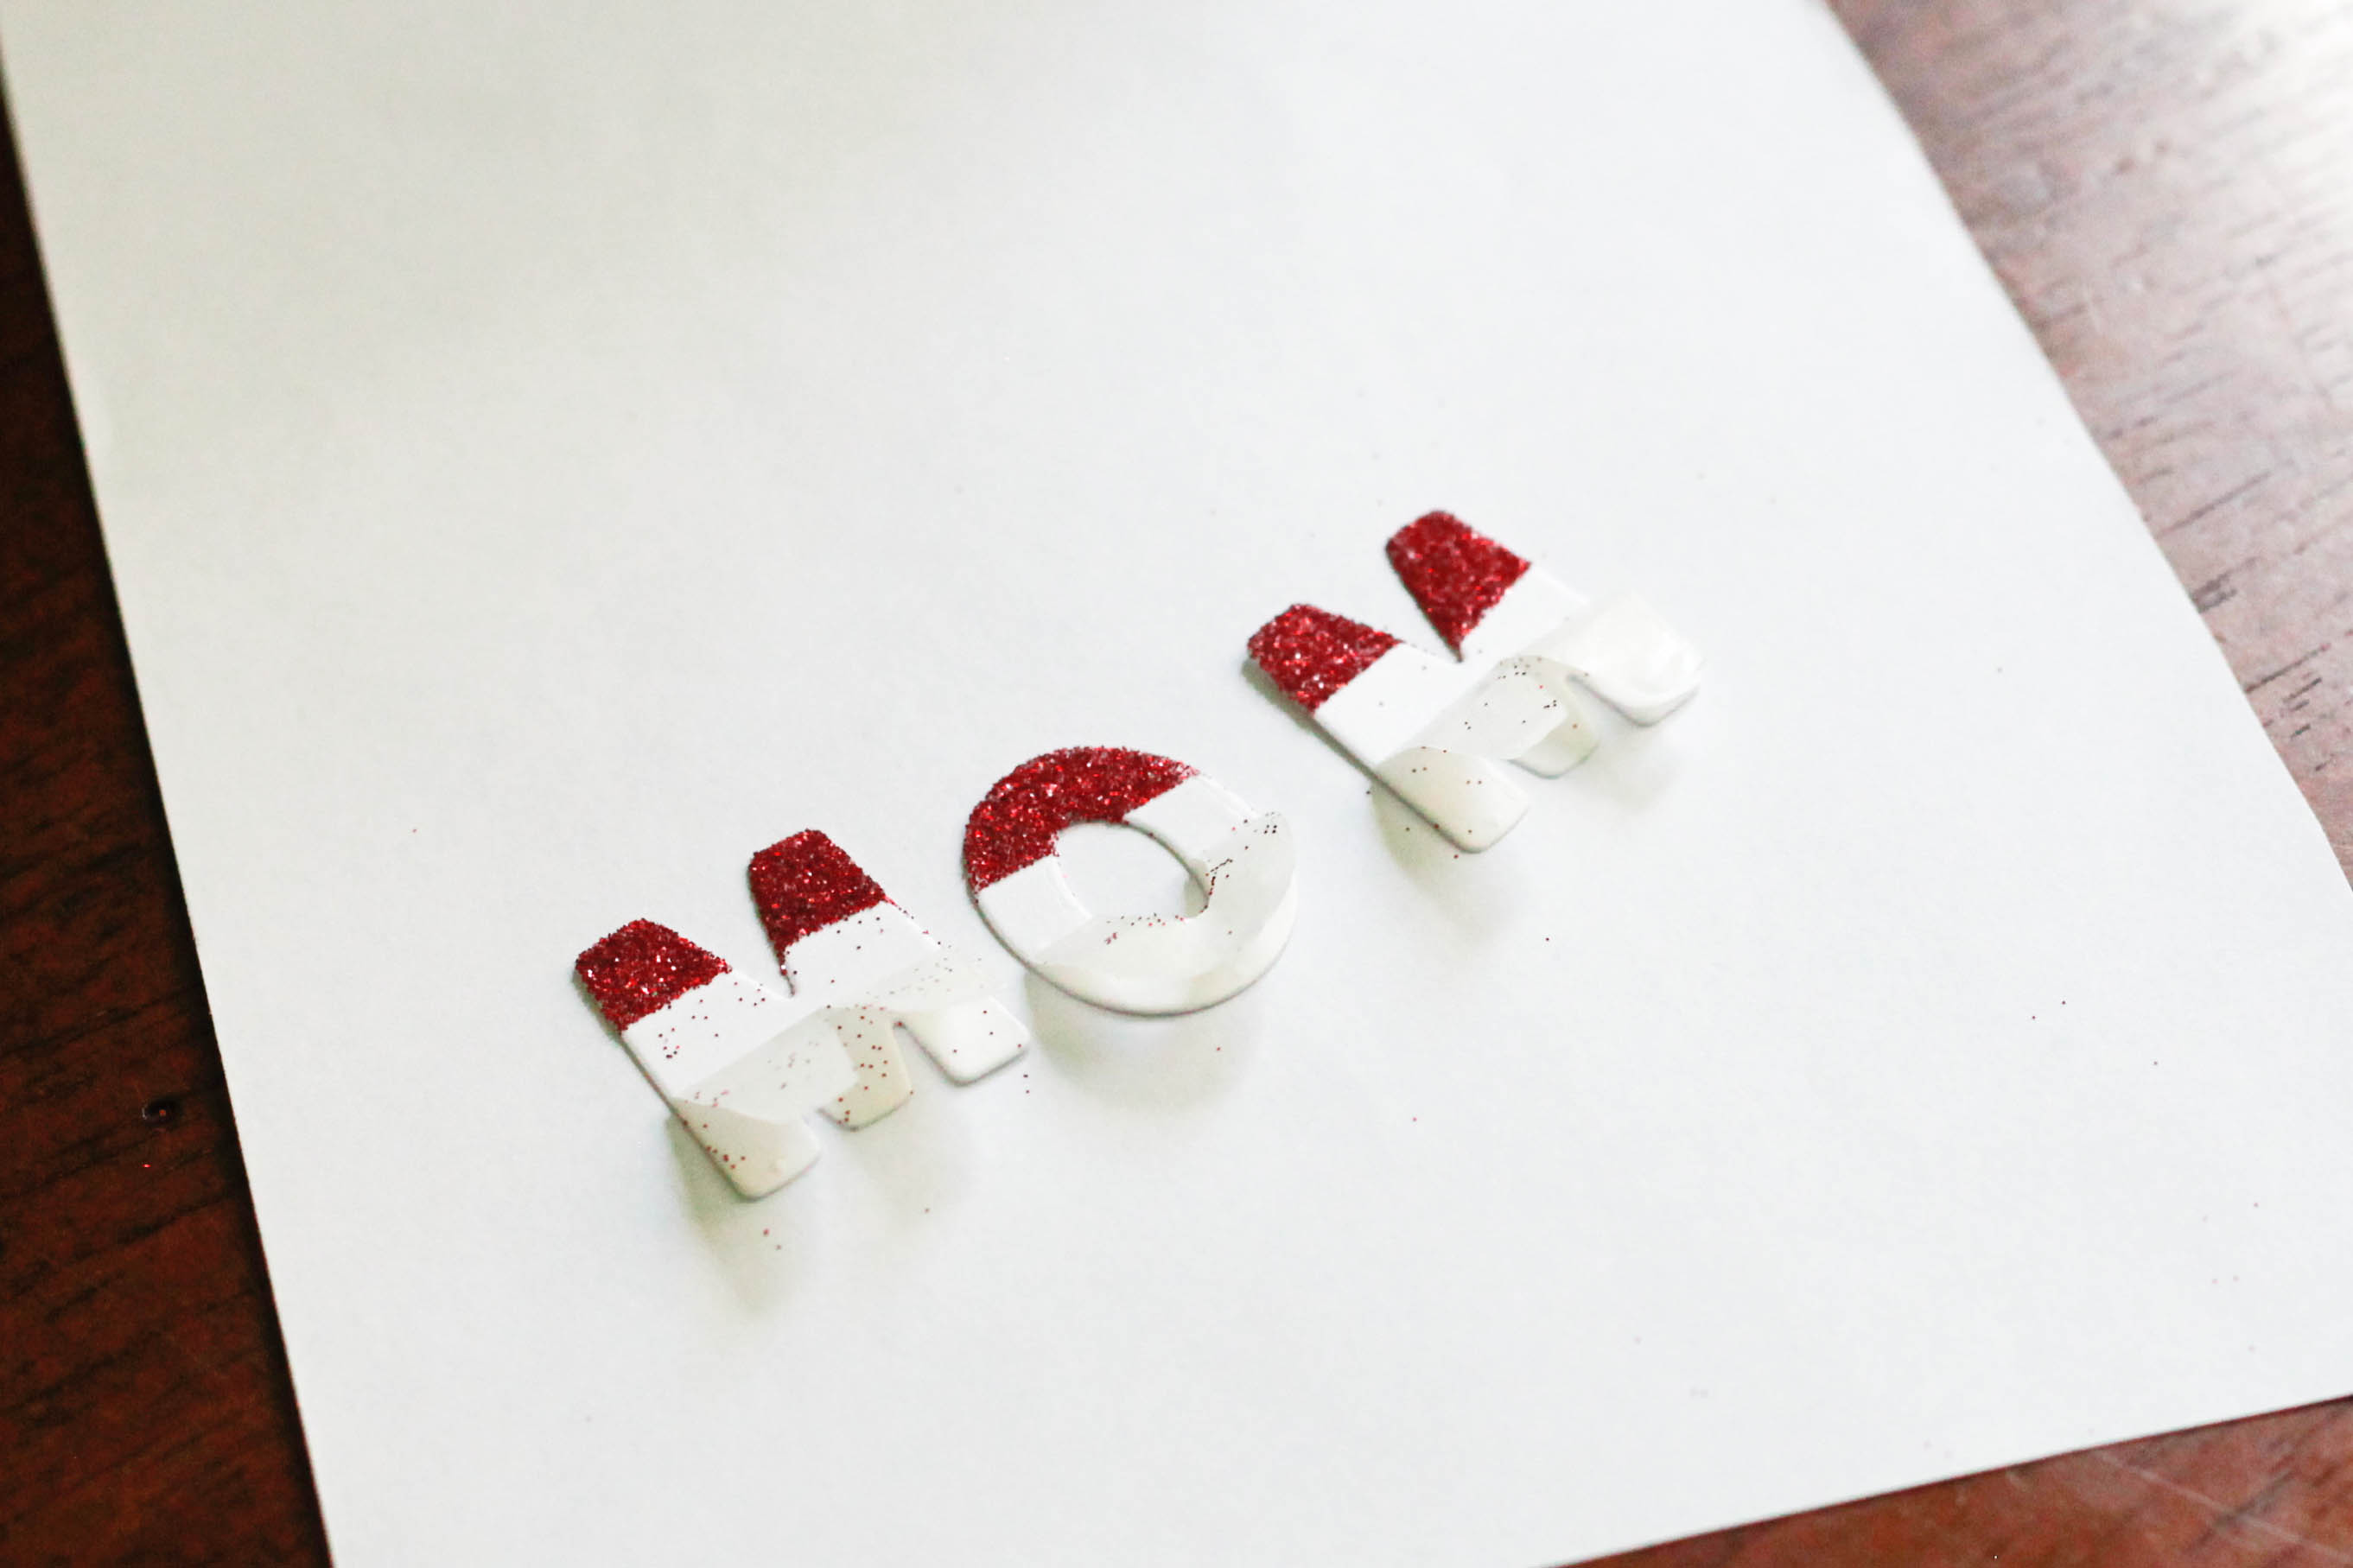
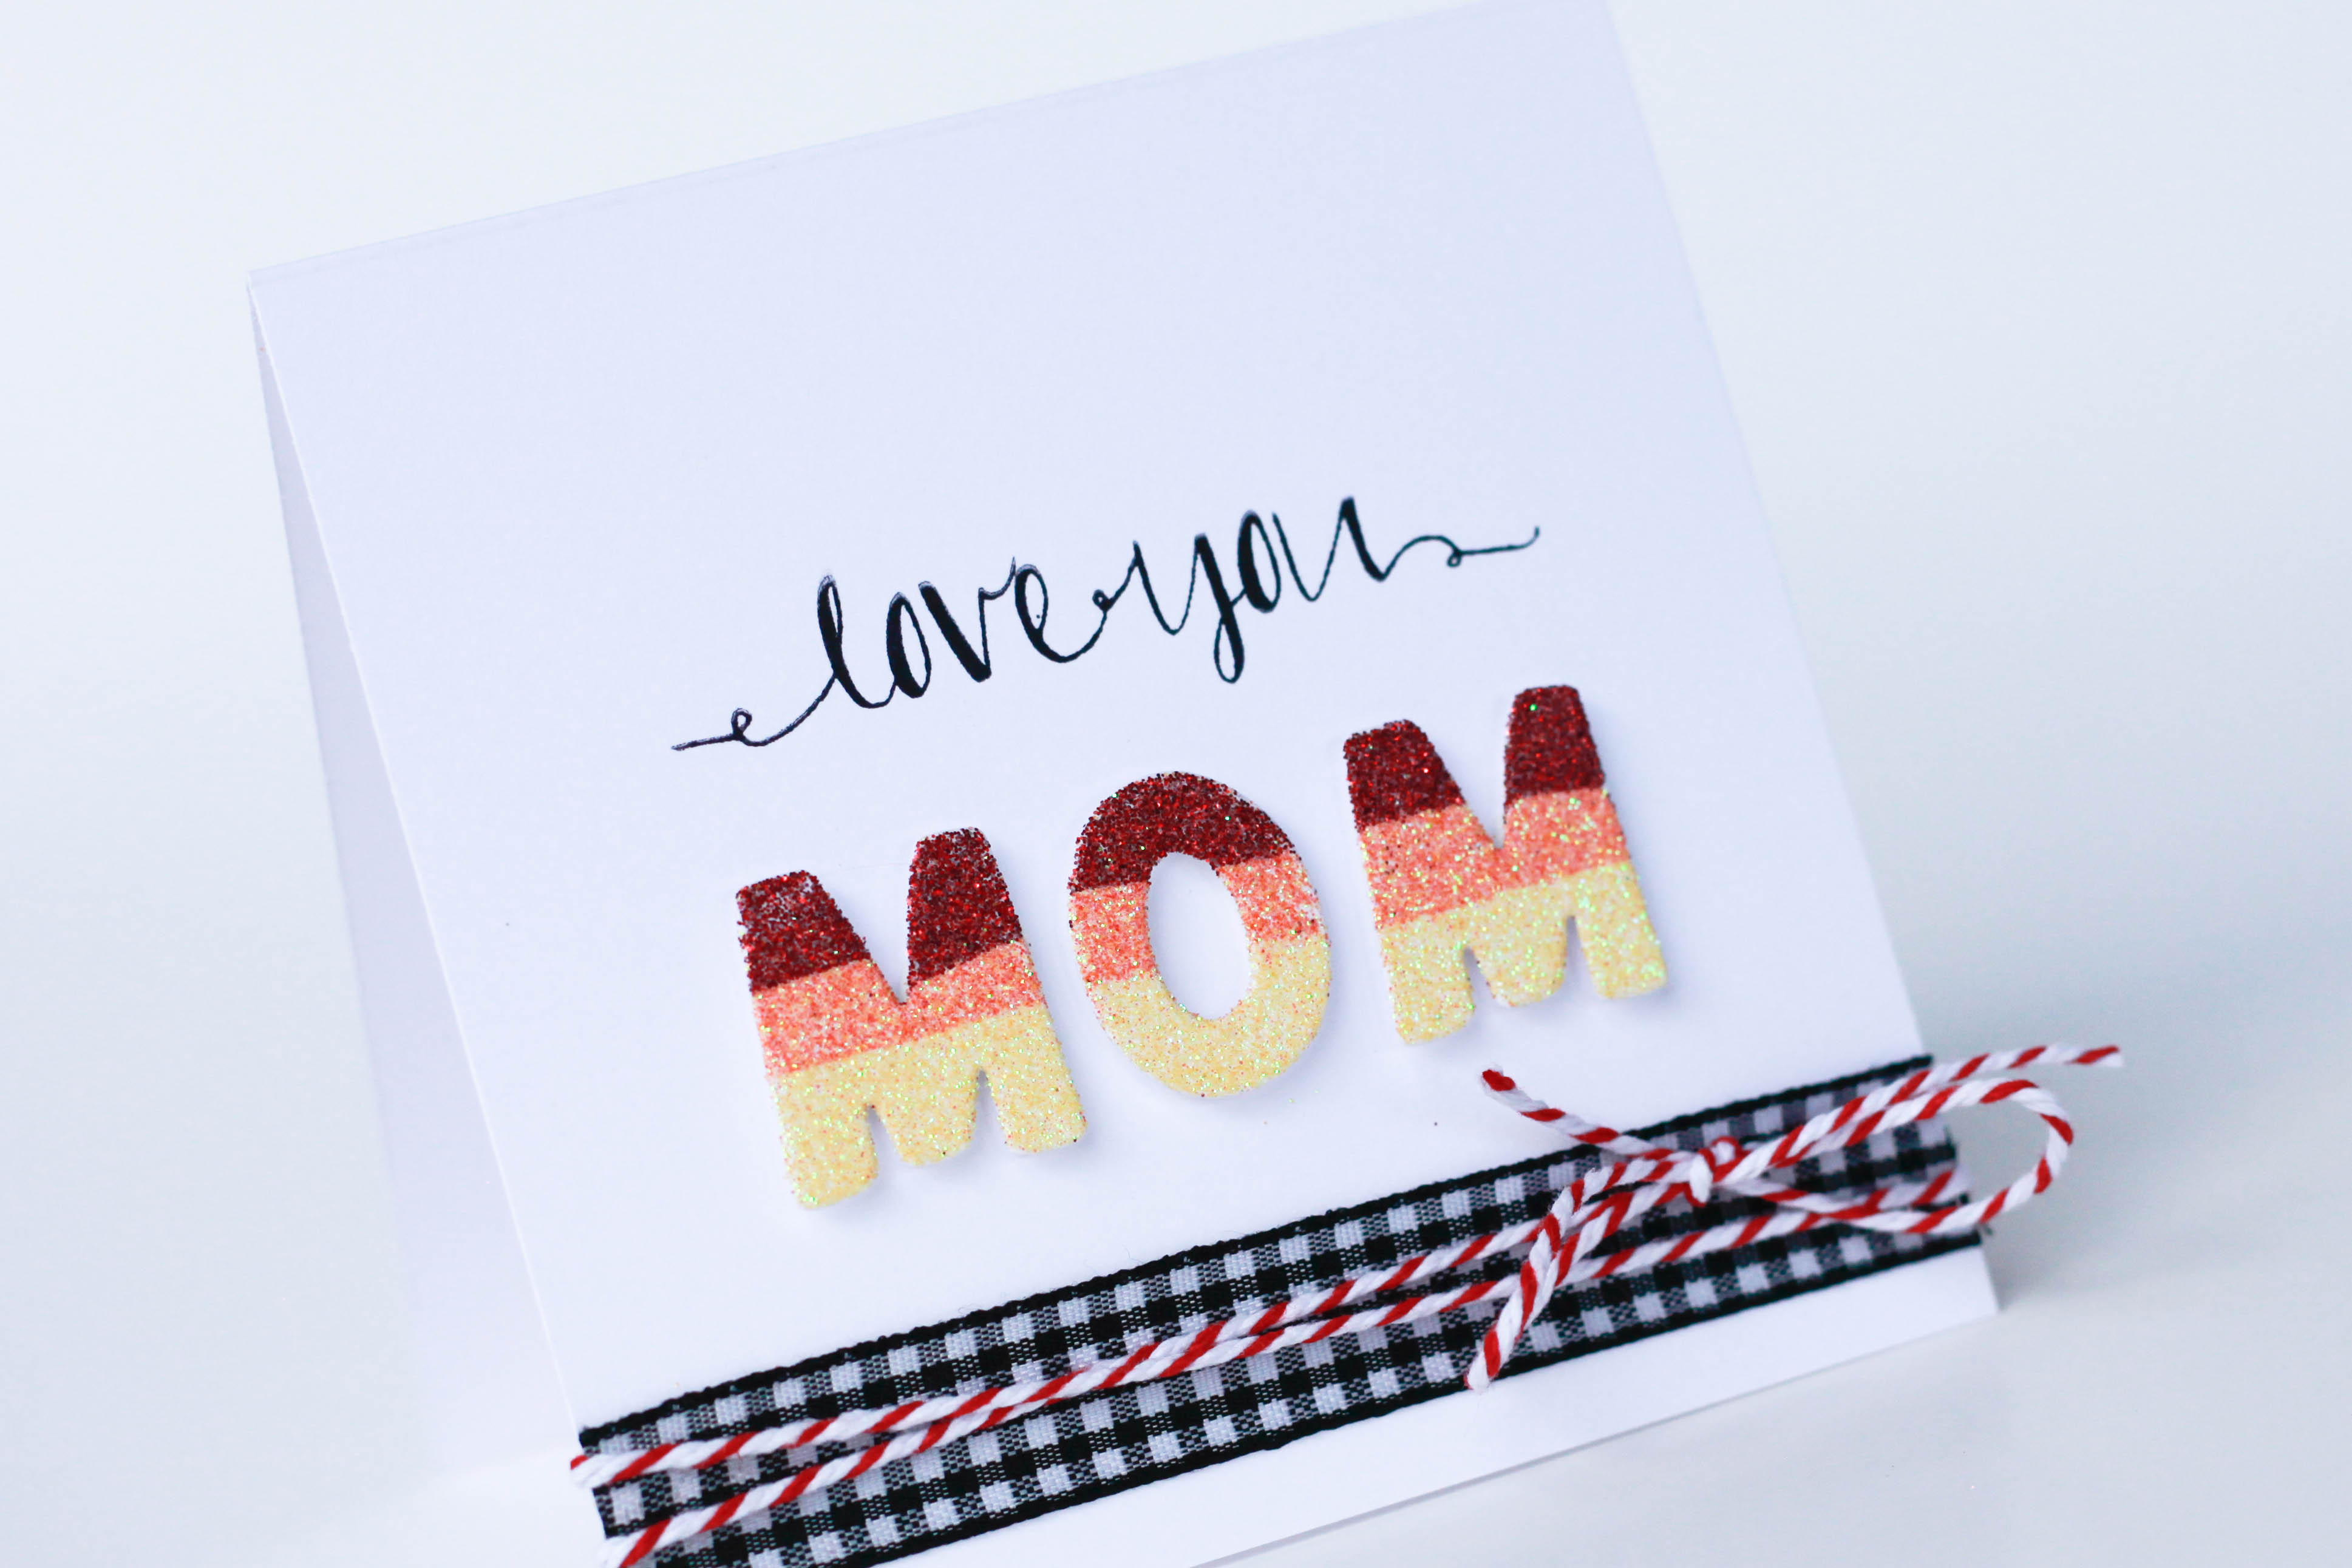
  • Alpha sticker from Me & My Big Ideas
  • Alpha Stickers from Simple Stories
  • Watercolor paper
  • Spray paint from tattered Angels, Acrylic Paint
  • Feather stamp from Whiff of Joy
  • Chipboard Frame from Wycinanka

Thanks for visiting today!

Stephanie Schütze

Visit our Website and Blog!
Sign up for our Newsletter so you never miss a contest or giveaway!

instagram purple icon facebook icon purple pinterest purple icon twitter purple icon YouTube icon blog subscription purple icon

Watercolor and Negative Space (and 3D Foam Hearts)!

Hello blog readers! It’s Angela here today and I’m sharing 2 of my recent obsessions-watercolors and negative space! See both on this card below:

angela ploegman happyI love how watercolors blend so organically in a background and wanted to ensure that color was the star on this card! So, in order to keep the focal point on the swatch of color, I die cut the sentiment from a 3D Foam Heart, removed the letters and adhered to the card base before covering in glitter! So easy! Here’s a close up of the focal point:

angela ploegman happy detail

I got so excited playing, I created a second card using the same concepts:

angela ploegman celebrate detail

The big difference here is I used an Adhesive Sheet – 4×6″ and first die cut a circle shape, and then in a second cut, die cut the sentiment. The adhesive was applied to the card center and then gold leaf was applied. The bottom panel was cut from watercolor paper (that I made myself!) and adhered with E-Z Runner® Permanent Strips Refillable.

So much fun! I hope you are inspired to play with your adhesives (and other supplies!) today!

Angela

Scrapbook Adhesives by 3L® supplies used: 3D Foam Hearts, Adhesive Sheet – 4×6″E-Z Runner® Permanent Strips Refillable

Other Supplies Used: Spellbinders Paper Arts and Paper Smooches dies, Martha Stewart for EK Success gold leaf, Peerless watercolor papers, Ranger Distress Ink reinkers, Strathmore and Ranger watercolor paper, Ranger glitter

Thank You Card

Today we are so very excited to introduce a new addition to our Design Team, Erica Houghton!  Please join me in welcoming Erica!

Hi!! My name is Erica Houghton and I’m very excited to be joining the Scrapbook Adhesives by 3L® Design Team! My husband and I live outside of Washington DC in Stone Ridge, Virginia. When I’m not working or sitting in traffic you can find me in my studio creating, curled up with a good book, headed out the door for a run, or traveling.

My paper crafting style is shabby-chic – I love glitter, rhinestones, and anything that has glitz, glamour and a lot of sparkle. I’m totally addicted to patterned paper so I’ve resorted to using lots of layers in order to use all of the wonderful papers that come in each collection. I never feel my projects are complete until I’ve added flowers, ribbon and machine stitching. I enjoy creating a variety of projects including layouts, cards, tags, off the page projects and a mini album every now and then.

In addition to creating for various design teams I also enjoy teaching classes at LSS’s because I love sharing my passion for paper crafting with others.

Alright enough about me! Today I’m sharing a card I created using several Scrapbook Adhesives by 3L products as well as the Romance Novel collection by Prima Marketing.

Thank You Card by Erica Houghton for Scrapbook Adhesives by 3L
 
Erica Houghton


Adhesives

Paper

  • Prima, Romance Novel

Embellishments

  • Prima, Romance Novel – alphabet stickers
  • Dusty Attic – scroll border #3
  • Prima – flowers
  • Celebrate It – ribbon
  • Studio His & Her – tulle

Products

  • Ranger Ink – Tim Holtz – distress ink
  • Golden – gesso

Thanks for joining me today!

Erica Houghton

Thank You Tag

Hello, Christine here today to share with you a clean and simple tag.

C Emberson - Thank You Tag 1

Take a piece of Crafty Power Tape and place a strip along near the bottom of your tag.

C Emberson - Thank You Tag 2

Sprinkle with WOW! Embossing Powder, shake off excess and heat set.

C Emberson - Thank You Tag 3

The tape allows for a perfect line of embossing.

C Emberson - Thank You Tag 4

Cut a piece of patterned paper to fit the tag and adhere with E-Z Dots® Permanent.  I used DCWV – Juniper Berry.

C Emberson - Thank You Tag 5

Attach ribbon from May Arts with another piece of Crafty Power Tape, tie a piece of bakers twine with a bow.  The die cut sentiment is Spellbinders® Celebration.

C Emberson - Thank You Tag 6

And it is complete – a tag suitable for a lady or gentleman.

C Emberson - Thank You Tag 7

Thank you for joining me today, remember there are so many uses for Crafty Power Tape – wear your adhesive on the outside!

Christine

You’re Amazing – Mixed Media Video Tutorial

Happy May Day everyone! Asia King here. Today I am sharing a video tutorial for this altered wooden vanity box. I’m going to show a dry decoupage technique with Adhesive Sheets and how to use your favourite adhesives in a mixed media project. I will be using Dodz™ Small, Medium and 3D as well as Creative Photo Corners – White. You're Amazing vanity box_Asia King 1

Here is the video tutorial:

And here are additional views of the box.

You're Amazing vanity box_Asia King 2 You're Amazing vanity box_Asia King 3

Supplies:

Adhesive Sheets 6×12″, Dodz™ SmallMedium and 3DCreative Photo Corners – White;

Stampendous Ice Blue Micro Glitter and Stamps Angel Wings Stack Art & Quotes; Americana DecoArt acrylic paints (Pink Chiffon, Spa Blue, Tropical Blue, White) and Medieval Iron Accent Stencil; Faber-Castell Whipped Spackle; Tsukineko Blue Hawaii StazOn;

wooden vanity box, decorative napkins, flowers and embellishments.

I hope you enjoy watching the tutorial. Thanks for stopping by!

Asia King Blog signature

A Mother’s Day Window Box Card

Hello everyone! It’s Kelly Klapstein here today, and I’m getting ready for Mother’s Day!

Here is a 3D card I designed for my own mother, and I think she will like it because she loves flowers and butterflies.

kellyklapstein-mother-23

With the help of some pretty 3D Foam Butterflies and 3D Foam Garden Shapes, I created a card that helps me to believe that spring is really here.

To let you see how this card came together, here is a short photo tutorial.

First, I used my Crafty Power Tape to adhere my die cut card pieces together.

kellyklapstein-mother-4

kellyklapstein-mother-5

To make the grass in the window box, I cut two shades of green card stock and then layered the grass inside the window box using Crafty Foam Tape.

kellyklapstein-mother-7

I sprinkled the 3D Foam Garden Shapes flowers with orange and yellow glitter in two steps.

kellyklapstein-mother-9

kellyklapstein-mother-10

After adding the orange glitter, I removed the interior backing pieces of the flower centers and sprinkled on the yellow glitter.

kellyklapstein-mother-11

kellyklapstein-mother-12

Then I lifted out my entire flower and adhered it to a blade of card stock grass.

kellyklapstein-mother-13

I altered the 3D Foam Butterflies with purple glitter and added them to the grass tips as well.

kellyklapstein-mother-14

kellyklapstein-mother-16

To UN-stick the backs of the the 3D Foam flowers and butterflies, I just rubbed the backs of them with a little more glitter.

kellyklapstein-mother-15

To create my Happy Mother’s Day banner, I simply layered two pieces of card stock with Crafty Foam Tape.

kellyklapstein-mother-18

kellyklapstein-mother-19

My banner and interior blue card stock piece were adhered with the E-Z Squares™ Refillable.

kellyklapstein-mother-20

It’s that easy! With the right adhesives and 3D Foam Designer Shapes, card-making is a breeze!

Happy Crafting!

Kelly Klapstein (Visit my blog at www.kellycreates.ca)

SUPPLIES: Canadian Scrapbooker Super Stock(white); Core’dinations Colorcore Card Stock; die and die cut machine; Clearsnap Glitter; Westcott Scissors and Trimmer.

Save

Save

Thanks

Hello, AJ here with another card using Scrapbook Adhesives by 3L products!

AJOtto-TY-1

I am constantly in need of thank you’s lately, so I am trying to build my stash up so I am not up in my craft space creating like a mad woman at the last minute!   You know how that goes. 😉AJOtto-TY-2To start this card, I cut a section out of the middle of the pattern paper and then adhered the remaining pieces to the card base using E-Z Dots® Repositionable Refillable.

AJOtto-TY-3Once lined up where I want them, I stamp my sentiment.

AJOtto-TY-4

Using the stars from the 3D Foam Party Shapes, I adhere them to my paper, remove the backing and cover with silver glitter.

AJOtto-TY-5I can now adhere my panels to my card front using Crafty Foam Tape.  I did trim one piece down the middle instead.  (Just another way to stretch your supplies 😉  Repeat with the other piece of paper and you are done!

enjoy!
🙂 AJ

Stamps- Simon Says Stamp, Patterned paper- Simple Stories; Black ink- Fun Stampers Journey; Stampendous glitter


Merci Tag – Texture with Adhesive Sheets and Die Cuts

Happy May Day! It’s Beth here with a textured tag tutorial that’s perfect for Spring!

Beth Pingry Merci Tag with texture tutorialHere’s a quick tutorial – it’s so easy!

BethPingryMerciTag2First die cut desired shapes from cardstock or chipboard. I used chipboard then added some paint on top to neutralize the darker color.  (This isn’t the order I did it, so follow the written instructions – I always figure out an easier way while I’m doing it the hard way!)

Trim the die cuts and adhere them to the tag, I used E-Z Squares®. Cover the tag with an Adhesive Sheet and burnish it down with your fingers.  Remove the liner to reveal the adhesive covered tag, then crumple up a sheet of tissue paper and lay it onto the tag. The more wrinkles, the more texture!BethPingryMerciTag4Next, burnish the tissue into the adhesive, so that the entire tag is covered, then trim or tear the excess. I placed the die cuts slightly off the edges and used scissors to trim.

Now for the messy, I mean fun part – color! I spritzed 4 different colors onto the tag, making sure that I covered the tag. Impatient like me? Go ahead and use a heat gun to dry it quickly. BethPingryMerciTag5Tip: I keep the yellow liners from Adhesive Sheets for other projects!

Here I moved some 3D Foam Hearts and a 3D Foam Butterfly to an extra liner, removed the top sheets and the centers of the butterfly, then added pink glitter.

BethPingryMerciTag6I removed the rest of the butterfly and added blue glitter.

BethPingryMerciTag7Next stamp a sentiment, add the 3D Foam Hearts and 3D Foam Butterfly, a ribbon and some hand drawn lines and bubbles. I inked the edges with green chalk ink.  The sky’s the limit here on embellishing.

Beth Pingry Merci Tag with texture tutorial

Thanks for coming by! Stay tuned for Saturday, National Scrapbook Day, for giveaways you don’t want to miss! Coming up next week we have some extra special announcements too!

Beth Pingry

I used these supplies:

  • Scrapbook Adhesives by 3L®: Adhesive Sheets 4 x 6“, E-Z Squares®, 3D Foam Hearts, 3D Foam Butterflies
  • A Jillian Vance Design: {Die}namic Duo die, Many Thanks Stamp Set
  • May Arts Ribbon: Large Ric-Rac
  • Sparkle N’ Sprinkle: Fascination and Princess Rose Glitters
  • ClearSnap: ColorBox Mixed Media Inx Black, Mint Green Fluid Chalk Ink
  • Tattered Angels: Glimmer Mists -Blue Skies, Meadow Green, Lavender Fields, Cranberry Zing
  • Silver Sharpie Pen, Black Pen, Tag, die cut machine

Glittered Die Cuts

Latisha here with you today.  I am sharing a tutorial, on how to use “alphabet die cuts” and turn them into glittered stickers.

3L LY Apr26 momcard1


3L LY Apr26 momcard21.  First, trim down a piece of Scrapbook Adhesives by 3L Adhesive Sheets (4×6).  I like to trim my pieces down to size, because I love this product and do not like to waste one little piece.

3L LY Apr26 momcard3

2.  Place cardstock over the adhesive.

3L LY Apr26 momcard4

3.  Since I want the adhesive to be on top of the die cut, and not the bottom, because we are adding the glitter to the top, and not making it a typical cardstock sticker.  I am placing the cardstock face down, and the Adhesive Sheet facing up, then adding the dies on top, before diecutting.

3L LY Apr26 momcard5

4.  I want a rainbow/ombre effect, so I am going to only peel down the Adhesive Sheet a little at a time, adding a different color every time I pull it down farther.

3L LY Apr26 momcard6

5.  I repeated this process, until I had red, orange and yellow glitter onto my diecuts.

3L LY Apr26 momcard7

6.  I want my stickers to have a little bit of depth, so I am adding Scrapbook Adhesives by 3L Crafty Foam Tape (white) to the back of my die cuts.

3L LY Apr26 momcard8

7.  I didn’t want to create a bow, or have my ribbon knotted, so I added Scrapbook Adhesives by 3L Crafty Power Tape, to the back of my ribbon, an adhered it to the card & trimmed the excess with scissors.

3L LY Apr26 momcard98.  Before I adhered my letters to the card, I stamped the sentiment in black ink, applied the die cuts, and added a little bit of twine to pull it all together.  This technique can be used with any kind of die cut, not just letters.


Materials Used:

Scrapbook Adhesives by 3L Crafty Foam Tape (white)

Scrapbook Adhesives by 3L Crafty Power Tape

Scrapbook Adhesives by 3L Adhesive Sheets (4×6)

Lawn Fawn dies

Avery Elle stamps

white cardstock

black ink

red, orange & yellow glitter

gingham trim

red bakers twine


Layout – Let Your Dreams Fly High

Hi there, it’s Stephanie here today with a layout.

It’s about the third birthday of my daughter, where she is riding a pony for the first time. She was so happy about it. We spent a really gorgeous day at a children’s zoo.

Stephanie_Layoutdreamsflyhigh_1My Journaling is behind the little card on the left side and this card is in Keepsake Envelope from Scrapbook Adhesives by 3L®. I put also some lovely sequins in it.

Stephanie_Layoutdreamsflyhigh_2To adhere the papers, cards and ribbons I used the E-Z Dots® Permanent – Refillable

Stephanie_layoutdreamsflyhigh_3The little Butterflies and the sentiment are stamps from the new spring stamp set “Let your dreams fly high” I designed for Whiff of Joy.

Supplies from Scrapbook Adhesives by 3L®

E-Z Dots® Permanent – Refillable

Keepsake Envelope

Other Supplies I used:

Stamps “Let your dreams fly high” Stephanie Schütze Design from Whiff of Joy

All about me Paper “Celebrate with me” from Prima Marketing

ATC Cards “Insta Scraps” from Leeza Gibbons Prima Marketing

Ribbons from Maya Roads

Embellishments Decorative Buttons “Daily Stories” from Teresa Collins

Vellum Shapes “Oh Darling” from Crate Paper

Thanks for visiting today!

Stephanie

Visit our Website and Blog!
Sign up for our Newsletter so you never miss a contest or giveaway!

instagram purple icon facebook icon purple pinterest purple icon twitter purple icon YouTube icon blog subscription purple icon