Hello and welcome to the Crafty Power Blog today!
Birgit here with a shiny card to share.
I know Valentine’s Day was 3 days ago but do we really need Valentine’s Day to tell our loved ones how we feel? Exactly! 🙂
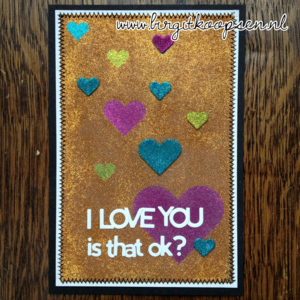
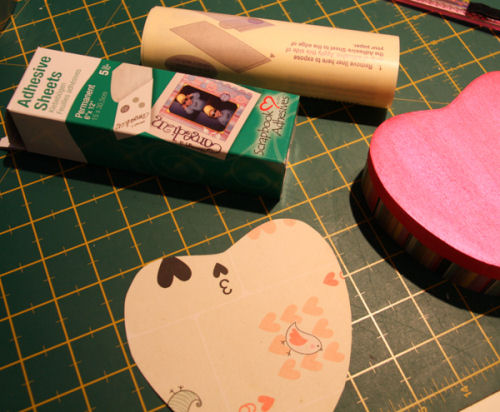
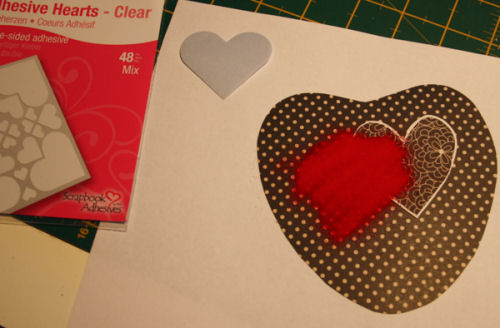
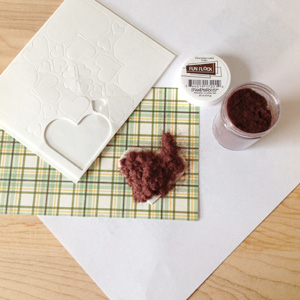
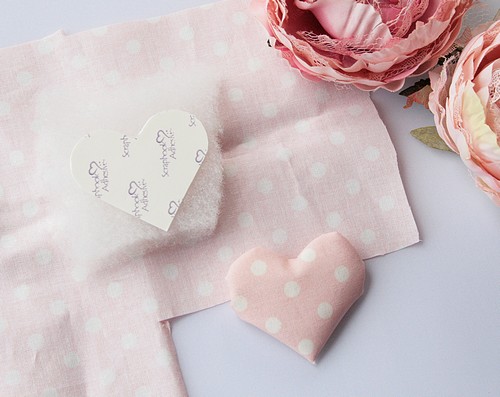
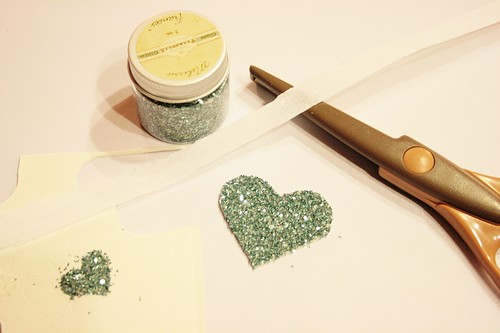
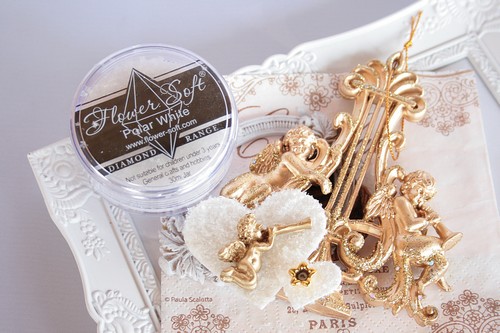
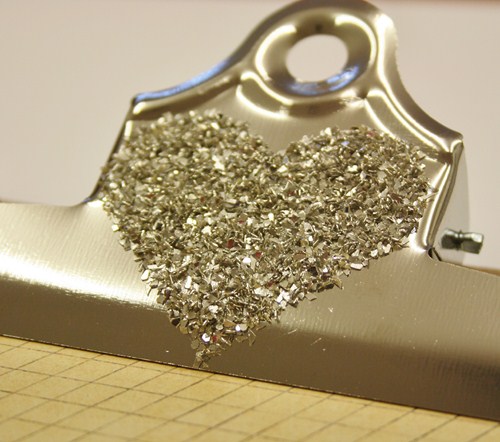
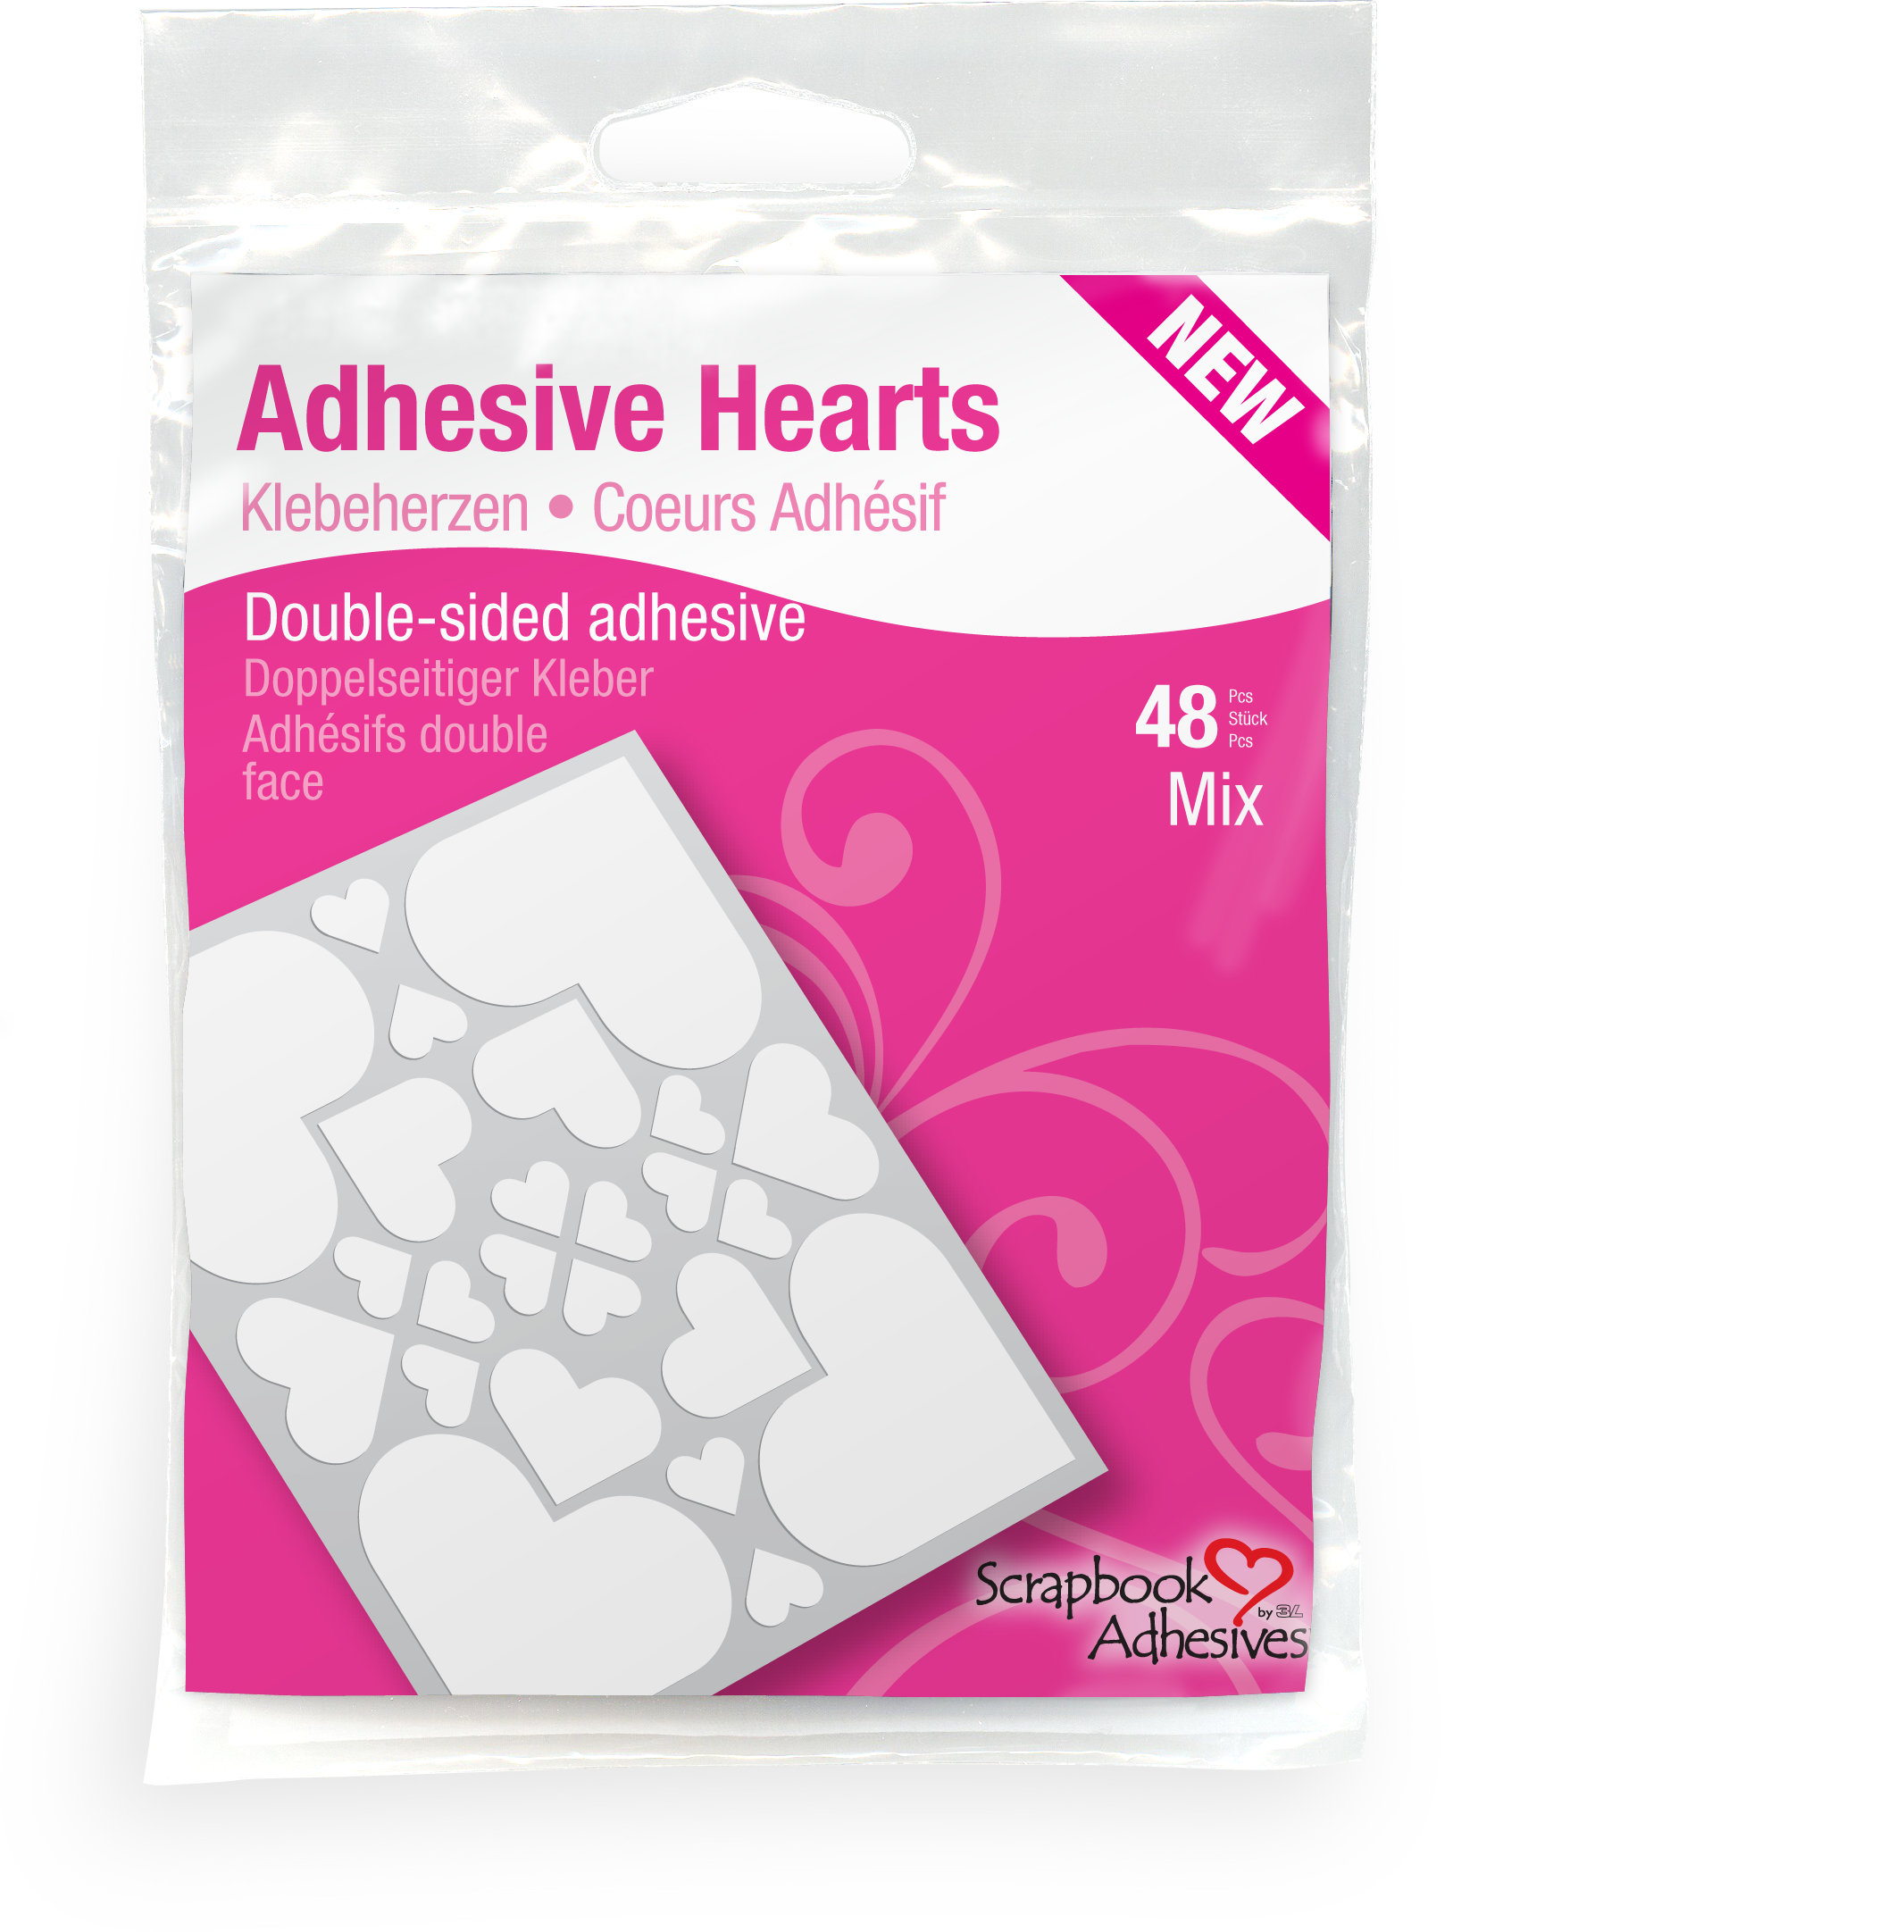
I added Silk Microfine Glitter from Elizabeth Craft Designs straight to an Adhesive Sheet, Adhesive Hearts and 3D Foam Hearts. Let me guide you through the creative process.
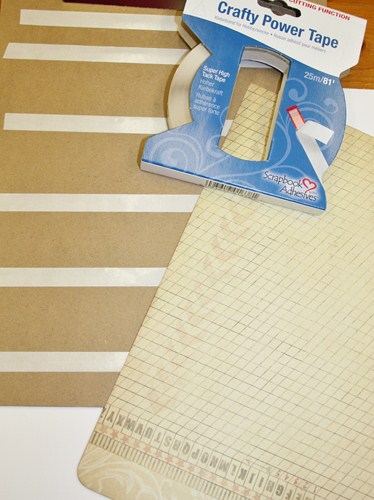
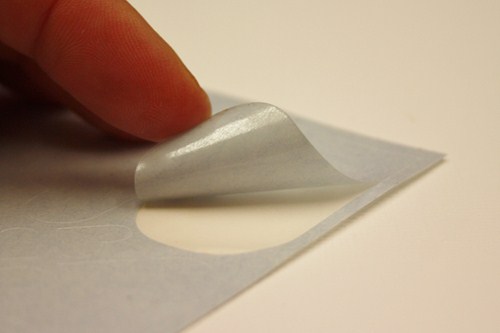
First cover a piece of cardstock with an Adhesive Sheet 4″x6″
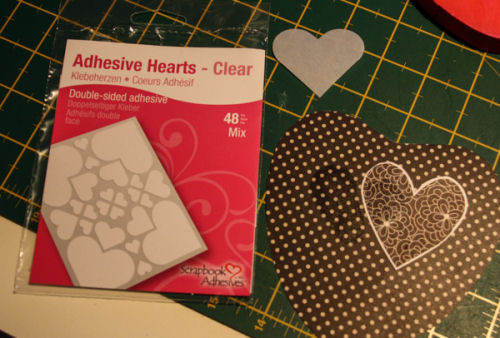
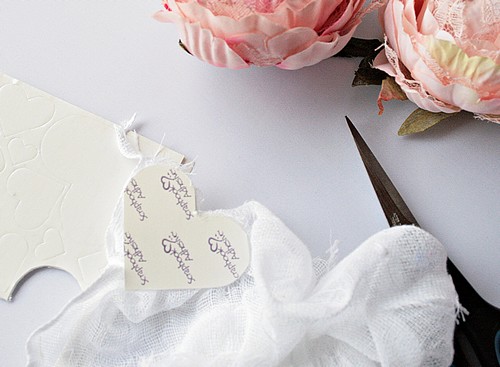
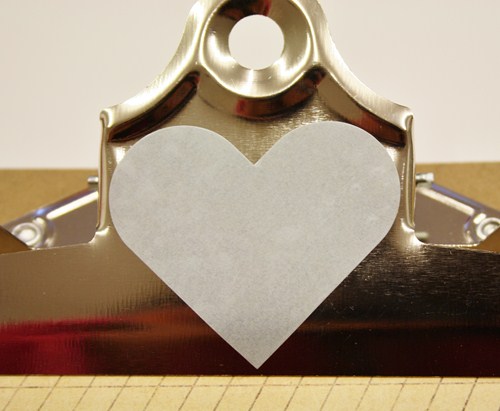
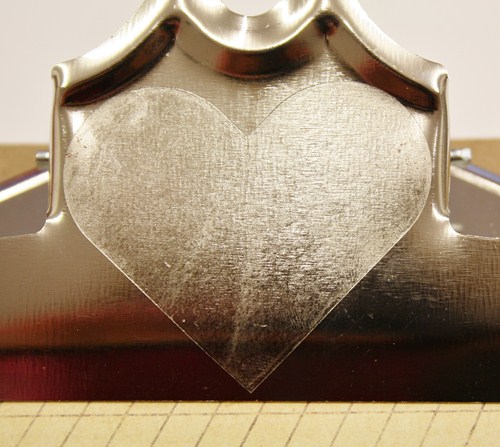
Then I take a couple of the protection backing pieces of Adhesive Hearts (I hold on to them while creating with the Adhesive Hearts for this purpose) and place them on the card covered with the Adhesive Sheet. This way you create a mask that is easy to remove because of the non-sticky surface.
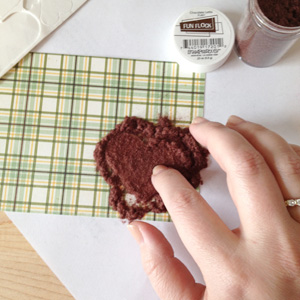
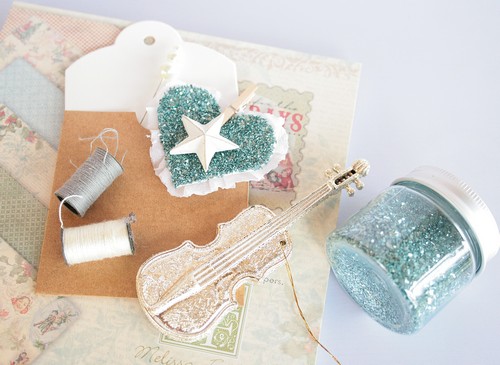
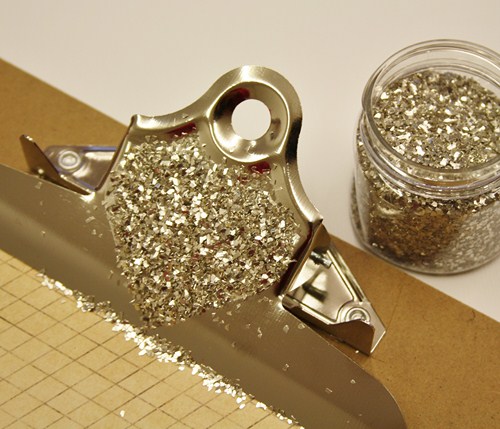
Cover the card with the Silk Microfine Glitter and tap off the excess. Use a soft brush to remove the left over glitter. First the glitter seems a bit dull and transparent. You have to rub it in with your finger tip and you will create a lovey shine. Best part? There will be no losse glitter left. The receiver of the card will not be covered in glitter after opening the envelope!
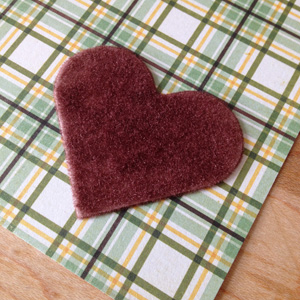
Now carefully remove SOME of the hearts (I used a paper piercer to lift them up), sprinkle with a second color of glitter, tap off the excess and rub it in again.
Continue with different colors until all hearts are covered.
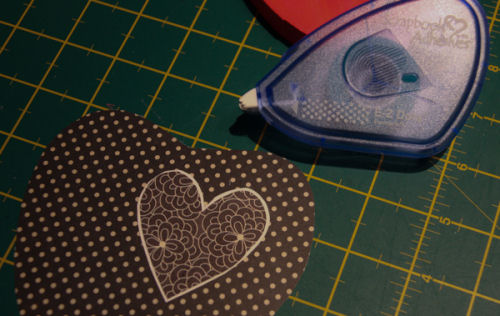
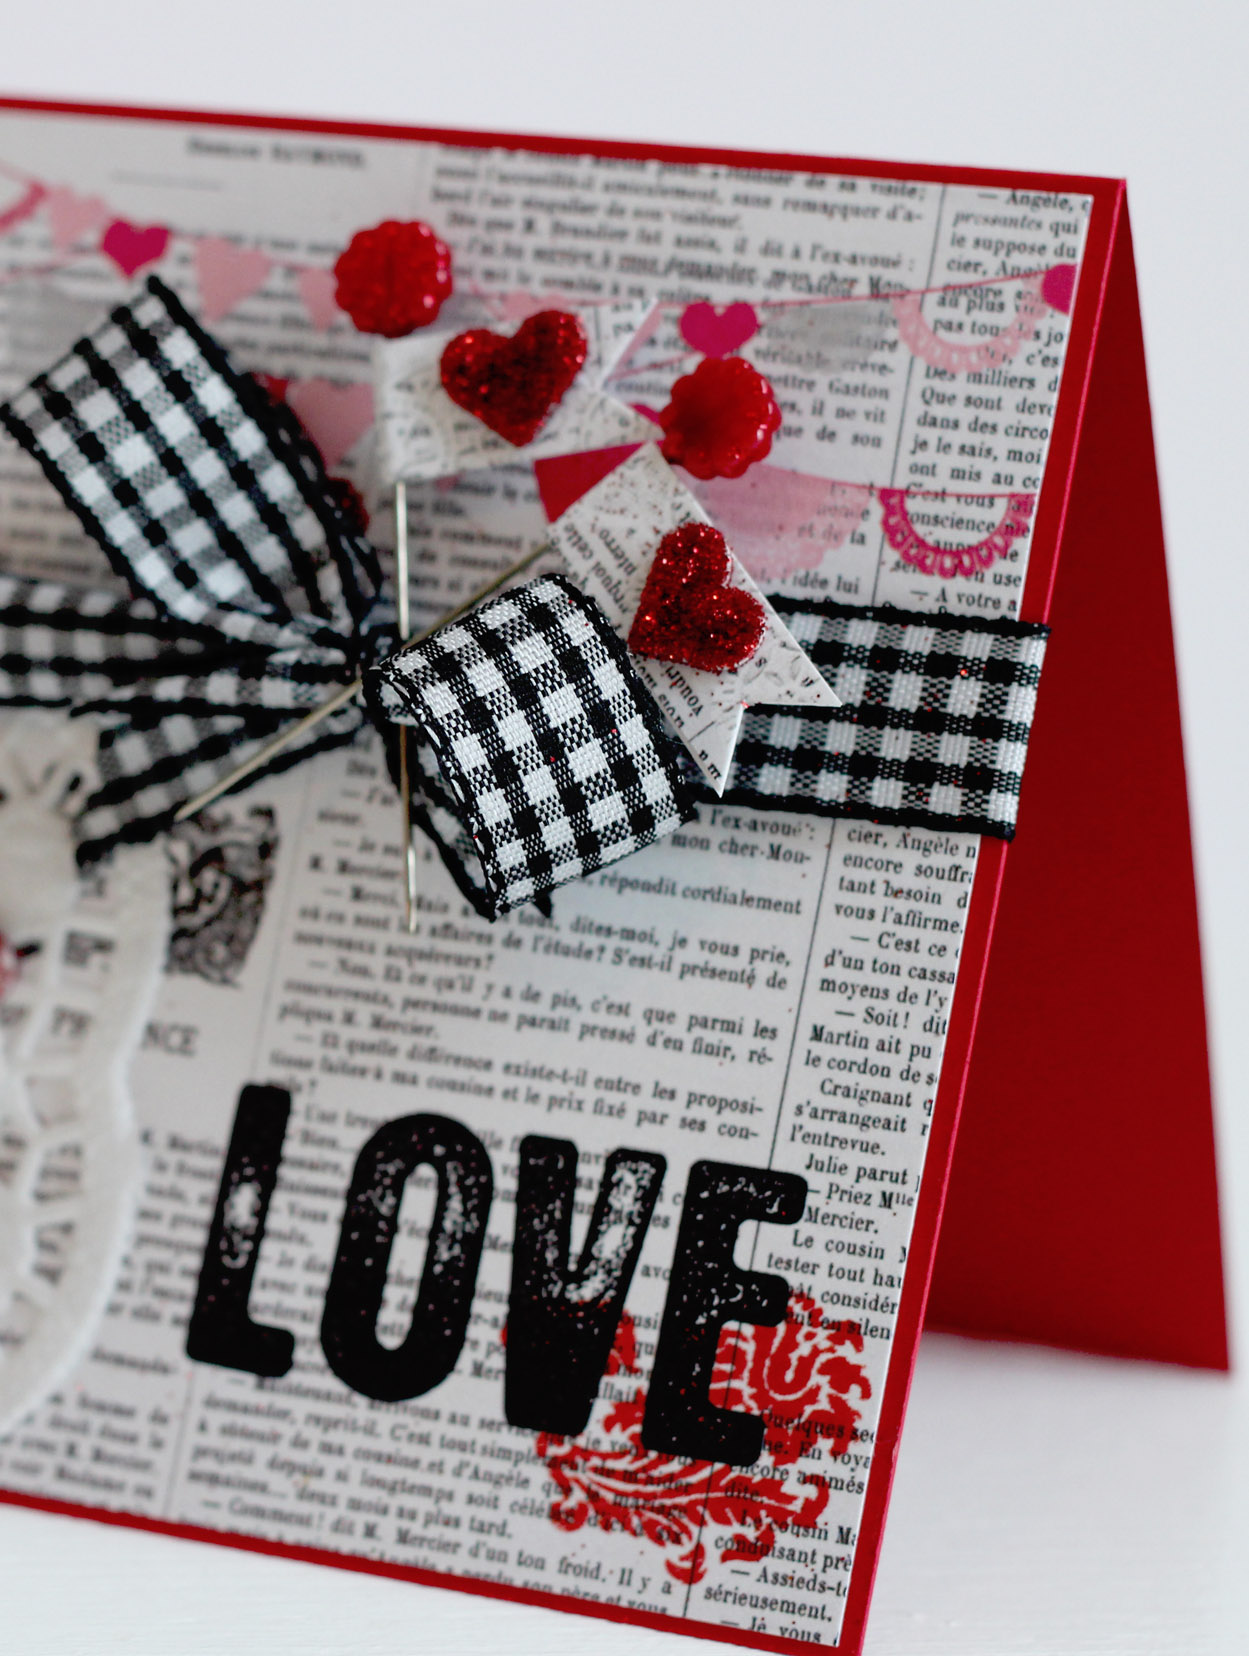
When I was finished I thought my card needed some more depth so I added a couple of 3D Foam Hearts and covered them with glitter too.
Then I added my card to a slightly bigger piece of white cardstock using the E-Z Dots ® Repositionable. Perfect for me since I never get it straight the first time. And since I went around the edges of the card with my sewing machine there was no need to use a permanent one. Finally I backed the card with black cardstock and created a sentiment with sticker letters.

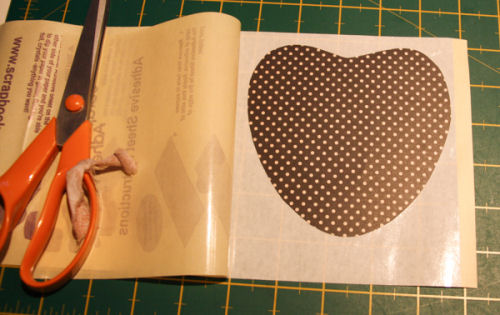
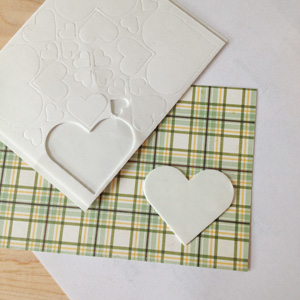
Tip: Don’t throw away the protection sheet of your Adhesive Sheet either. You can die cut shapes from it and use them as masks the same way I did with the hearts 🙂
I hope you enjoyed this little turorial!
Wishing you a lovely sunday and happy crafting!
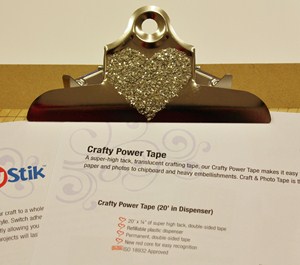
Adhesives used in this project:


