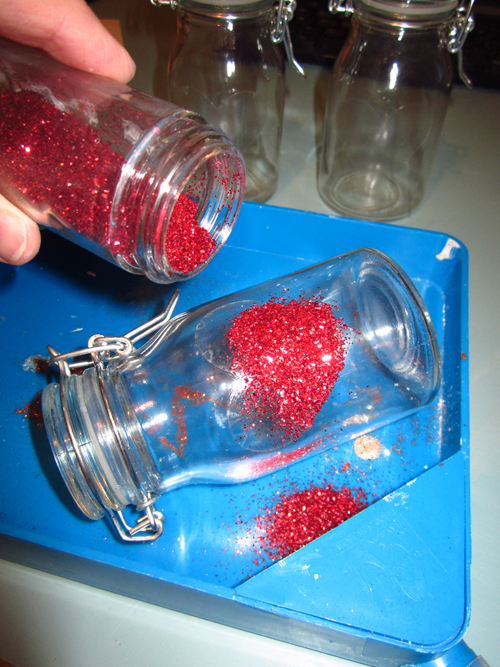
It’s exciting for us to be able to share with you all the fun new things released at CHA. With Valentines Day coming up, it makes using the Adhesive Hearts even more fun to get to use now. I decided today I would use the double sided Adhesive Hearts with glitter, but instead of using them on paper, I wanted to show you how great they work on glass, so I created these little Valentine jars.
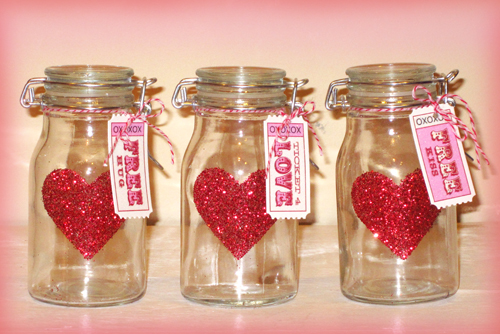
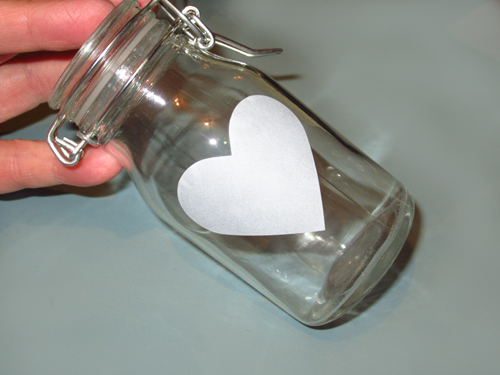
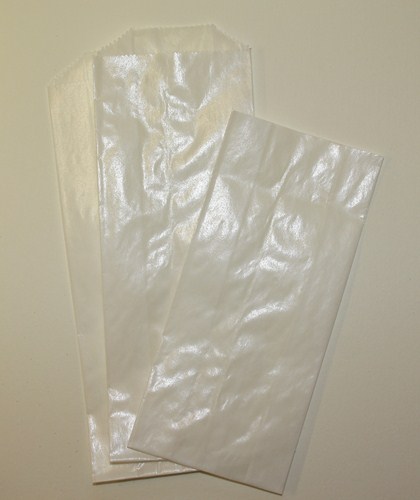
I picked up a few of these cute little inexpensive jars at the craft store to use for my project. I love that the hearts come with a variety of sizes to choose from on each sheet. They are so easy to use. All you do is peel the size heart (or hearts) you want from the sheet, and adhere the back ( which will be sticky) to the glass, and rub across it to adhere it to the glass ( pushing out any ripples or air pockets) .
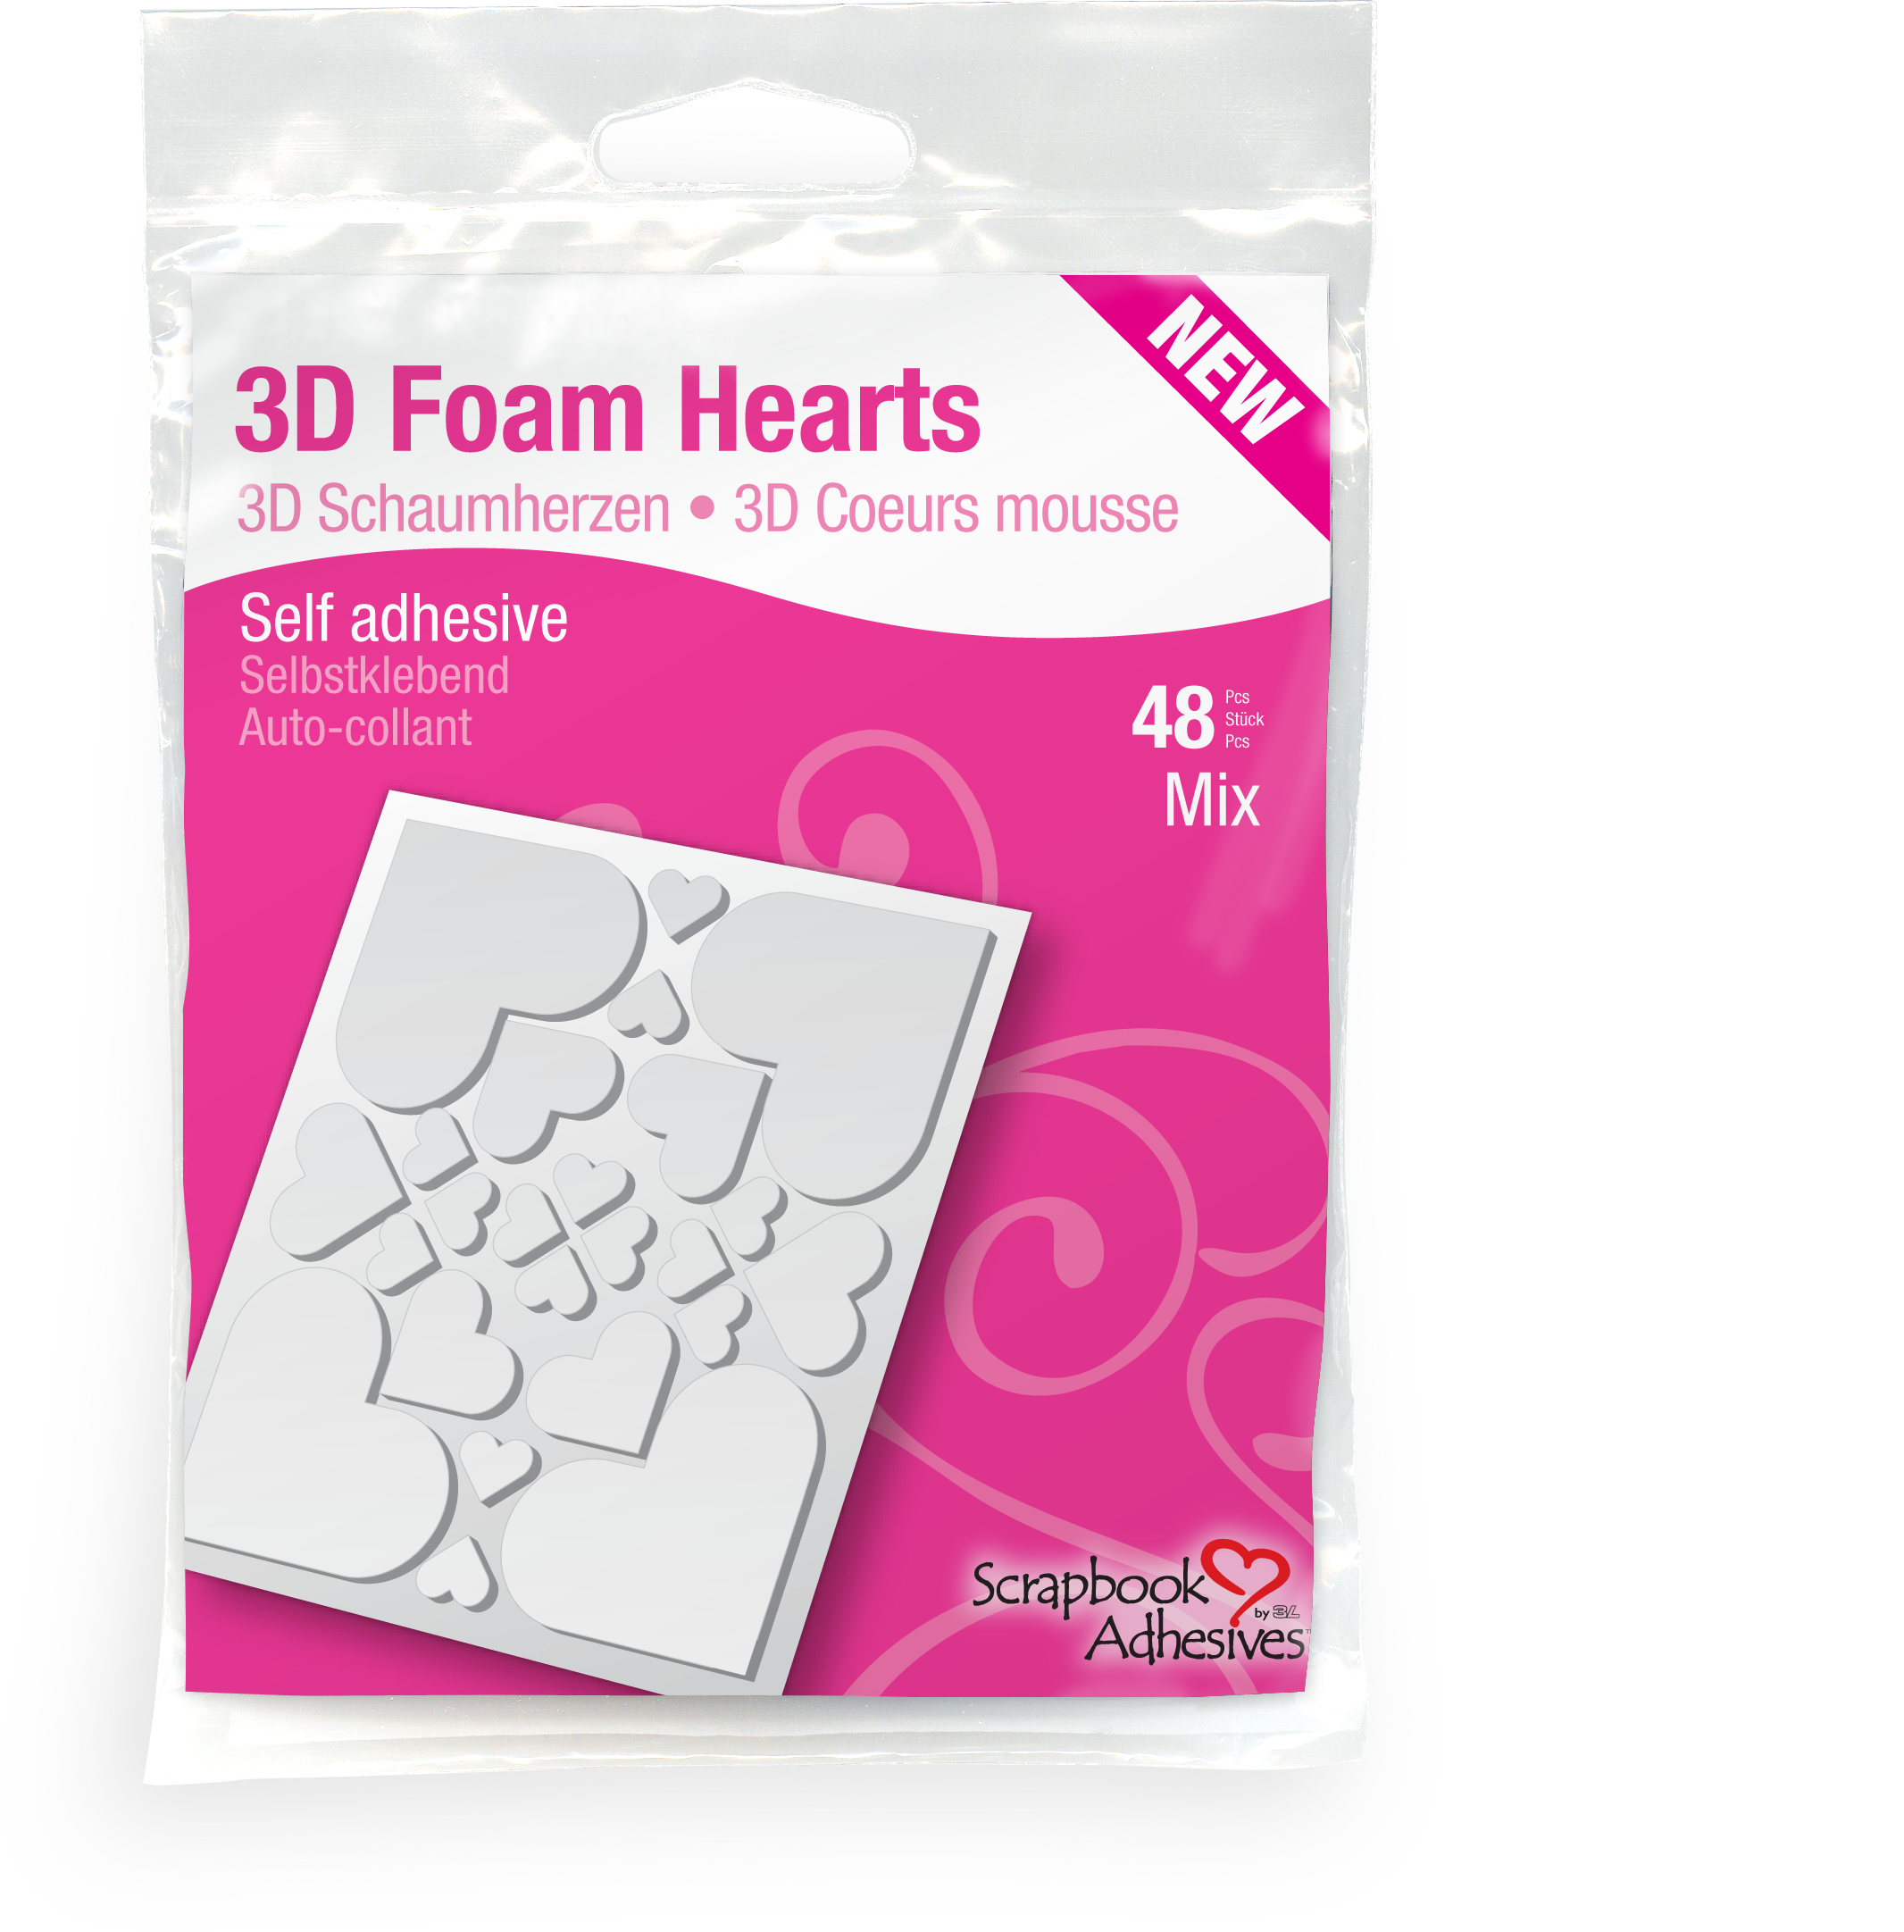
Note: Adhesive Hearts are no longer available but the project can be completed with Adhesive Sheets and a heart die cut or punch, or 3D Foam Hearts.
Now , lift up an edge of the heart and pull the paper away, leaving the adhesive on the glass.
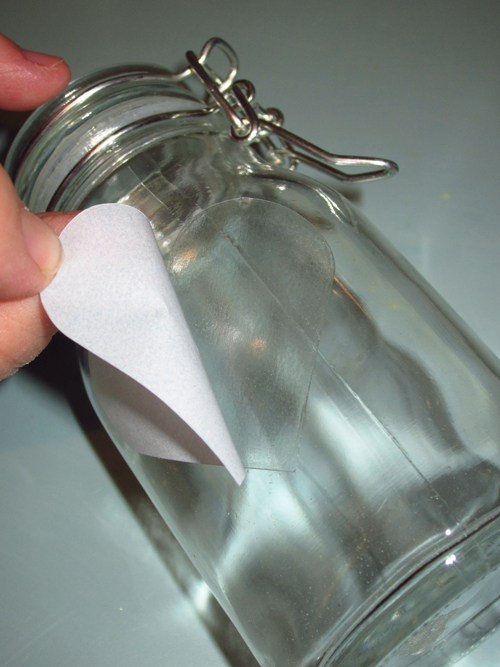
You can see below how it will look
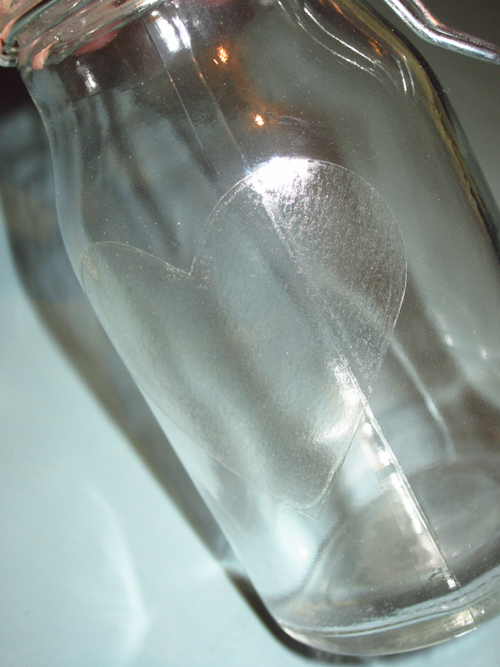
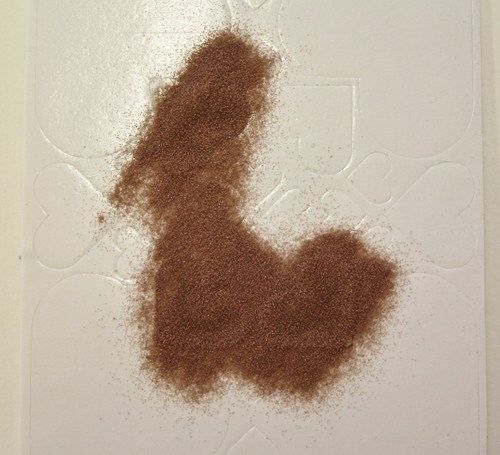
So all that is left to do now, is to add some glitter 🙂 Pour some glitter on the heart and tap off any excess. It’s as easy as that!
Now, what to put in my jars? candies are always great of course, but what about little notes.., telling someone little reasons why you love them, or a gift certificate??
I think we are all enjoying finding fun new ways to use our Adhesive Hearts and 3D Foam Hearts since CHA. I hope you are enjoying checking out the projects here on the blog. Thanks for stopping by!
Vicki Chrisman
Save
Save
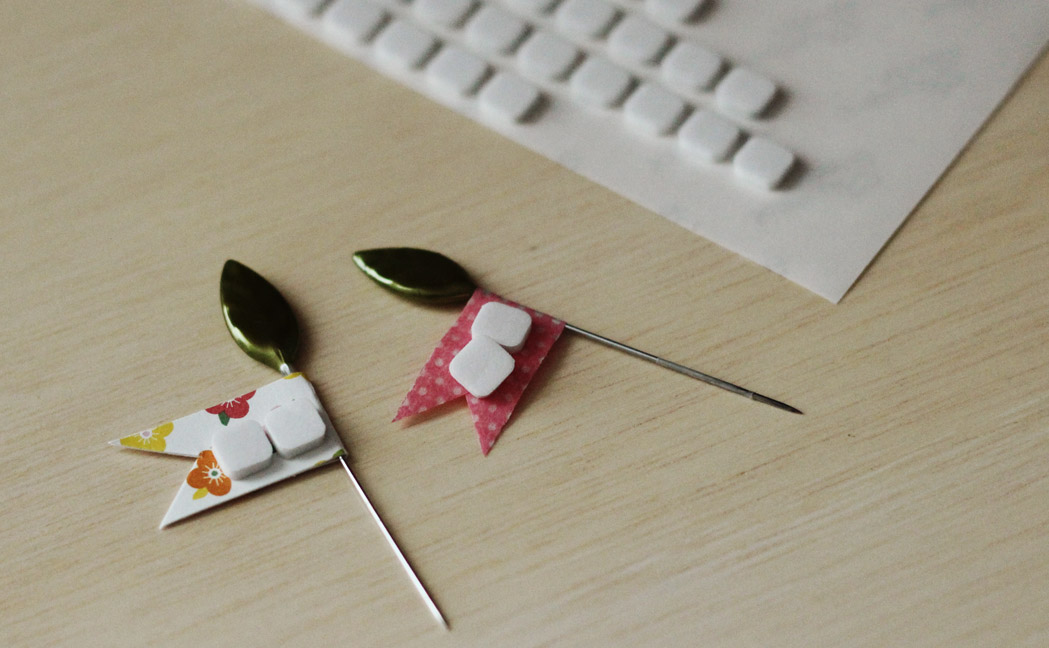
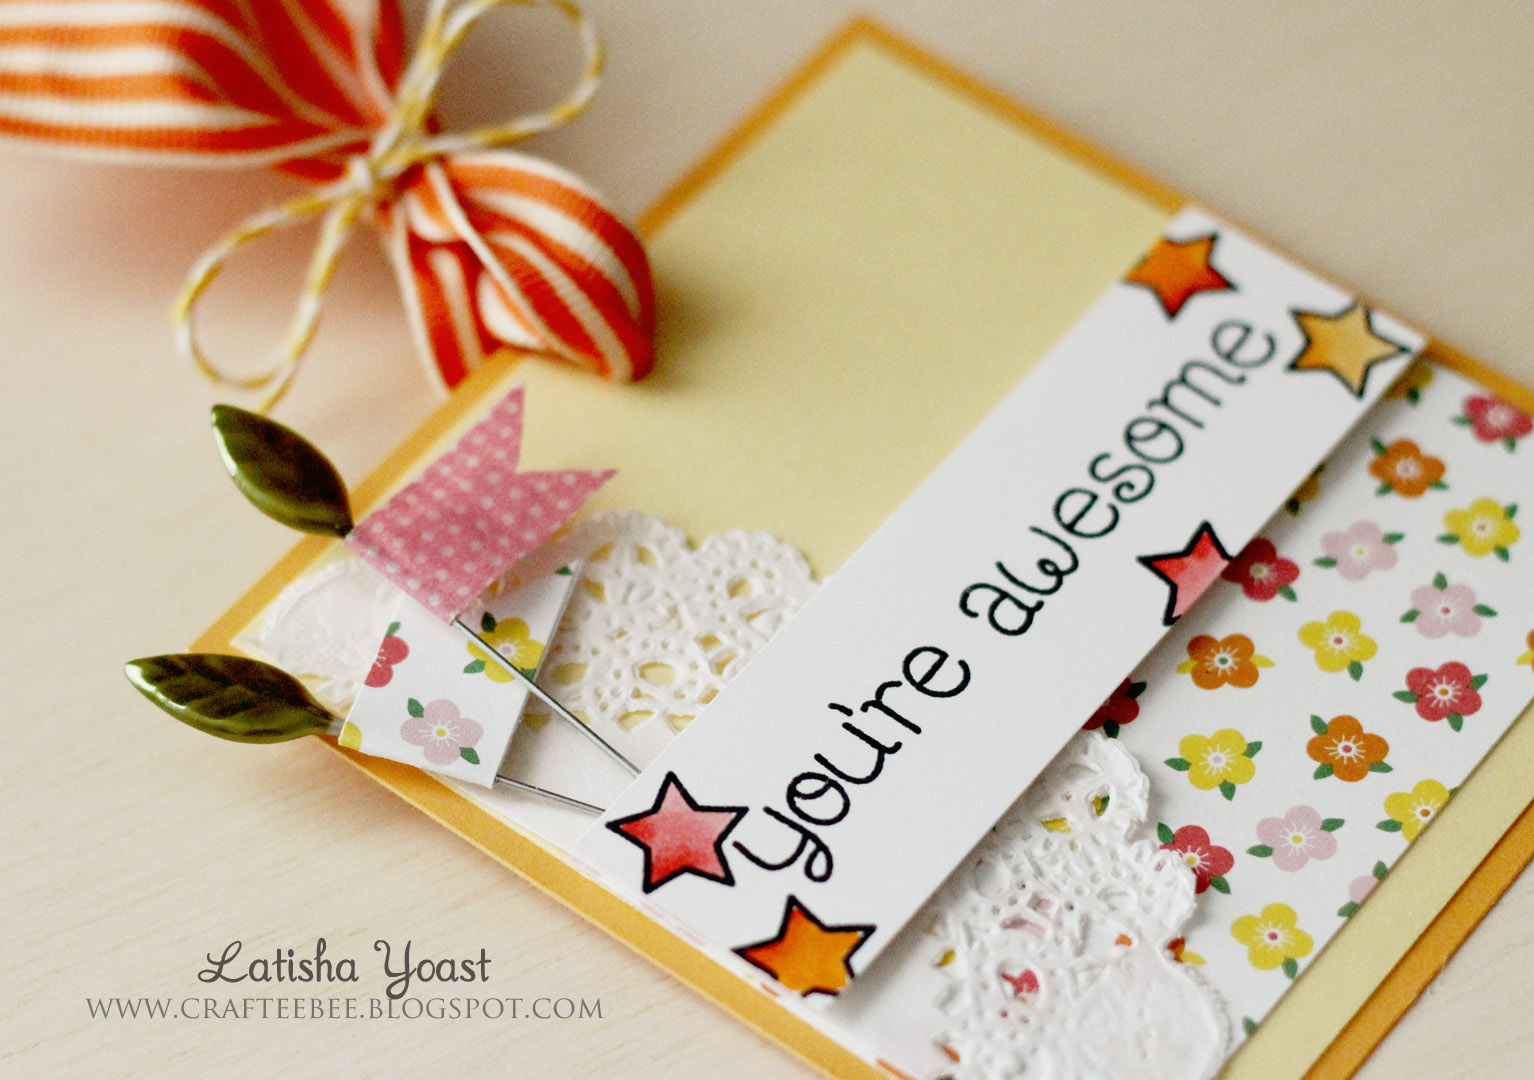
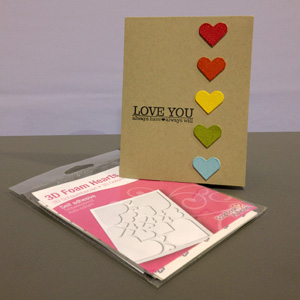
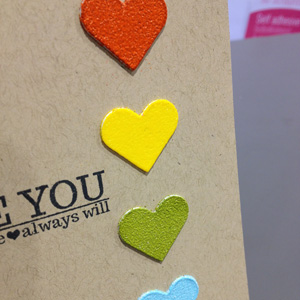
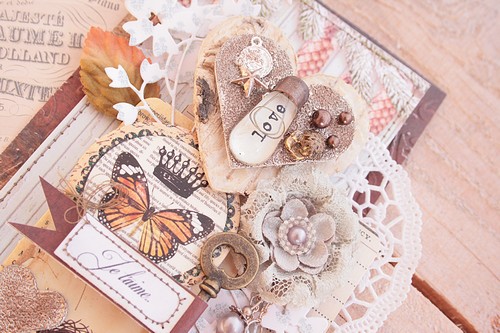
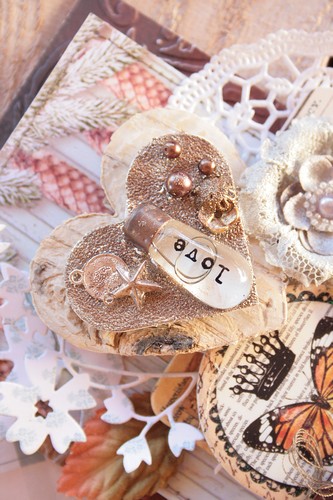
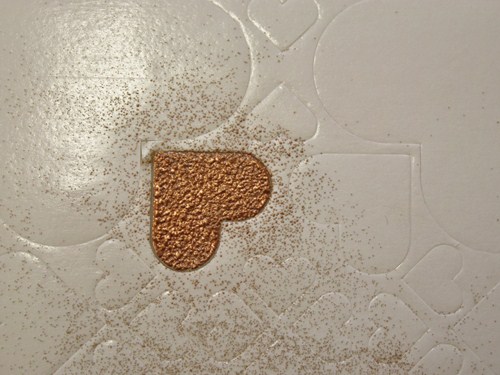
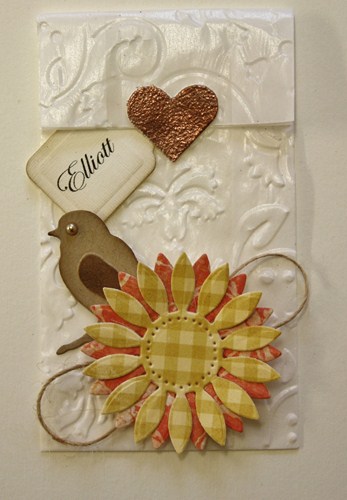
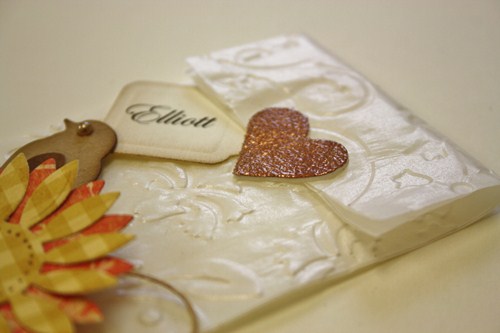
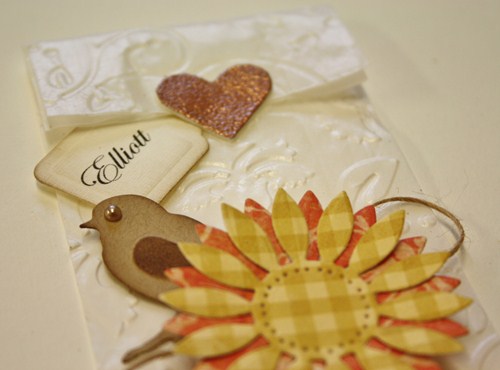
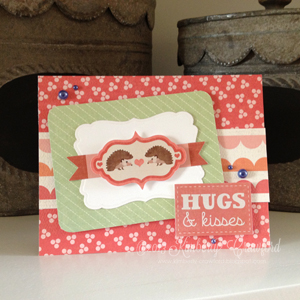
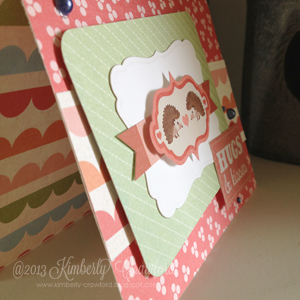
 The 3D Foam Hearts were punched with a Japanese hole punch to make them look like buttons. Then I removed the top liner and applied Perfect Pearls powder to the top, which gave a metallic look. You can see it closer here:
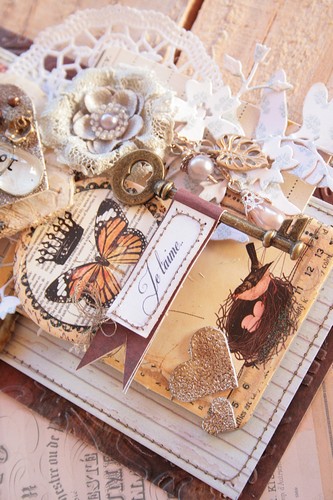
 The rest of the card was created with kraft cardstock and Glitz Design papers and stickers, and silk ribbon. I created a lift in the stickers with 3D Foam Squares behind them.
 Thanks for coming by today!


