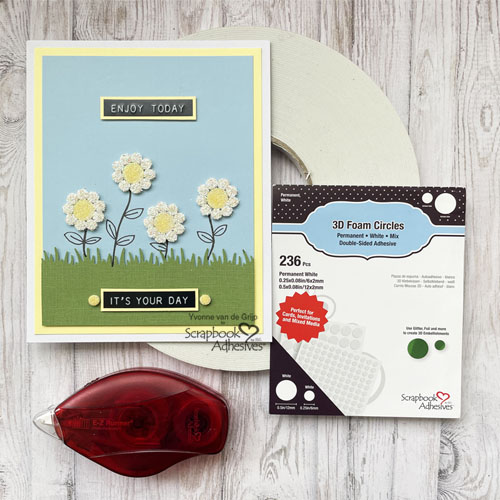
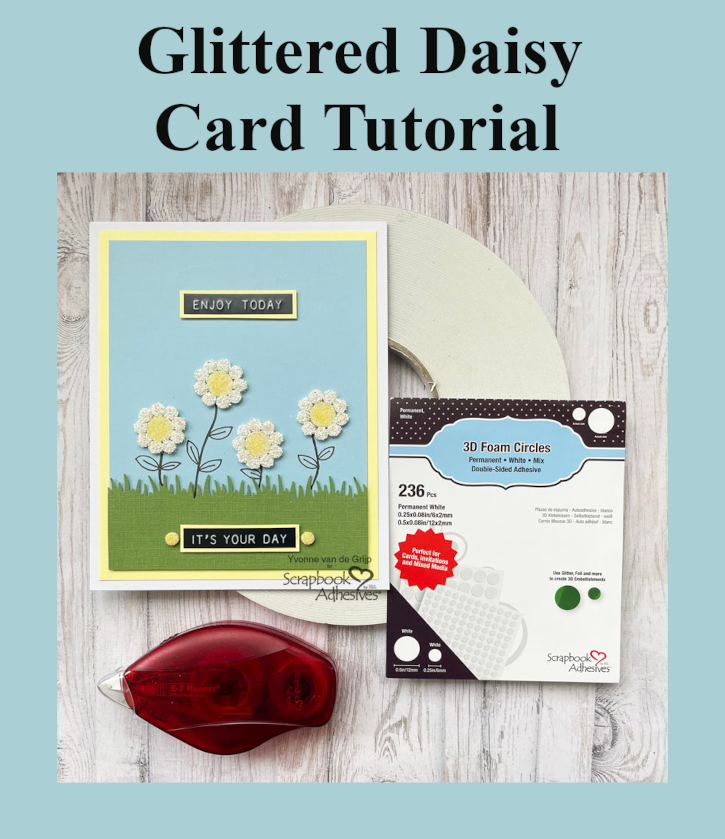
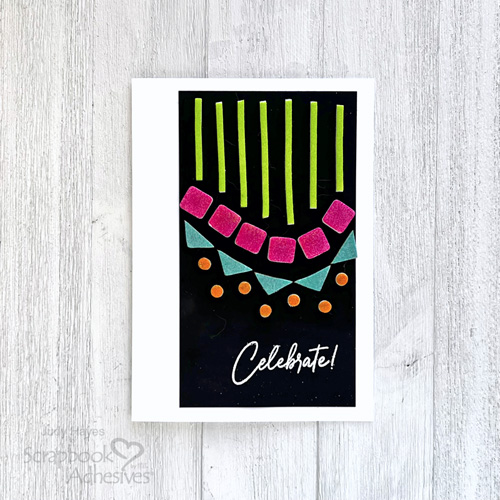
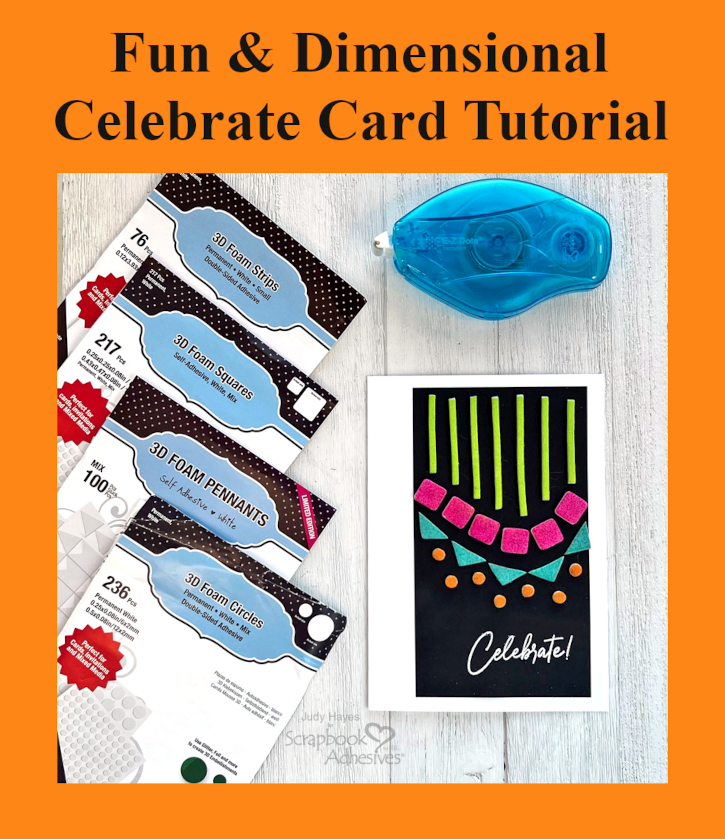
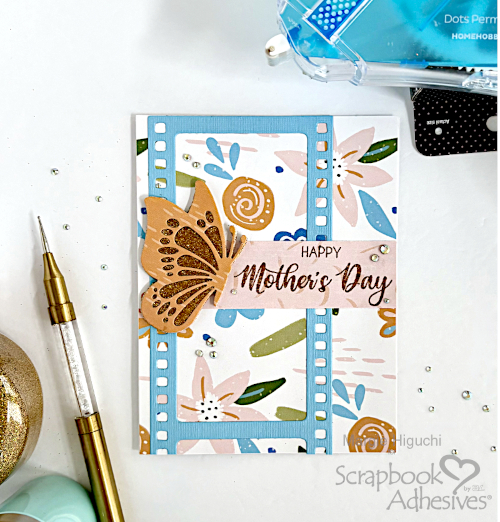
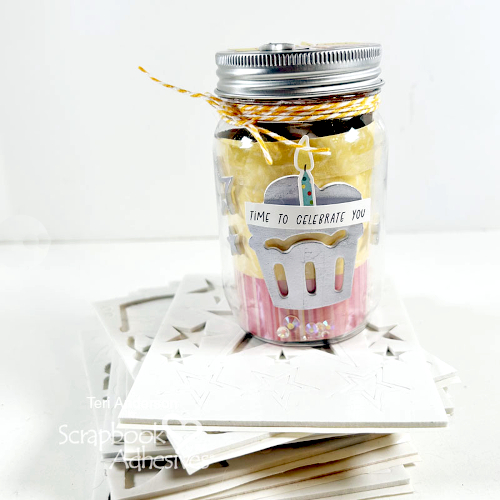
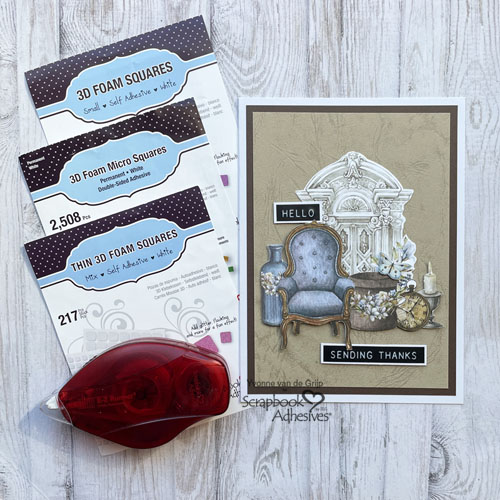
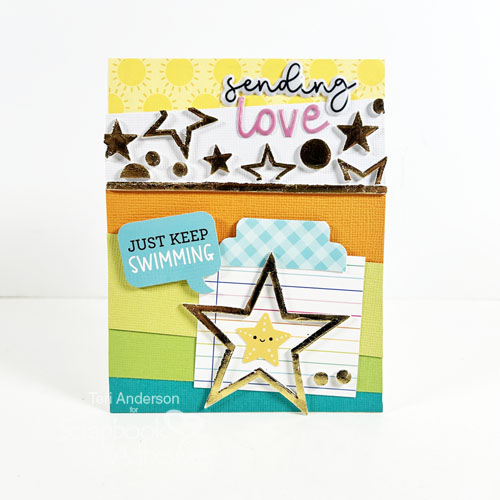
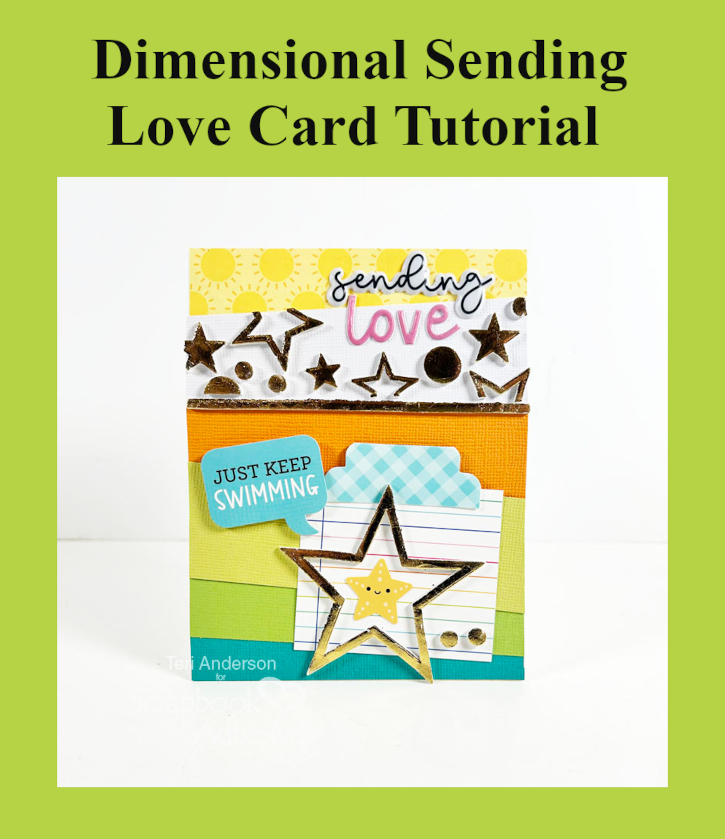
Hi, friends! Looking to send a little pick-me-up to a friend or loved one? Teri here to show you how to make a super cute Dimensional Sending Love Card with basic creating supplies and 3D Foam Shapes with the foils from the 3D Foam Holiday Embellishment Kit.
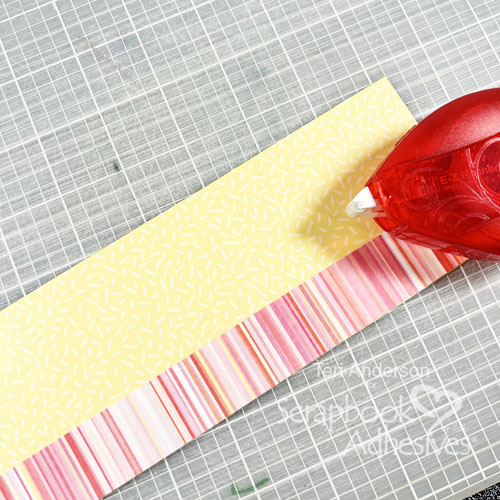
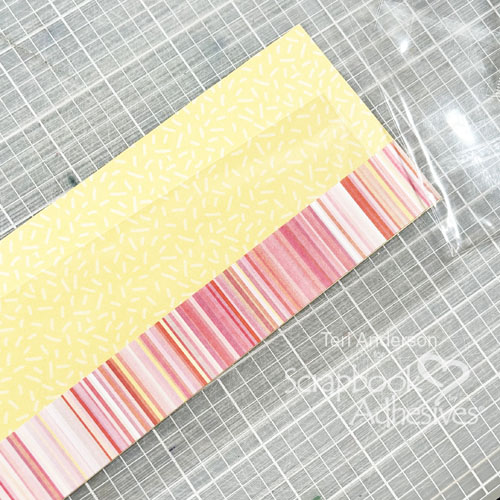
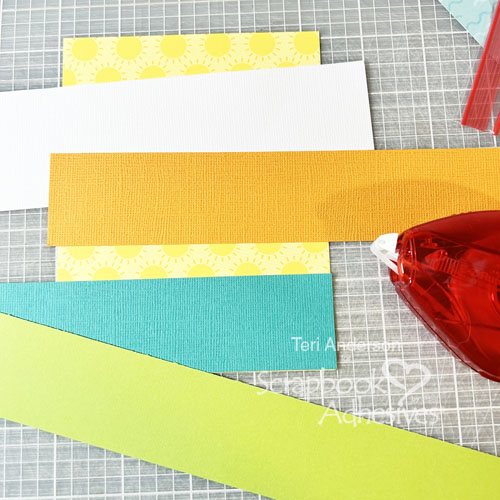
Make the Dimensional Sending Love Card Base
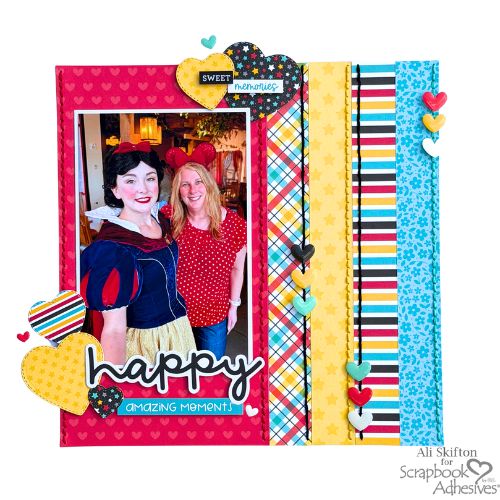
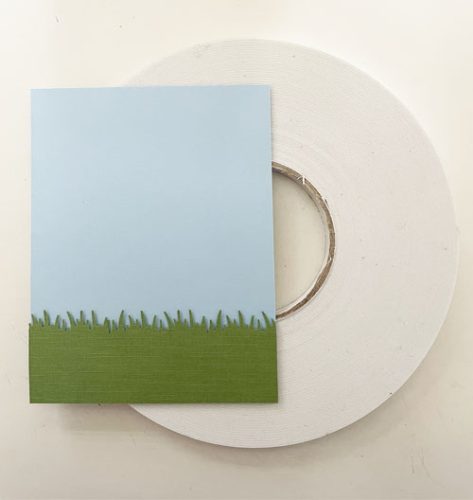
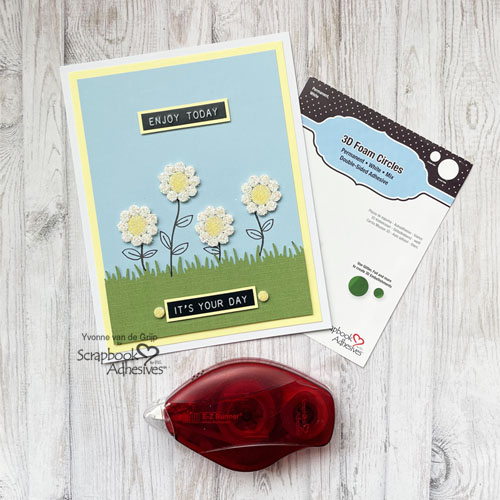
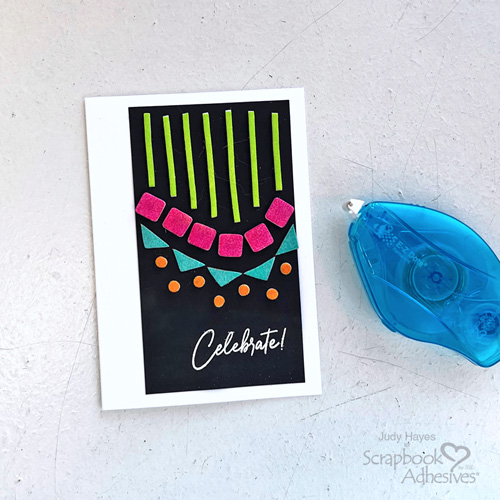
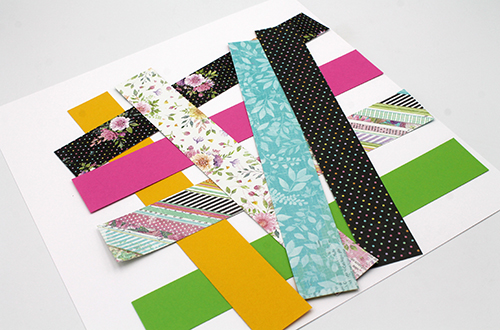
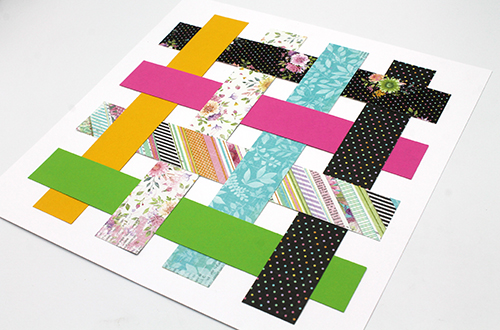
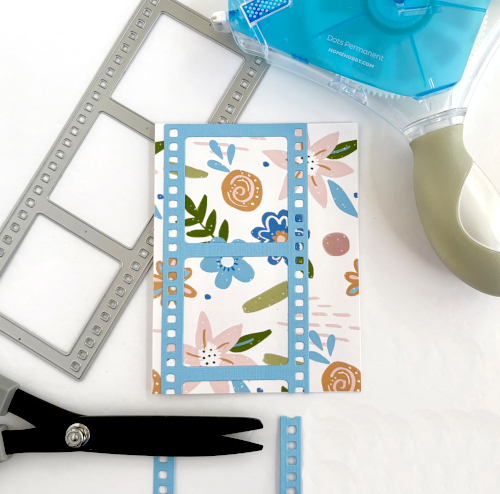
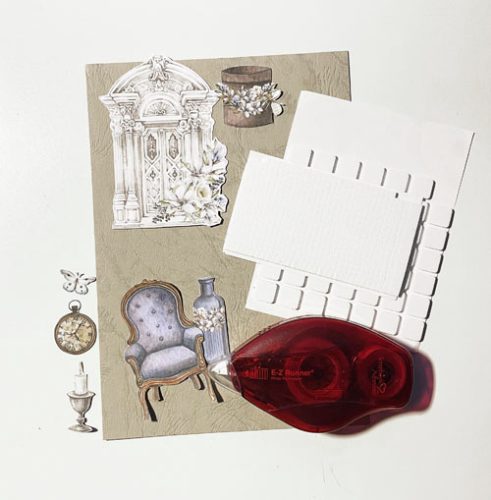
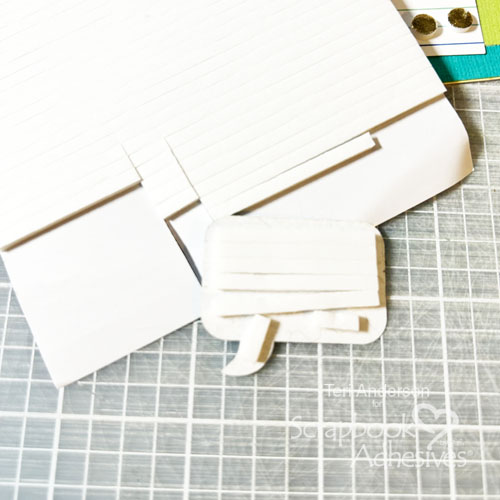
Start by randomly adhering strips of cardstock to a piece of patterned paper. Set them at an angle to give them extra visual interest.
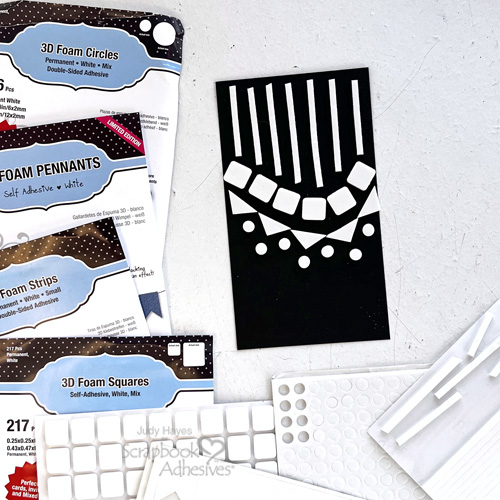
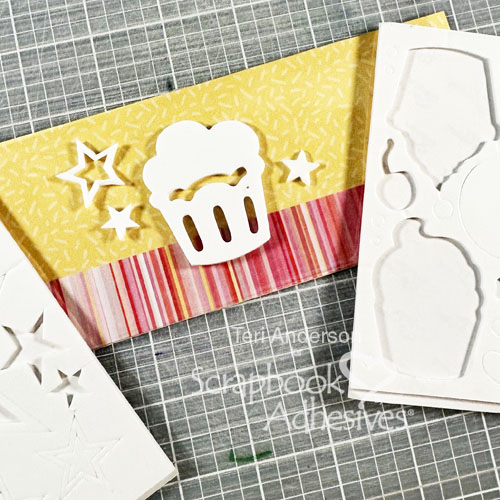
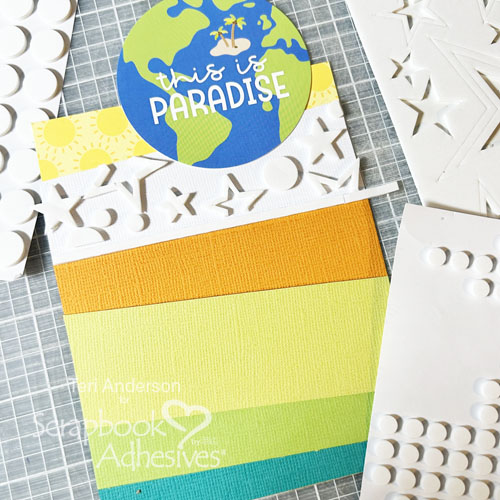
3D Foam Shapes Placement
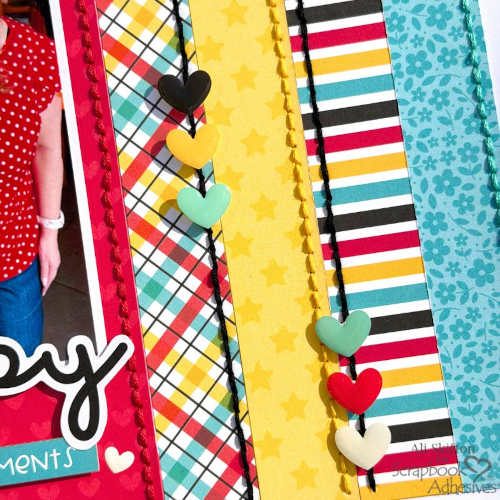
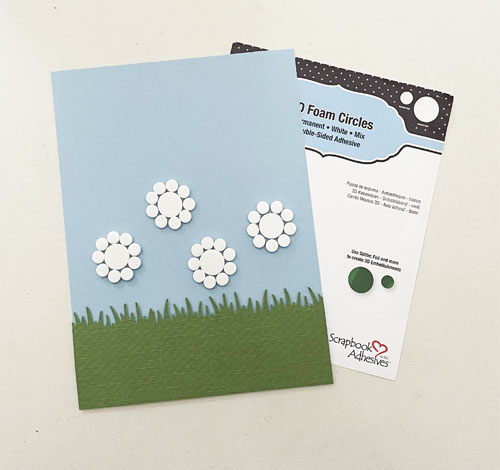
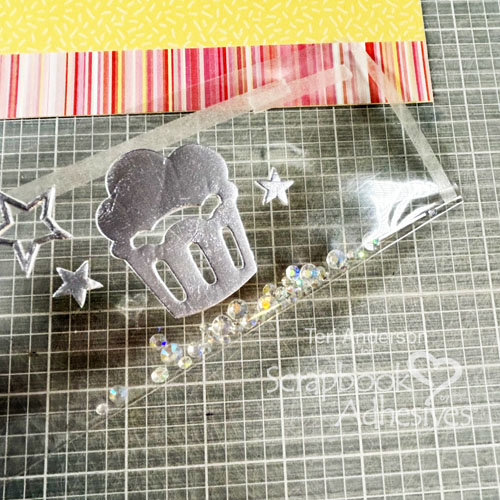
Use a circle die cut shape and temporarily affix it to your card front with E-Z Dots® Repositionable. This will service as a guide for adding a sentiment to your card later. Next, randomly adhere a combination of 3D Foam Circles White Mix and 3D Foam Stars onto one of the paper strips and use the 3D Foam Strips to make a border to anchor the design. Don’t be afraid to cut the shapes in half to fit onto your strip.
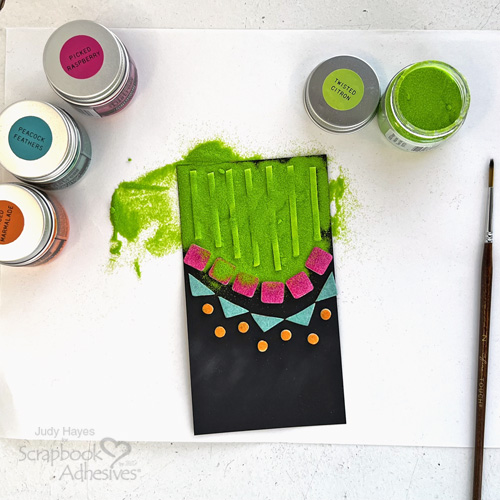
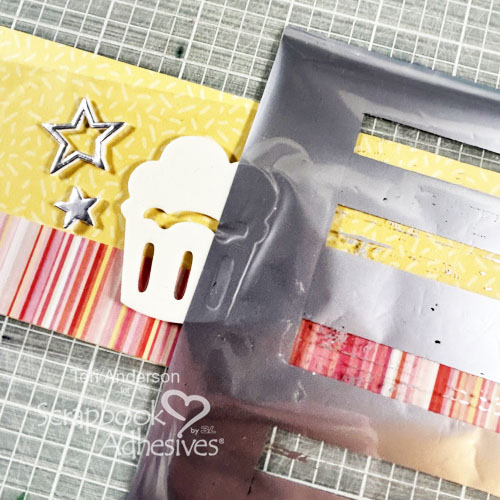
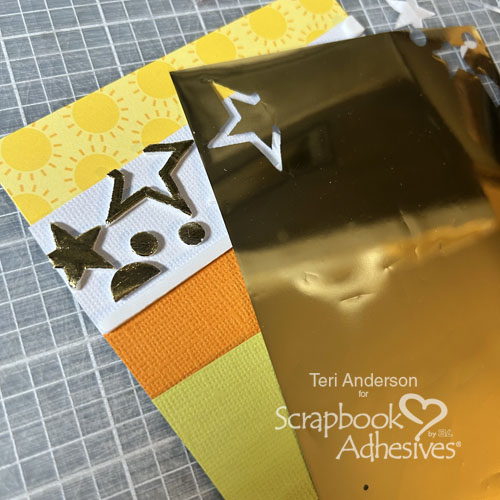
Wear Your Adhesive on the Outside with 3D Foam Shapes
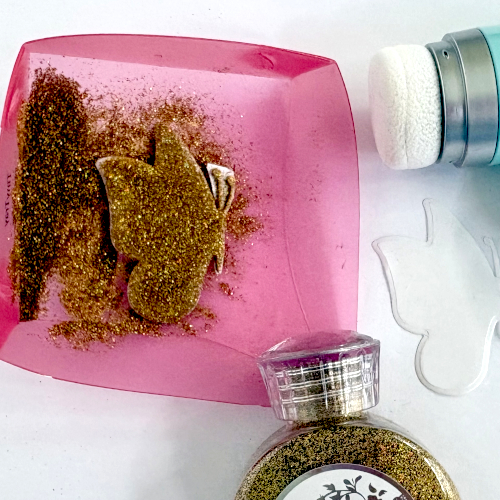
Remove the release paper from the foam shapes, one piece at a time, and apply the gold foil from the 3D Foam Holiday Embellishment Kit to them. Remember to put the foil down with the pretty side up facing you. Gently rub the foil to transfer the color to the shape. Peel to reveal the shine! Missed areas can be reapplied using the same steps. Repeat the foiling process to the other shape – so easy!
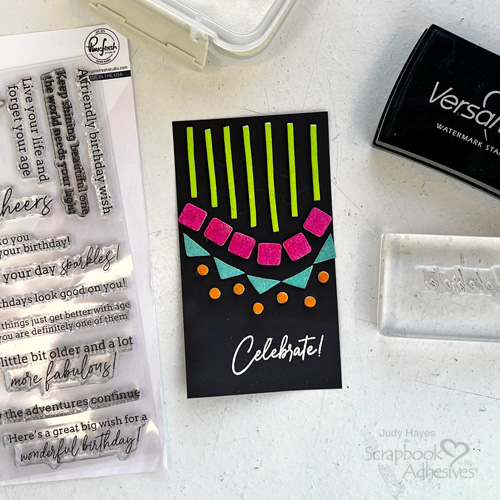
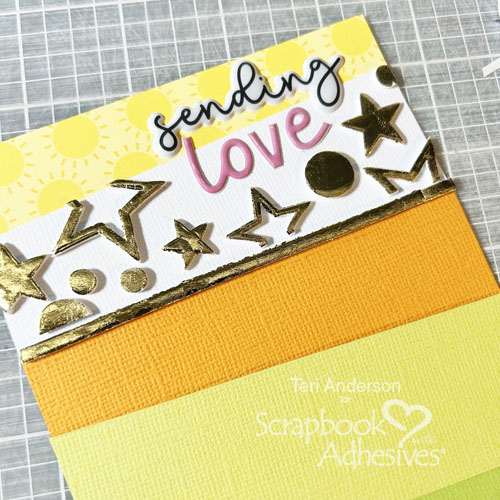
Add the Sentiment
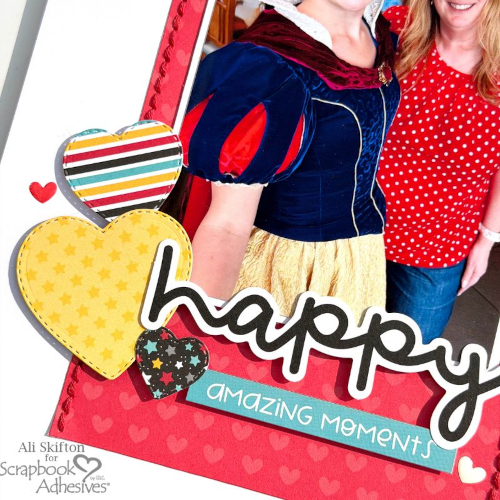
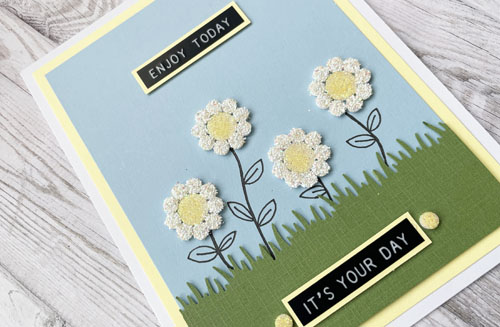
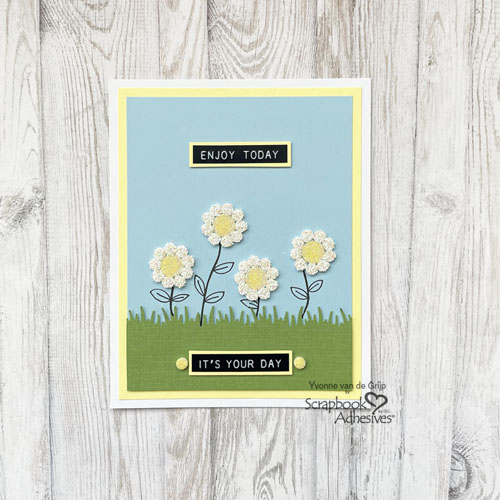
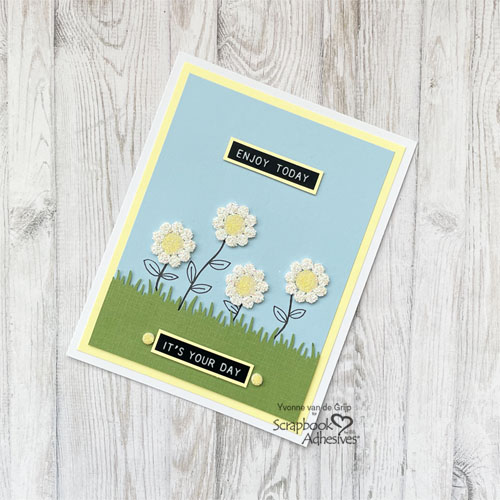
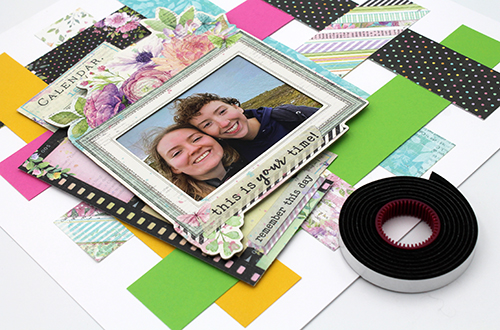
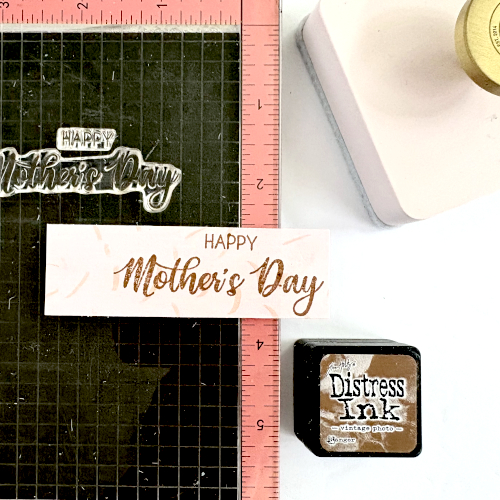
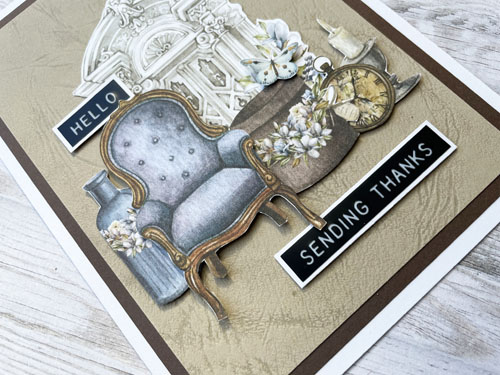
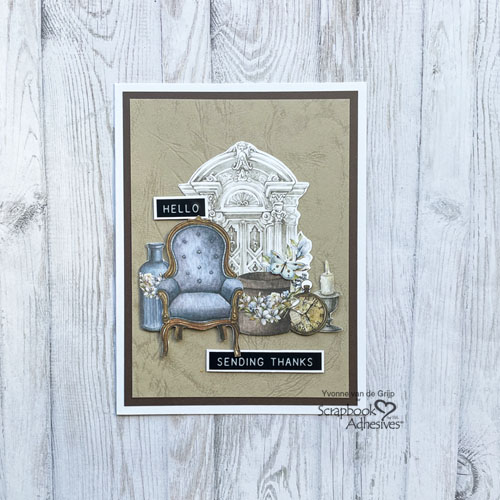
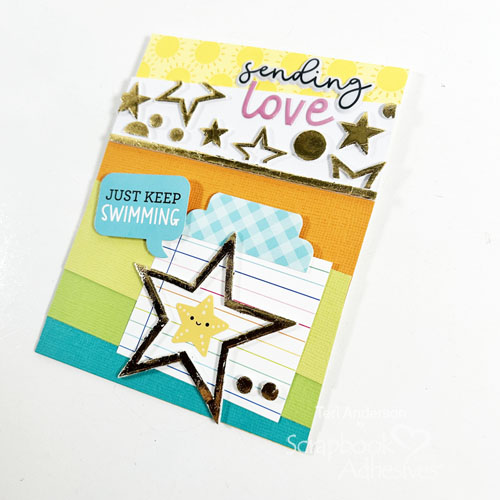
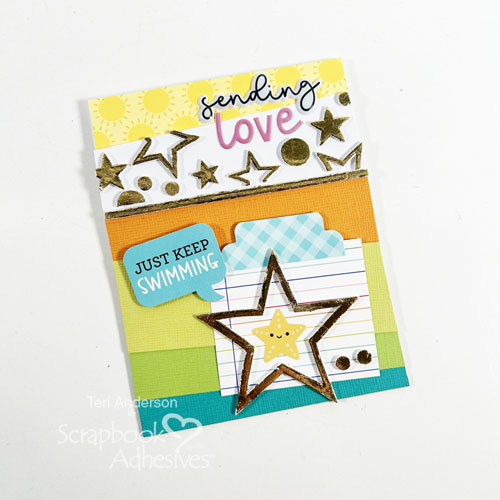
Where you temporarily the circle shape, add a sentiment to your card front. I used two sticker words to create the sentiment. Next, mount your card front onto a top-folded card with the E-Z Runner® Permanent Strips Refillable Dispenser.
Embellish the Card
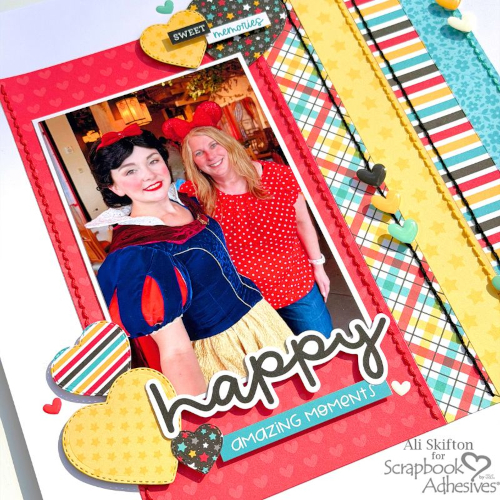
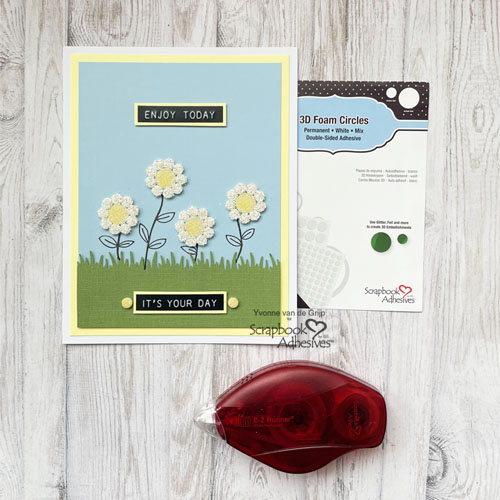
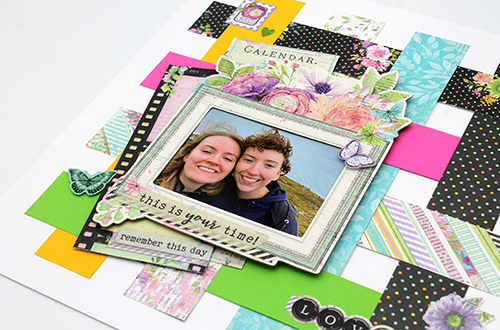
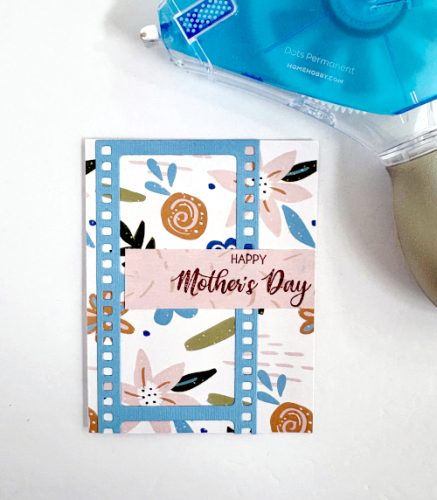
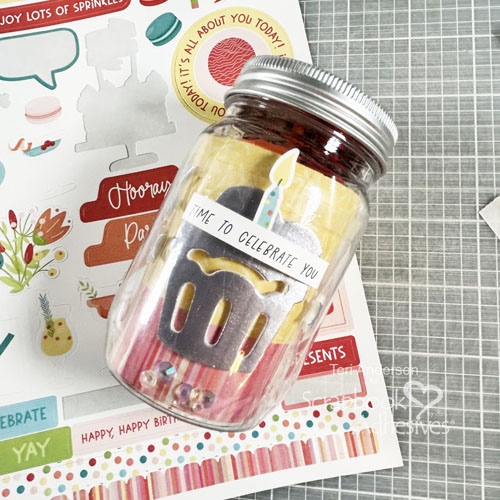
Complete the card by adding die-cuts with the E-Z Runner® Permanent Strips Refillable Dispenser on the bottom half. For fun, use stickers to accent and for shine, some more 3D Foam Circles White Mix and 3D Foam Stars. Repeat the foiling steps with the same foil color.

If you want to add any stickers to your card’s design, use some 3D Foam Strips to pop them up. Be sure to brush a non-static powder brush over the sticker to make it non-sticky! You can also set the sticker on your jeans or shirt a couple times to pick up the lint and dust. It will make it non-sticky as well.
I hope you enjoyed today’s Dimensional Sending Love Card tutorial and are inspired to try some of the tips and tricks I’ve shared!
Happy Creating!
Creative Time: 60 minutes
Skill Level: Intermediate
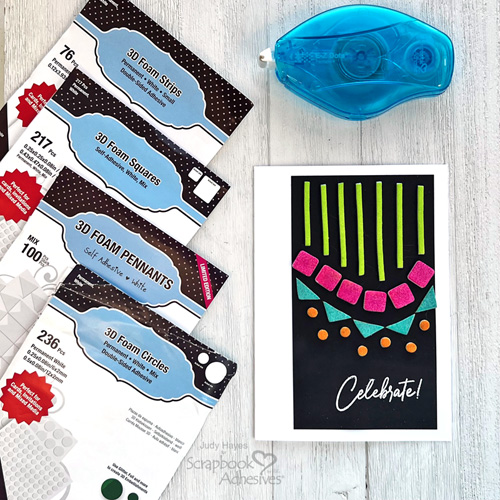
Materials needed:
Scrapbook Adhesives by 3L®:
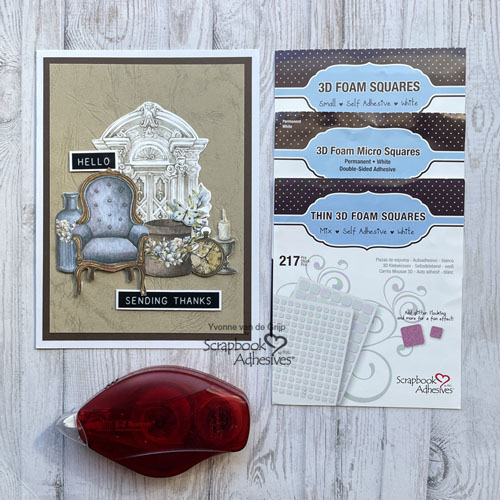
3D Foam Strips, 3D Foam Circles White Mix and 3D Foam Stars
3D Foam Holiday Embellishment Kit with Foil
E-Z Runner® Permanent Strips Refillable Dispenser
E-Z Dots® Repositionable Refillable Dispenser
Other: Cardstock: Neenah (White), Doodlebug Design (Orange, Green, Dark Green, Blue); Patterned Paper, Die-cuts and Stickers: Doodlebug Designs (Summer Fun Collection)
Save to Pinterest!
Visit our Website and Blog!
Sign up for our Newsletter so you never miss a contest or giveaway!