Hi friends, I hope your week has started off on a nice note and you are enjoying some pretty weather! Do you like having extra birthday cards in your stash that are easy to mass-produce? Yes, I do (raise hand)! Leslie here, sharing an Easy Floral Birthday Card with you today. When I say ‘easy’ – I mean that literally! Let me show you this card in more detail.
Card Base Details
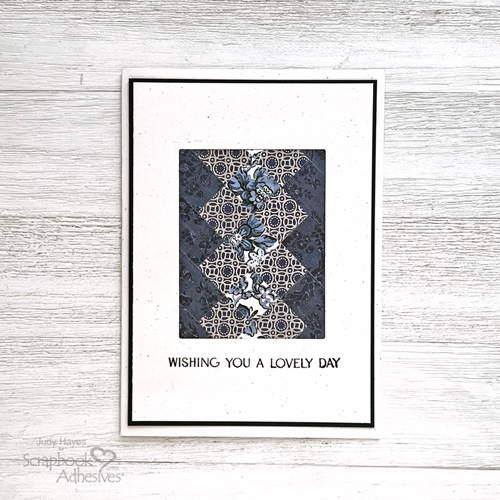
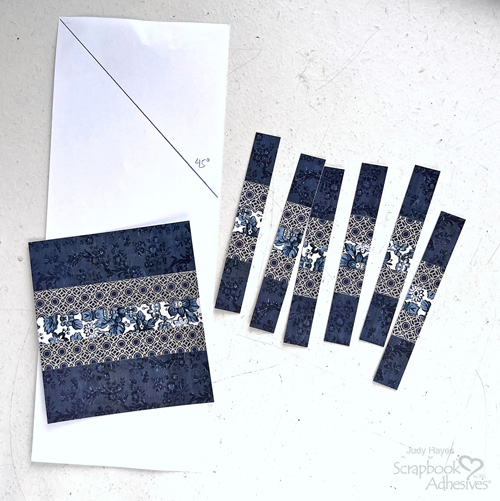
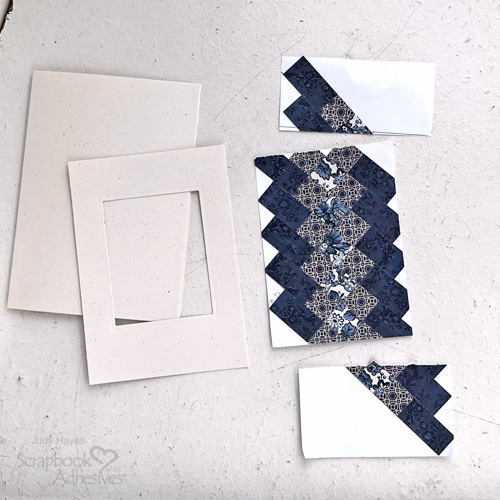
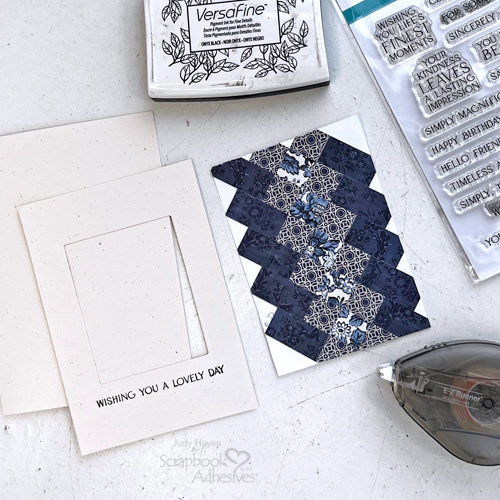
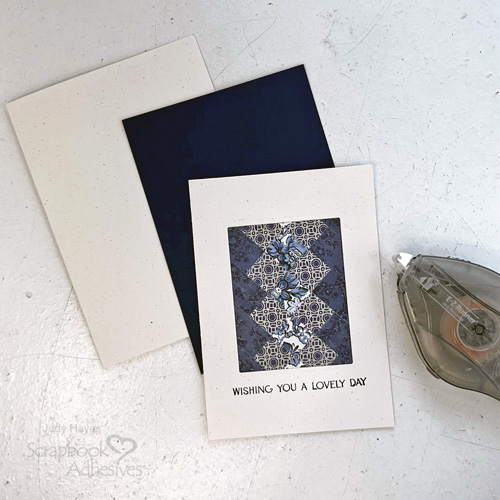
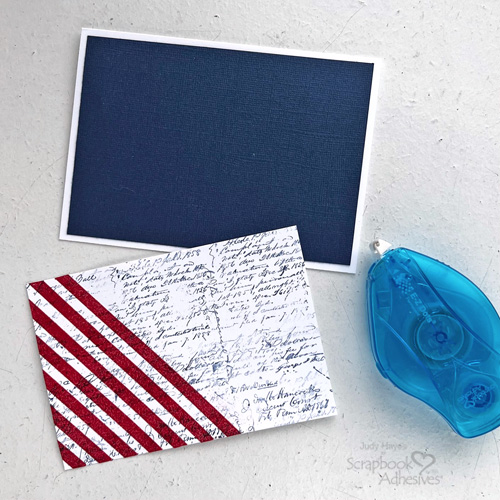
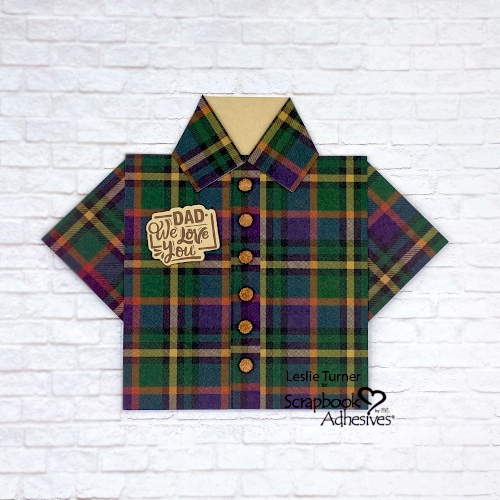
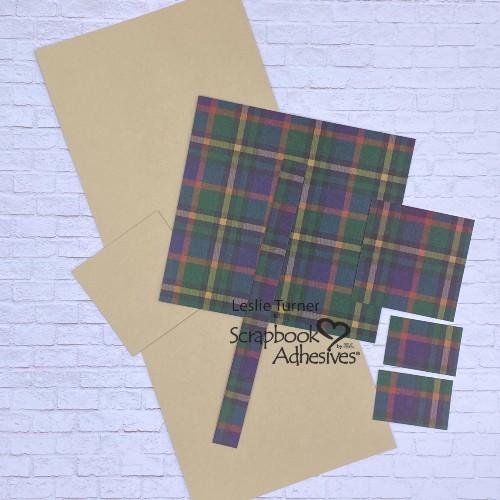
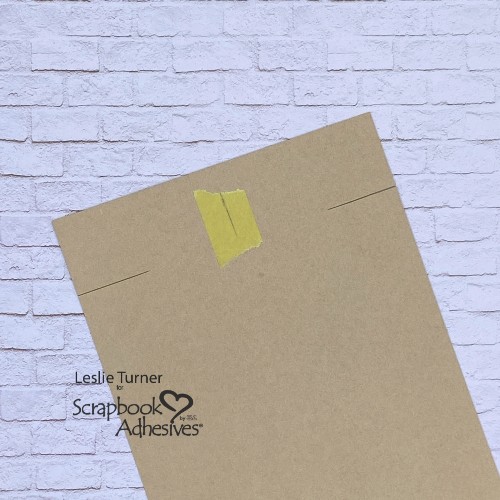
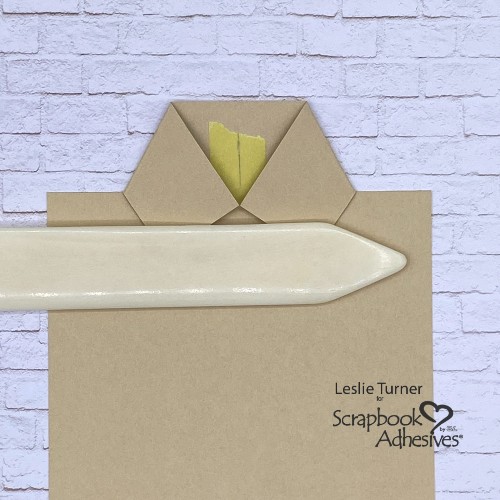
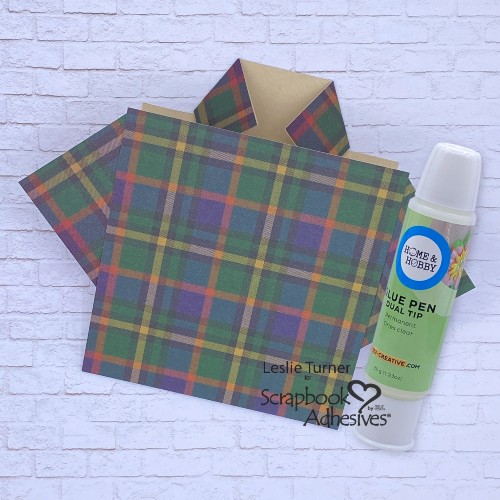
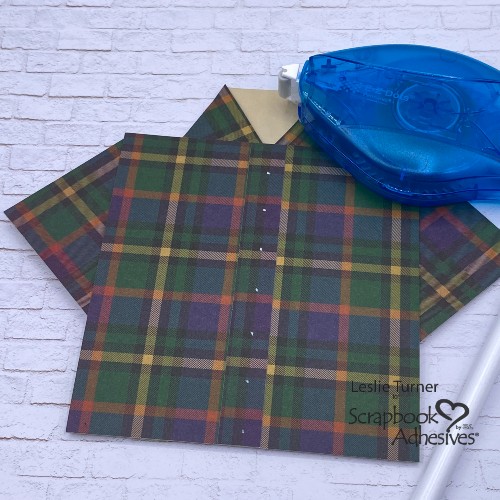
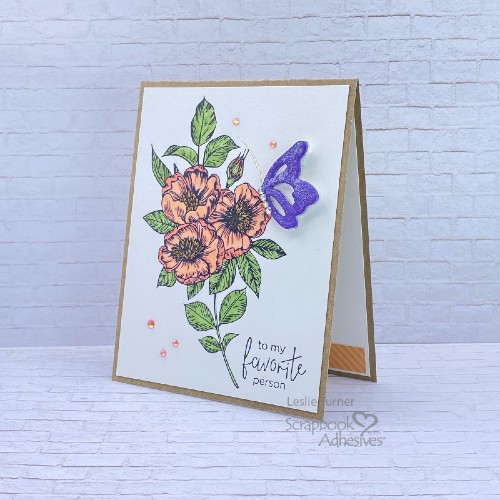
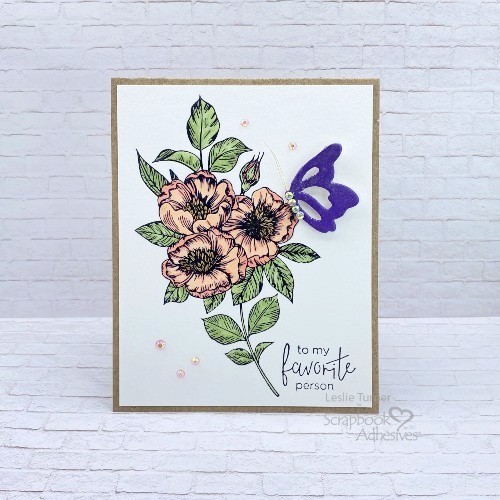
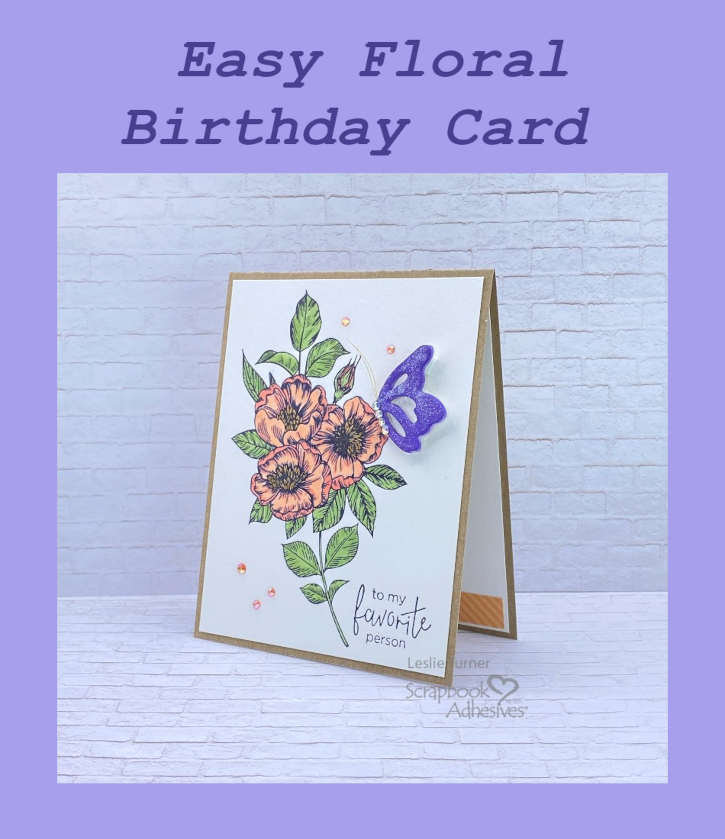
I cut a top-folding card base from kraft cardstock at 4-1/4″ x 11″ and scored it at 5-1/2″. Next, I trimmed a cotton cardstock panel to 4″ x 5-1/4″ and pressed the floral image and sentiment into it. Used my BetterPress for this, however, stamps can also be used. Colored the image with alcohol markers and adhered it to the card with E-Z Runner® Grand Permanent Strips Refillable Dispenser. This easy floral birthday card is taking shape!
Wear Your Adhesive on the Outside
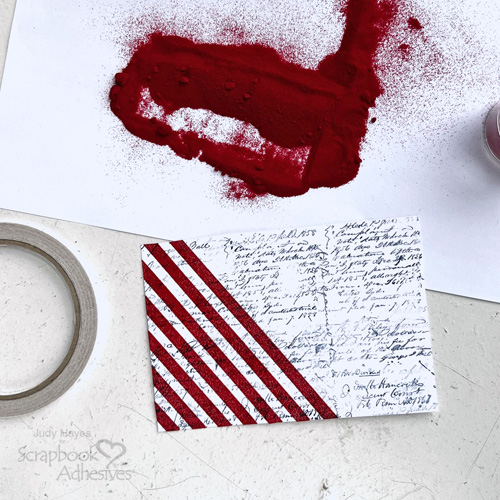
Employed the Wear Your Adhesive on the Outside technique using the 3D Foam Butterflies and purple mica powder. Super easy process – remove the liner, add the mica powder, and rub it to secure. Also very lightly dusted white mica powder onto the wings for some added sheen. Subsequently, I sealed it with a light coat of clear satin urethane spray outside. Wanted to ensure the mica powder wouldn’t rub off.
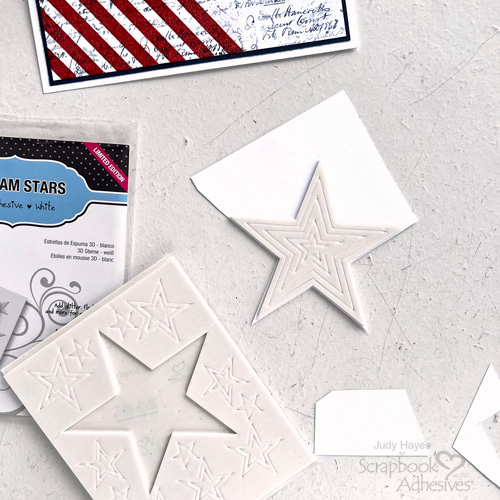
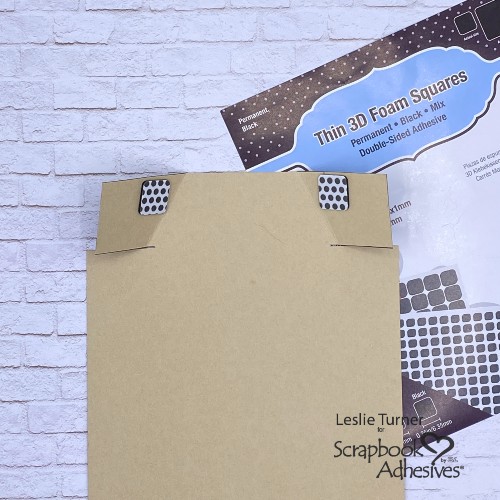
Afterwards, I stuck the butterfly to a small piece of acetate, tucking in gold thread for antennae. Acetate is great for adding stability. Trimmed around the edges and affixed it to the card front. Thin 3D Foam Squares White Mix (one small square cut in half) was perfect under the body. Additionally, 3D Foam Squares White Mix (two stacked) worked well for slightly more dimension under the wings.
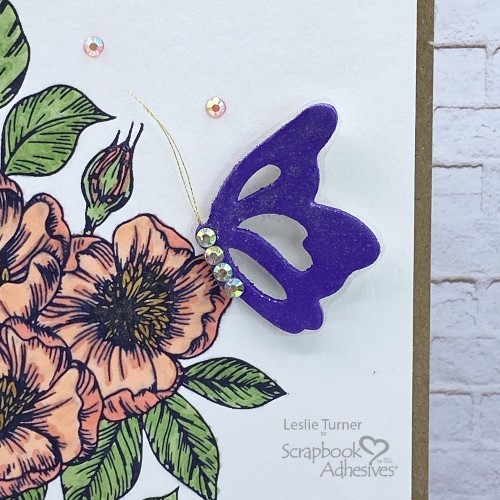
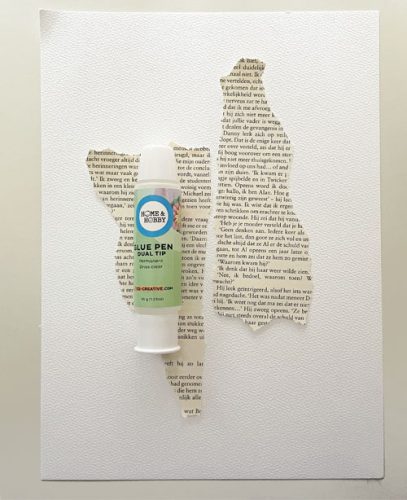
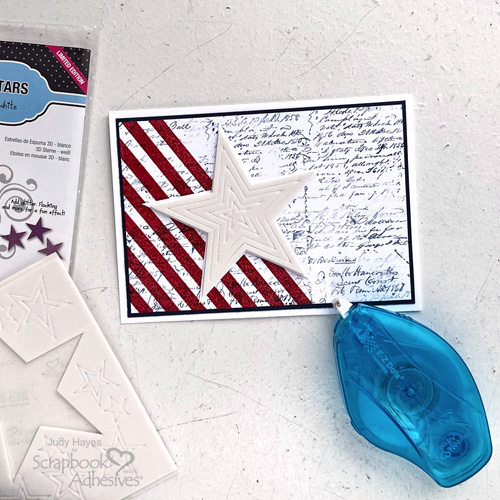
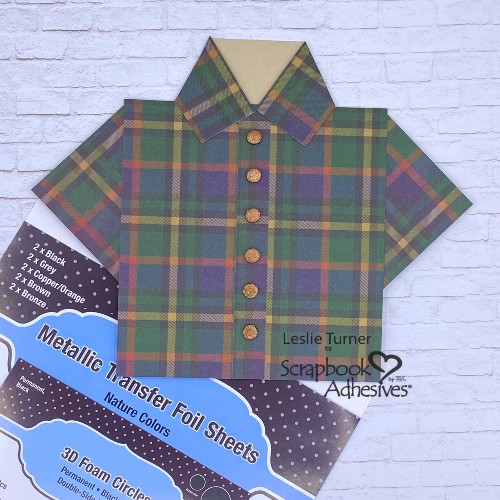
Finally, I added gemstones to the butterfly body using the Dual Tip Glue Pen along with a few on the background. The front of this easy floral birthday card is complete!
Finishing the Easy Floral Birthday Card
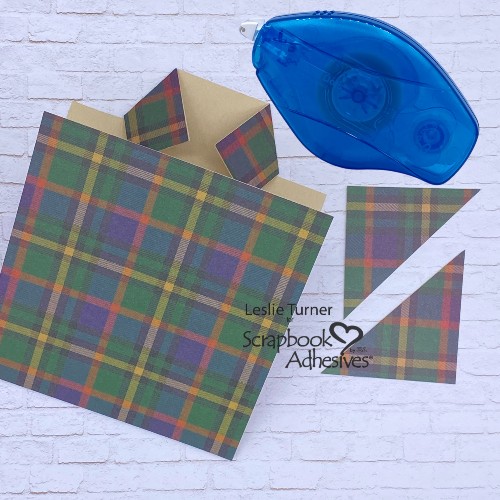
Once again using the BetterPress, I pressed an additional sentiment into another 4″ x 5-1/4″ panel of cotton cardstock. Adhered this panel to the inside of the card base with E-Z Runner® Grand Permanent Strips Refillable Dispenser. Last, but not least, I adhered a patterned paper strip to the bottom of the inside panel which completed the card.

Thanks for visiting!
Leslie
Creative Time: 30
Skill Level: Intermediate
Materials Needed:
Scrapbook Adhesives by 3L®
3D Foam Butterflies
E-Z Runner® Grand Permanent Strips Refillable Dispenser
Thin 3D Foam Squares White Mix
3D Foam Squares White Mix
HomeHobby™ by 3L
Dual Tip Glue Pen
Other: Cardstock/Paper: Spellbinders BetterPress Cotton cardstock, CutCardStock Glama Kraft cardstock, Doodlebug Design Dot-Stripe Rainbow Petite Patterns 6×6 Paper Pad
Ink: Spellbinders BetterPress Black Ink; Copic Ciao alcohol markers- E35/93, R22, G82
Accessories: Fiskars 12″ ProCision Rotary Bypass Paper Trimmer; Spellbinders BetterPress Letterpress System with Floral and Sentiment Press Plates; Spellbinders Happy Birthday Glimmer Plate; 5/8″ Best Ever Craft Tape; Purple and White Mica Powders, clear iridescent gemstones from stash; Trinity Stamps Topaz Twinkle Embellishment Mix and Trinity Pick Up Stick
Click Preferred Retailers List
Save to Pinterest!
Visit our Website and Blog!
Sign up for our Newsletter so you never miss a contest or giveaway!