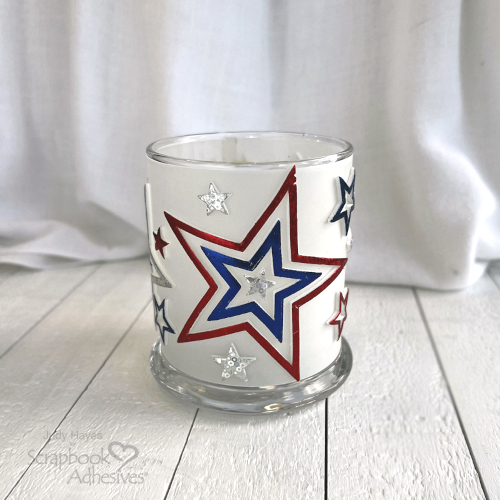
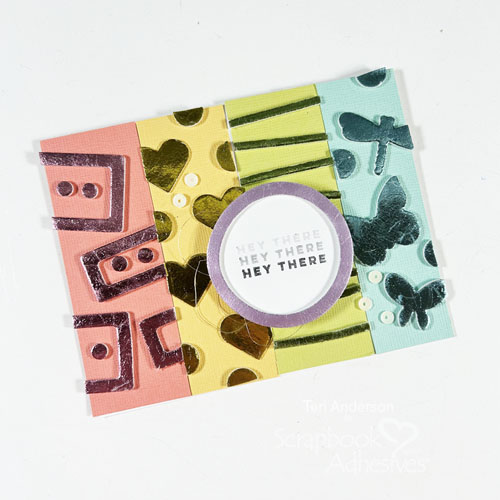
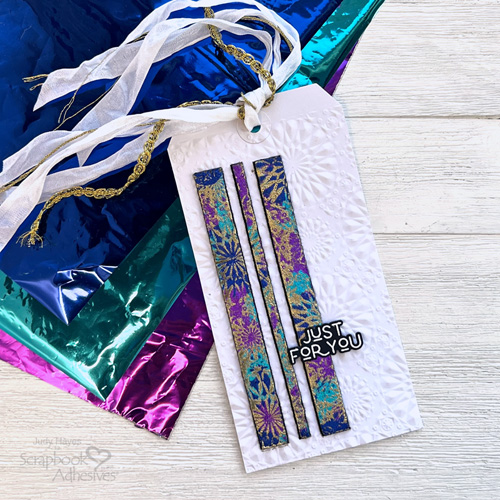
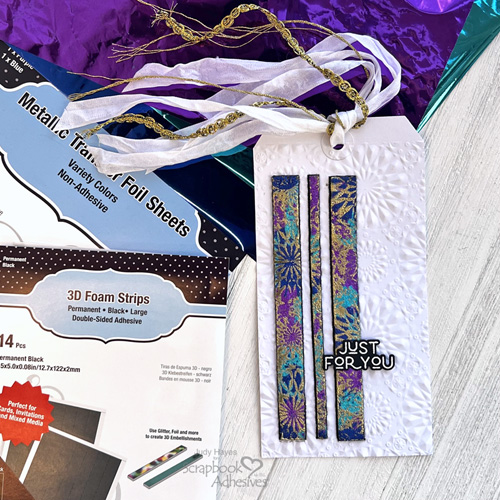
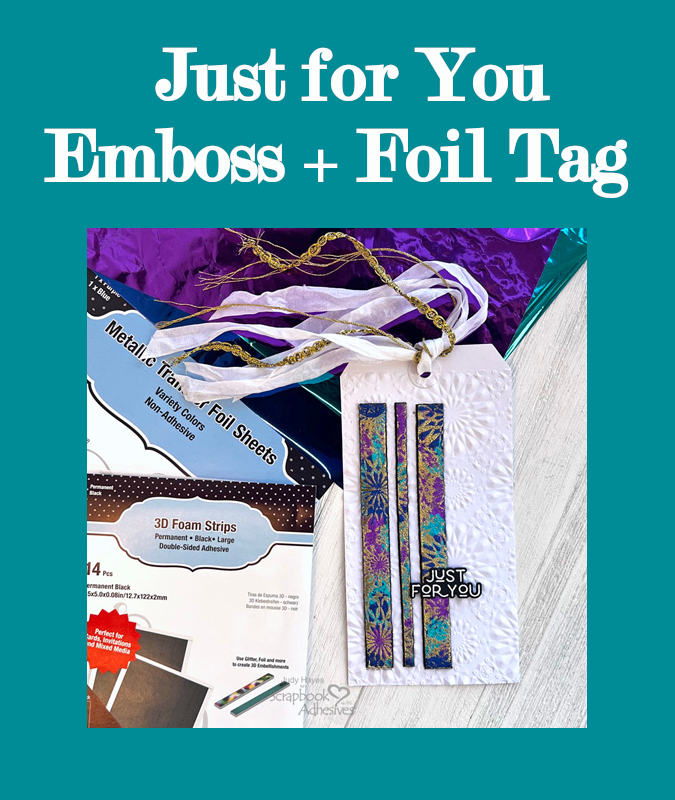
Hi, Judy here today! This pretty Just for You Emboss + Foil Tag features the Wear Your Adhesive on the Outside Technique. I used 3D Foam Strips Large Black, embossed with the tag and then foiled from Metallic Transfer Foil Sheets Variety Colors. Gold embossing powder is rubbed into the recessed areas of the embossed design and heat embossed. The effect is so pretty! What do you think? Let me show you how!
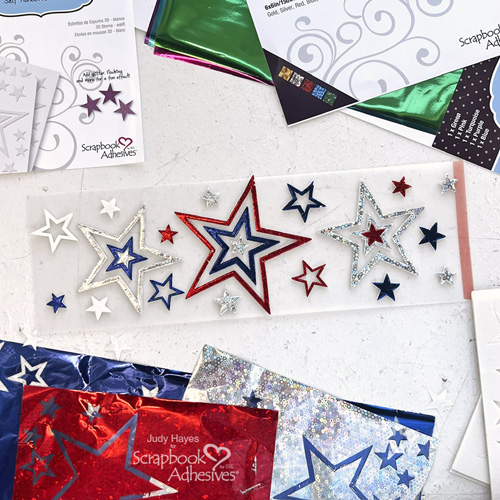
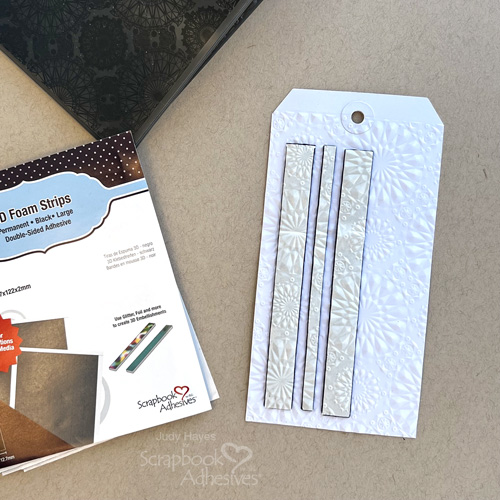
3D Foam Strips and Emboss Designs
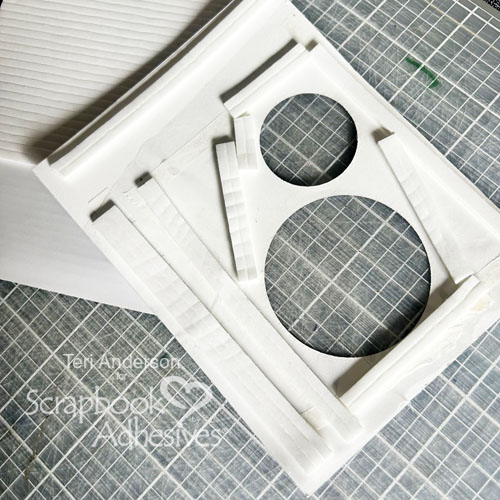
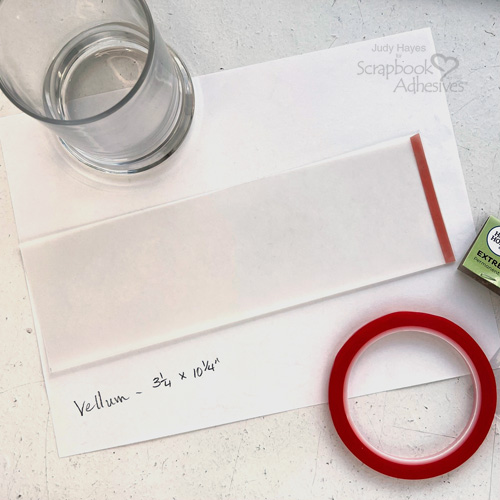
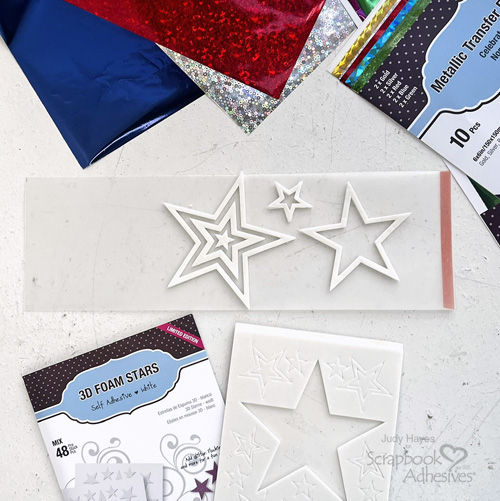
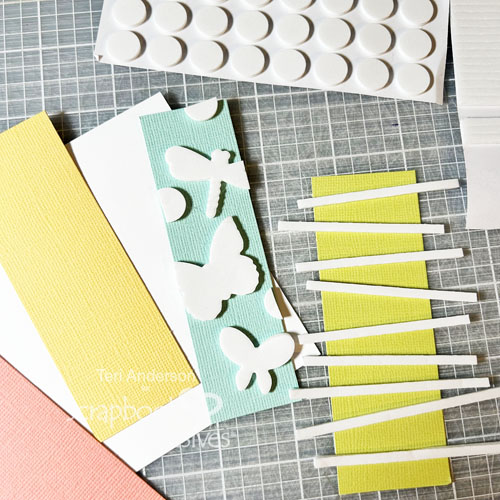
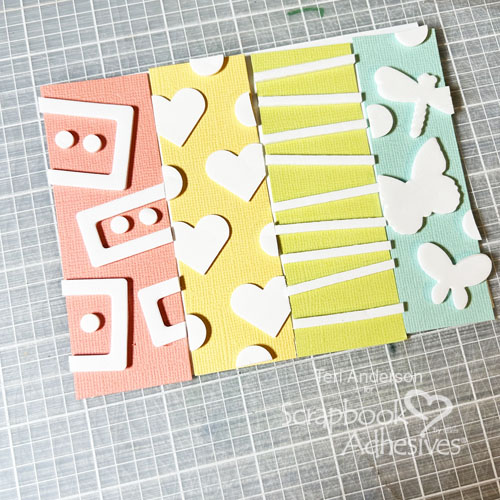
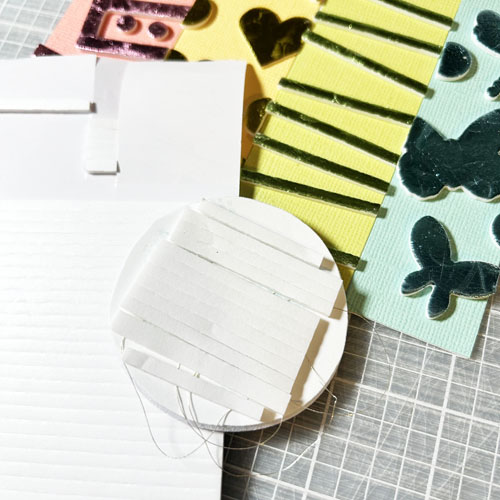
Along left edge of tag, apply one 3D Foam Strips Large Black, then a narrow strip from edge of 3D Foam Strips Large Black and another full size 3D Foam Strips Large Black. Allow narrow gap between each strip. Place the tag in the Kaleidoscope embossing folder and run it through a die cutting machine.

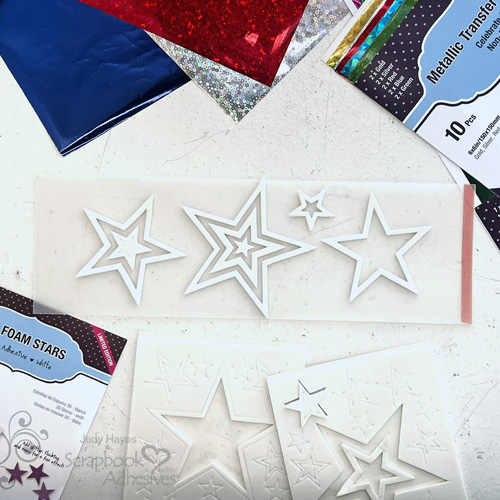
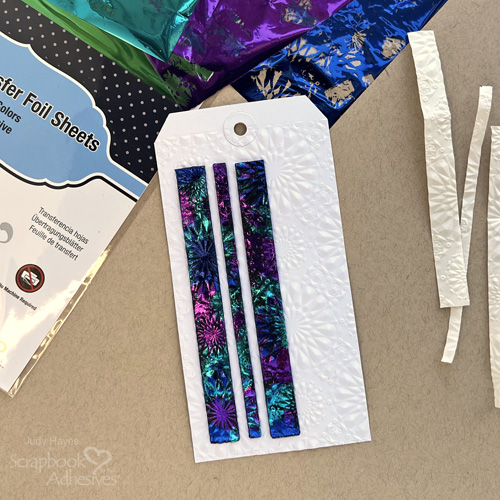
Wear Your Adhesive on the Outside with 3D Foam Strips LG
Peel liners from the foam strips. Use purple, blue and turquoise foils from the Metallic Transfer Foil Sheets Variety Colors and lightly press foils randomly to the foam strips. Do not press foil into recesses of embossed pattern. Repeat until you get your desired look.
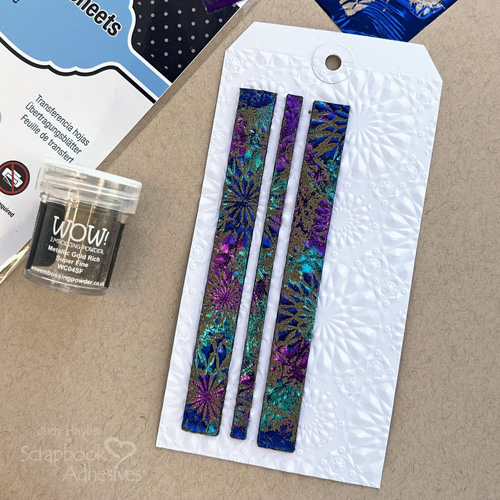
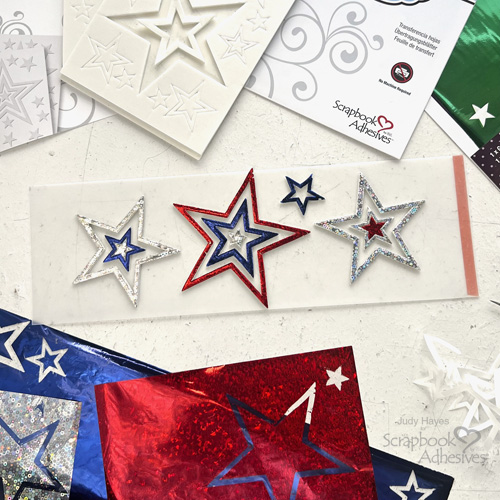
Cover the foam strips with gold embossing powder and rub powder into the grooves to secure. Then shake off excess. Make sure to rub the embossing powder off the foils. Use a heat tool to melt the powder. Note the foil will react to heat and have that cool grainy look.
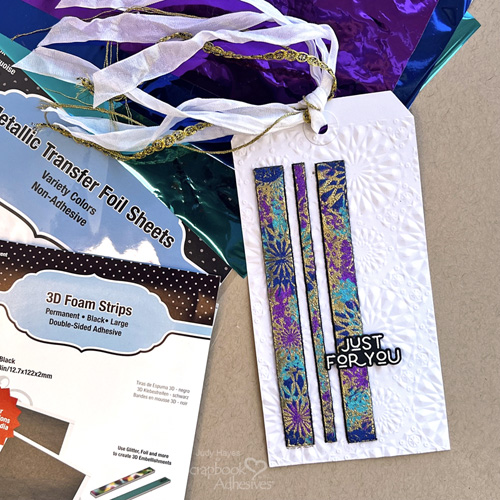
The Greeting
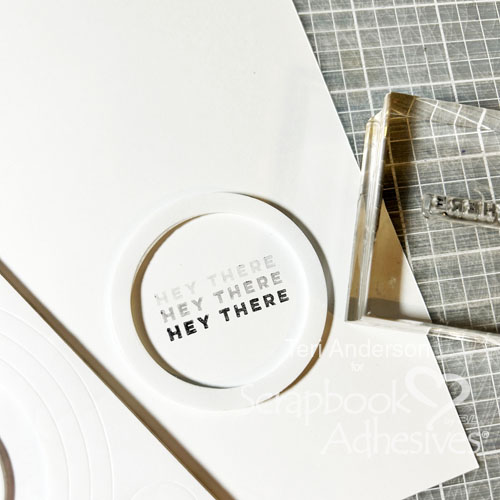
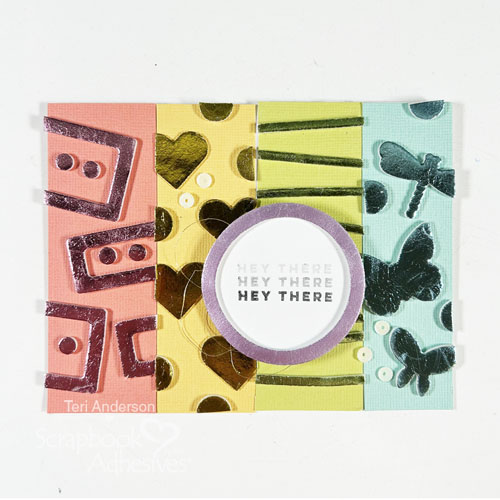
Stamp the greeting on black cardstock with the Versamark ink, cover with white embossing powder, remove excess and use heat tool to emboss. Use coordinating die and die cutting machine to cut out greeting.

Cut small piece of 3D Foam Strips Black and place on back of greeting on end that extends over tag. To other end, apply adhesive with E-Z Runner® Ultra Strong Refillable Dispenser. Peel liner and fasten greeting to tag.
Add Ribbons
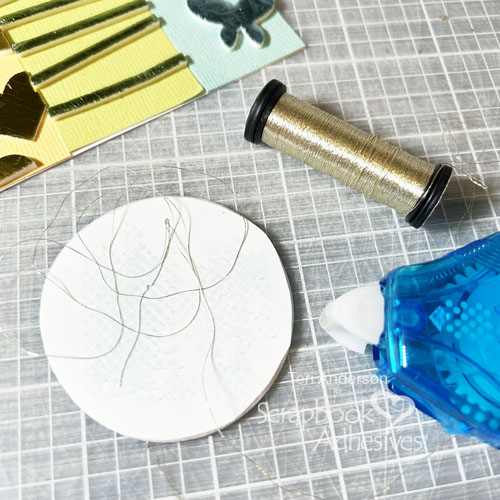
Thread and tie several ribbons (or seam binding) with gold floss and gold trim to tag.
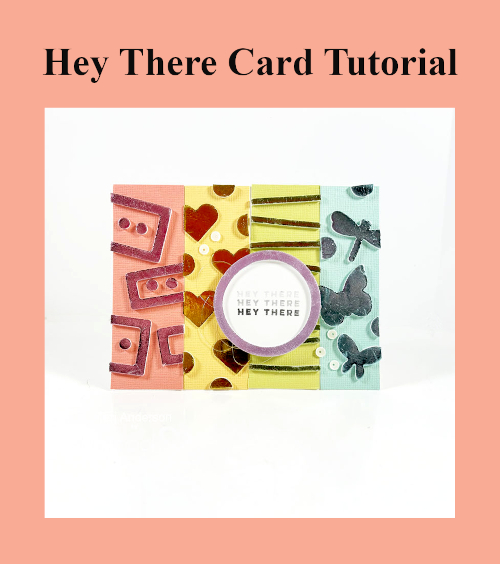
I hope you enjoy this Just for You Emboss + Foil tag! Give these ideas a try on your next papercrafting project.
Thanks for visiting!
Judy Hayes
Creative Time: 20 mins
Skill Level: Beginner
Materials Needed:
Scrapbook Adhesives by 3L®
E-Z Runner® Ultra Strong Refillable Dispenser
Metallic Transfer Foil Sheets Variety Colors
Other: Stamp and Die: Taylored Expressions (All Together – Occasions); Ink: Tsukineko (Versamark); Embossing Powder: Wow! Embossing Powder (Metallic Gold Rich), Ranger Ink (White); Embossing Folder: Sizzix (Tim Holtz Kaleidoscope); Black Cardstock; #8 White Tag; Ribbons, Seam Binding, Gold Thread, Gold Trim
Click Preferred Retailers List
Save to Pinterest!
Visit our Website and Blog!
Sign up for our Newsletter so you never miss a contest or giveaway!