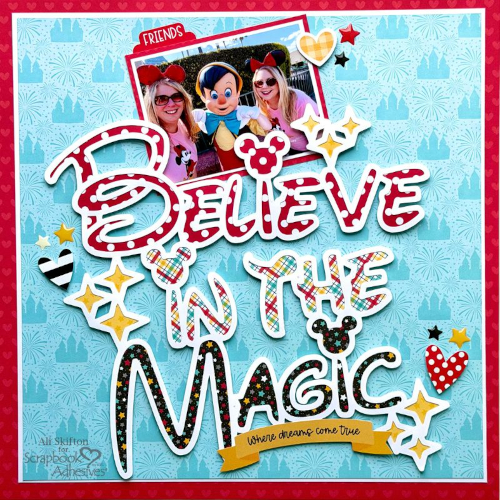
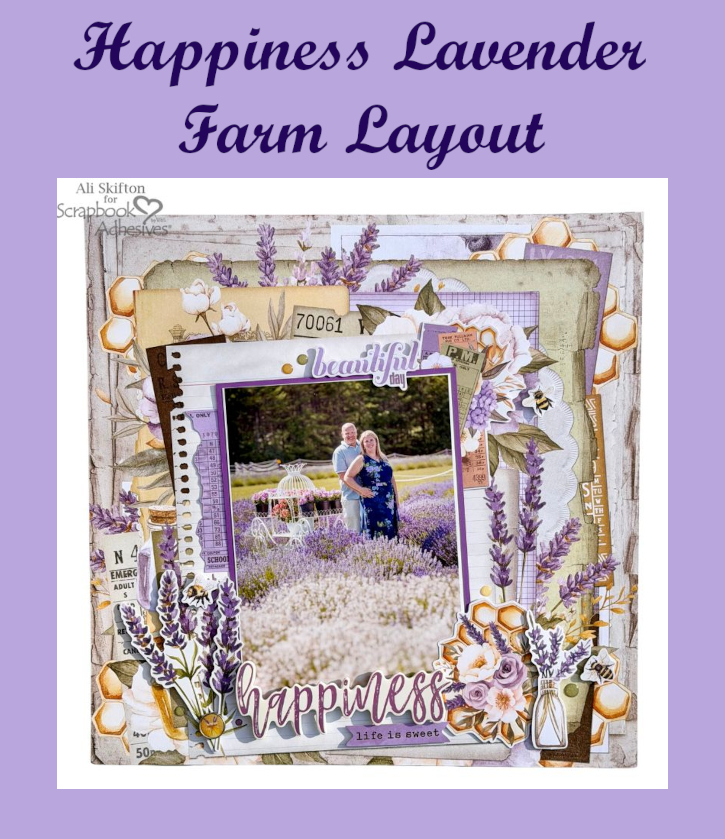
Hello my crafty friends! It’s Ali, @funadventureswithali, and I’m so excited to share a new Happiness Lavender Farm Layout with you today that is full of texture, layers, and all my favorite foam adhesives! If you know me, you know I absolutely love adding dimension to my pages, and this layout is a perfect example of how mixing different foam products can really bring everything to life.
Happiness Lavender Farm Layout Design
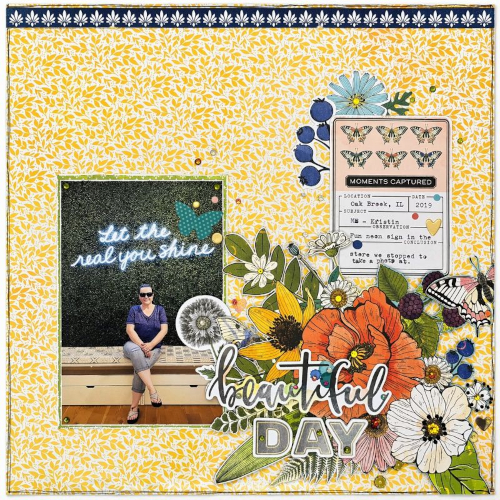
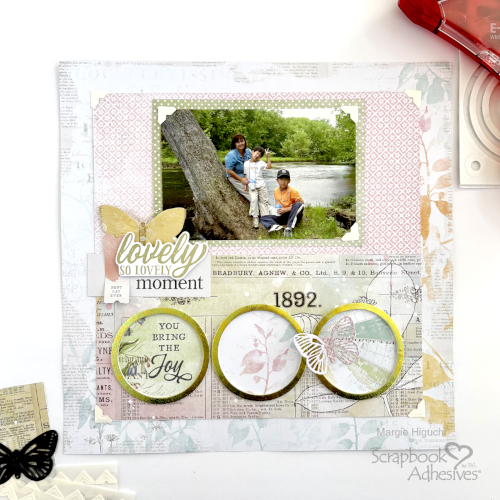
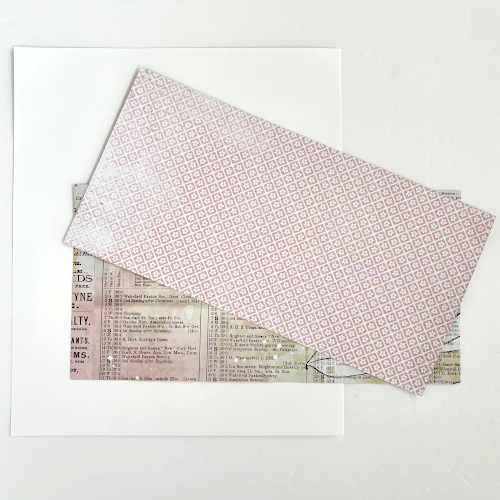
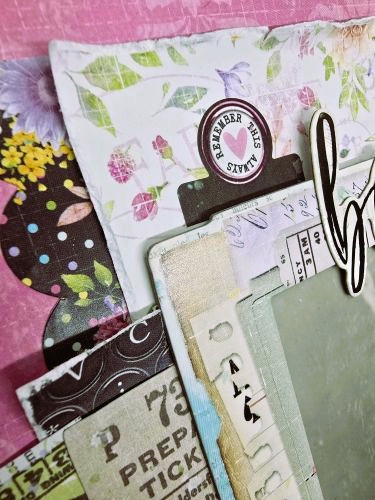
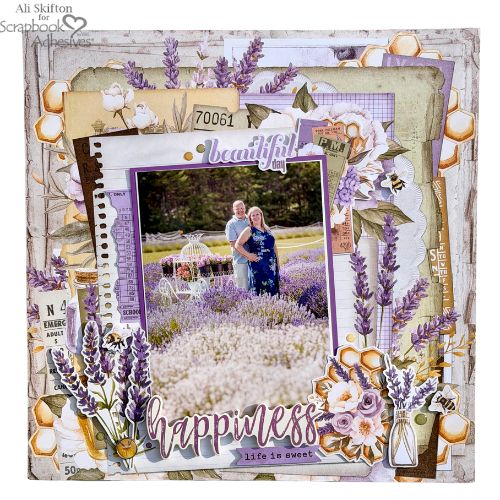
This very special 5 x 7″ photo was taken at a lavender farm in Door County WI during a summer trip with my husband, Jeff. It was our first visit there and fell in love with the endless rows of soft purples and white over a peaceful atmosphere. Of course, the incredible and truly unforgettable lavender scent! I picked colors and patterns that mirrored the tones in photo. The background paper had layered details but I added even more layers to enhance the effect.

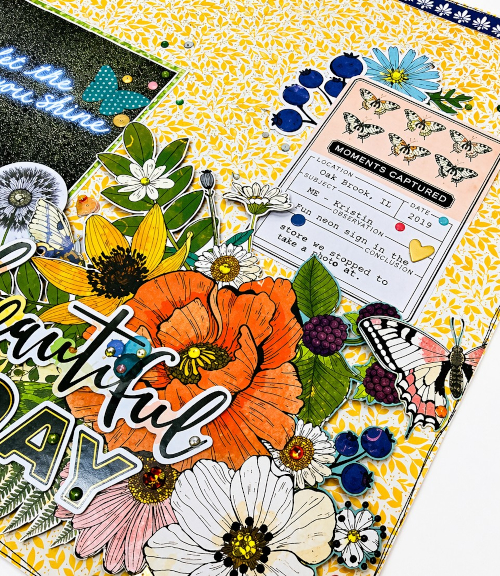
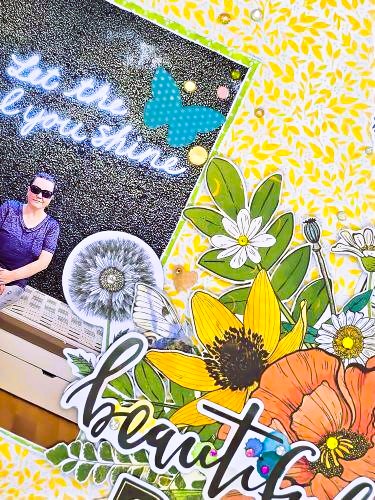
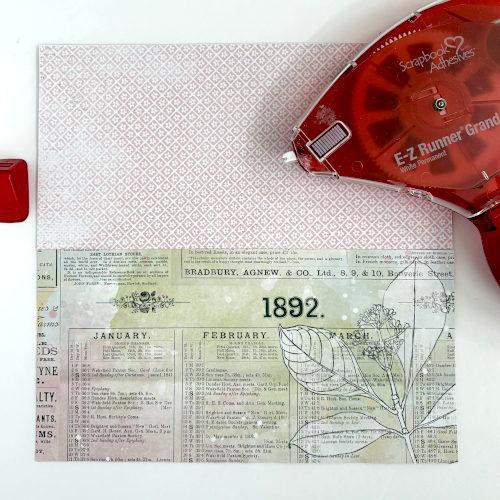
For varying heights, I used a combination of Crafty Foam Tape White 108ft., 3D Foam Squares White Mix, to create depth and interest across the entire page. It helps each element stand out while still working together beautifully. To make my 5×7″ photo the focal point, I double matted it for extra definition. I added crafty foam tape behind the photo, which allowed me to tuck in embellishments underneath for a more dynamic, layered look. In the top right corner, I used 3D Foam Squares White Mix to pop up ephemera pieces, creating a soft cluster that draws your eye across the page.
Add the Elements
Place a 3D Foam Strips behind the word “Beautiful” and add it in the upper right area. Then a 3D Foam Squares Micro White behind an adorable bee. A few enamel dots sprinkled around that cluster help tie everything together and add just the right finishing touch.
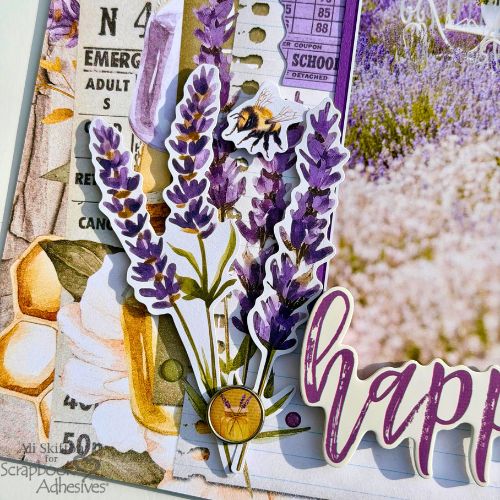
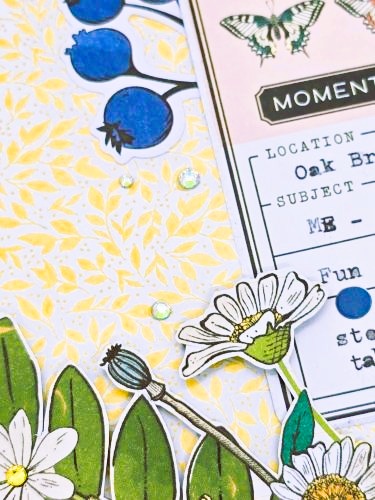
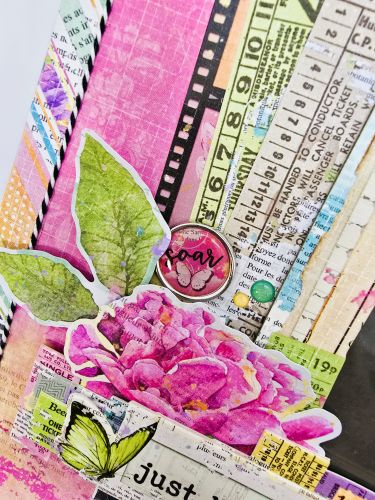
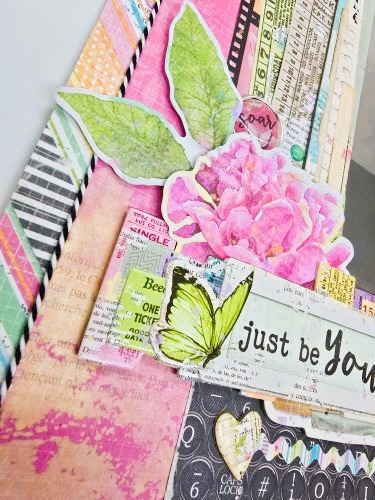
Underneath the photo, tuck a torn piece of purple paper for a bit of texture and softness. On the bottom left side, I created another cluster using lavender sprigs layered over the background with 3D Foam Strips. They’re perfect for those longer, thinner pieces. I love how full and dimensional this area feels with just a few added elements. In finishing that cluster, a cute enamel brad to hold the sprigs together, another popped-up bee, and—of course—more enamel dots.
Add the Title
For my main title, “Happiness,” I used 3D Foam Strips to give it lift and placed it toward the bottom center of the page, slightly overlapping the photo. I layered in a banner that says “Life is Sweet” using 3D Foam Strips as well, adding even more dimension and interest.
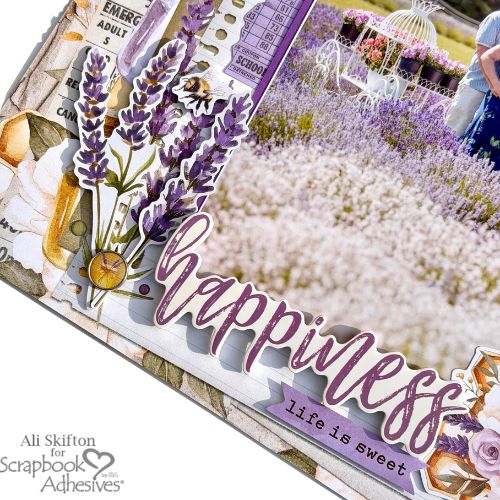
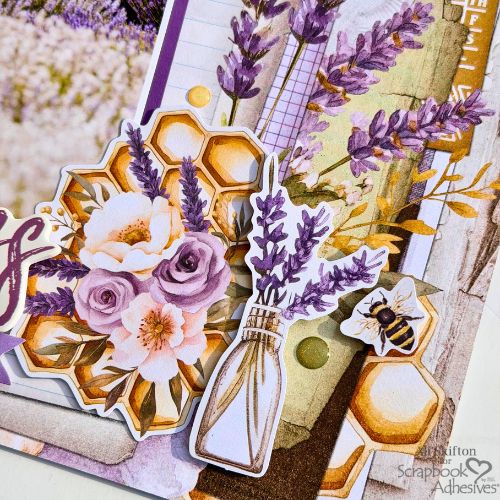
To balance everything out, I created a final cluster in the bottom right corner. 3D Foam Squares White Mix were added behind a floral honeycomb ephemera piece. Next, add an even thicker foam square behind a small flower vase to really make it stand out. I overlapped the elements slightly and finished it off with another sweet bumblebee and a few more enamel dots.
With all these layers and textures, it truly brings me right back to that beautiful day in the lavender fields. I can almost smell the lavender and hear the soft buzzing of the bees all around. It’s amazing how a page can hold not just a memory, but a feeling.
I’m already dreaming about our next visit back!
Happy spring vibes, friends!
Thanks for visiting!
Ali Skifton (FunAdventuresWithAli)
Creative Time: 90 mins
Skill Level: Beginner
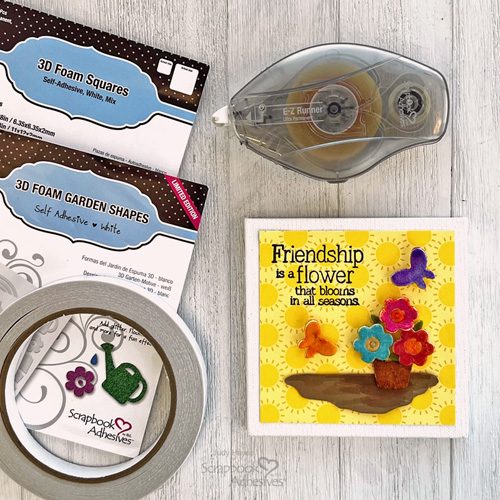
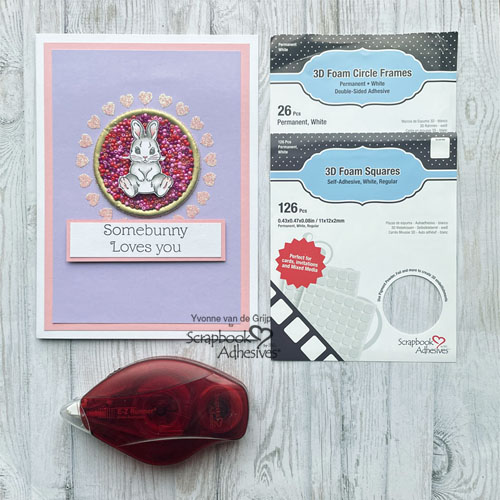
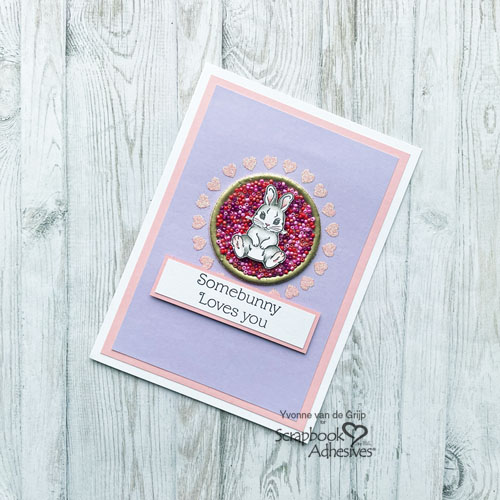
Materials Needed:
Scrapbook Adhesives by 3L®
E-Z Runner® Grand Permanent Strips Refillable Dispenser
3D Foam Squares White Mix, Thin 3D Foam Squares White Mix and 3D Foam Squares Micro White
Crafty Foam Tape White 108ft., 3D Foam Strips
Other: Patterned Papers + Elements: Simple Stories (Simple Vintage Lavender Collection)
Save to Pinterest!
Visit our Website and Blog!
Sign up for our Newsletter so you never miss a contest or giveaway!