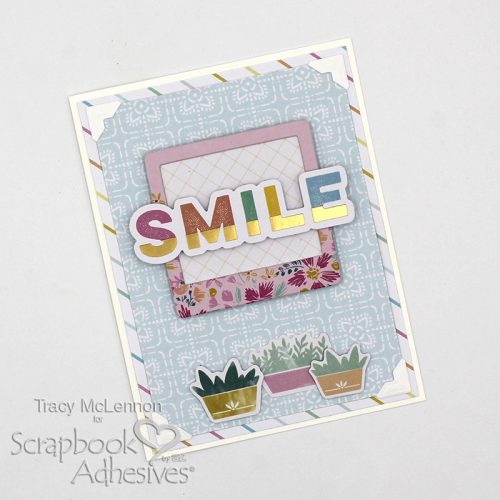
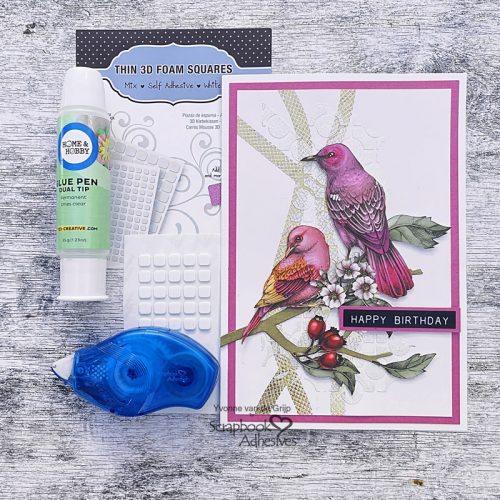
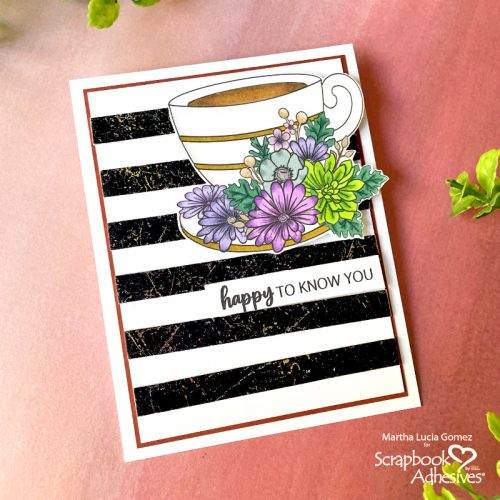
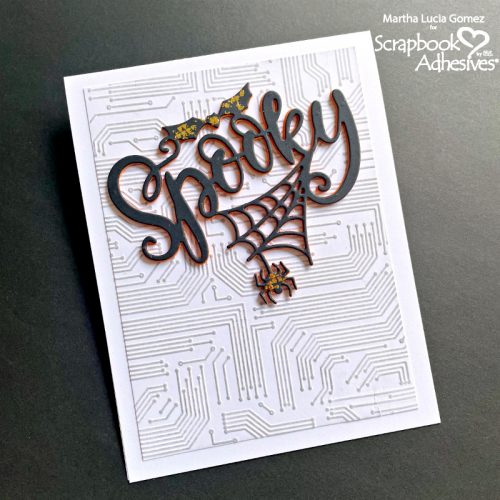
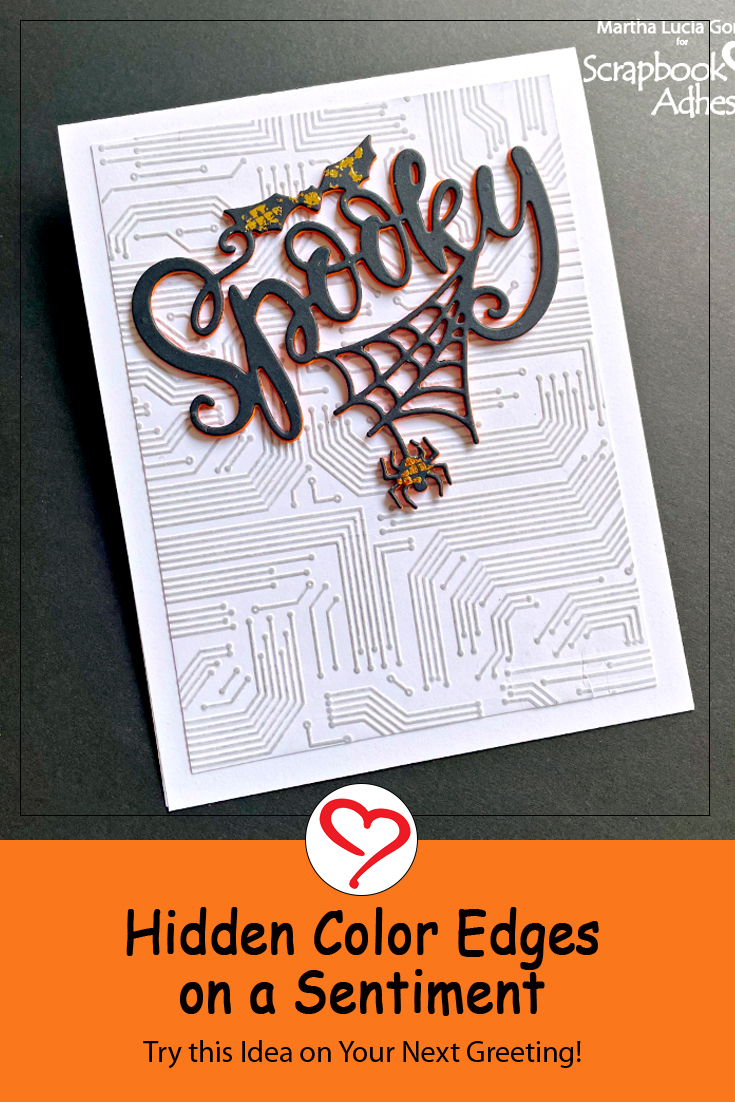
Hello crafty friends, Martha Lucia here! Today, I have a fun card for you that features a surprise element. It is the Hidden Color Edges Card. When you look at the card straight on, the greeting looks normal in black. However, when you tip the card, an orange color edge is revealed. Perfect for a Halloween card!
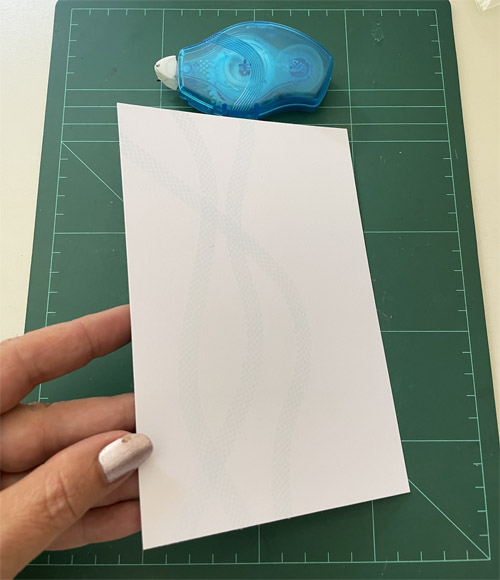
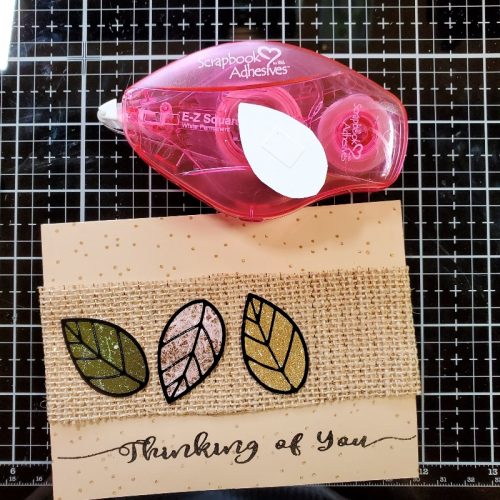
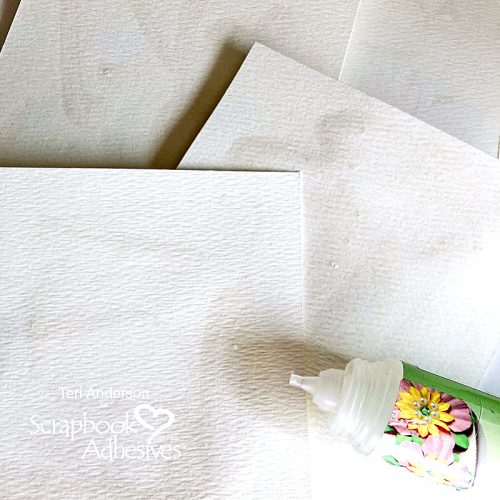
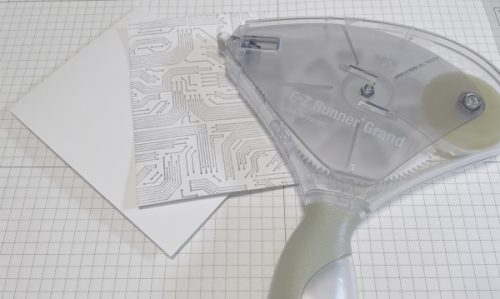
My creative process started with the card base and the second layer of the card. First, I dry embossed a piece of white smooth cardstock. Then I inked the embossed areas with gray ink, applying the color with a light touch.
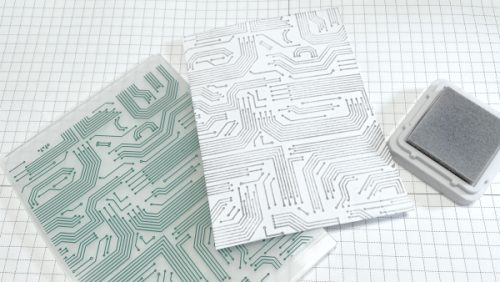
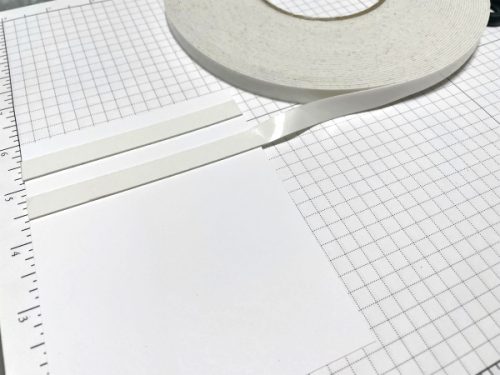
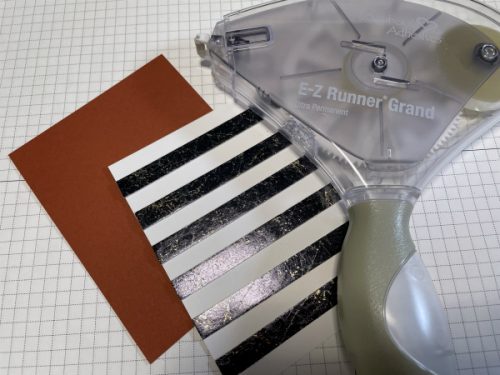
To adhere the embossed layer to the card base, I used the E-Z Runner Grand Refillable Dispenser. Set the card for aside to prepare the decoration.
Hidden Color Edge
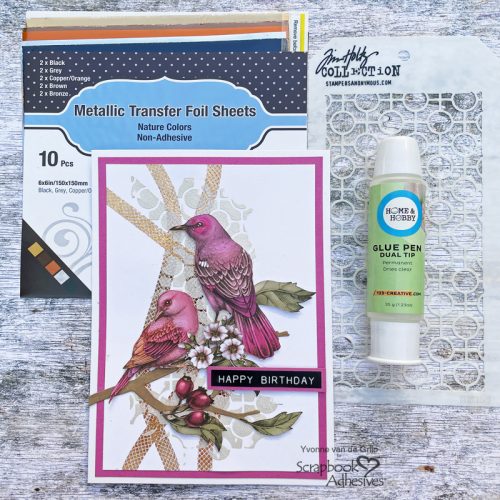
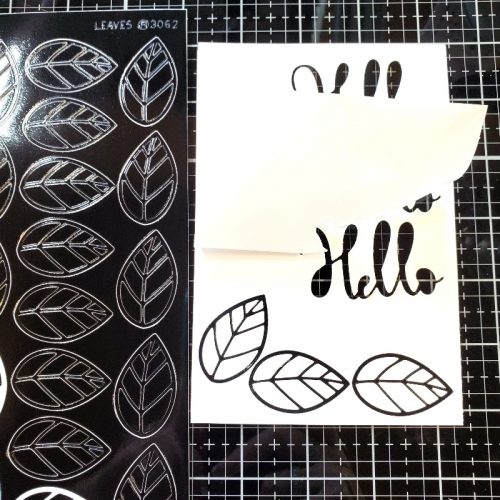
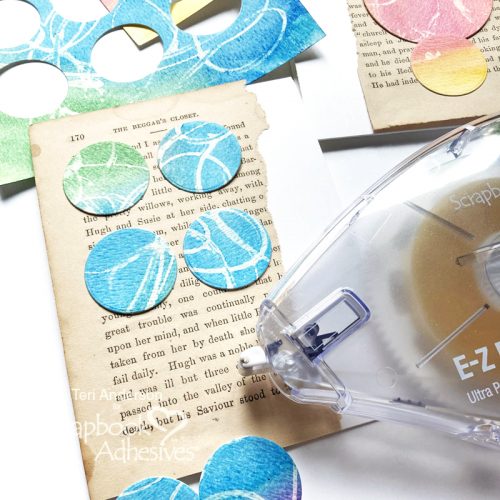
I used one of the Halloween die cuts included in the Fall Sentiments Kit for the greeting. I cut out one black layer and four or five orange layers to stack.
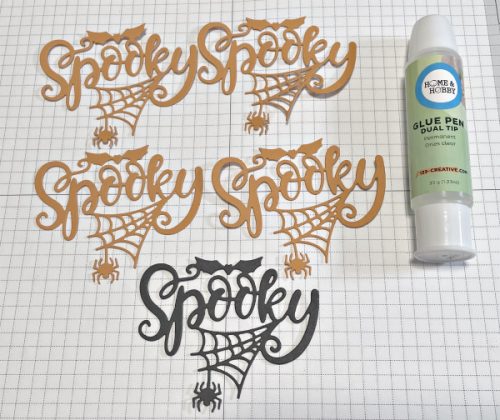
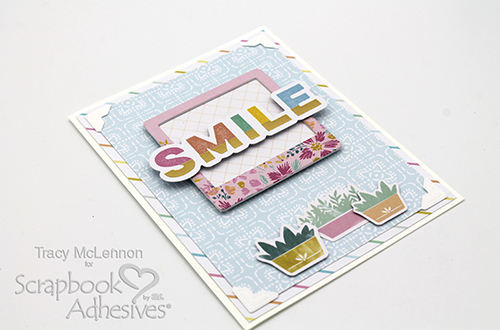
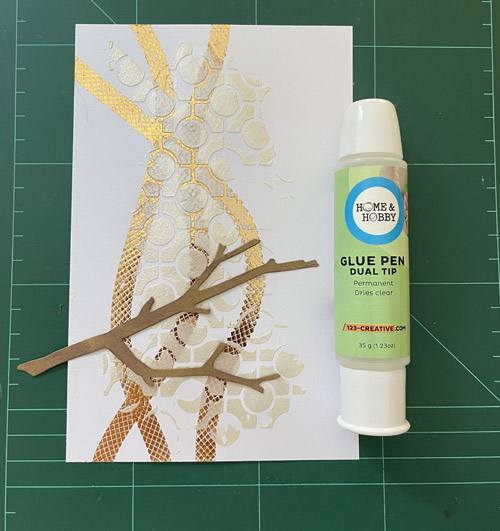
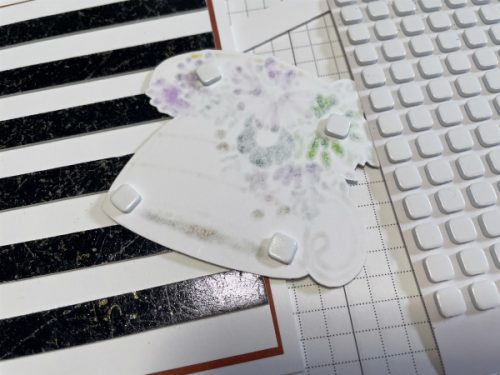
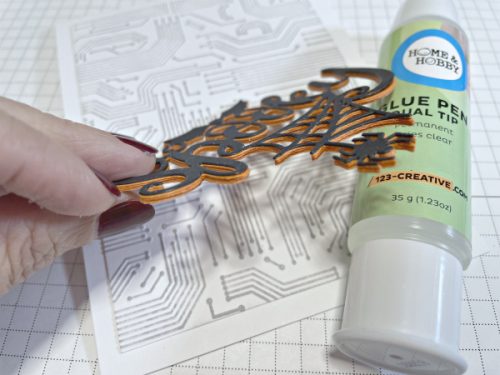
To stack all the die-cut pieces, I used the Dual Tip Glue Pen. This is permanent and dries clear. It is ideal to keep my clean design. Next secure the entire piece over the decorated card base, using the same adhesive, the Dual Tip Glue Pen.
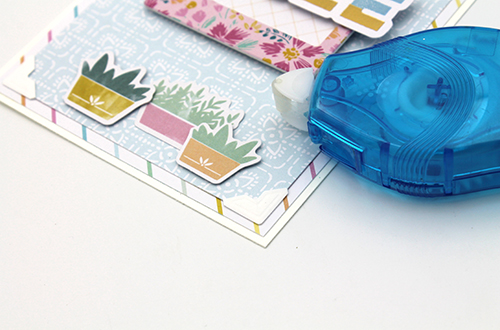
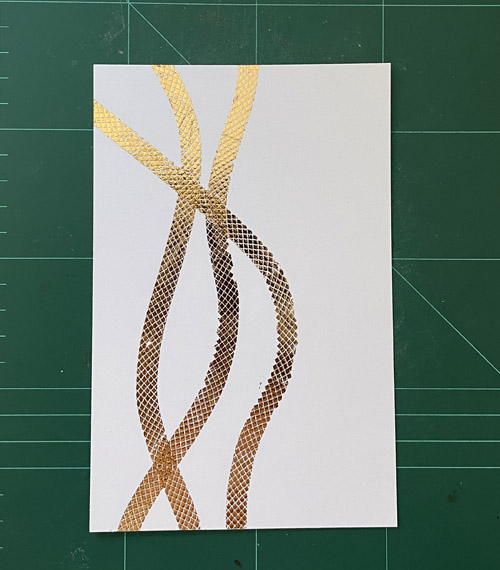
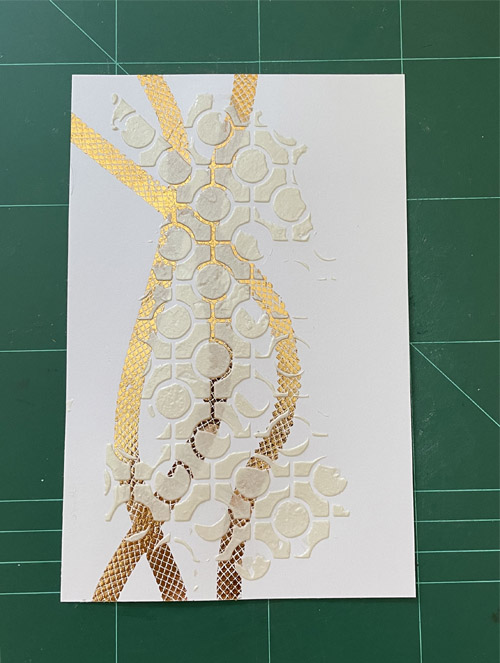
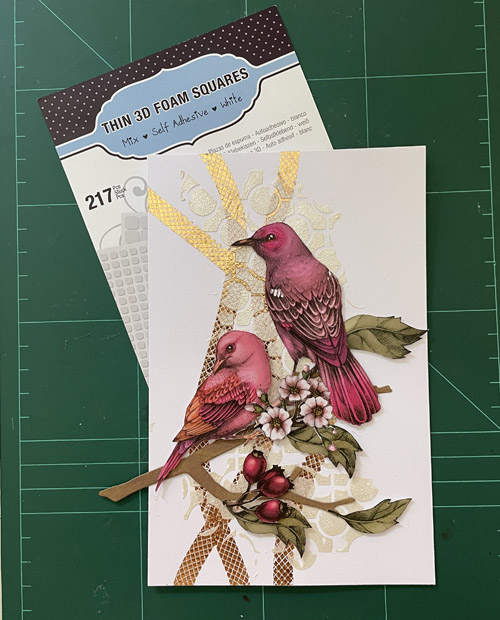
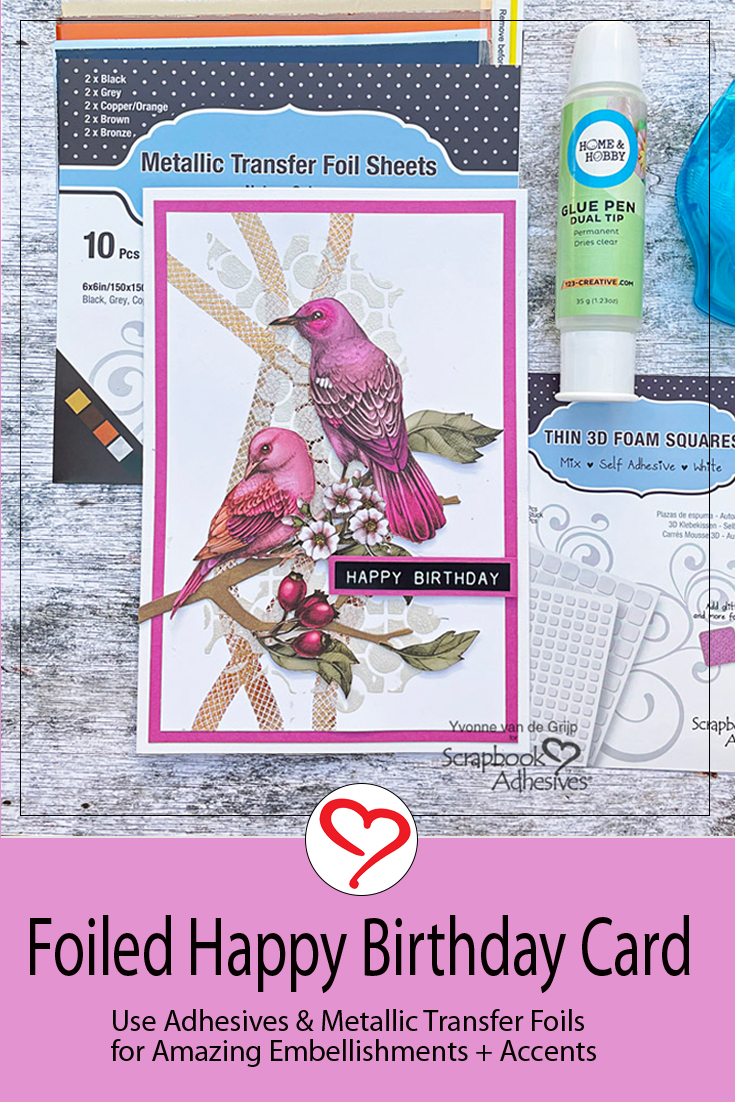
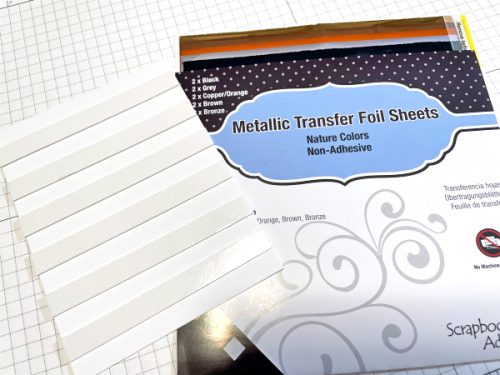
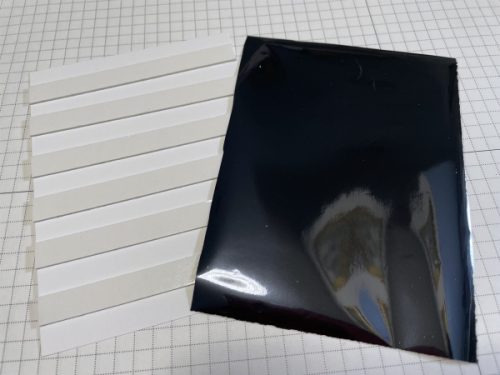
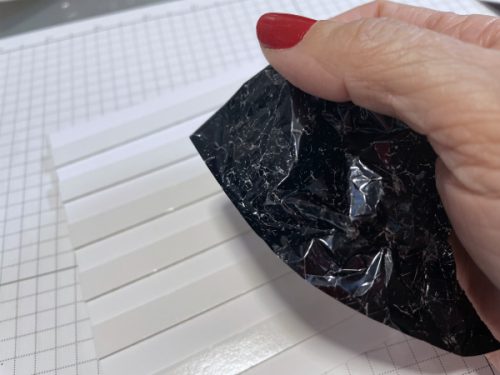
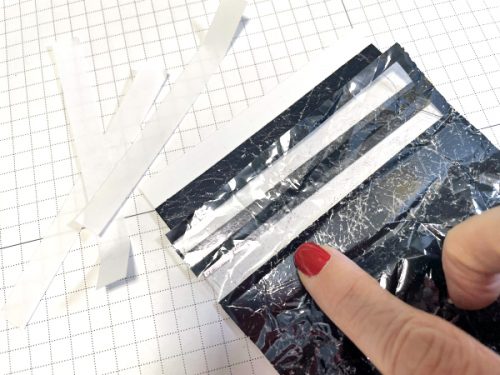
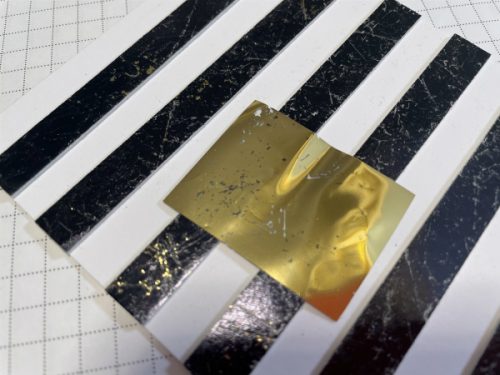
As the final touch for the hidden edge card, I added a little shimmer. Simply run the E-Z Dots® Permanent Refillable Dispenser over the spider and bat. Next, take a tiny piece of bronze foil from the Metallic Transfer Foil Sheets Nature Colors with the color side up, and rub the foil into the exposed adhesive to transfer the color. Peel away the sheet and WoW! If there are any missed areas, just reapply the foil.
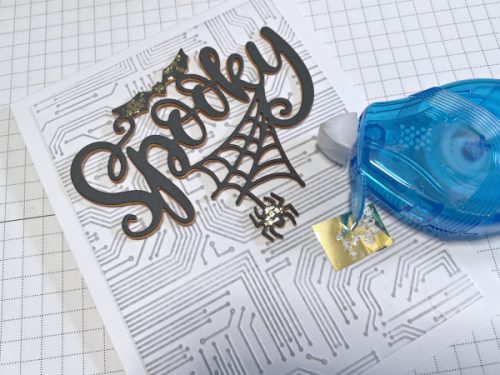
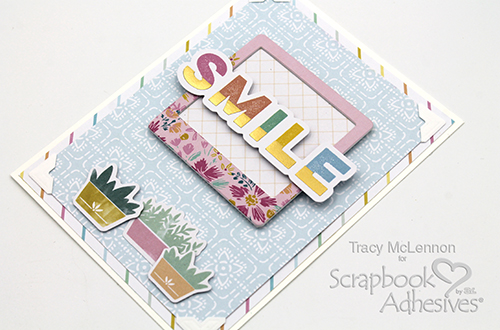
And voila my hidden color edge Halloween card is ready. Love how it turned out!
Thanks for Visiting!
Martha Lucia Gomez

Creative Time: 30 mins
Skill Level: Beginner
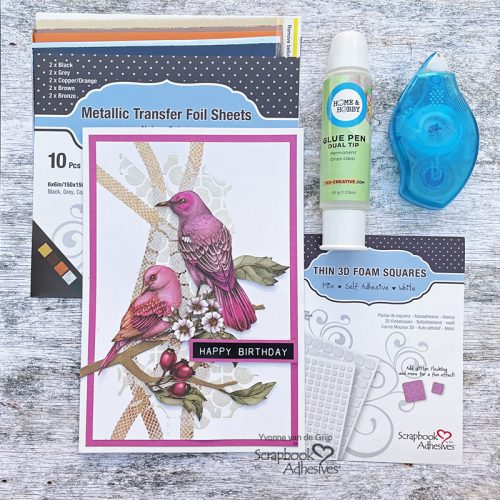
Materials Needed
Scrapbook Adhesives by 3L®
E-Z Runner Grand Refillable Dispenser
Dual Tip Glue Pen by HomeHobby™ by 3L
E-Z Dots® Permanent Refillable Dispenser
Metallic Transfer Foil Sheets Nature Colors
Other: Fall Sentiments Die Kit and Texture Embossing Folders by Diamond Press. White Smooth Cardstock by Joy Clair Designs, Big Shot.
Save to Pinterest!
Visit our Website and Blog!
Sign up for our Newsletter so you never miss a contest or giveaway!