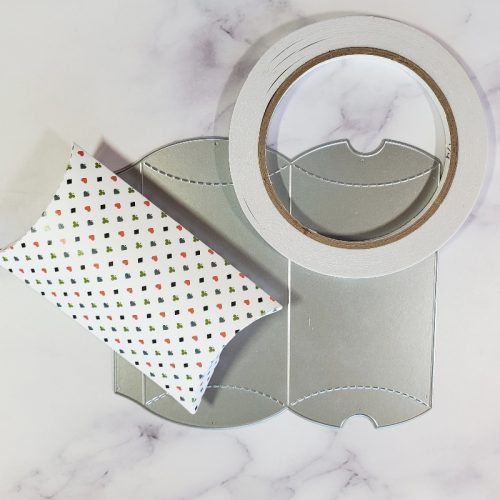
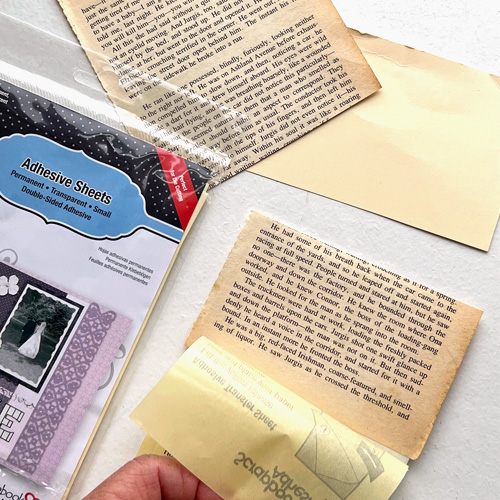
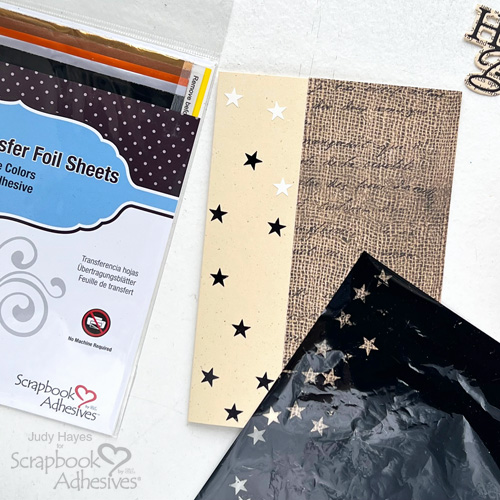
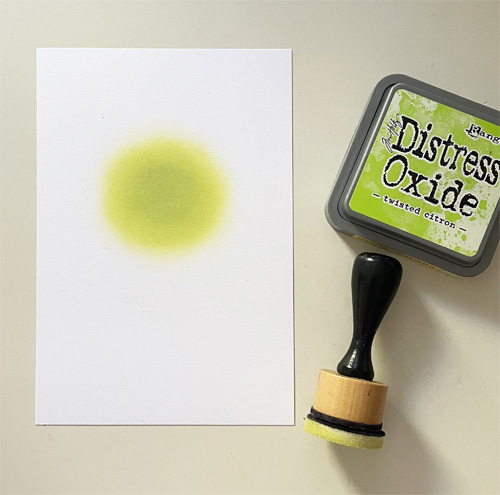
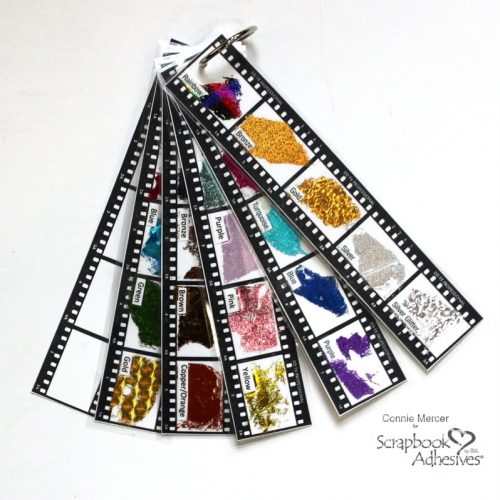
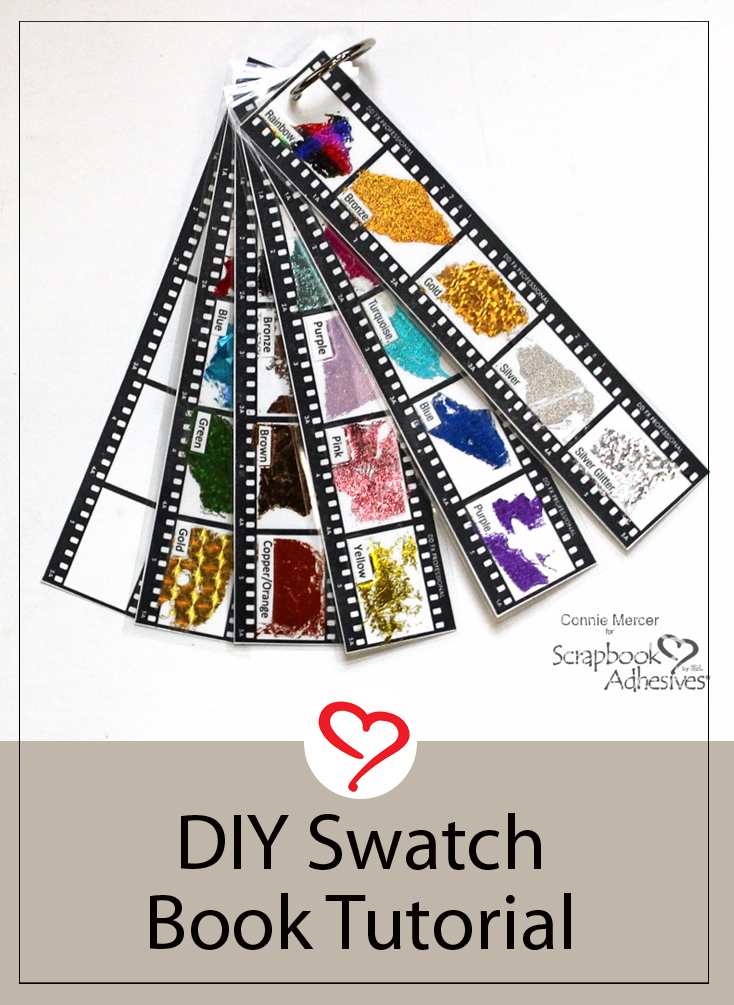
Hi, Connie here with a swatch book project to get those Metallic Transfer Foil Sheets organized and accessible. The swatching part was really fun! I wanted to have a quick reference of the Metallic Foil Sheets for color purposes.
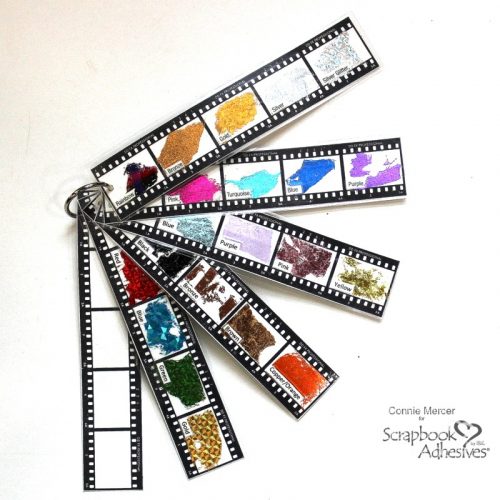
For this project, I did a little prep work. I used a film strip stamp as my swatch chart. It has five spaces and matches my ink swatch chart, You can use something similar or create your own. There are five Metallic Transfer Foil Sheet sets. I stamped one film strip for each set. This will create a wonderful swatch book for my foils!
Swatch the Foil Colors
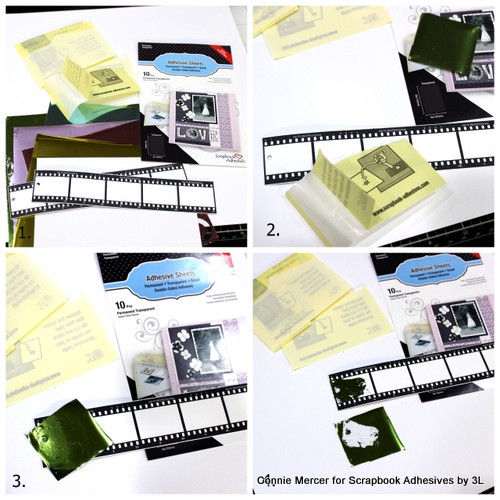
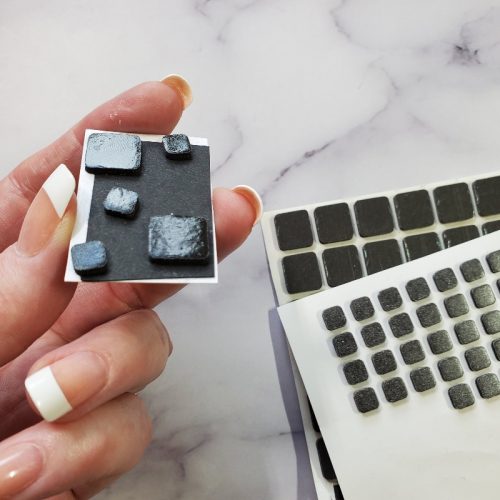
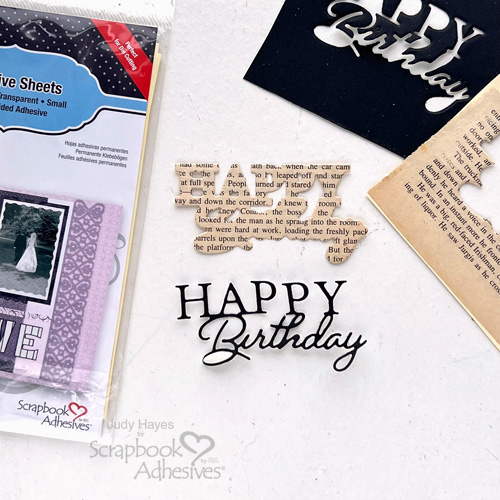
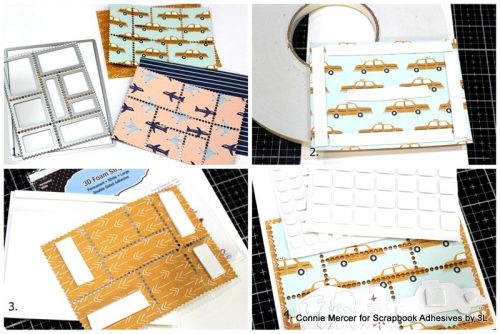
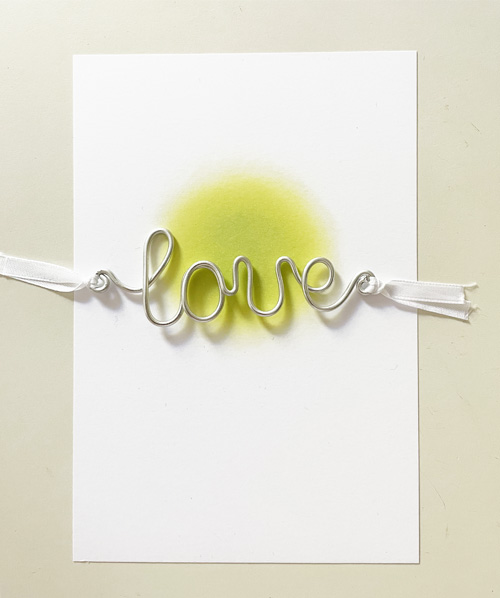
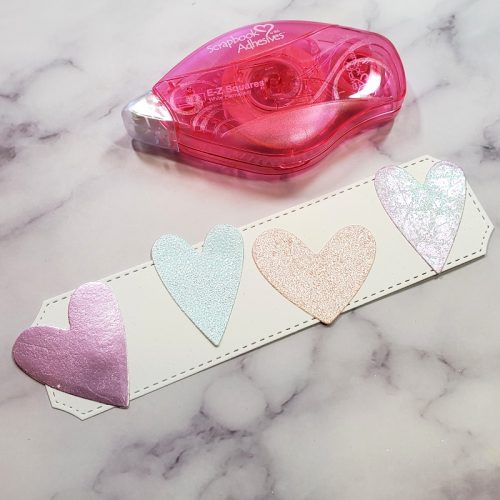
- 1. Grab the Adhesive Sheets 4×6 to apply to each section of the film strip chart.
2. Tear the Adhesive Sheets 4×6 in thirds and use a section at a time when adhering to each film section.
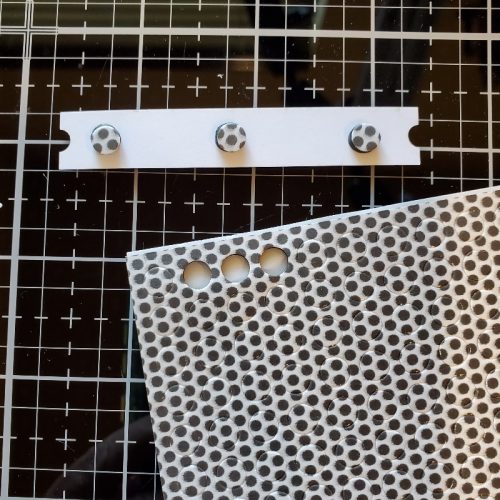
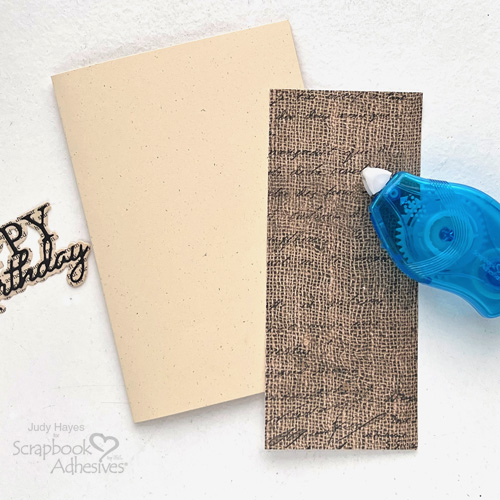
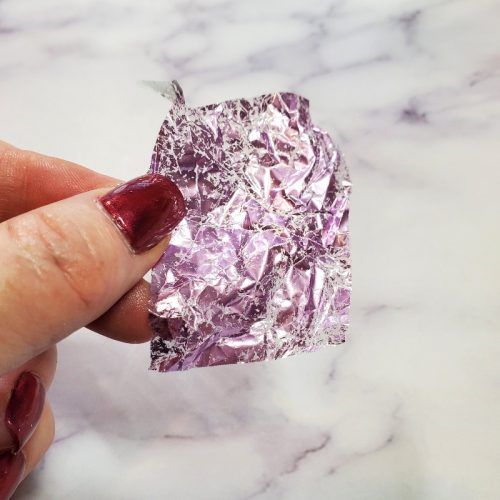
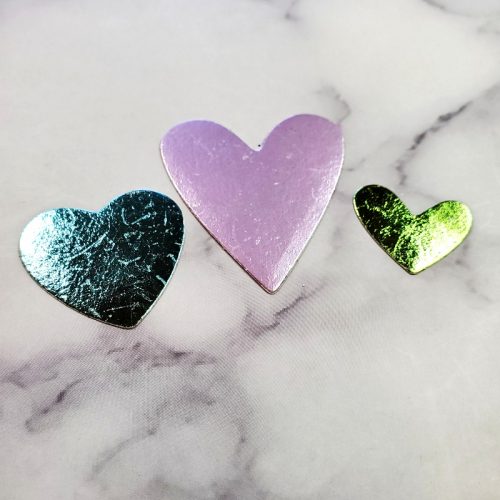
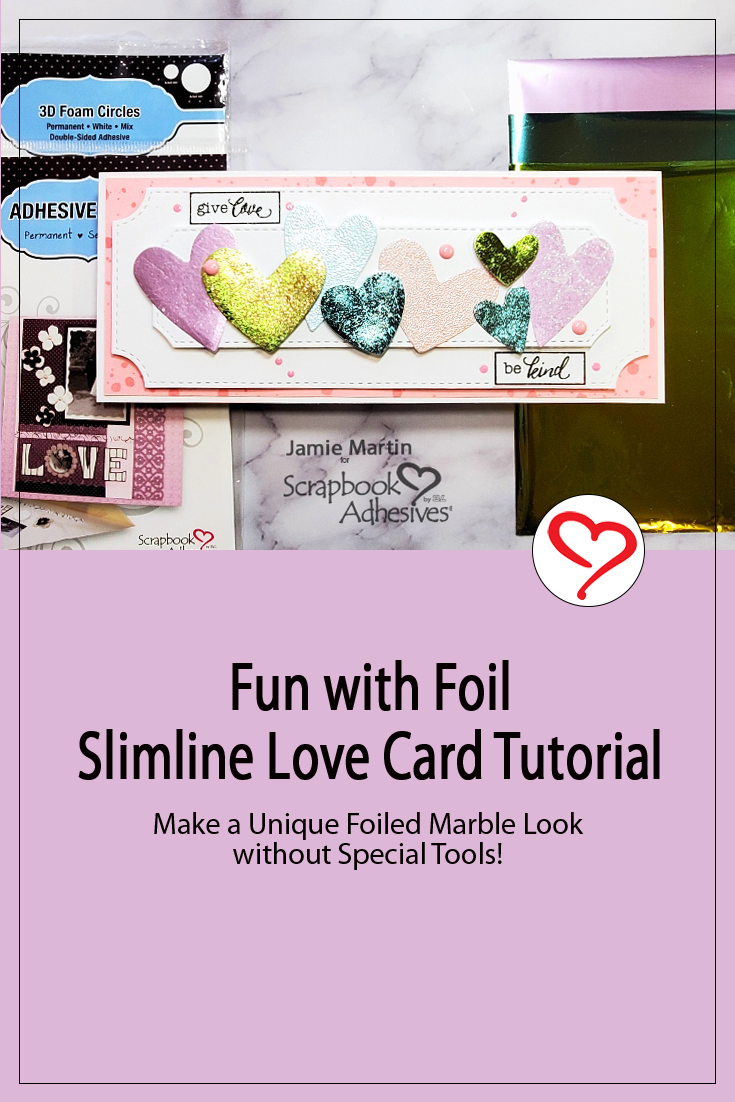
3. Cut about 2″ x 1″ square sheet of foil and lay it over (shiny side up) on the small piece of the adhesive sheet. Gently rub over the foil with your finger to transfer the color.
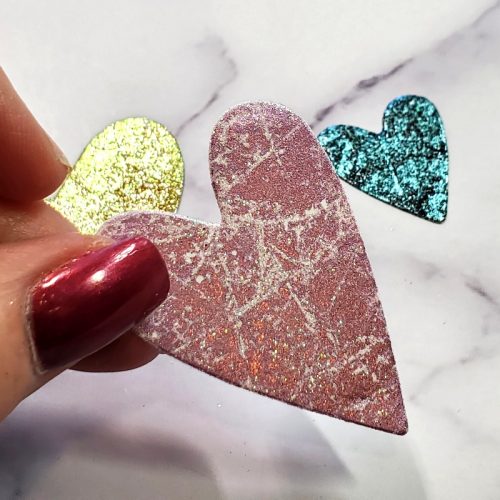
4. Peel off and you have a sample of foil color on the chart! Repeat the step for each of the colors until all five sets are swatched.
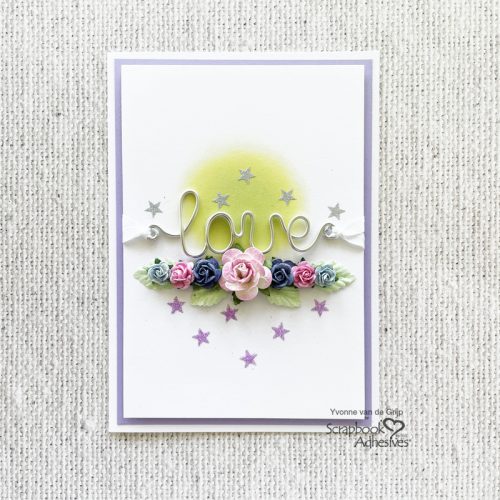
Labeling the Swatches
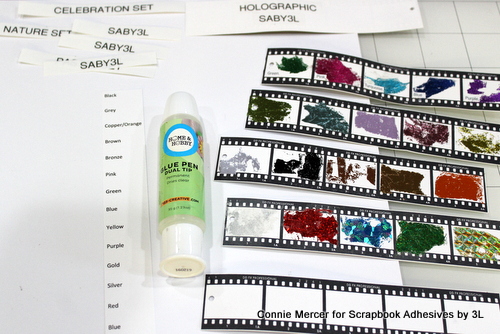
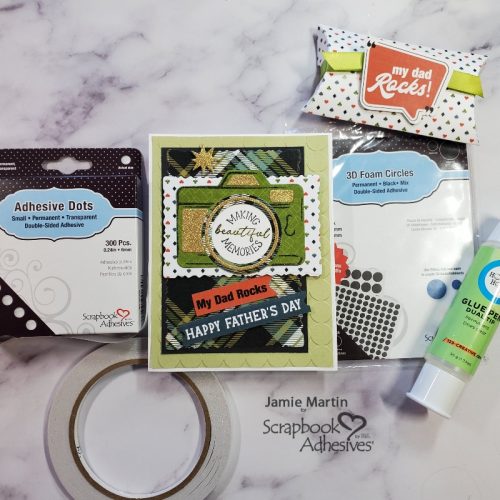
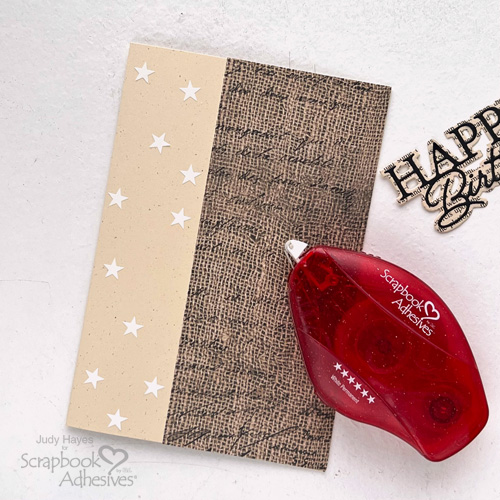
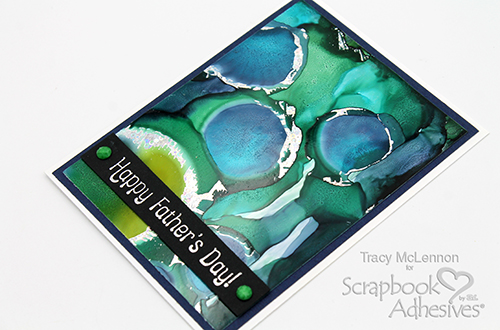
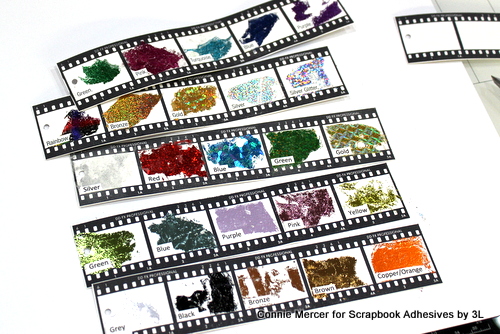
Label each set for easy reference. Lightly apply the Dual Tip Glue Pen on the back of the labels and place them to each color square.
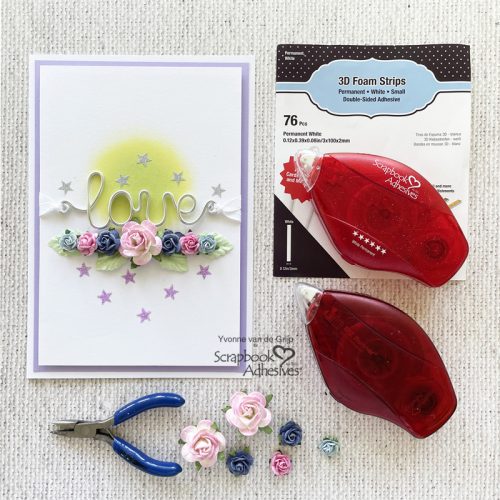
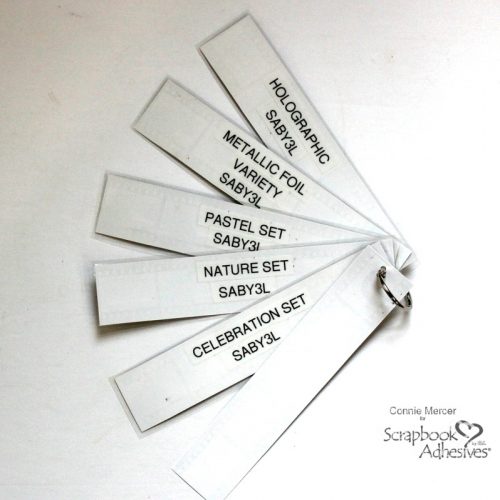
Next, I used a label maker to name the set and adhered them to the back of each strip. Now I have a Metallic Foil Swatch Book to use when creating my projects. What do you think?
Thanks for stopping by and I hope you enjoyed my Swatch Book tutorial! Maybe it will inspire you to get organized too!
Connie Mercer
Skill Level: Beginner
Creative Time: 90 minutes
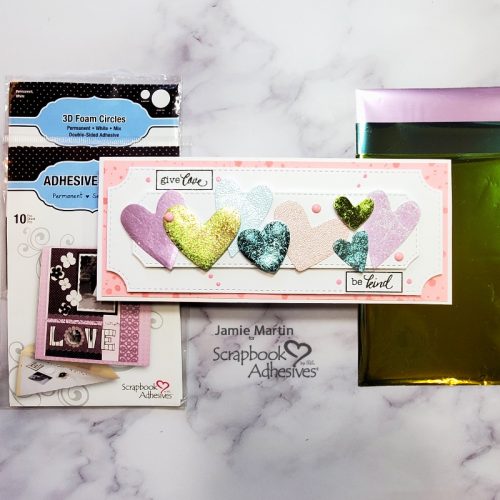
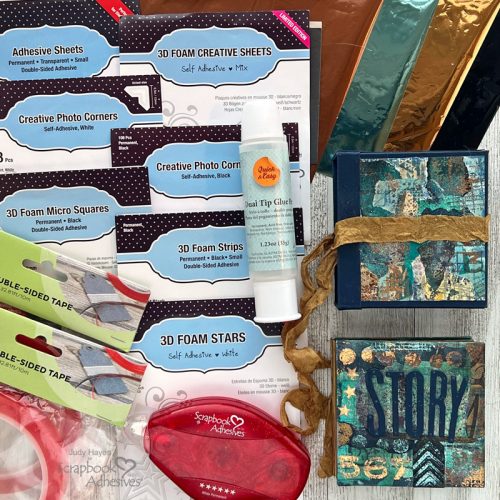
Materials Needed:
Scrapbook Adhesives by 3L®
Adhesive Sheets 4×6
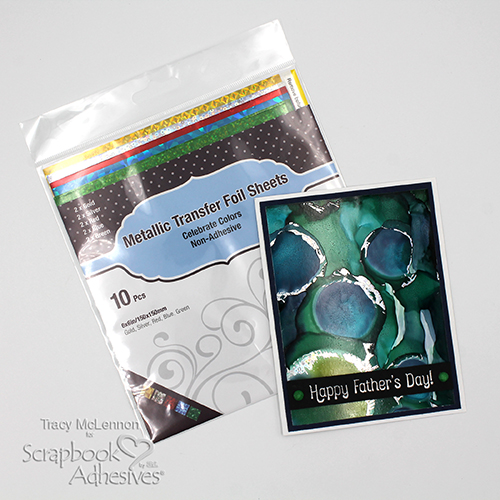
Metallic Transfer Foil Sheets in Holographic, Variety, Nature, Pastel, and
Celebrate
HomeHobby™ by 3L
Dual Tip Glue Pen
Other: Darkroom Door: Film Strip Stamp, Archival Ink: Jet Black, Label Maker, White Cardstock, Hole Punch, Jump Ring; Laminator
Save to Pinterest!
Visit our Website and Blog!
Sign up for our Newsletter so you never miss a contest or giveaway!