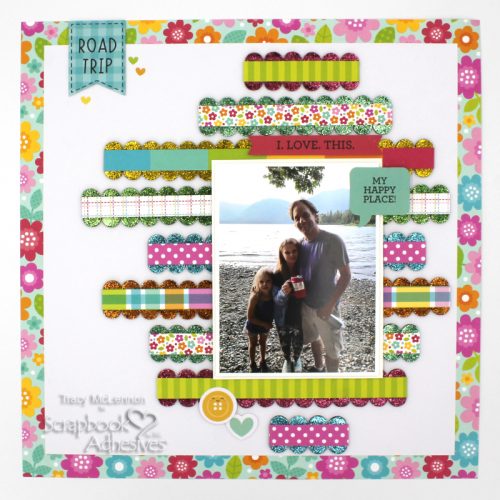
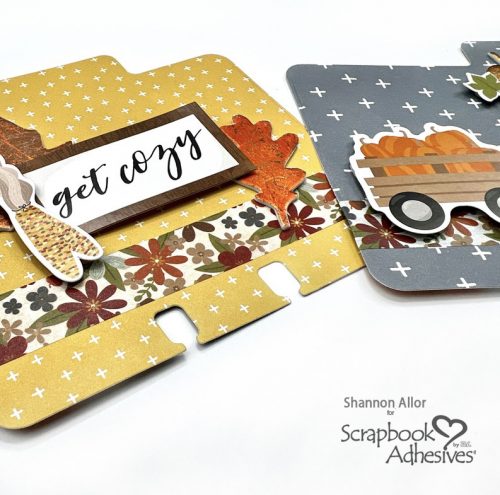
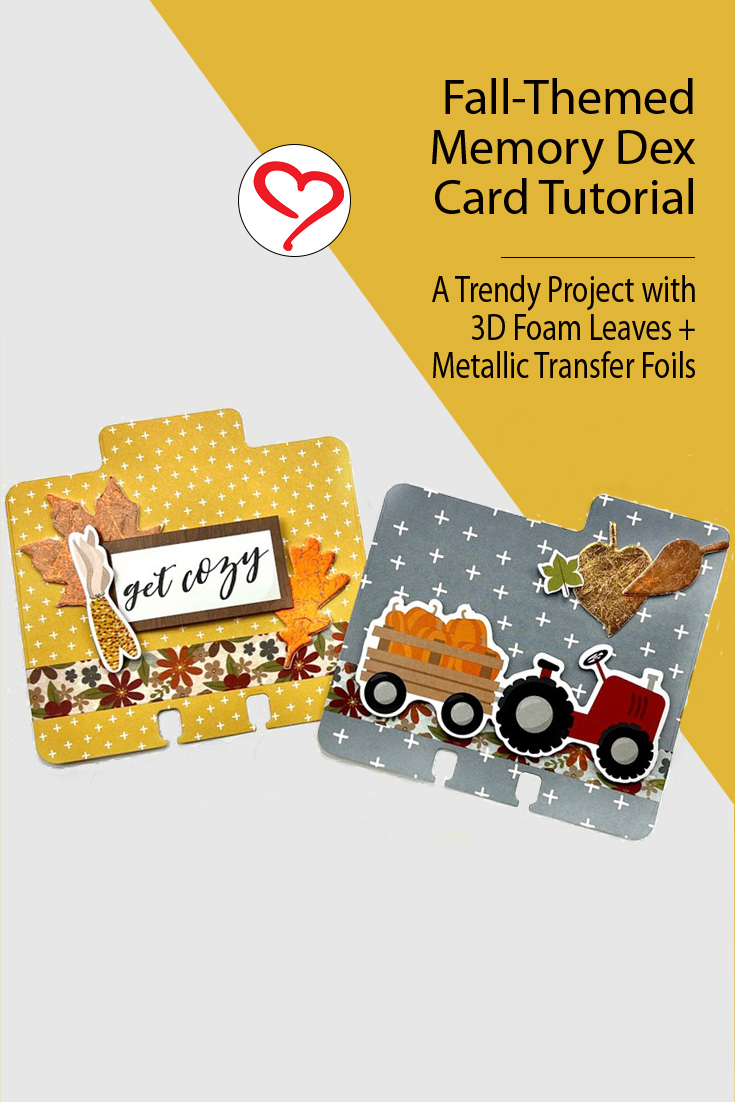
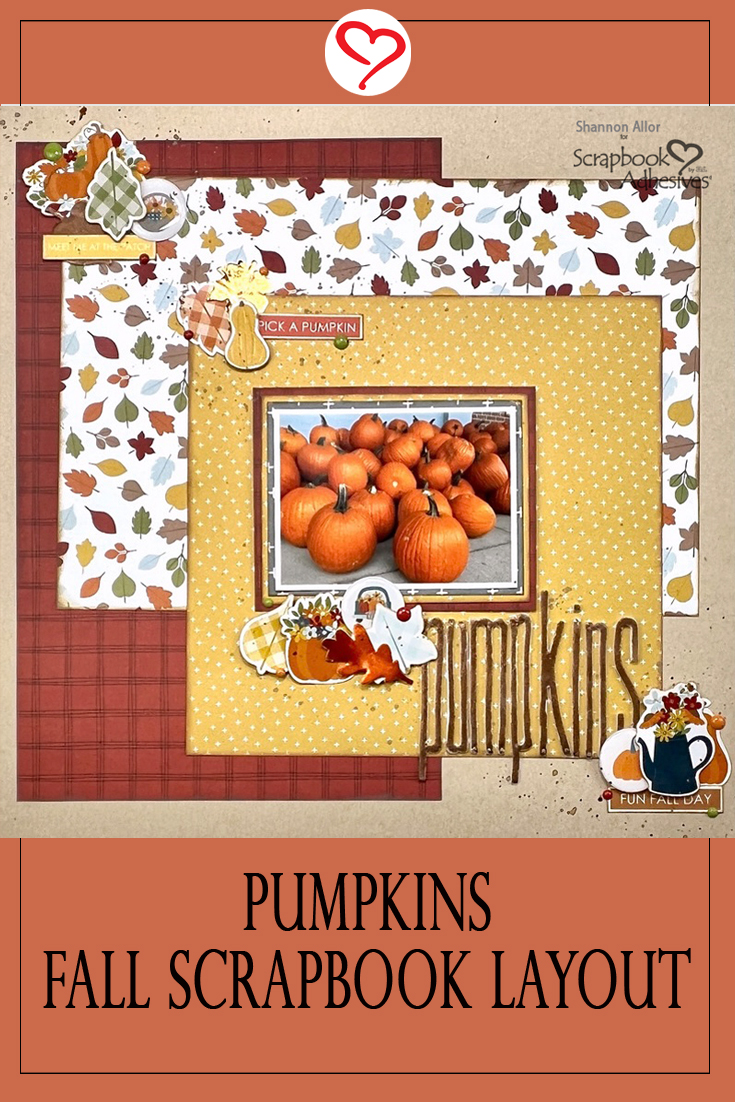
Hello friends! It’s Shannon up on the blog today bringing you this cute Pumpkins fall-themed layout featuring all kinds of fall goodness! I wanted to continue playing with the Metallic Transfer Foil sheets. I had so much fun creating my title using the Foil Sheets and 3D Foam Sheets!
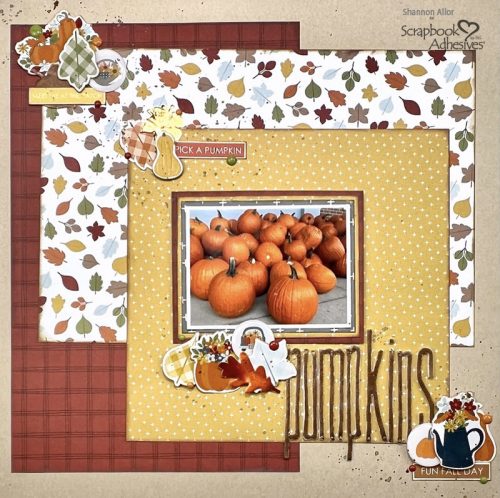
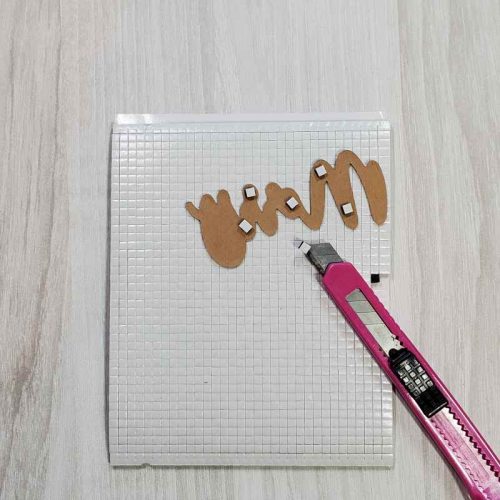
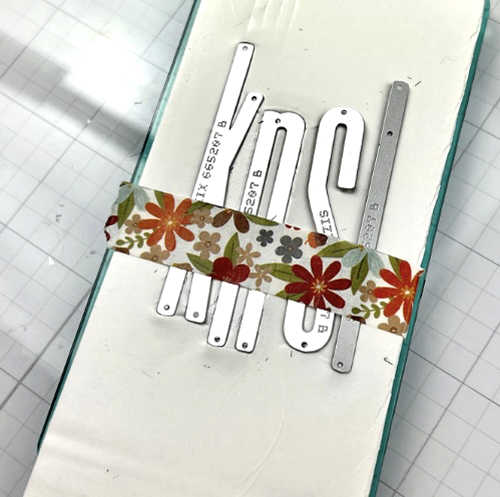
Pumpkins Title
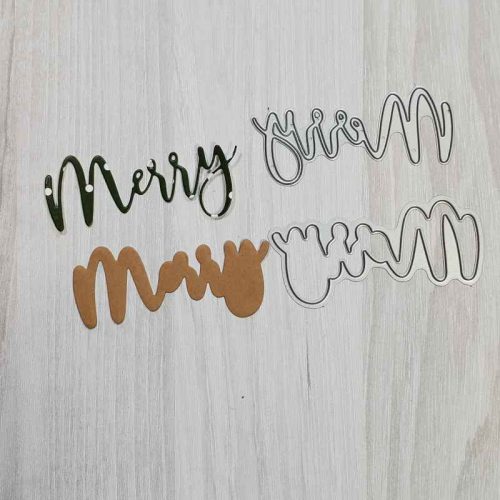
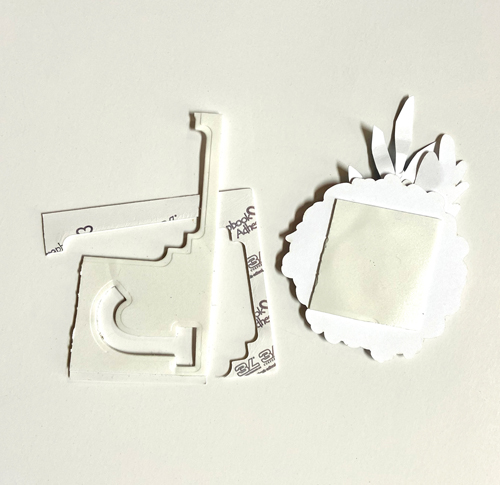
Start with using some dies from my stash to create a title. I ran the foam sheets through my manual die cutting machine and then peeled the top layer from the letters.
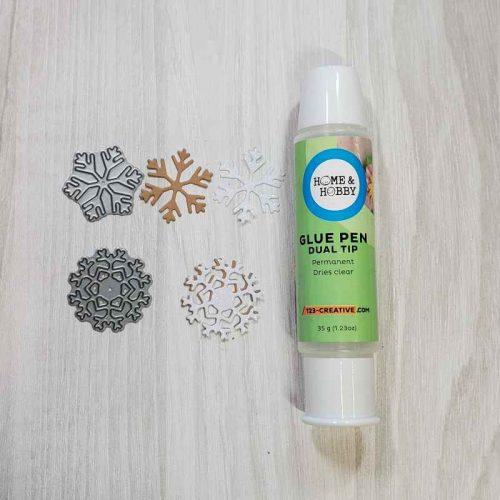
Wear Your Adhesives on the Outside with Foil
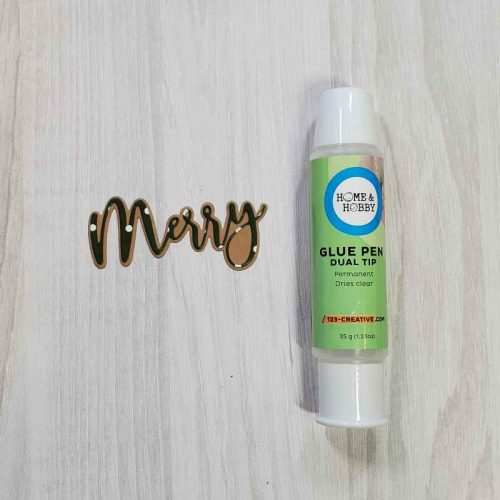
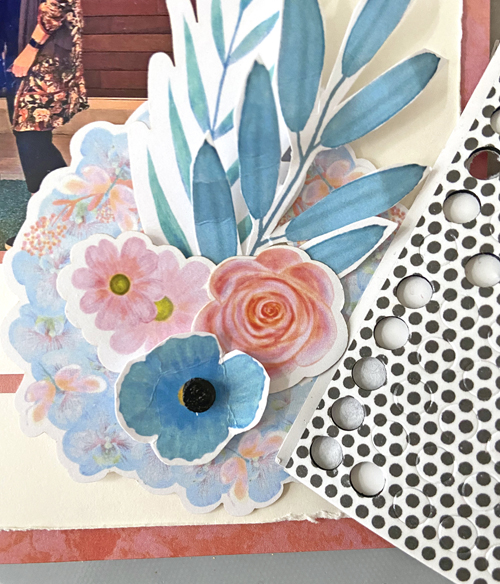
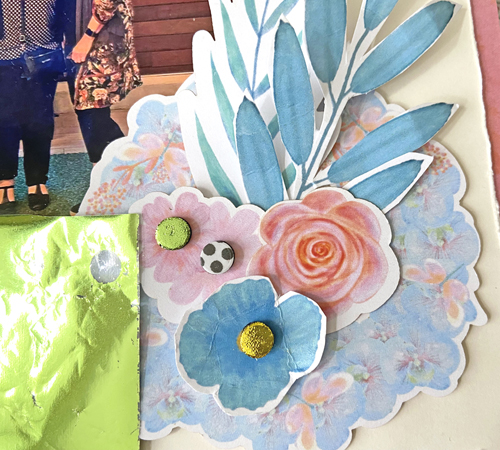
Next, I applied a brown Foil Sheet to the adhesive. LOVE how it came out! Use the same foiling technique that I did with the title to the leaves. It ties in the embellishments to my title – love it!
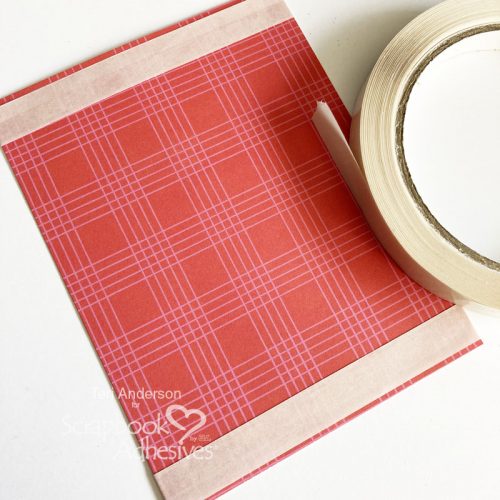
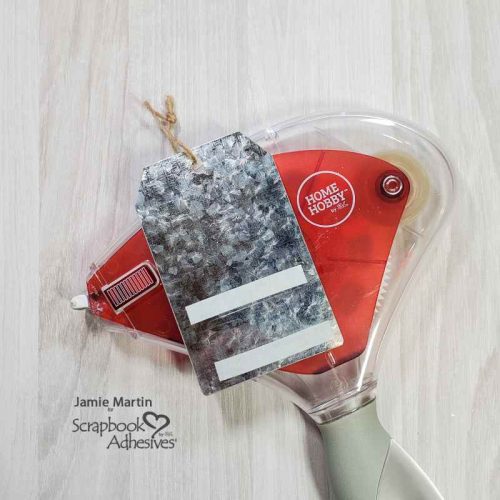
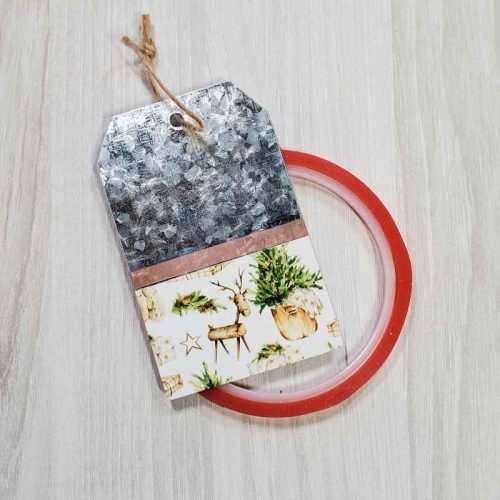
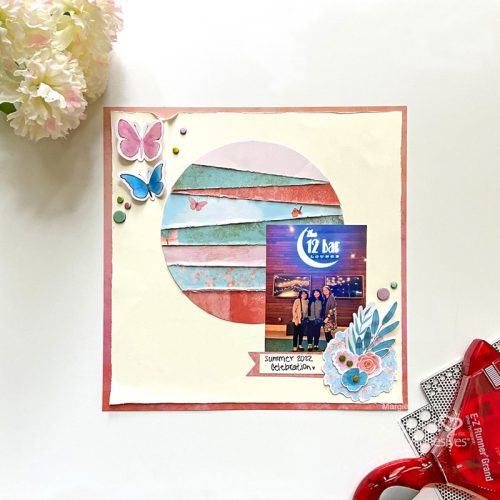
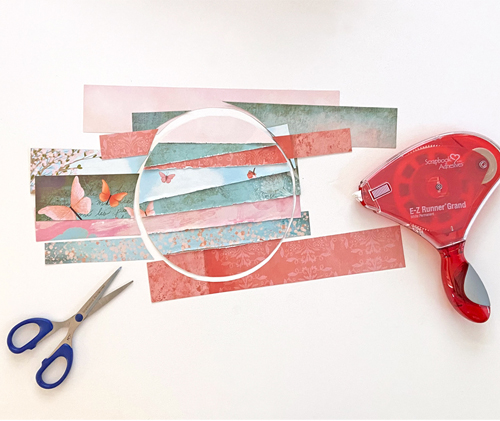
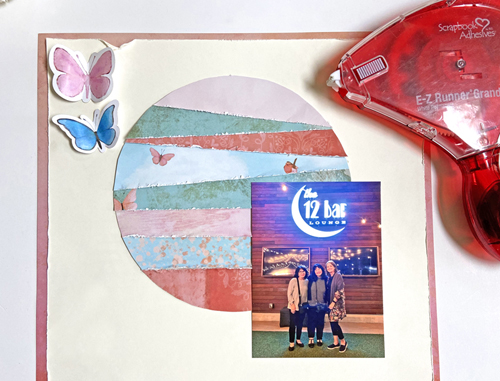
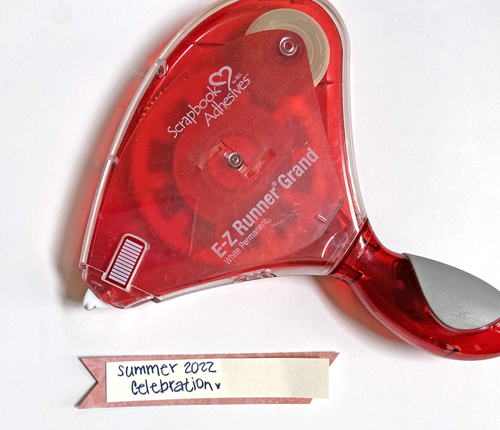
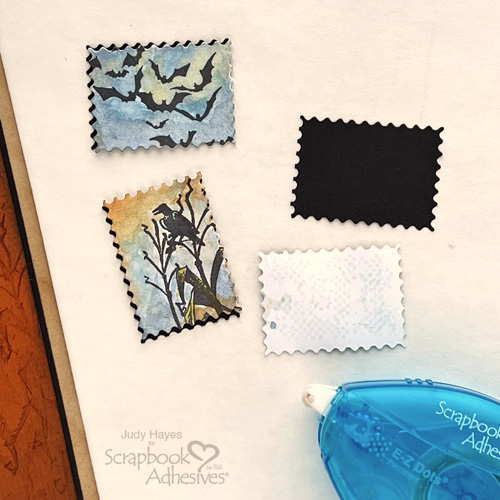
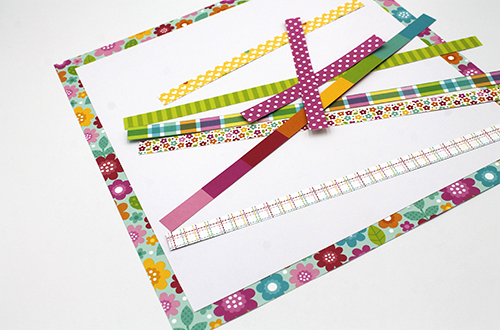
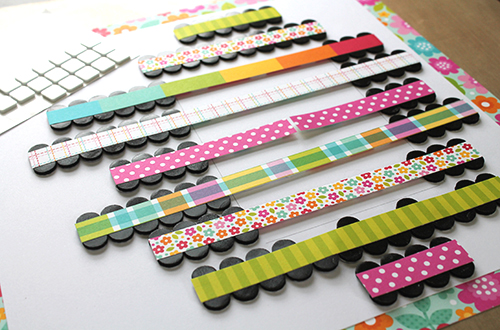
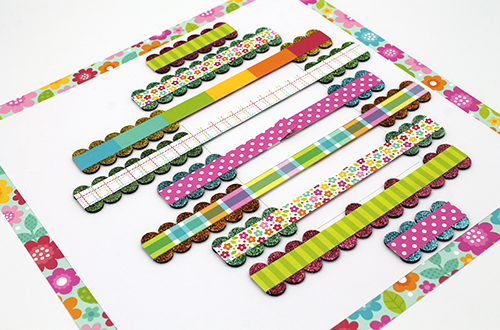
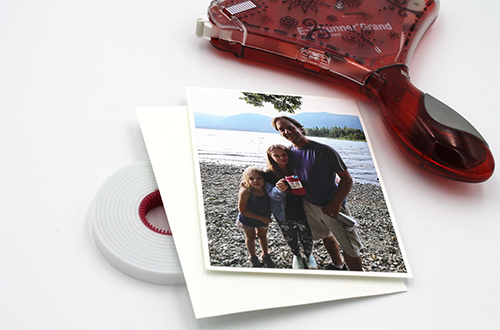
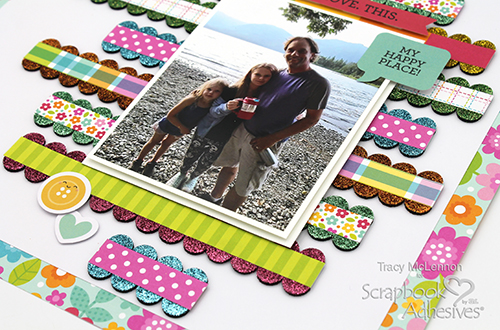
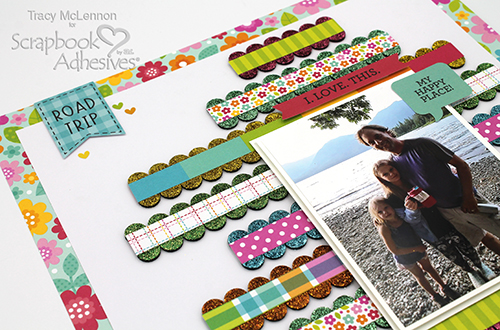
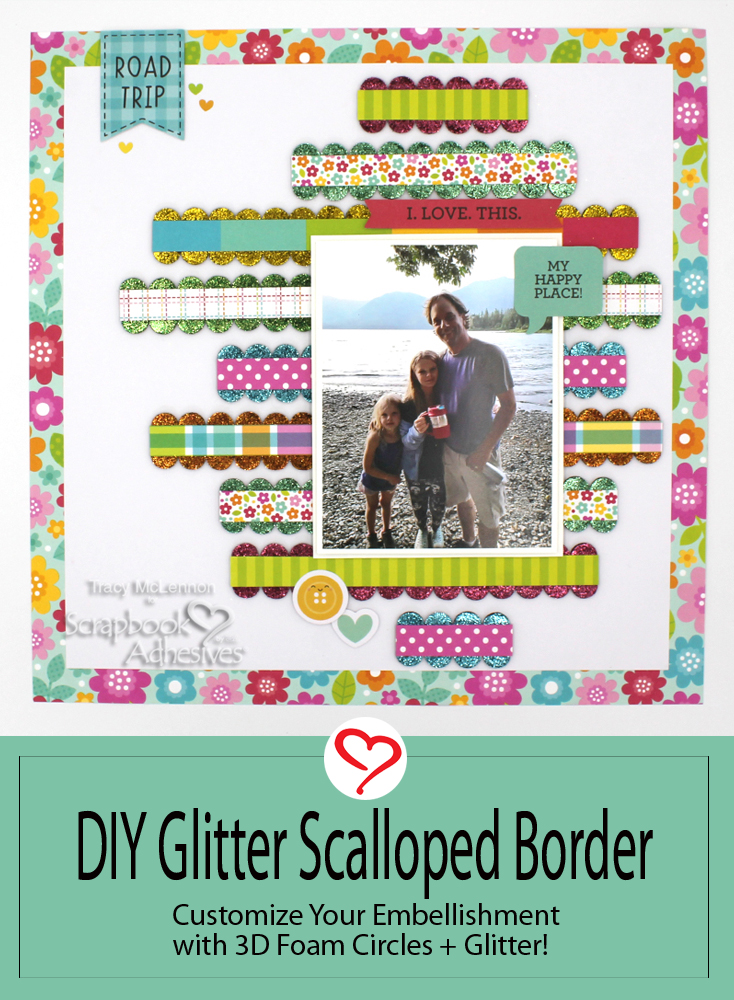
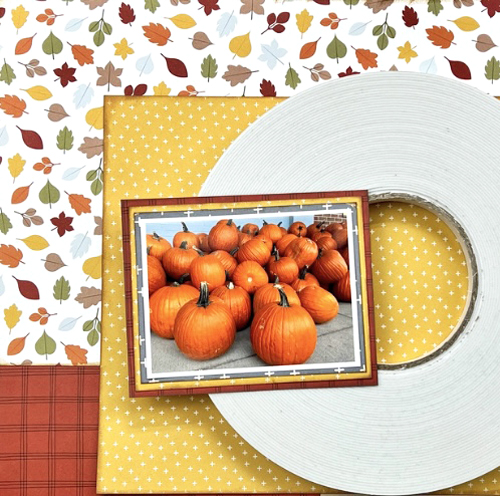
With a bunch of scraps, I created the base of my layout. But first, ink the edges to give a bit of separation between all of the patterns. Now it was time to mat my photo using my E-Z Runner Grand. I love that it provides such a great hold yet I can pick up and move my pieces around if I do it quickly enough!
Finishing Touches
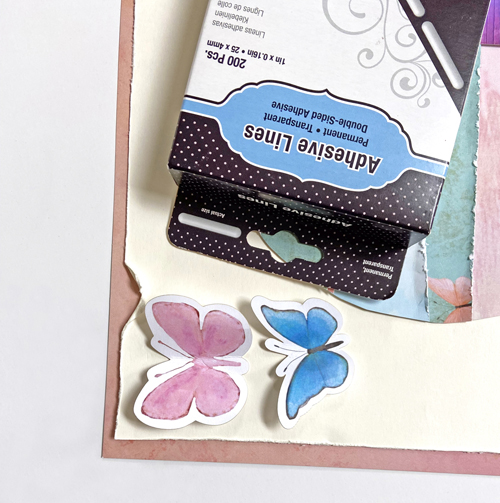
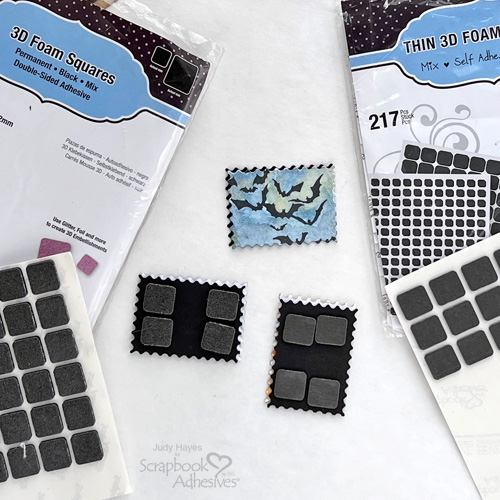
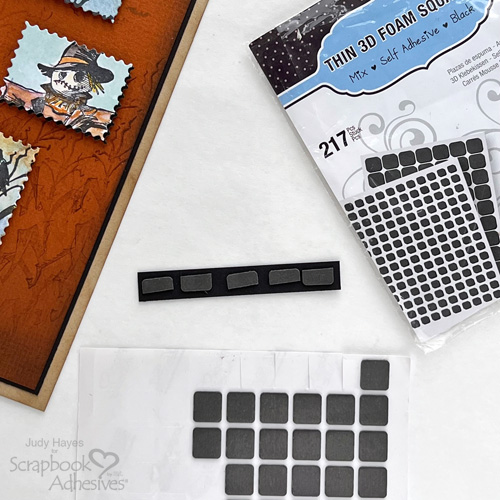
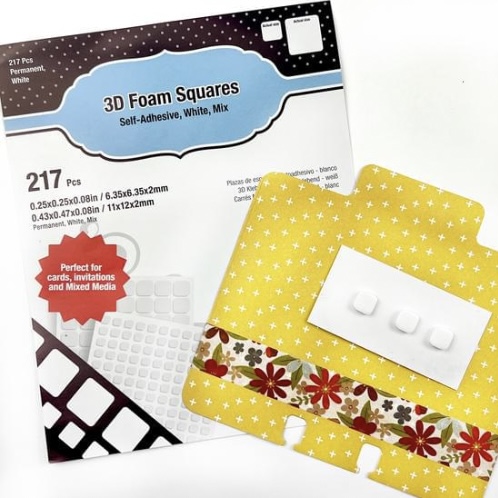
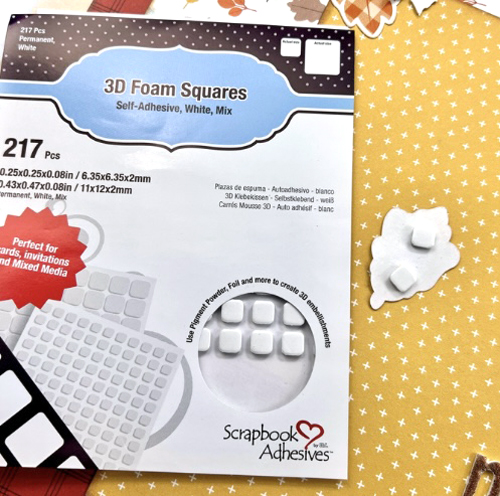
Pop up a few embellishments with the 3D Foam Squares. This creates both dimension and a bit of a shadow.
I love how quickly this Pumpkins fall layout came together! I used some great adhesives and bits and pieces from my stash!
View Process Video
You can see my complete process here: https://youtu.be/TMvt39aQ9Vw
Happy crafting!
Shannon Allor
Creative Time: 45 mins.
Skill Level: Intermediate
Materials Needed:
Scrapbook Adhesives by 3L®
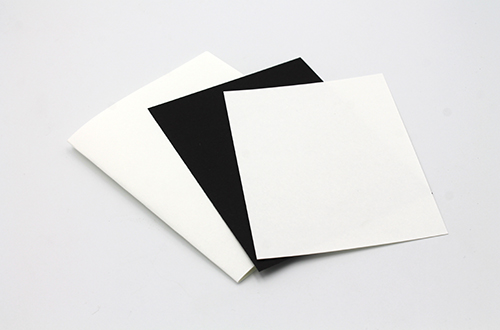
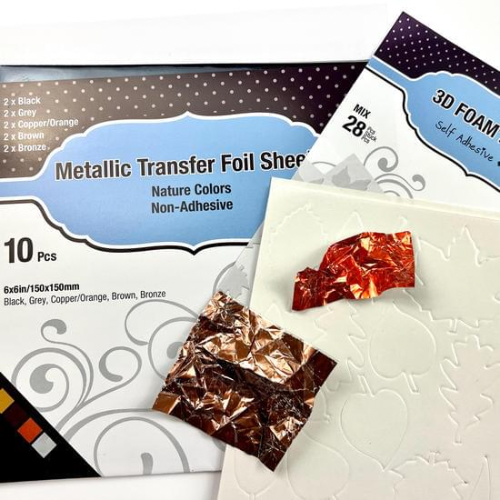
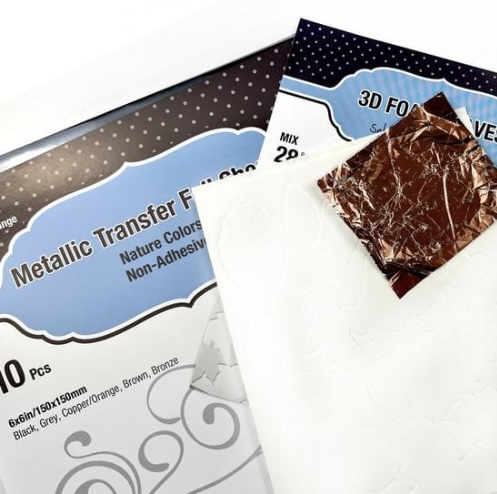
Metallic Transfer Foil Sheets Nature Colors
Other: Patterned Paper and Stickers: Echo Park; Ink: Ranger Ink (Distress Oxide Inks); Flair: Scrappin’ Happy Studio; Cardstock: Bazzill Basic Papers
Save to Pinterest!
Visit our Website and Blog!
Sign up for our Newsletter so you never miss a contest or giveaway!