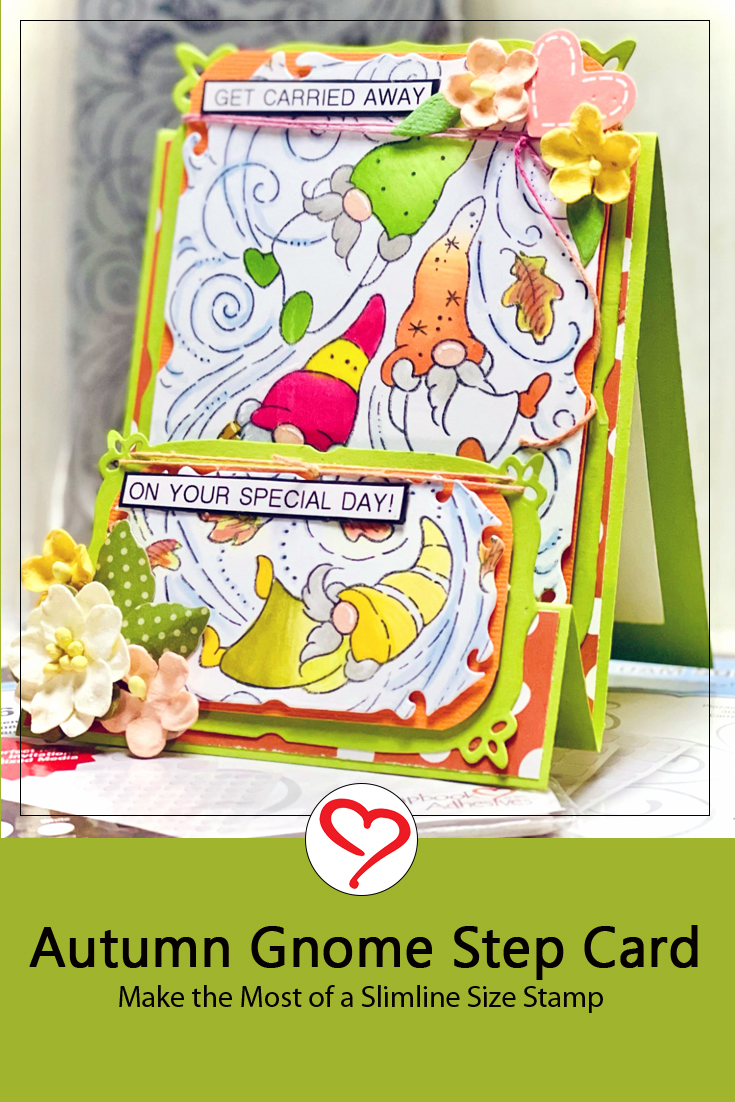
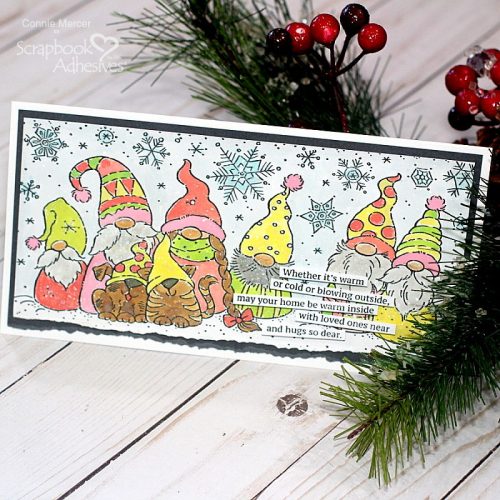
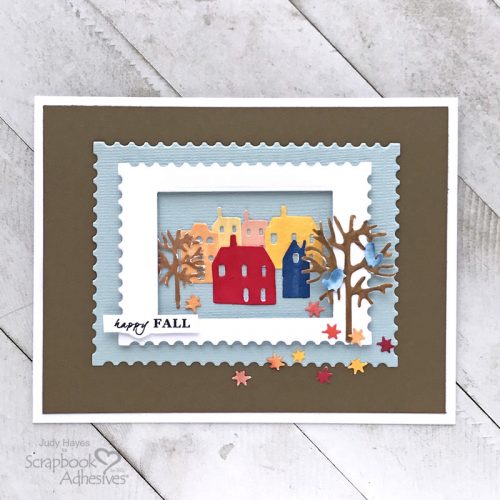
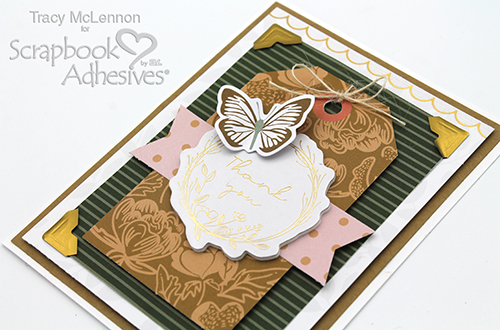
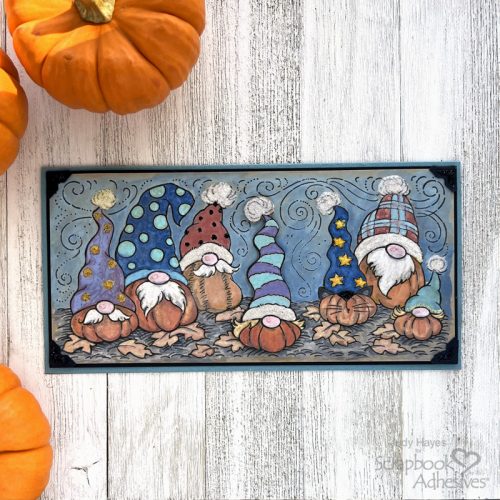
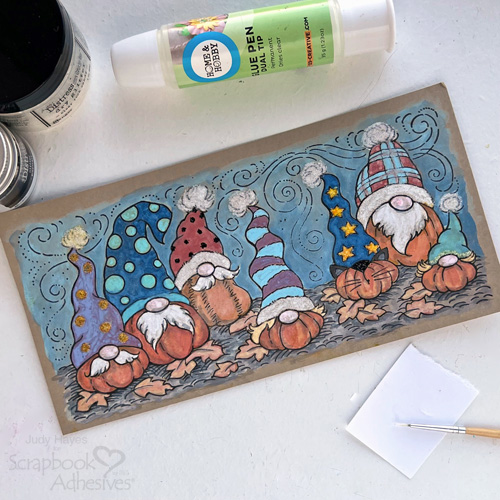
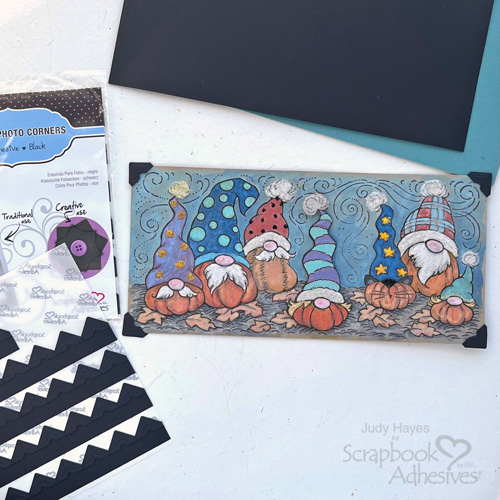
Hello friends! Whether it’s Halloween, Fall, or Thanksgiving, pumpkins are in season. Let’s celebrate the season with a Pumpkin Gnomes Card made with the Slim Pumpkin Gnomes stamp by Stampendous!
Stamp the Pumpkin Gnomes
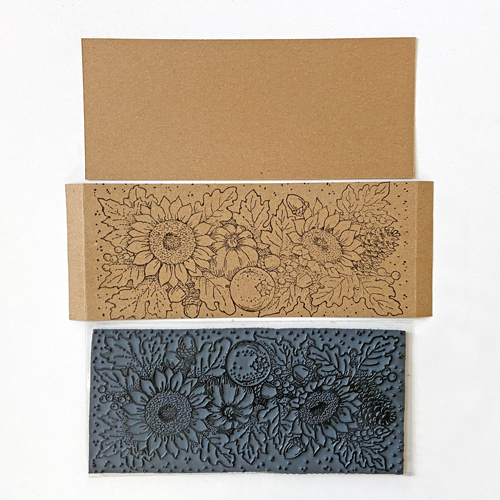
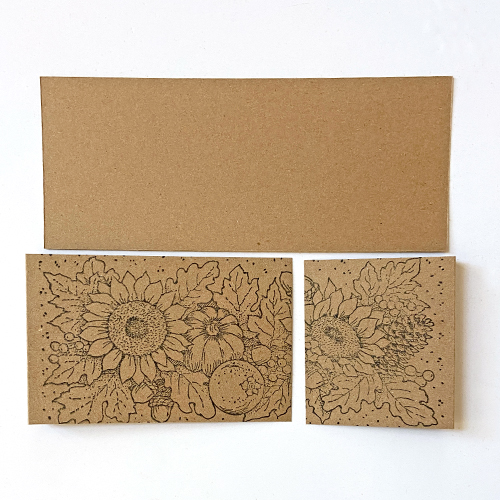
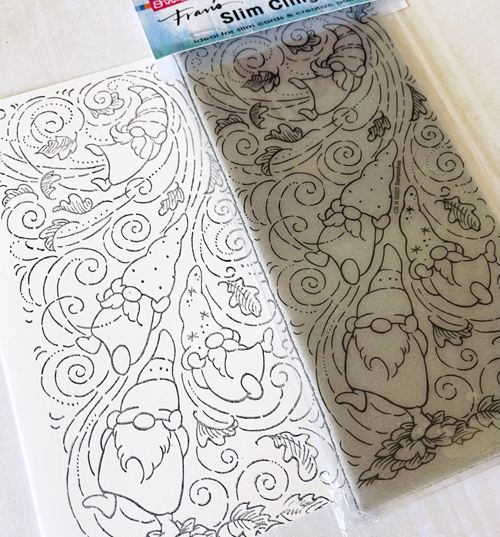
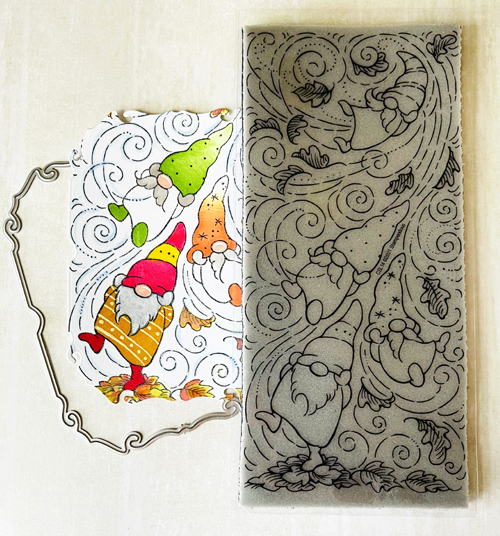
On two pieces of 4.25 x 8.5-inch Peanut Cluster cardstock, stamp the same Pumpkin Gnome image with a stamping platform and Distress Archival Black Soot ink. So you have two of the same stamped image. Leave the stamp in the stamping platform.
Watercolor with Distress Oxide Ink
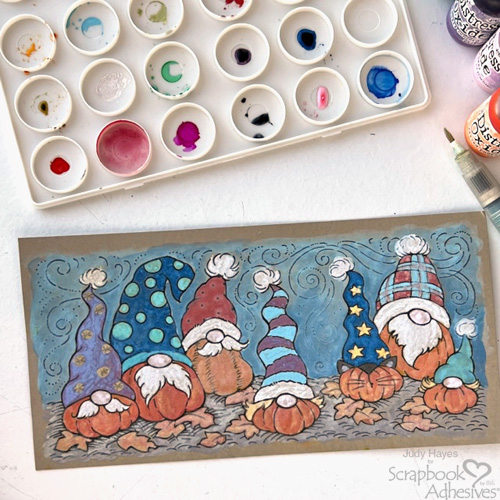
Use a paintbrush with Distress Oxide Re-inkers to paint all gnomes on one piece of cardstock (aka the main image). Then only the center gnome of the second piece of cardstock. I used the following ink colors:
- Pumpkins: Carved Pumpkin, Crackling Campfire, Wild Honey
- Noses: Spun Sugar
- Hats: 1-Dusty Concord with Wild Honey, 2-Prize Ribbon & Cracked Pistachio, 3-Fired Brick, 4-Dusty Concord & Cracked Pistachio, 5-Prize Ribbon & Wild Honey, 6-Fired Brick & Tumbled Glass, 7-Cracked Pistachio
- Hat Pompoms & Bands, Beards: Picket Fence
- Cat Nose and Ears: Black Soot
- Hair: Wild Honey
- Leaves: assorted colors
- Sky Background: Tumbled Glass
- Ground: Hickory Smoke with Black Soot for shading
Add shading using a wet paintbrush with Distress Black Soot ink. Allow drying.
Stamping Pumpkin Gnomes Tip
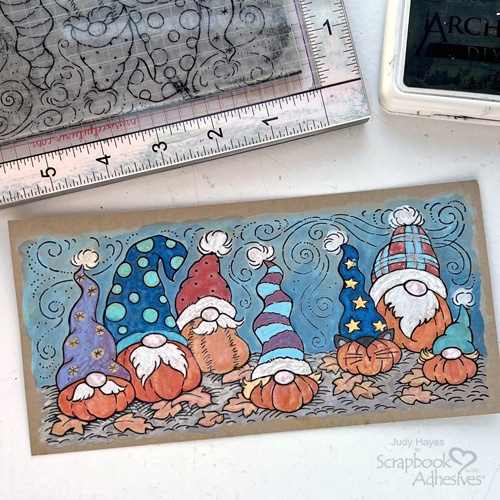
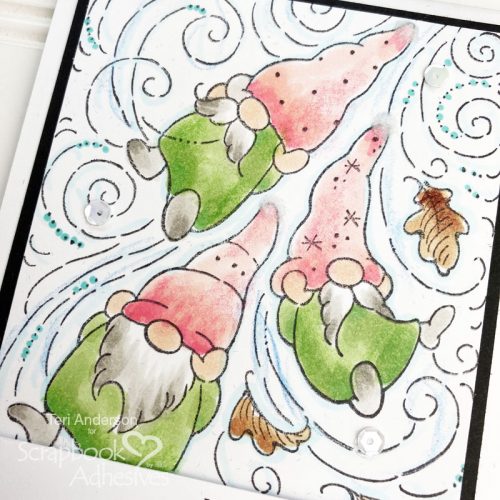
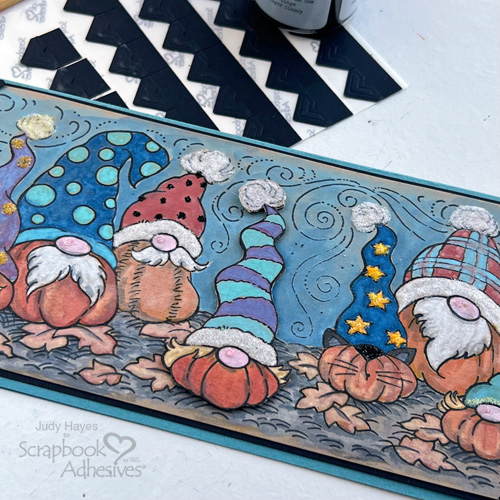
Place painted gnomes paper back into the stamping platform, ink stamp, and stamp over gnomes. This will redefine the lines especially those swirls in the background. Repeat for the second image with the center gnome colored. Trim main image piece to 3.875 x 8.125 inches.
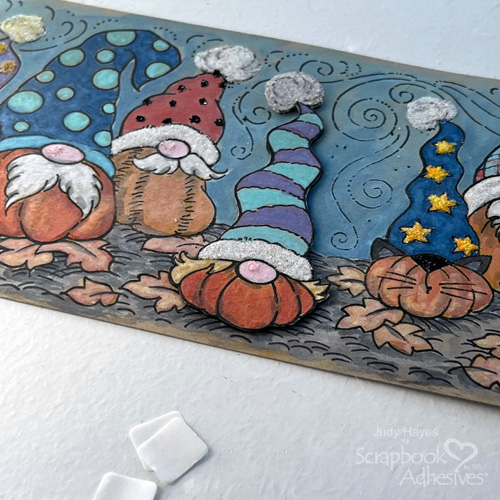
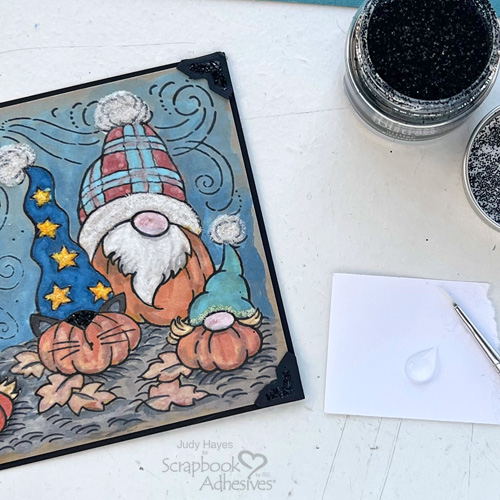
Glittering the Gnomes
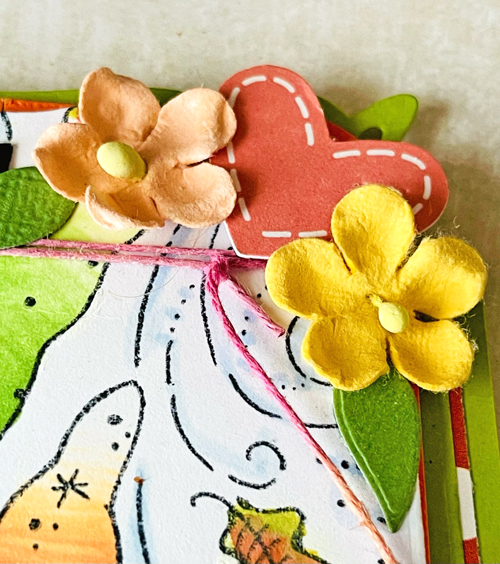
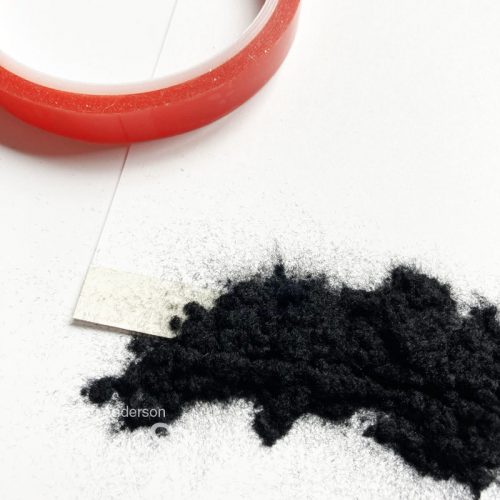
Squeeze a small amount of glue from Dual Tip Glue Pen onto a scrap of cardstock. Use a fine-tip paintbrush to apply glue to pompoms on gnomes’ hats. Sprinkle with Rock Candy glitter and remove excess. Continue to apply glue and glitter to hat bands, stars on the cat’s hat, dots on the purple hat. Don’t add glitter to the center gnome as it will be embellished differently. Paint cat pumpkin gnome nose with glue, sprinkle with black glitter, and remove excess. Apply glue to dots on the orange hat, sprinkle with black glitter and remove excess. Add glue and glitter in the same way to individual gnomes.
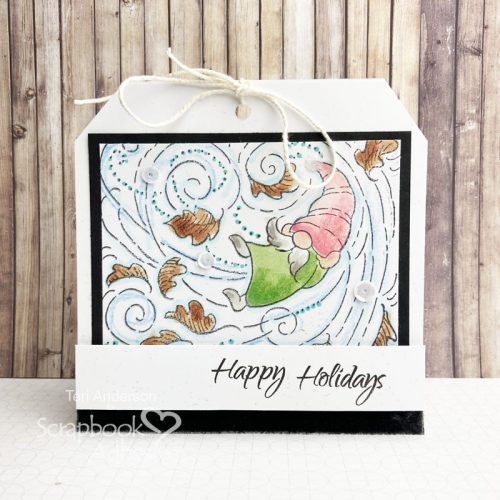
The Center Gnome
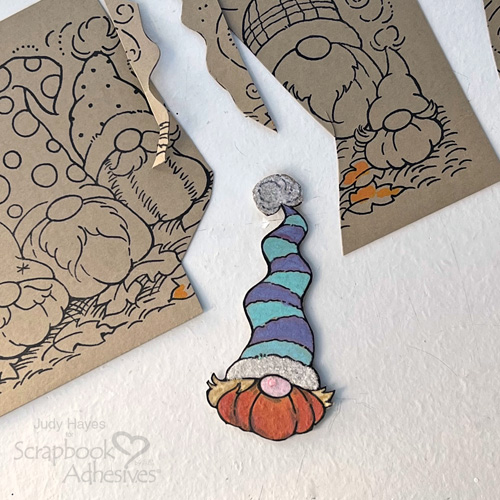
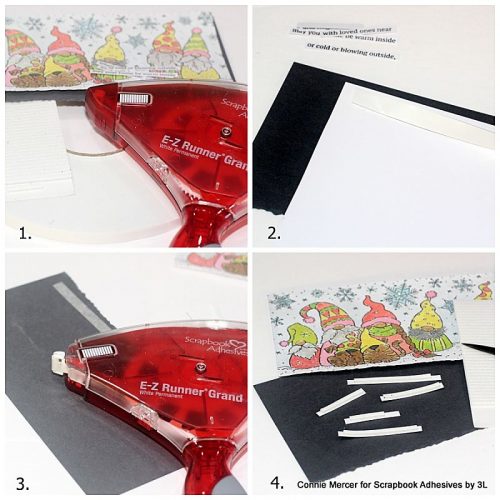
Fussy cut around the center colored gnome from the second image.
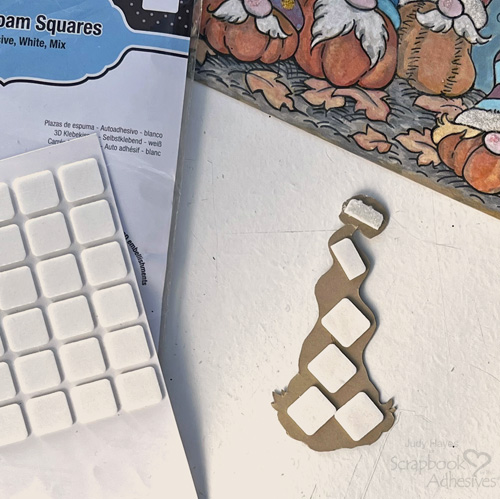
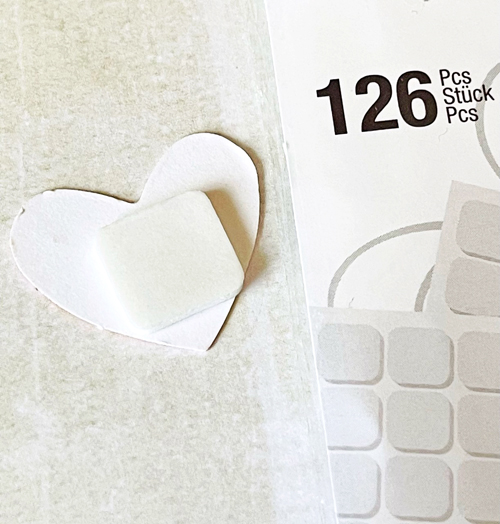
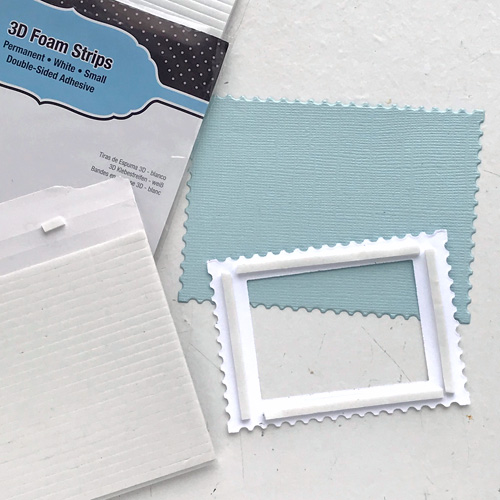
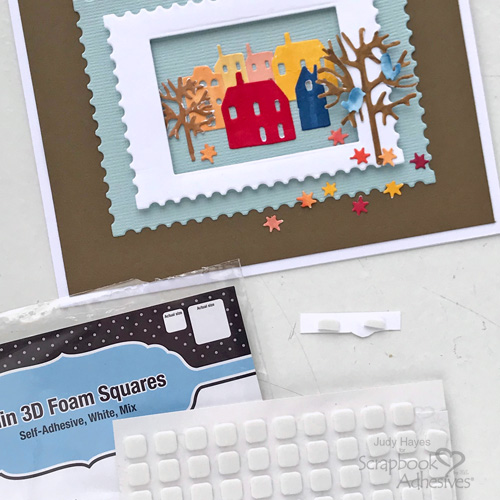
Apply the regular size square from the Thin 3D Foam Squares White Mix to its back. Remove the liners and fasten the gnome over the same gnome on the main image piece.
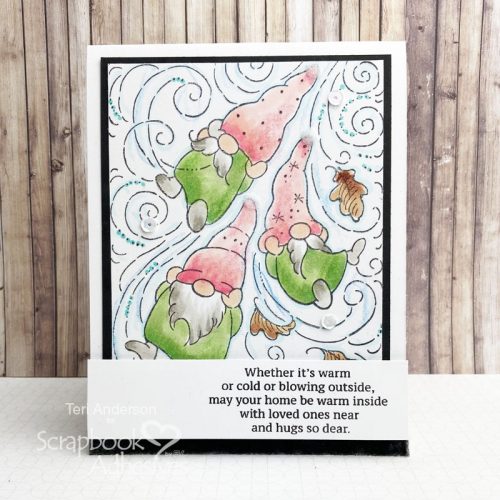
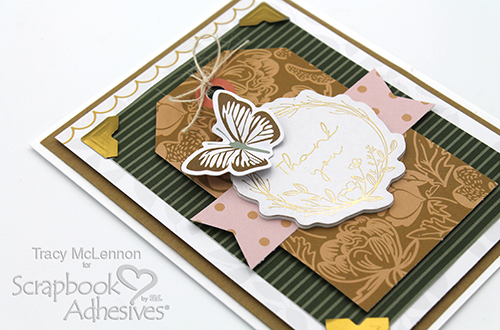
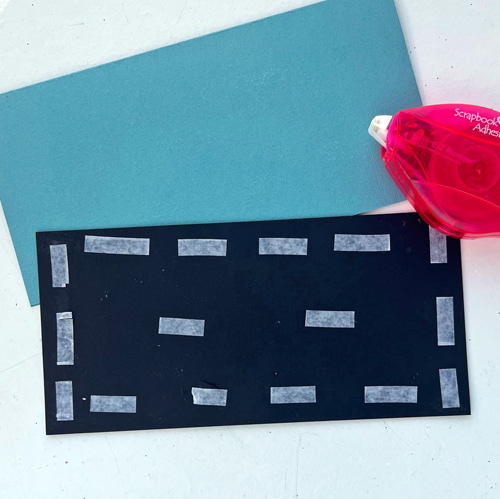
Assemble the Card
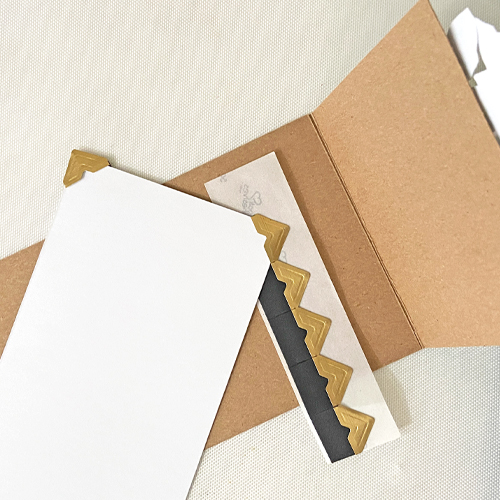
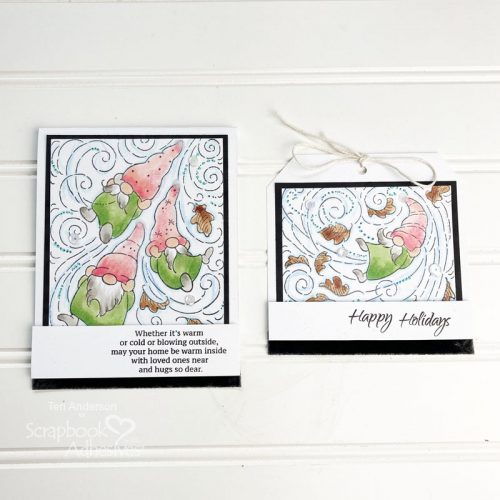
Place a Creative Photo Corners Black on each corner of the gnomes piece. Cut a piece of 4 x 8.25-inch black cardstock for a layer. Then cut a piece of 8.5 x 8.5-inch blue cardstock and fold to form a 4.25 x 8.5-inch card base.
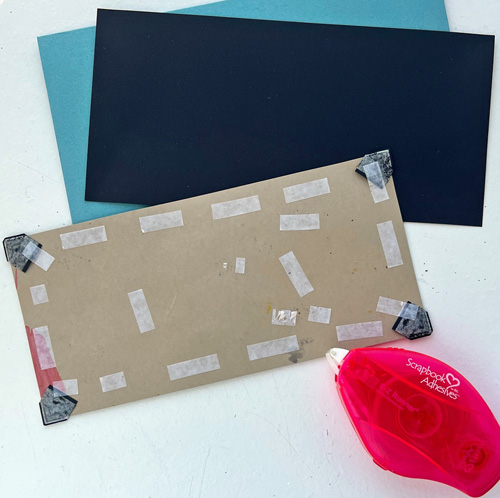
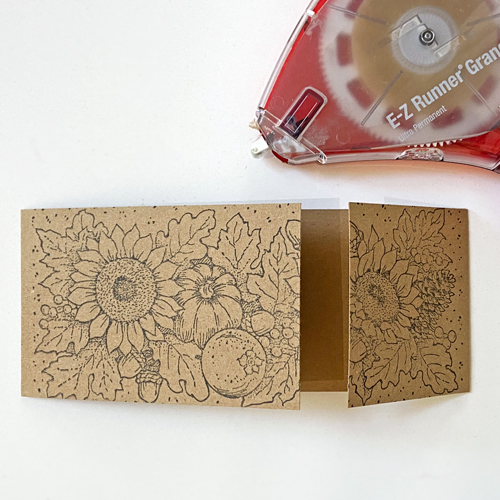
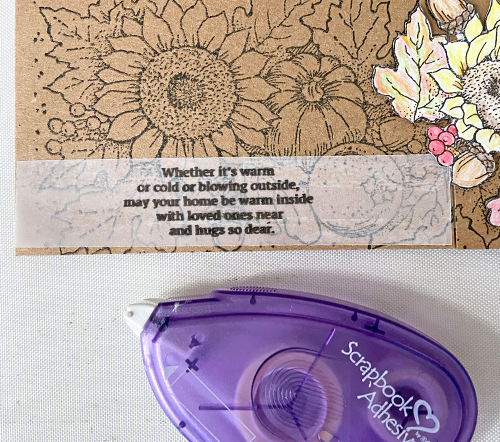
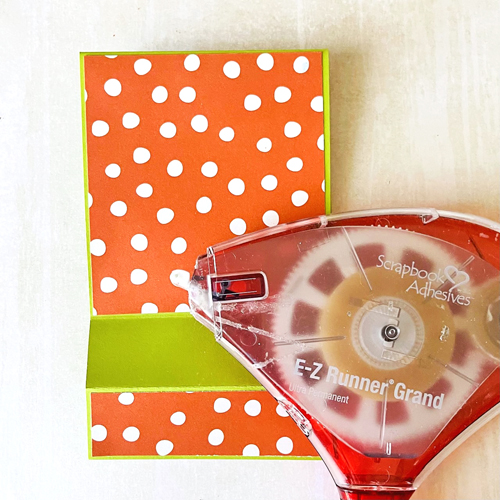
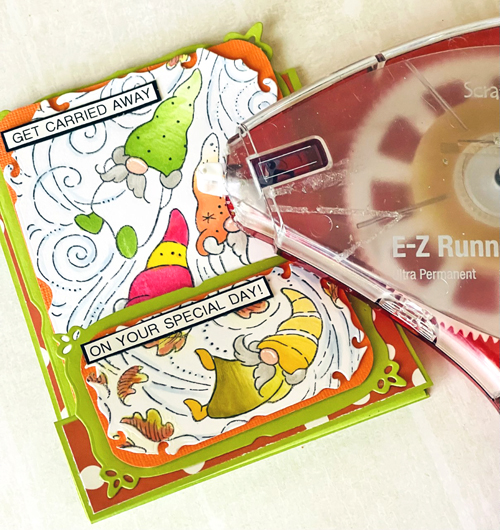
Use E-Z Runner® Permanent Strips Refillable Dispenser to apply adhesive to the back of the main image piece and over back of each photo corner to keep them from shifting. Center on black cardstock and press in place.
Final Steps to the Card
Use a paintbrush to apply glue from Dual Tip Glue Pen to one photo corner. Sprinkle with glitter and remove excess. Repeat for all photo corners.
Apply adhesive to the back of the matted main image piece with E-Z Runner® Permanent Strips Refillable Dispenser and secure to the card front.
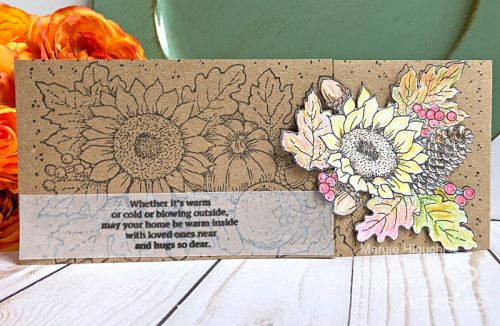
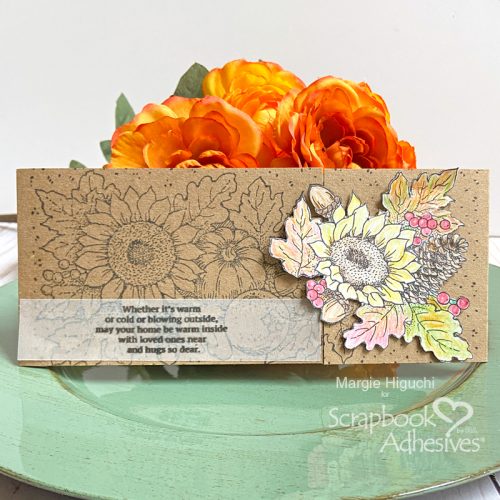
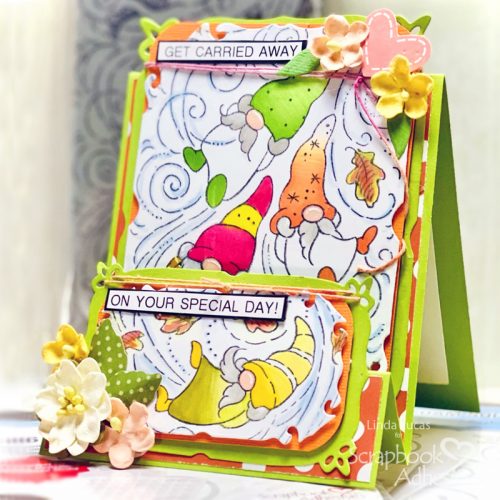
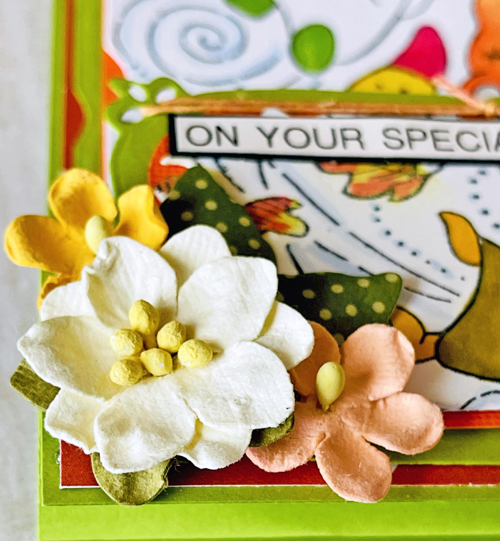
Finished and ready to give or send! I hope you enjoyed my Pumpkin Gnomes Card. Happy Pumpkin Season!
Thanks for Visiting!
Judy Hayes
Creative Time: 40 Minutes
Skill Level: Beginner
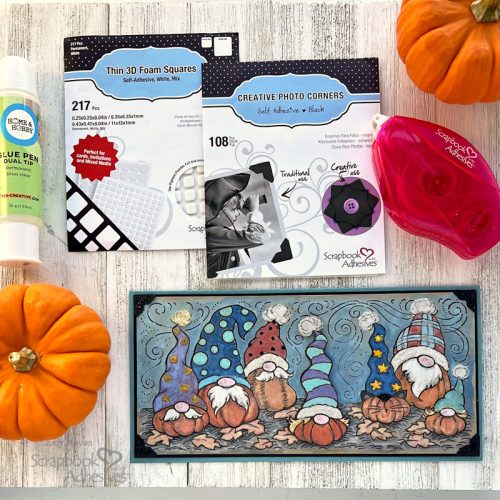
Materials Needed
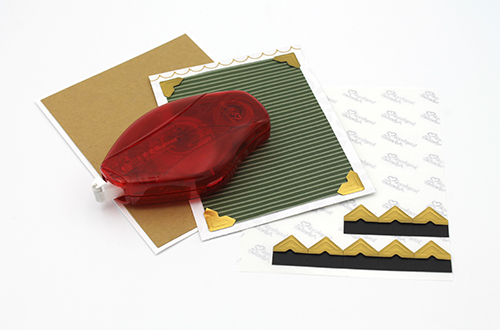
Scrapbook Adhesives by 3L®
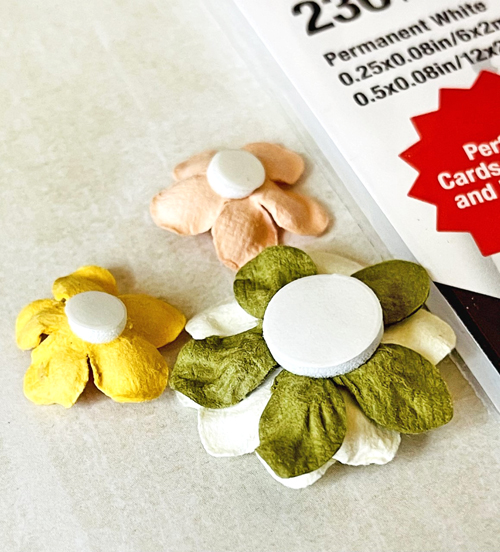
- Thin 3D Foam Squares White Mix
- Creative Photo Corners Black
- E-Z Runner® Permanent Strips Refillable Dispenser
HomeHobby™ by 3L
Other Supplies: Bazzill® Basics Cardstock (Peanut Cluster); Stampendous Stamp (Slim Pumpkin Gnomes); Ranger (Tim Holtz Distress® Archival Ink™ (Black Soot), Tim Holtz Distress® Oxide® Re-Inker (Carved Pumpkin, Crackling Campfire, Fired Brick, Tumbled Glass, Hickory Smoke, Cracked Pistachio, Spun Sugar, Prize Ribbon, Dusty Concord, Wild Honey), Distress® Ink (Black Soot, Picket Fence); Distress® Halloween Sparkle Set (Black Glitter), Distress® Glitter (Clear Rock Candy); Cardstock (Black, Blue); My Sweet Petunia Misti
Save to Pinterest!
Visit our Website and Blog!
Sign up for our Newsletter so you never miss a contest or giveaway!