
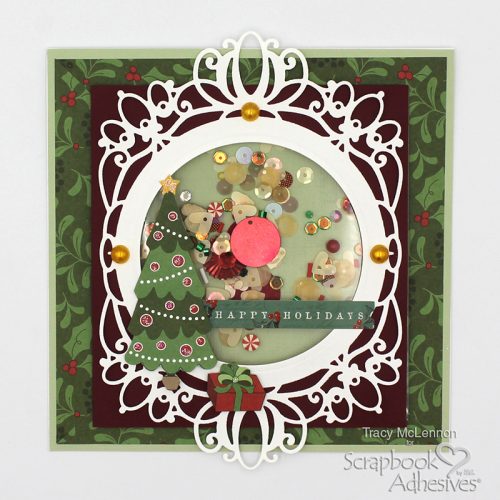
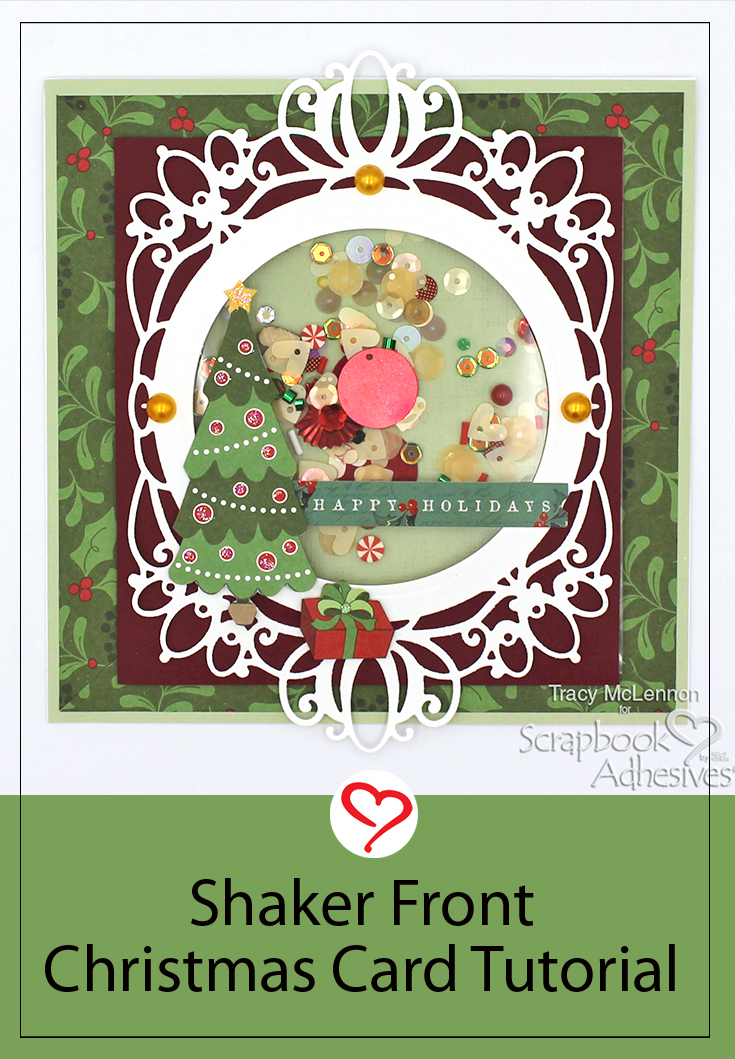
Hello crafty friends! Tracy here and today I am sharing a festive little project featuring a few of my favourite Scrapbook Adhesives by 3L products. Here are all of the details on how to create this Shaker Front Christmas Card.
Let’s Get Started!
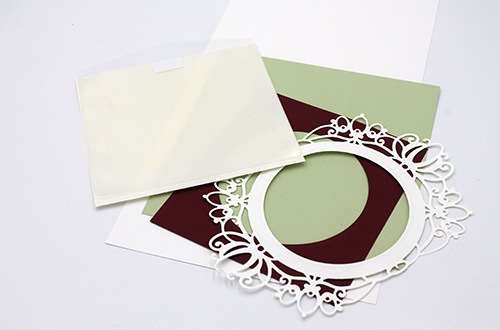
The first step is to gather your cardstock base layers for this Shaker Front Christmas Card. The base is white cardstock that is 6×12 folded in half. Green cardstock cut to 6×6. Cut a piece of burgundy cardstock that cover the front of the largest of the Keepsake Envelopes Mix. Using dies, cut the circle out of the burgundy piece and the decorative die from white cardstock.
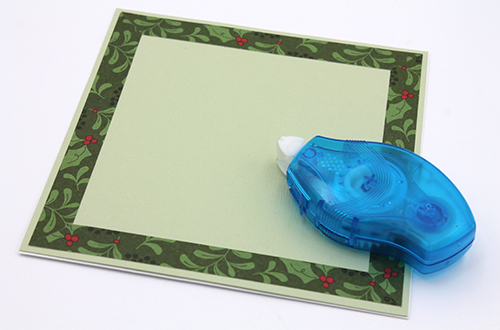
Adhere the green cardstock to the card base using the E-Z Runner® Petite Permanent Dots Refillable Dispenser. Cut strips of the patterned paper that are 5.75″ long and miter the corners. Adhere to the card front creating a frame again using the E-Z Runner® Petite Permanent Dots Refillable Dispenser.
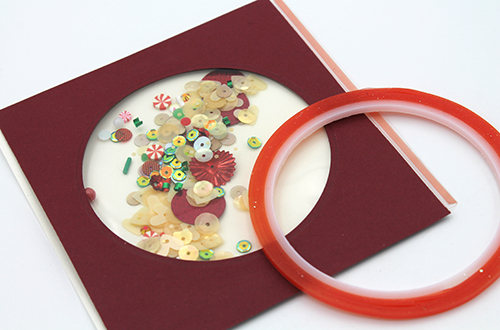
Using the Extreme Double-Sided Tape 1/8in., adhere the burgundy cardstock piece to the Keepsake Envelopes Mix piece. Add another strip of Extreme Double-Sided Tape 1/8in. to the opening of the Keepsake Envelopes Mix to ensure a secure pocket for the shaker bits. Add in all of the pretty shaker bits and then close the pocket. Adhere the Keepsake Envelopes Mix piece to the Shaker Front Christmas Card.
Shake Shake Shake!
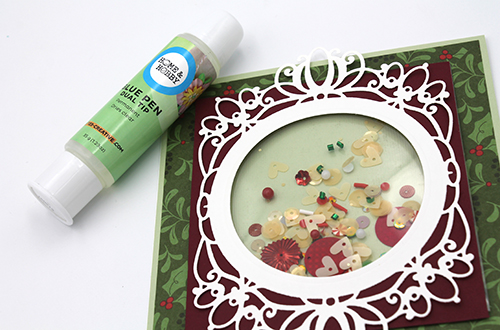
Adhere the white die cut piece to the card front using the Dual Tip Glue Pen.
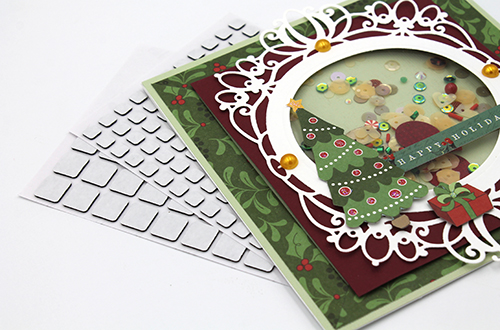
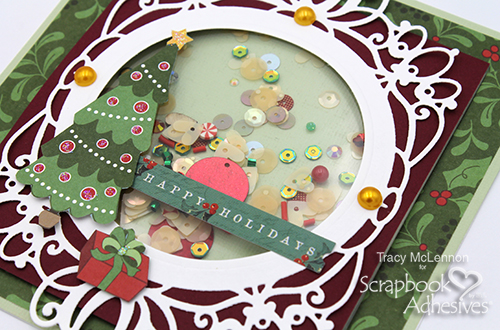
Fussy cut out the tree and gift from the patterned paper and add to the Shaker Front Christmas Card using Thin 3D Foam Squares Black Mix. Add Stickles to the pieces for a little extra sparkle. Finally, add the sticker sentiment to the card front.
Thanks so much for stopping by!
Tracy
Creative Time: 45 mins
Skill Level: Intermediate
Materials Needed:
Scrapbook Adhesives by 3L®
Keepsake Envelopes Mix
Thin 3D Foam Squares Black Mix
E-Z Runner® Petite Permanent Dots Refillable Dispenser
Home Hobby by 3L®
Extreme Double-Sided Tape 1/8in.
Dual Tip Glue Pen
Other:
Dare 2B Artzy – Home for the Holidays Collection; Heartfelt Creations – Craft Die; Simple Stories – Sentiment Sticker; Ranger Ink – Stickles; Light Green and White Cardstock; Sequins; Shaker Mix
Save to Pinterest!
Visit our Website and Blog!
Sign up for our Newsletter so you never miss a contest or giveaway!


