
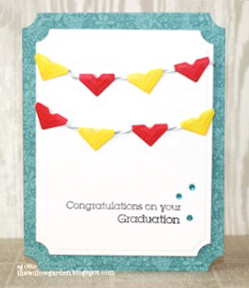
Hi there, AJ here to share a fun graduation card made from Creative Photo Corners.
Making the Graduation Banner Card
 Place your die template of choice cutting side up on your base plate. Make sure to lay your folded card stock on top of the die, folded part of the card inside the cutting edge as shown. This will create your shaped card base.
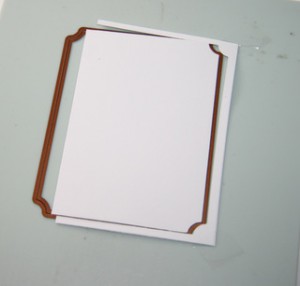 This should be the what you have after cutting.
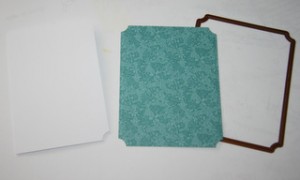 Die cut and emboss your card front from patterned paper and the same die. Die cut a piece of white cardstock with a slightly smaller die, set aside.
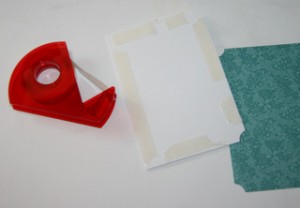 Place strips of Crafty Power Tape onto the card base and adhere the patterned paper. Stamp a sentiment on the lower portion of the white die cut paper.
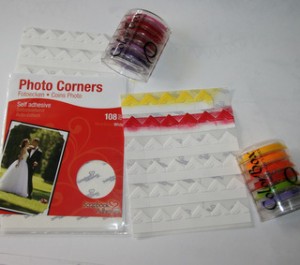 Pick your ink colors for the banners, and ink the Creative Photo Corners right on the sheet.
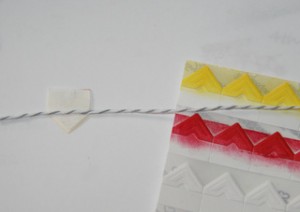 Take one Creative Photo Corner and place it sticky side up on to your string. (You will be trimming down the large square side of it.)
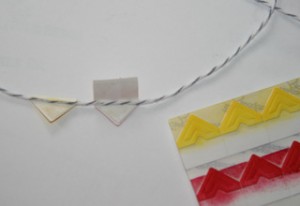 After trimming the square down, fold the what’s left of the flap over the string. Since the Creative Photo Corners are self-adhesive, it will hold itself to the twine. Repeat as needed with alternating colors.
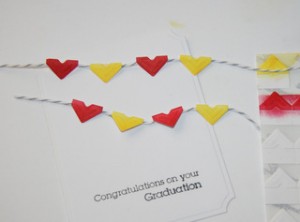 Now you have self adhering banners. Place them on your stamped layer, and secure the twine to with Crafty Power Tape on the backside of the cardstock.
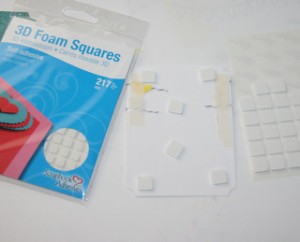 Attach 3D Foam Squares to the back side and adhere to the card front.
- 3D Foam Squares
- Crafty Power Tape
- Creative Photo Corners White
- Avocado Arts stampes
- ClearSnap ColorBox Ink
- Want2Scrap Bling
- Lawn Fawn patterned paper
enjoy!!
AJ
By Brenda B April 29, 2012 - 8:28 am
Great tutorial on the use of the photo corners and what a beautiful card!
By Anne Rx May 3, 2012 - 8:14 am
I love how you have made the bunting for this card – genious. It is so on trend at the moment (I hate that expression but in this case it is true!).