
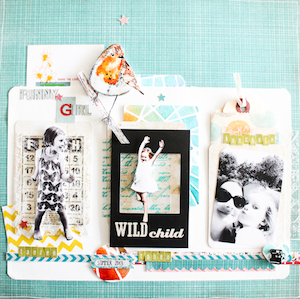
Hi there! I want to share a layout with you I made for the Scrapbook Adhesives by 3L® DT.
This is a layout about my daughter and our summer with three different photos and stories behind it.
 Here is a step by step tutorial how I made it.
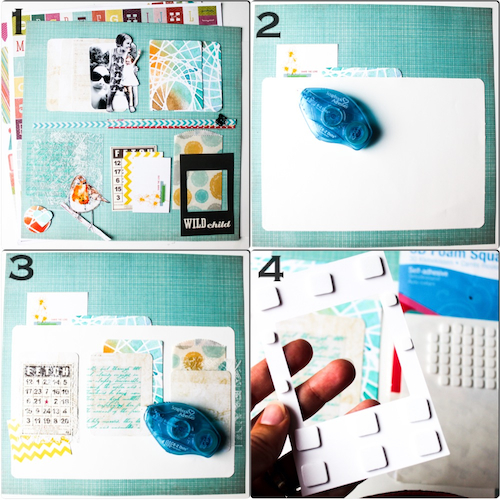
1 – In the first step I’ve placed the materials that I wanted to use: paper and sticker from Basic Grey collection RSVP, white cardstock, some overlays from Hambly, bag from Fancy Pants Parkbench and cards/tag from Amy Tangerine’s Ready Set Go collection and Pink Paislee Hope Chest collection, Polaroid frame from Heidi Swapp, some leftovers and pieces of selfmade paper.
2 – Adhering the white cardstock and two papers behind it with the E-Z Dots Permanent refillable dispenser
3 – Arranging the tags and cards and adhering them also with the E-Z Dots Permanent refillable dispenser
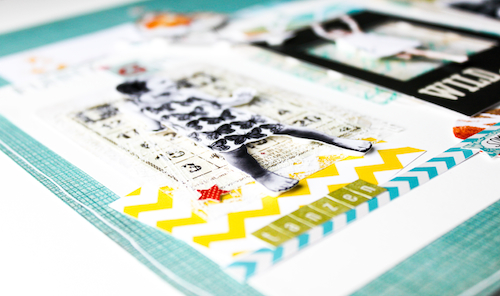
4 – Attaching the last middle layer, a polaroid frame, with 3D Foam Squares White – Mix to highlight it.
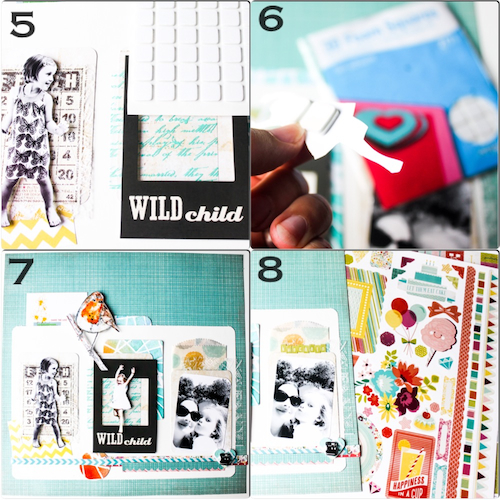
5 – I cut out some photo silhouettes.
6 – I adhered them with 3D Foam Squares White – Mix to achieve a 3D effect.
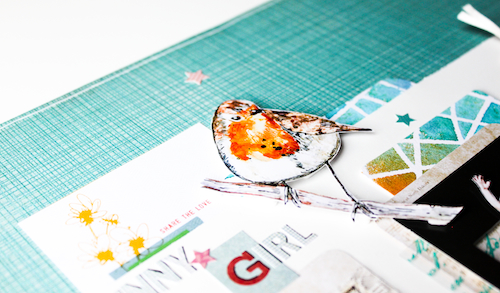
7 – I adhered the (selfmade painted) bird also with 3D Foam Squares White – Mix and I added some stripes, a heart and circle by using the E-Z Dots Permanent refillable dispenser
8 – At least I used alpha sticker and other sticker from Basic Grey collection RSVP. I finished the layout with a Journaling on a tag behind the photo on the right side.
Thanks for visiting! Have a nice day!