
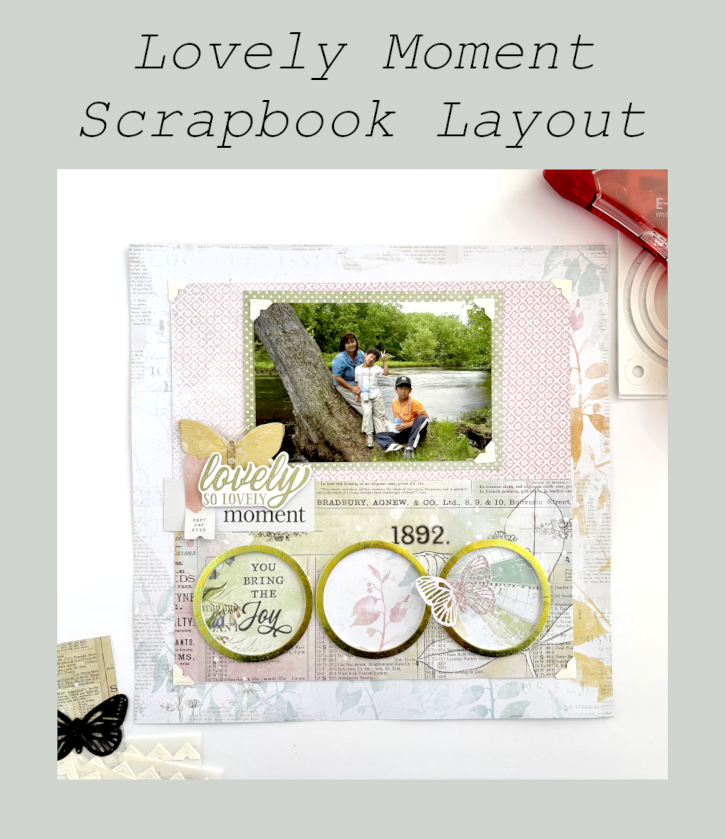
Have you ever started cleaning your craft area? Well, I did…until I came across a sweet picture of me and my not so little boys (currently) and well, SQUIRREL! LOL! This scrapbook layout came together with sparkle and dimension. Hi, Margie here today and I would like to walk you through my process 🙂
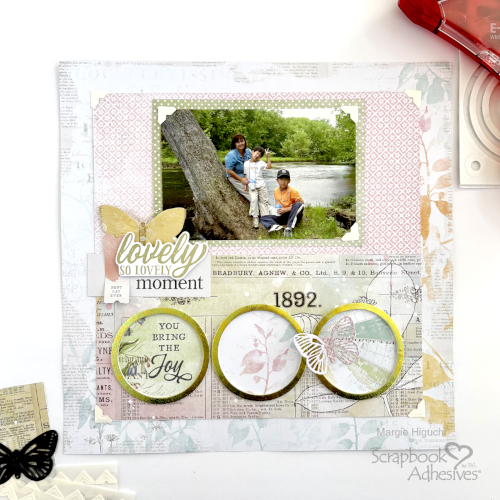
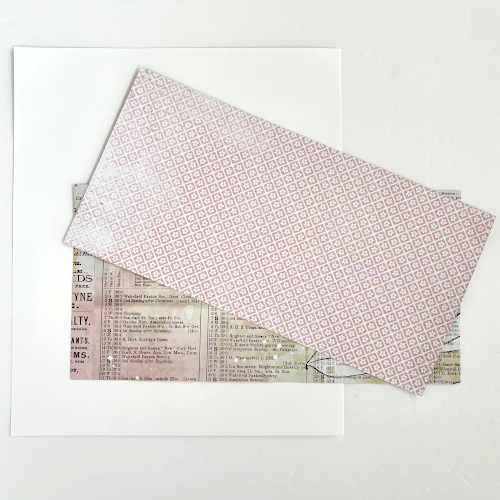
Lovely Moment Panel
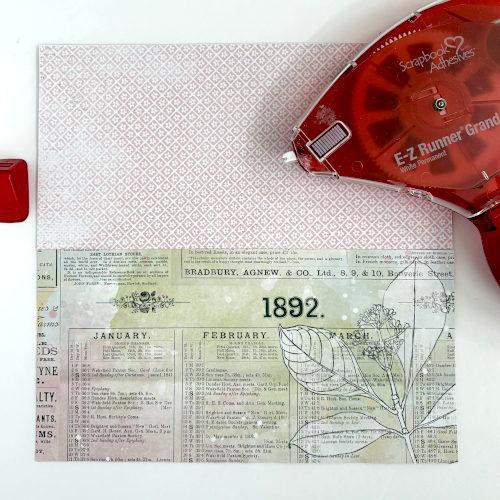
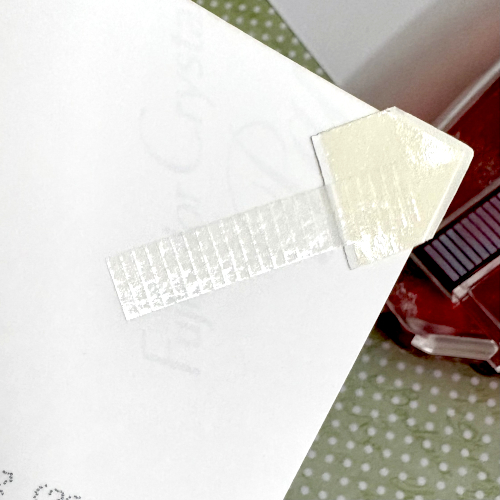
The 10 x 10″ panel is created with two 10 x 5″ of the same paper – just flip to the other side for a different look. Designer’s Tip: Use a piece of white cardstock (smaller than 10 x 10″) to anchor the panel with the E-Z Runner® Grand Permanent Strips Refillable Dispenser.
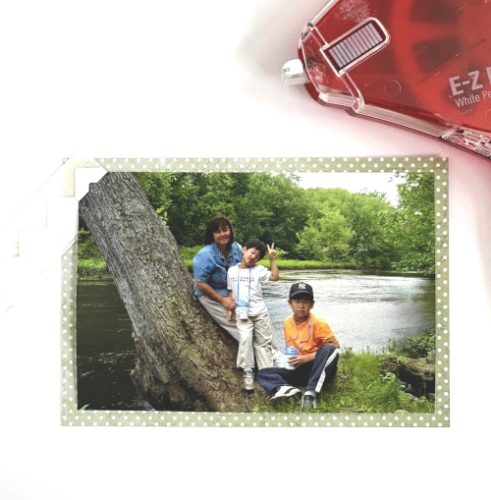
Add the Photo
Mat the photo with 6.5 x 4.5″ patterned paper using the E-Z Runner® Grand Permanent Strips Refillable Dispenser. Accent each corner of the photo with Creative Photo Corners Ivory. Designer’s Tip: To prevent the corners from shifting, I rolled the E-Z Runner® Grand Permanent Strips Refillable Dispenser on the back of each photo corner. Center the matted photo on the top half of the panel.
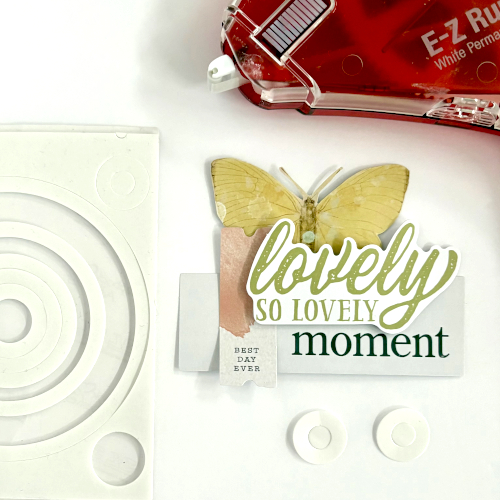
Lovely Moment Title
Use ephemera elements to make the title “substantial” by clustering them. Secure them with the E-Z Runner® Grand Permanent Strips Refillable Dispenser. Then pop it up with the smaller 3D Foam Circle Frames White. The butterfly was fussy cut from patterned paper and really anchors the title. Set aside later to determine placement in the page design.
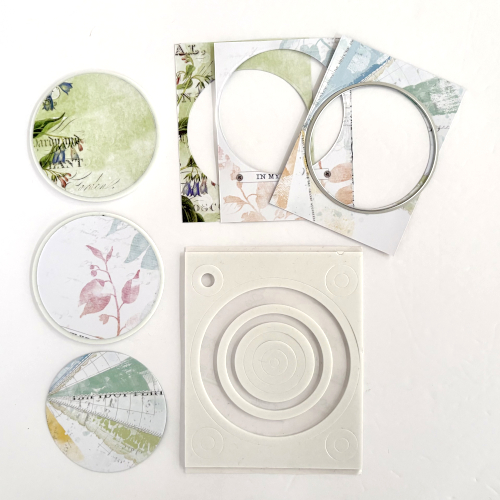
The Circle Elements
Die-cut three 2.75″ circles from a sheet of 3 x 4″ journal boxes. Frame each one with the 3rd largest 3D Foam Circle Frames White. Designer’s Tip: Use the top liner to keep the foam shape when framing the circle shape. Using the title as a guide, adhere the framed circles to the bottom section of the panel with the E-Z Runner® Grand Permanent Strips Refillable Dispenser.
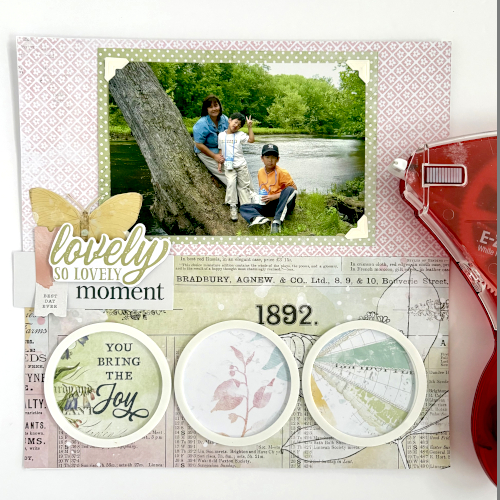

Center the panel to the background paper and secure the title with the E-Z Runner® Grand Permanent Strips Refillable Dispenser. Accent each corner of the panel with a Creative Photo Corners Ivory.
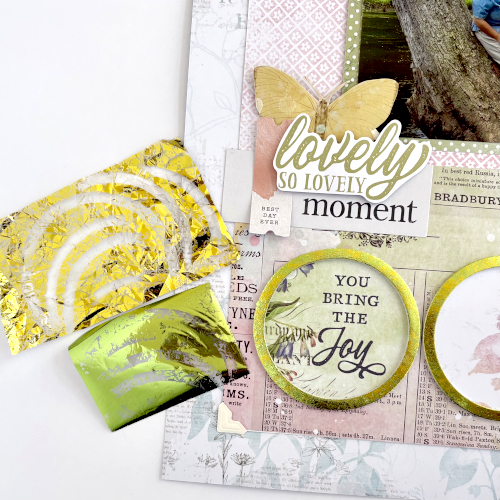
Wear Your Adhesive on the Outside with 3D Foam Circle Frames
Remove the top liner to one of the framed circle. I picked two foil colors (green and yellow) from the Metallic Transfer Foil Sheets Pastel Colors. First wrinkle the yellow foil, apply it on top of the circle frame and rub to transfer the color. Remove the foil to see the distressed lines – this is the exposed adhesive. Next, cover it with a solid green foil and repeat the foiling step. Reapply the foil in missed areas.
Finishing Touches
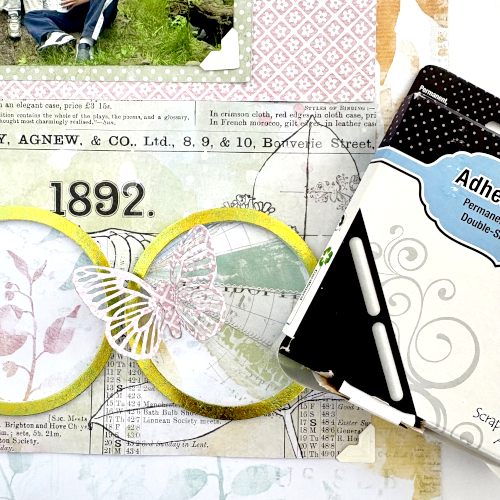
Die-cut a detailed butterfly with patterned paper. Then attach it to the right circle element with an Adhesive Line – it’s the perfect size with an inch length! Designer’s Tip: Any excess adhesive, I tuck into the shape or trim off.
Thanks for stopping by…now, back to cleaning…maybe….HA!
Margie Higuchi
Creative Time: 35 mins
Skill Level: Intermediate
Materials Needed:
Scrapbook Adhesives by 3L®
E-Z Runner® Grand Permanent Strips Refillable Dispenser
Metallic Transfer Foil Sheets Pastel Colors
Other: Patterned Papers, Ephemera + Butterfly Dies: Arden Creative Studio (Field Notes Collection + Winged Essentials/Makers Series); Craft Dies: Hero Arts (Circles Infinity Dies Set)
Click Preferred Retailers List
Save to Pinterest!
Visit our Website and Blog!
Sign up for our Newsletter so you never miss a contest or giveaway!


