
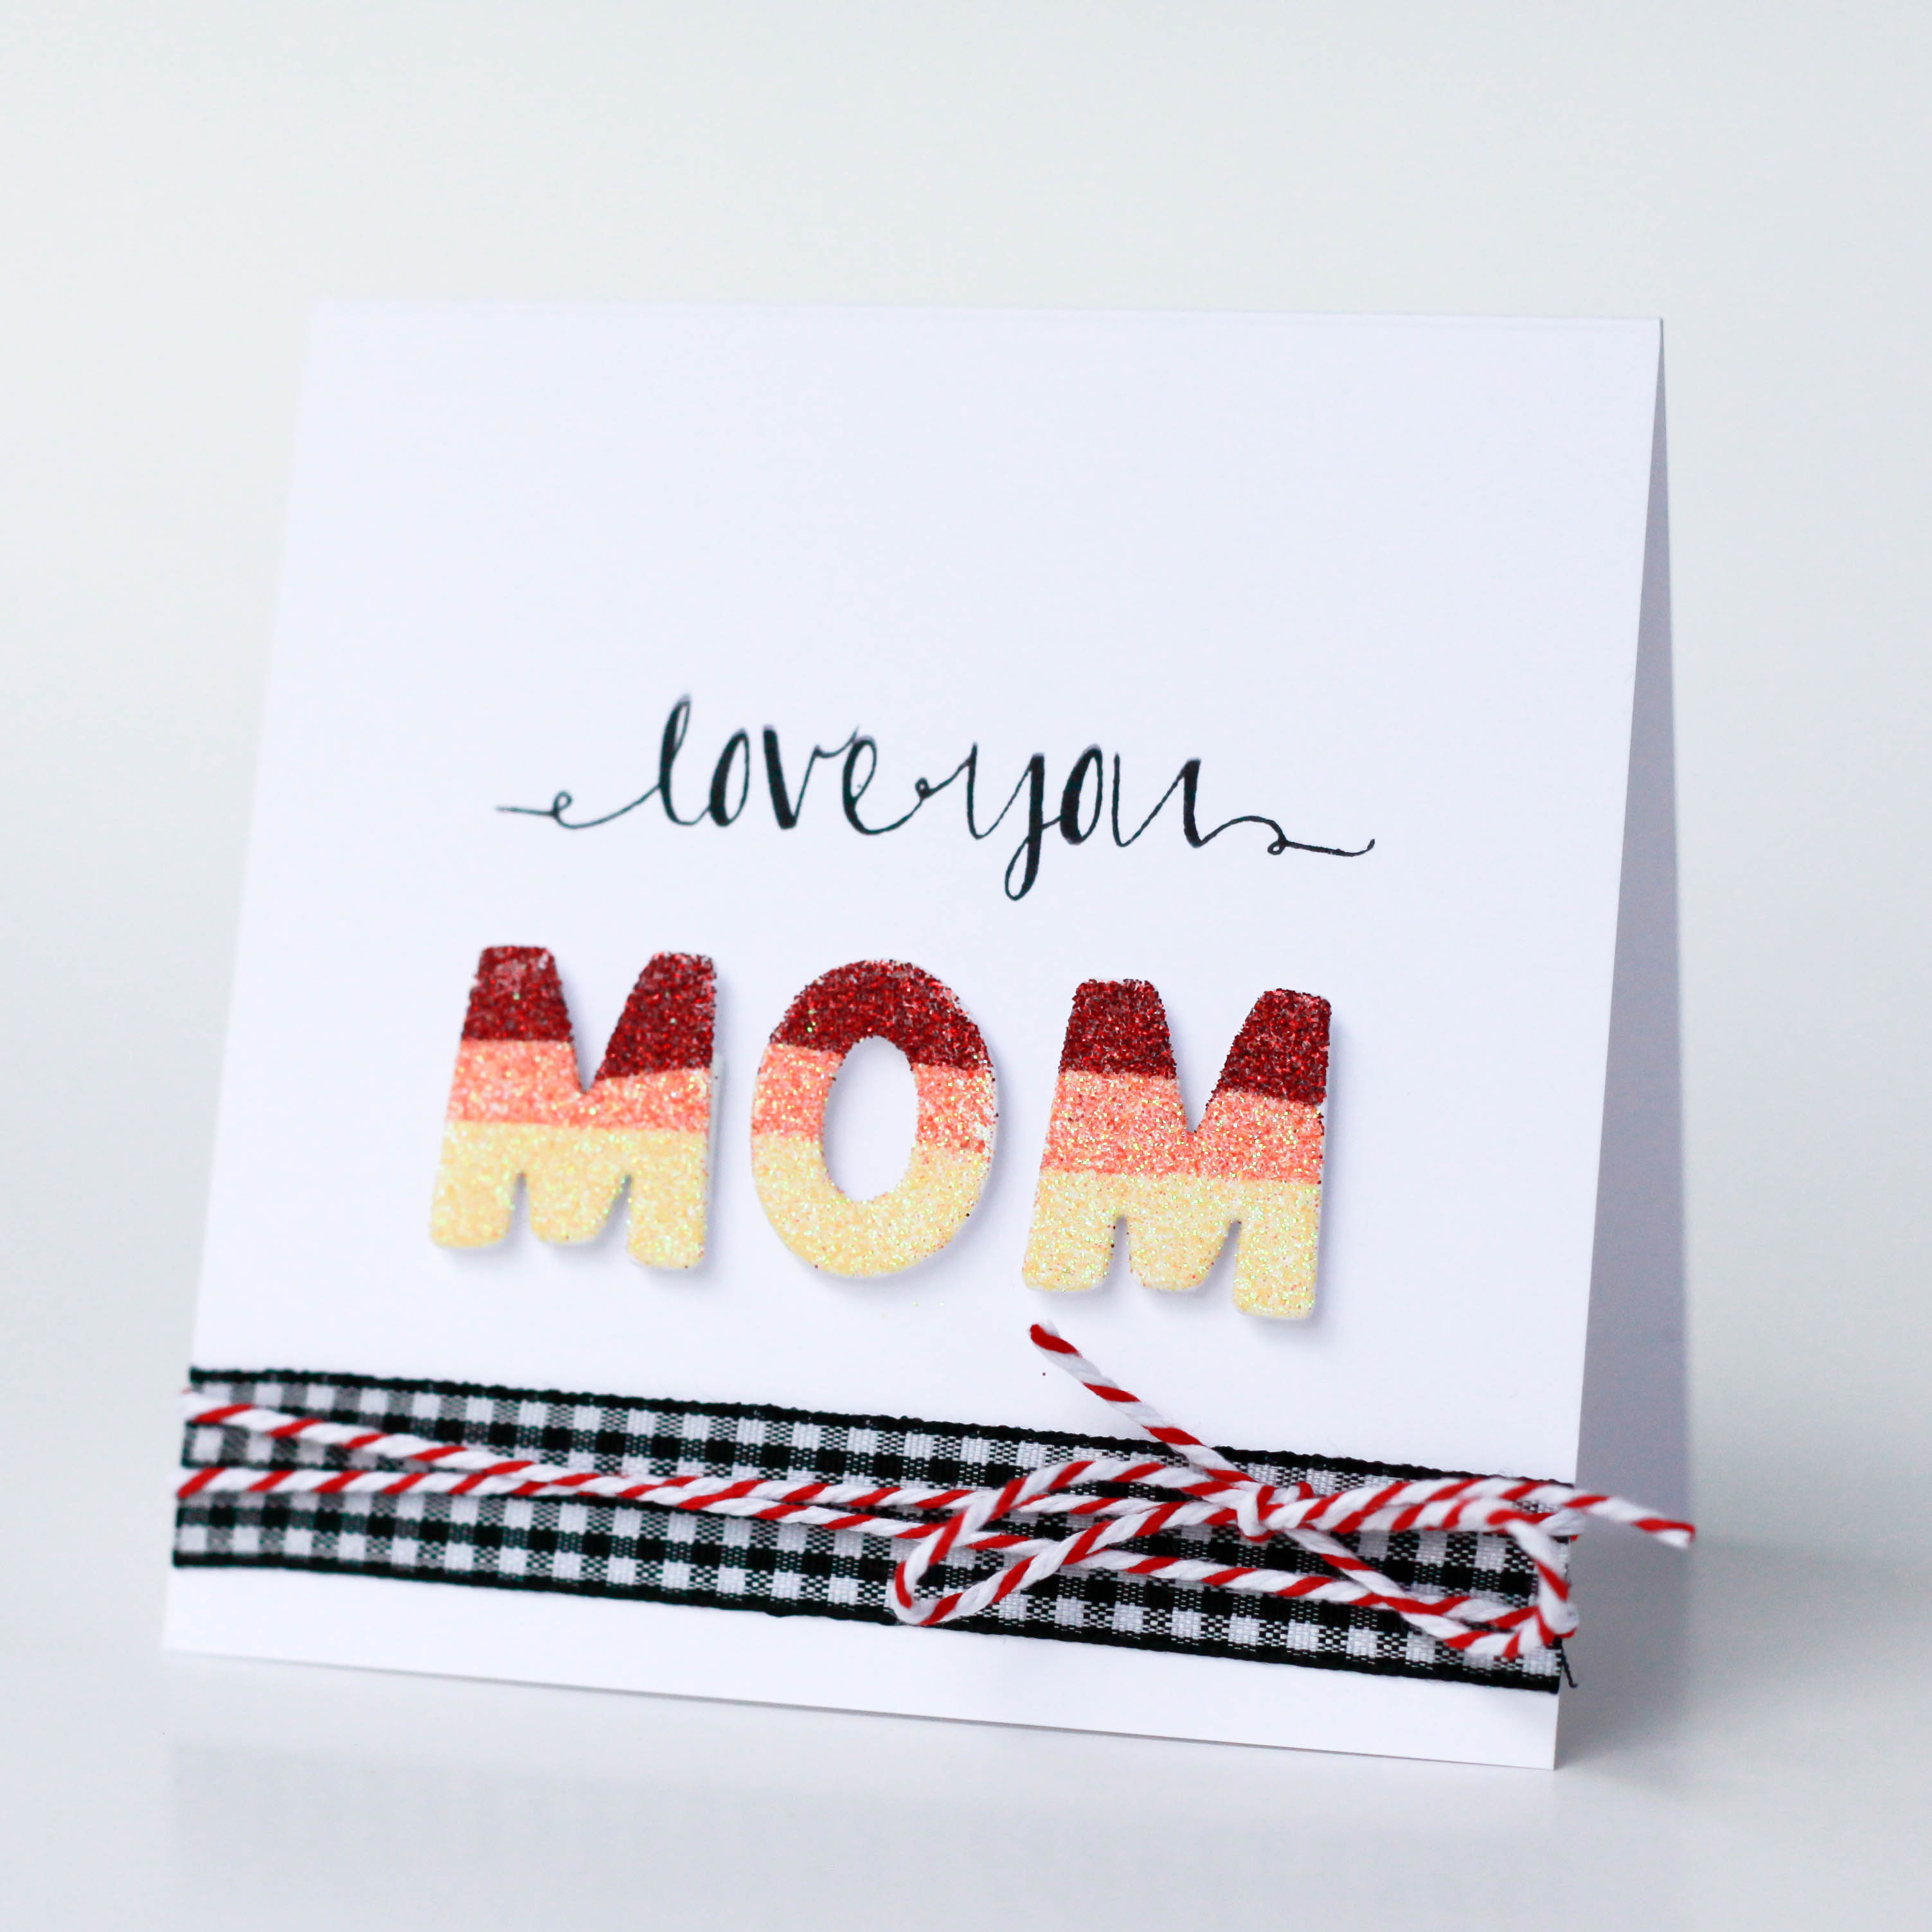
Latisha here with you today. I am sharing a tutorial, on how to use “alphabet die cuts” and turn them into glittered stickers.
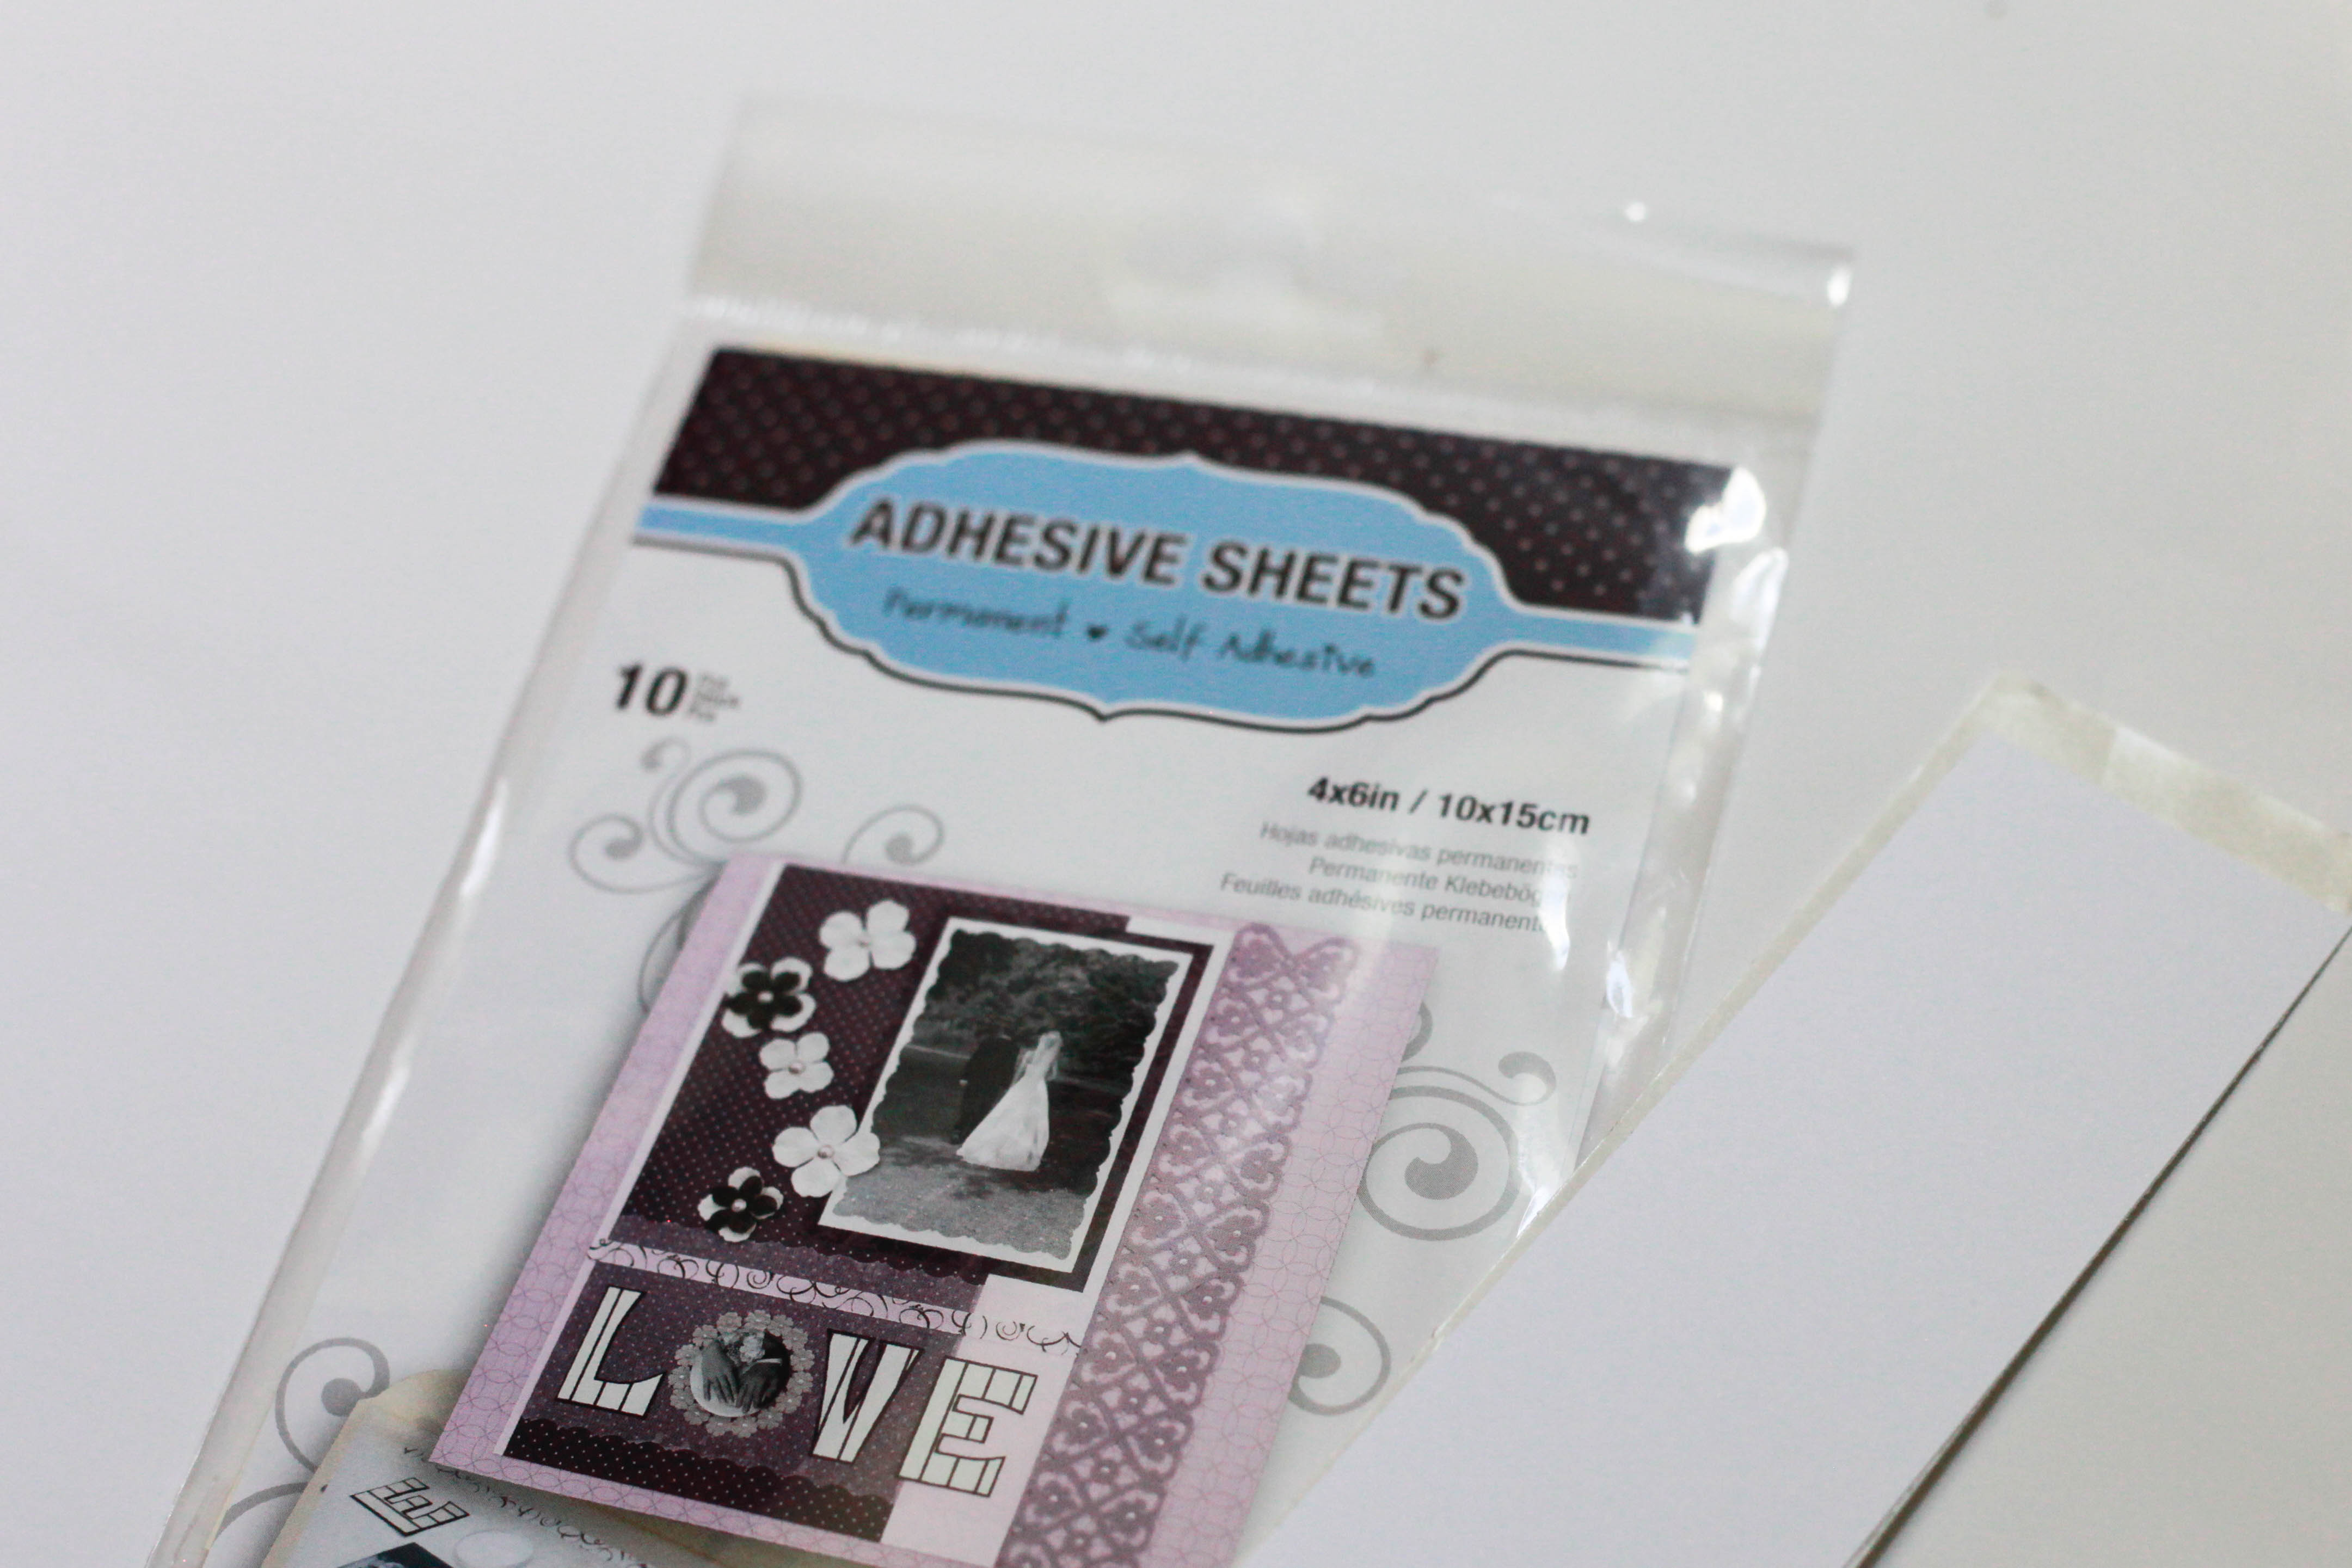
 1. First, trim down a piece of Scrapbook Adhesives by 3L Adhesive Sheets (4×6). I like to trim my pieces down to size, because I love this product and do not like to waste one little piece.
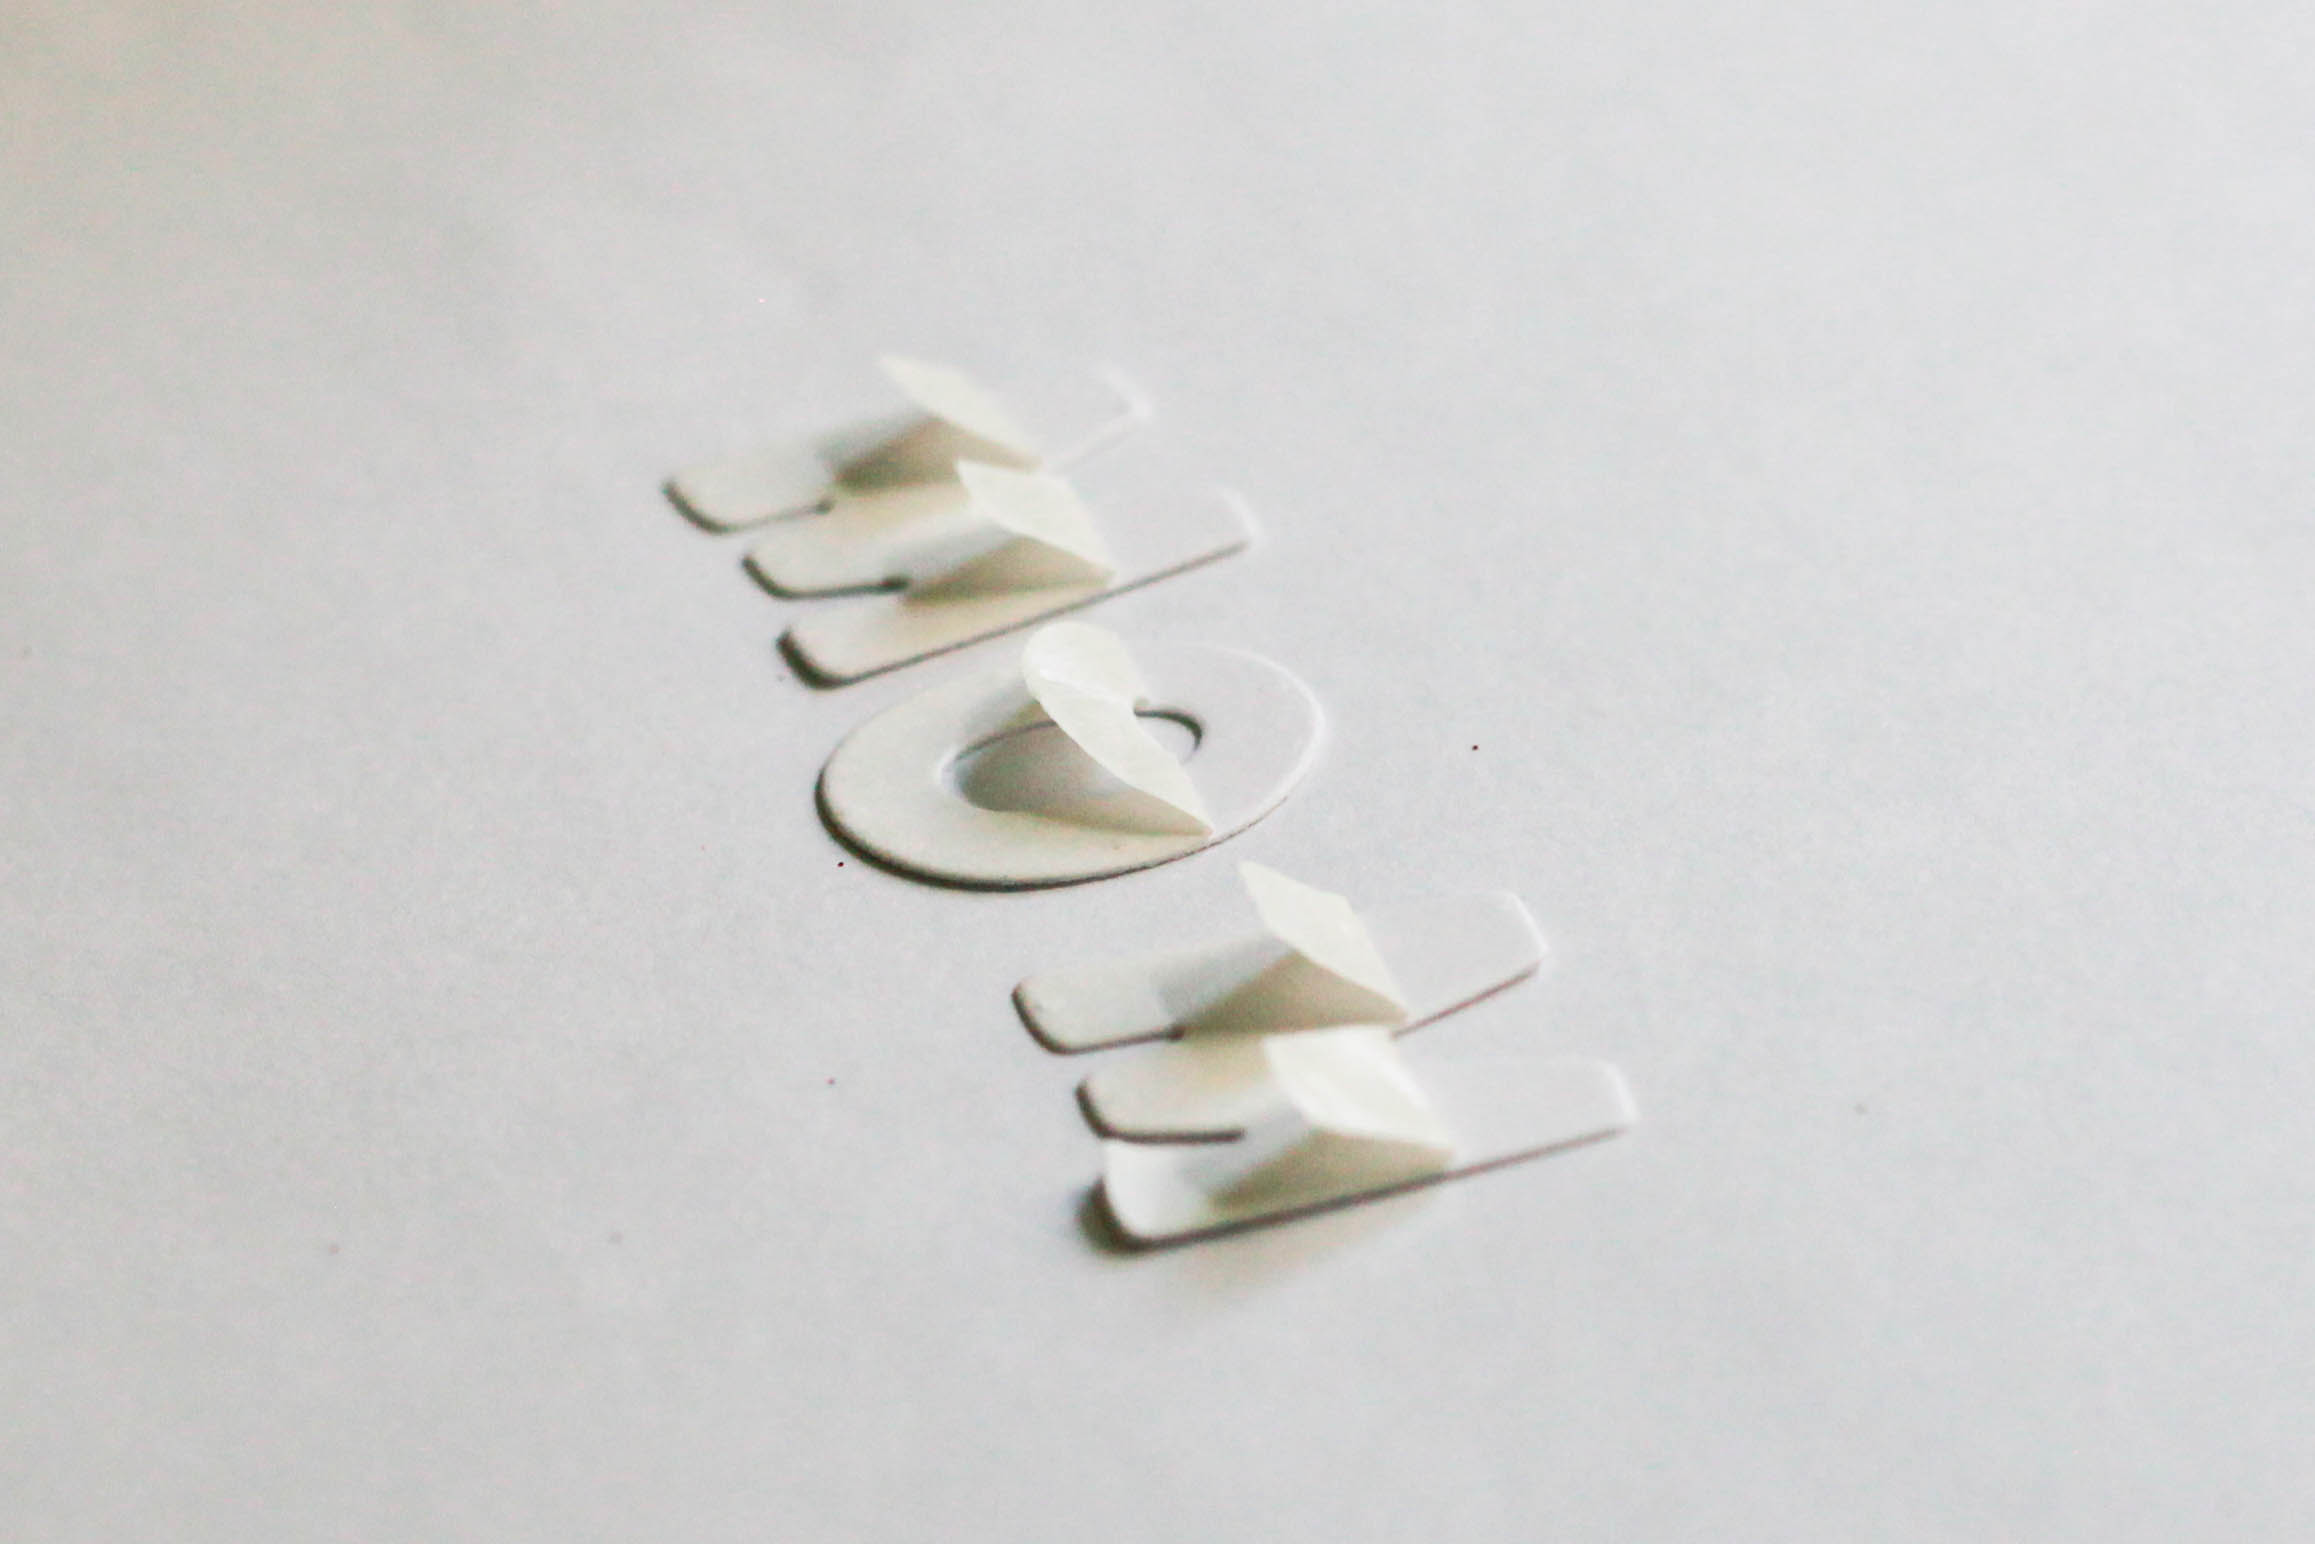
2. Place cardstock over the adhesive.
3. Since I want the adhesive to be on top of the die cut, and not the bottom, because we are adding the glitter to the top, and not making it a typical cardstock sticker. I am placing the cardstock face down, and the Adhesive Sheet facing up, then adding the dies on top, before diecutting.
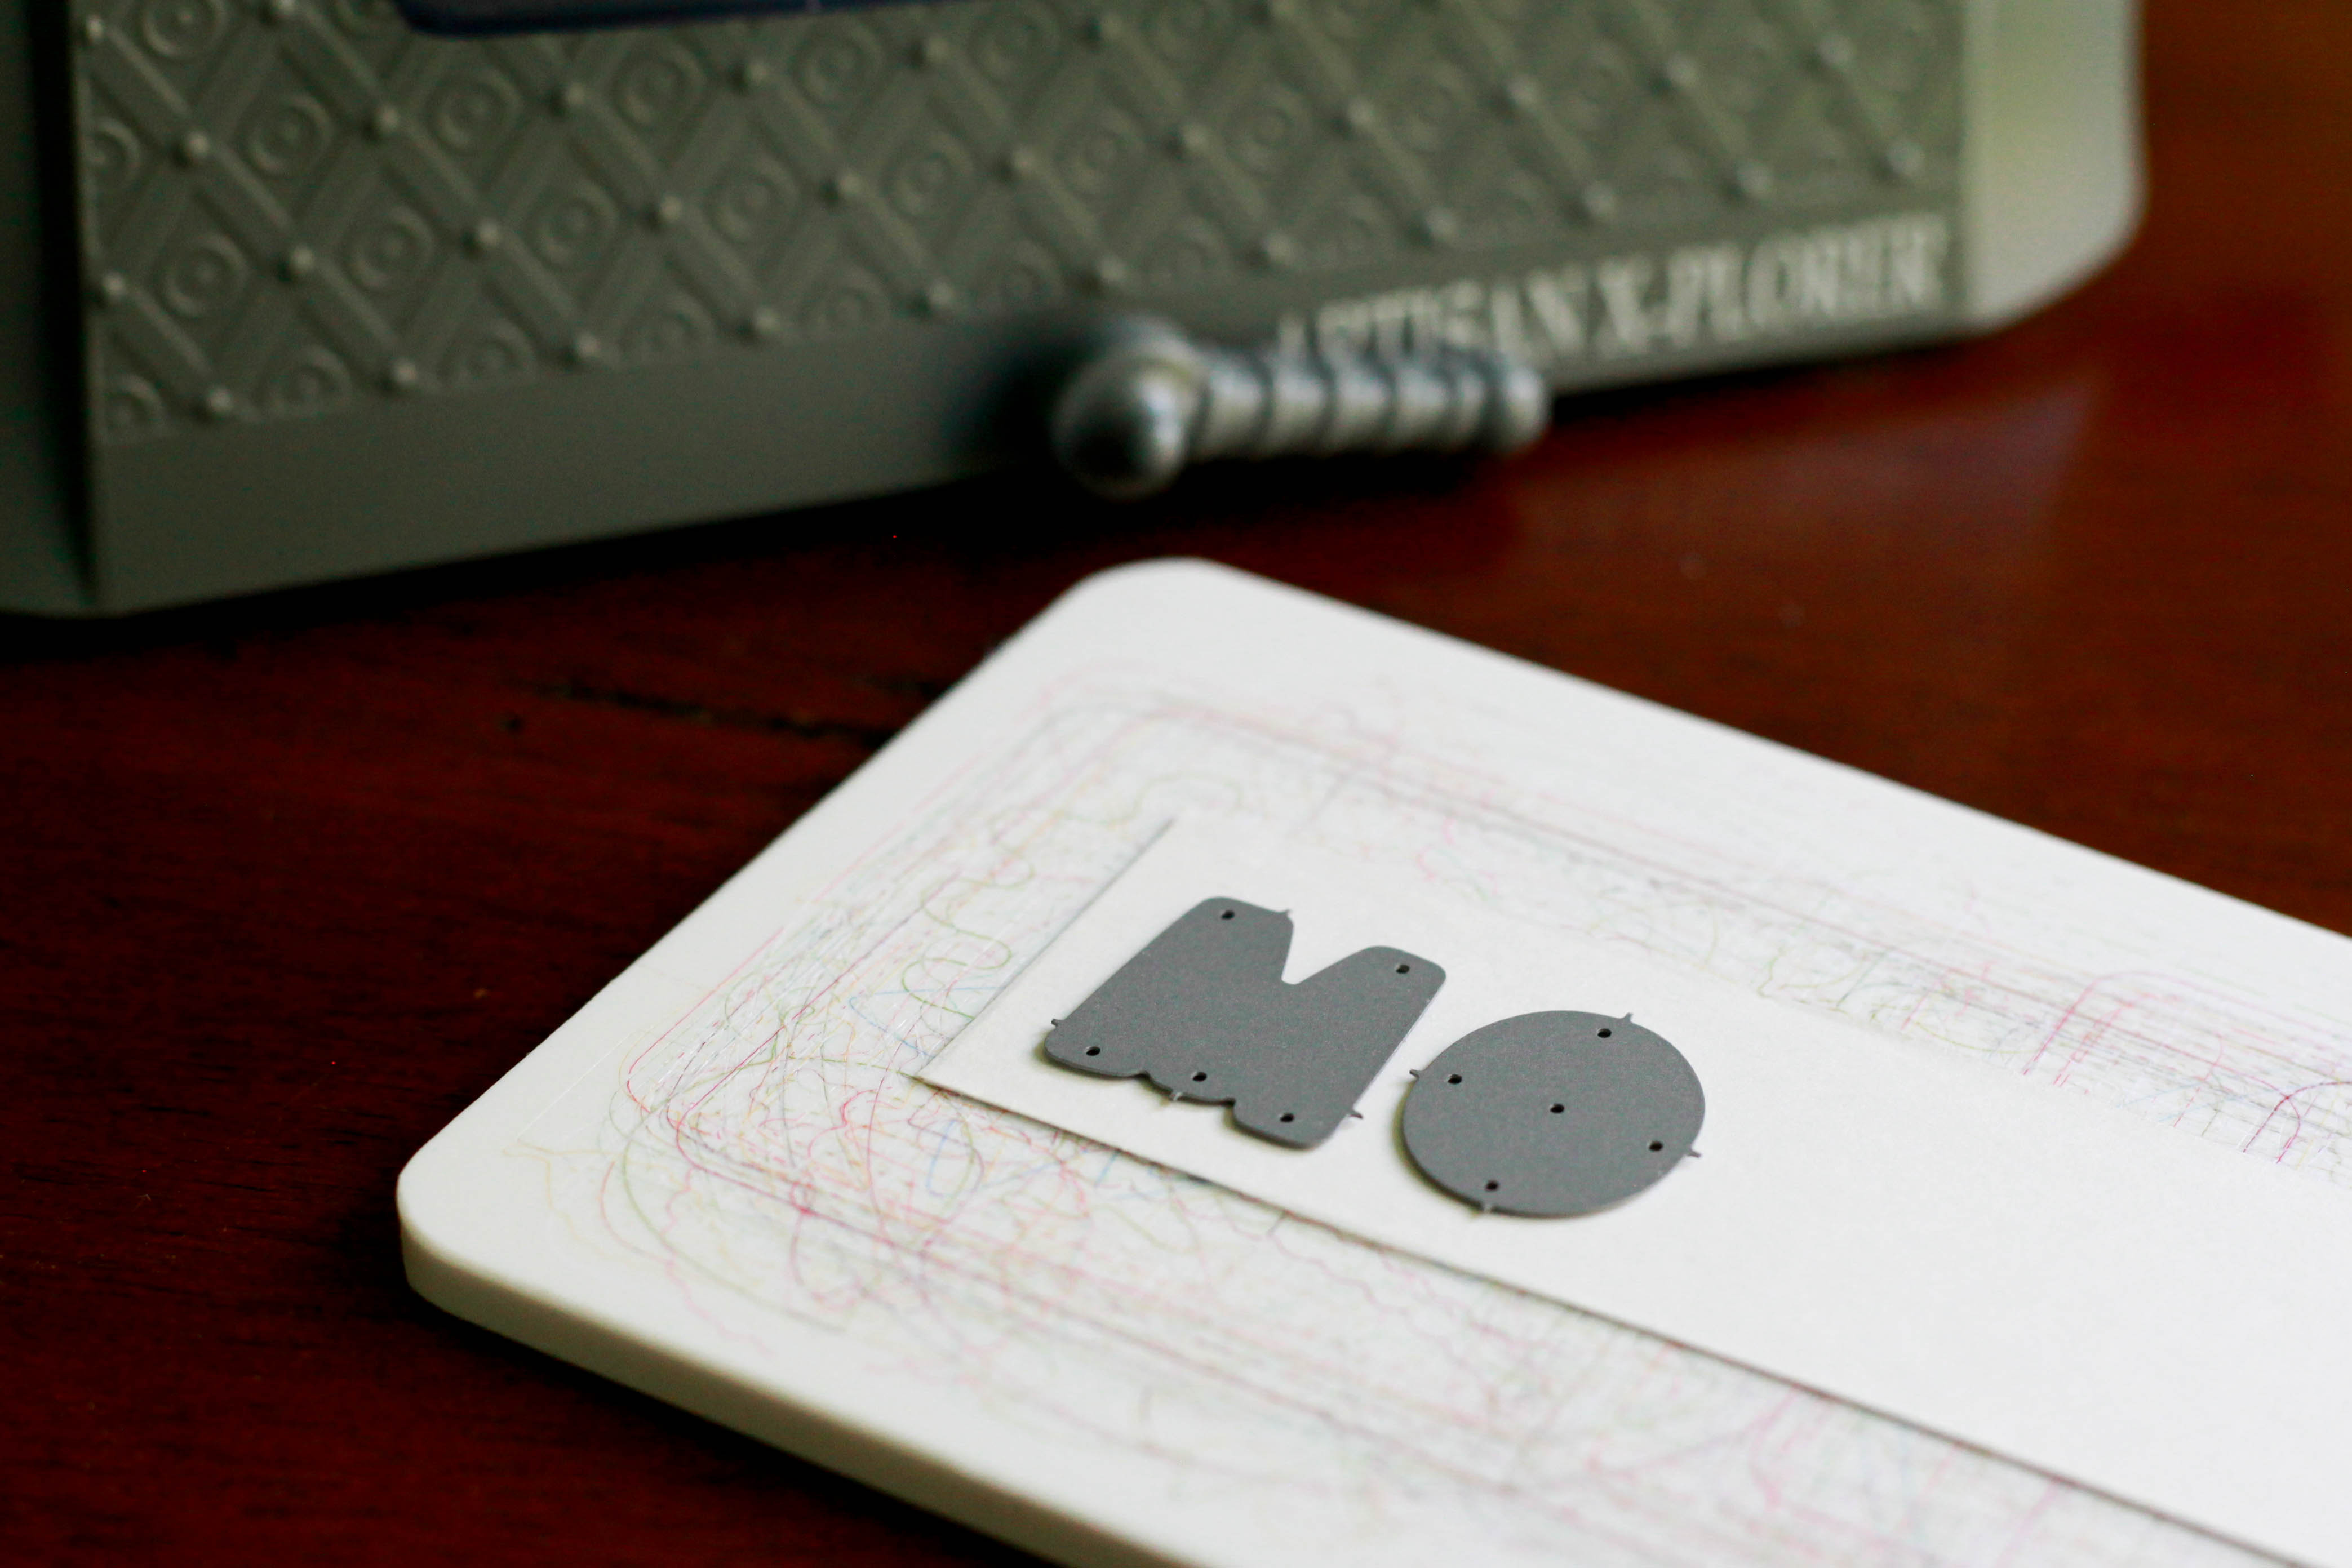
4. I want a rainbow/ombre effect, so I am going to only peel down the Adhesive Sheet a little at a time, adding a different color every time I pull it down farther.
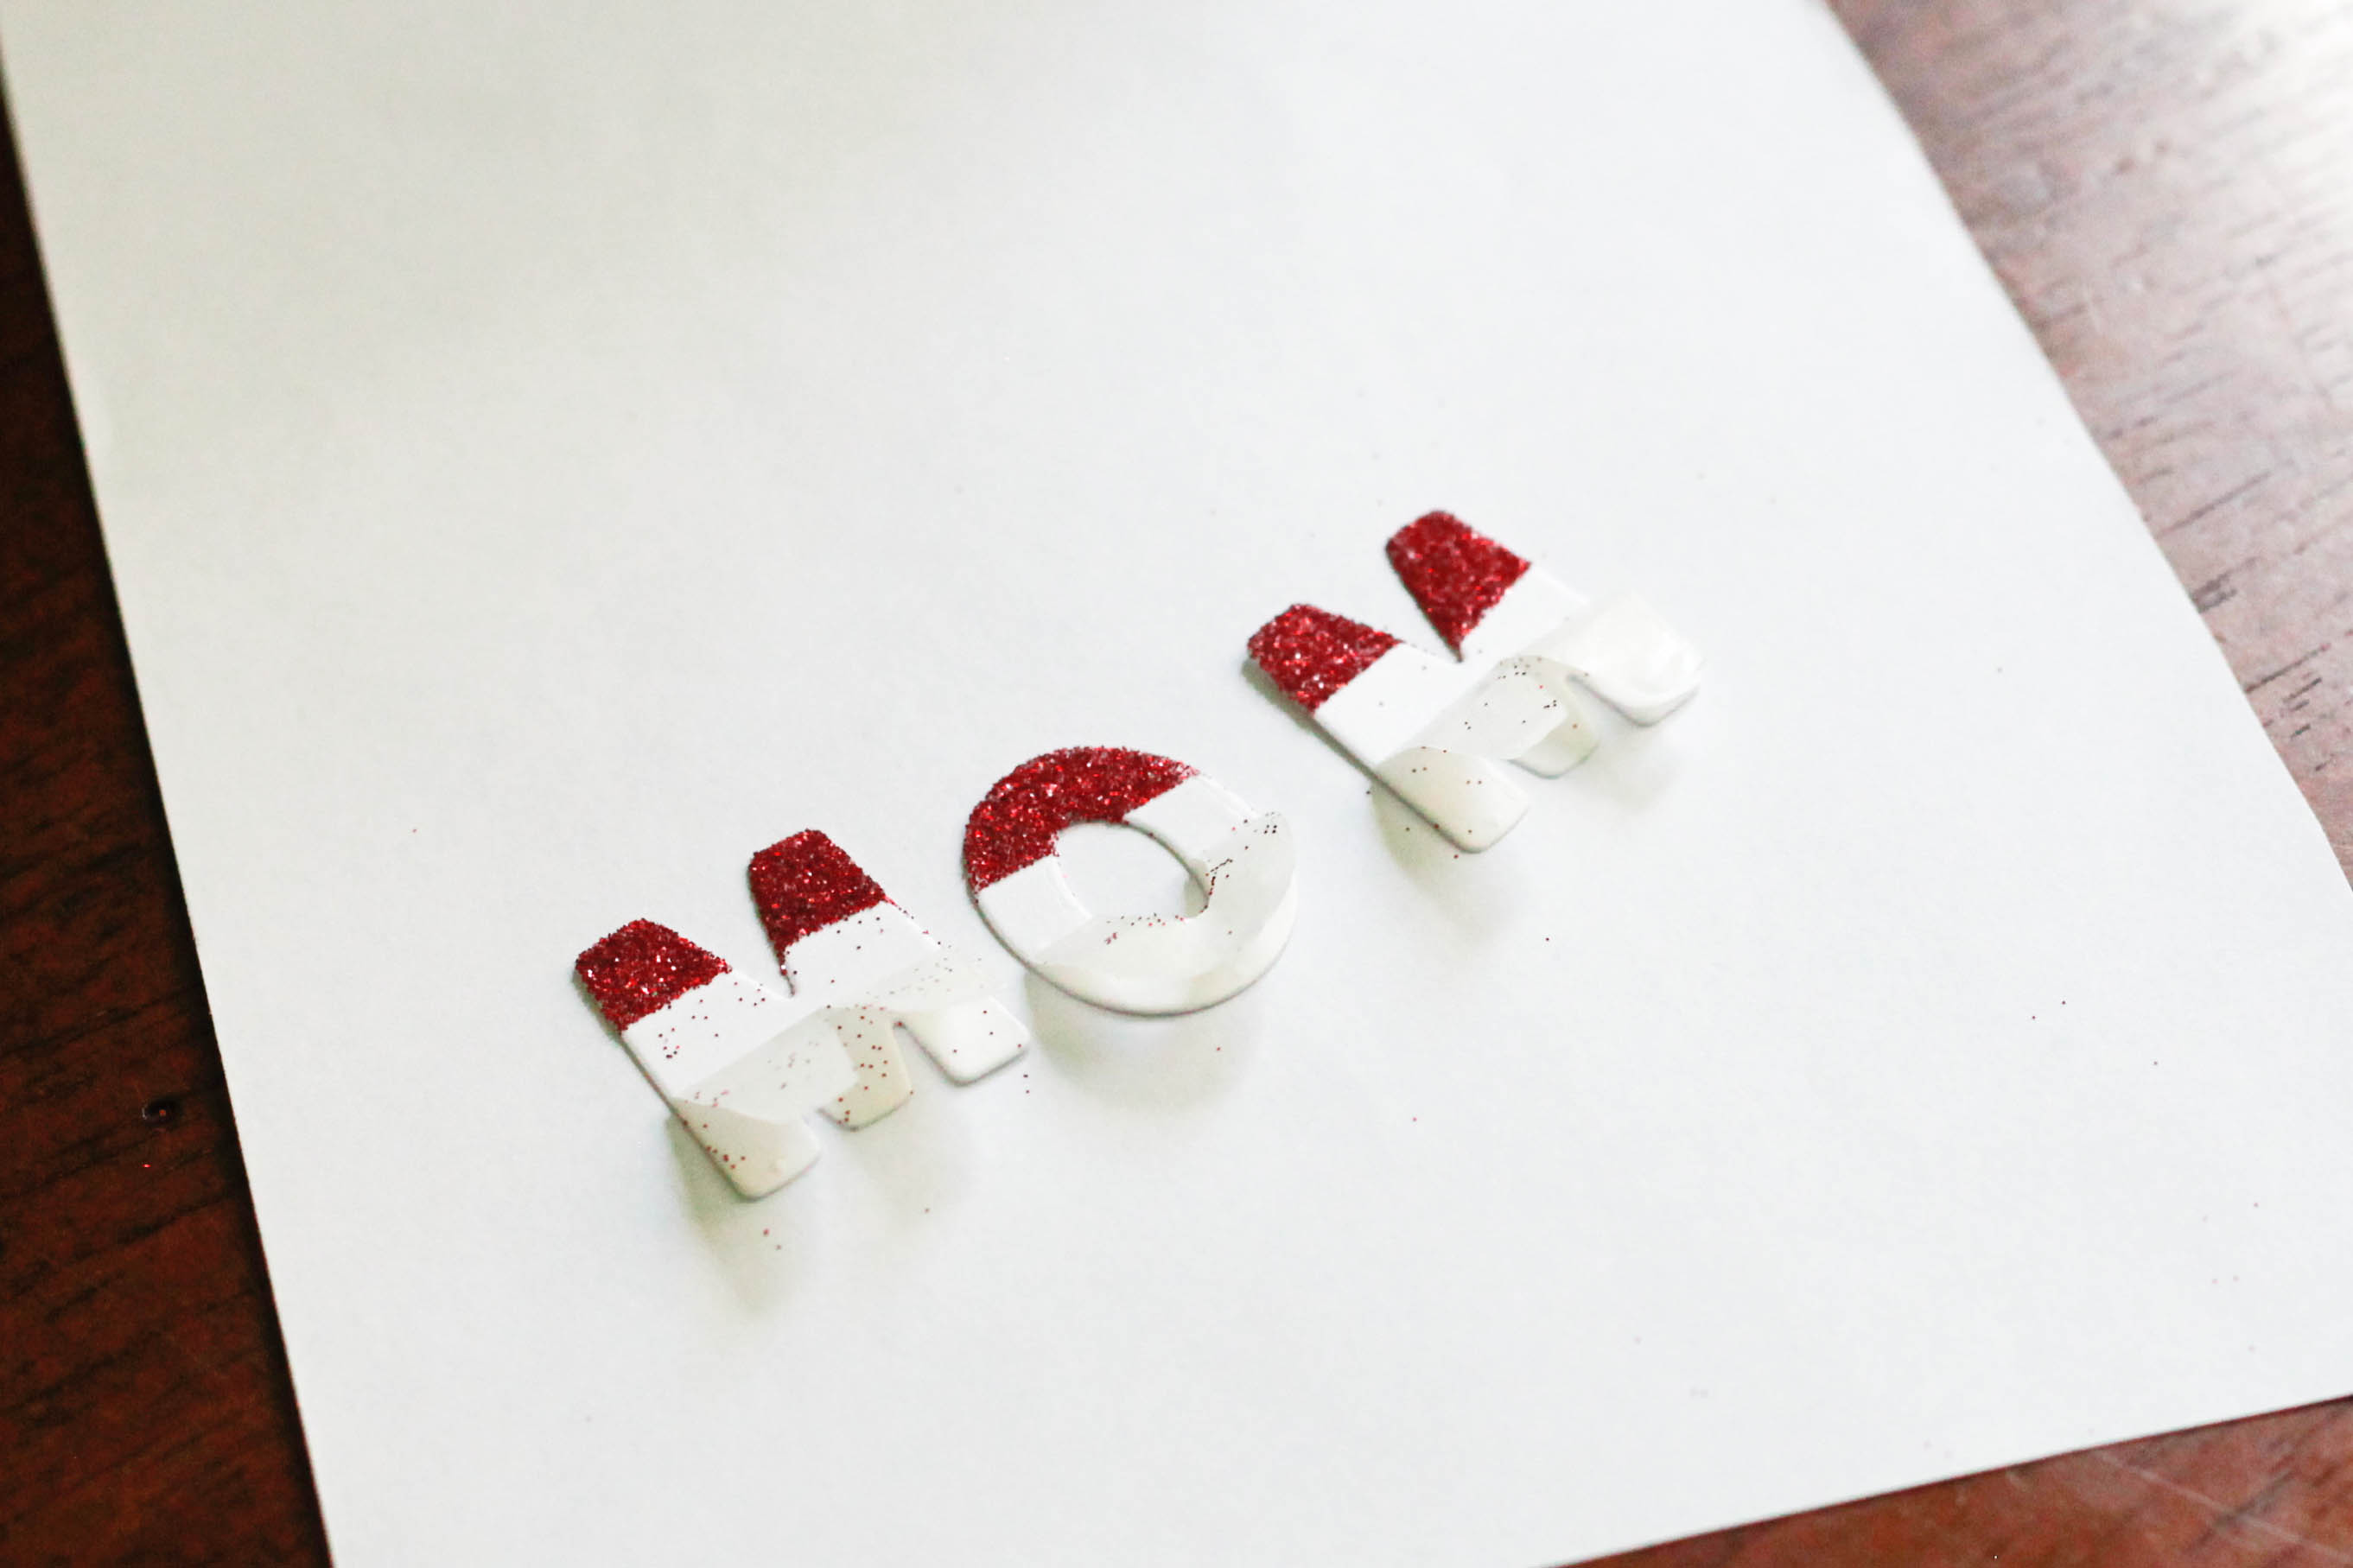
5. I repeated this process, until I had red, orange and yellow glitter onto my diecuts.
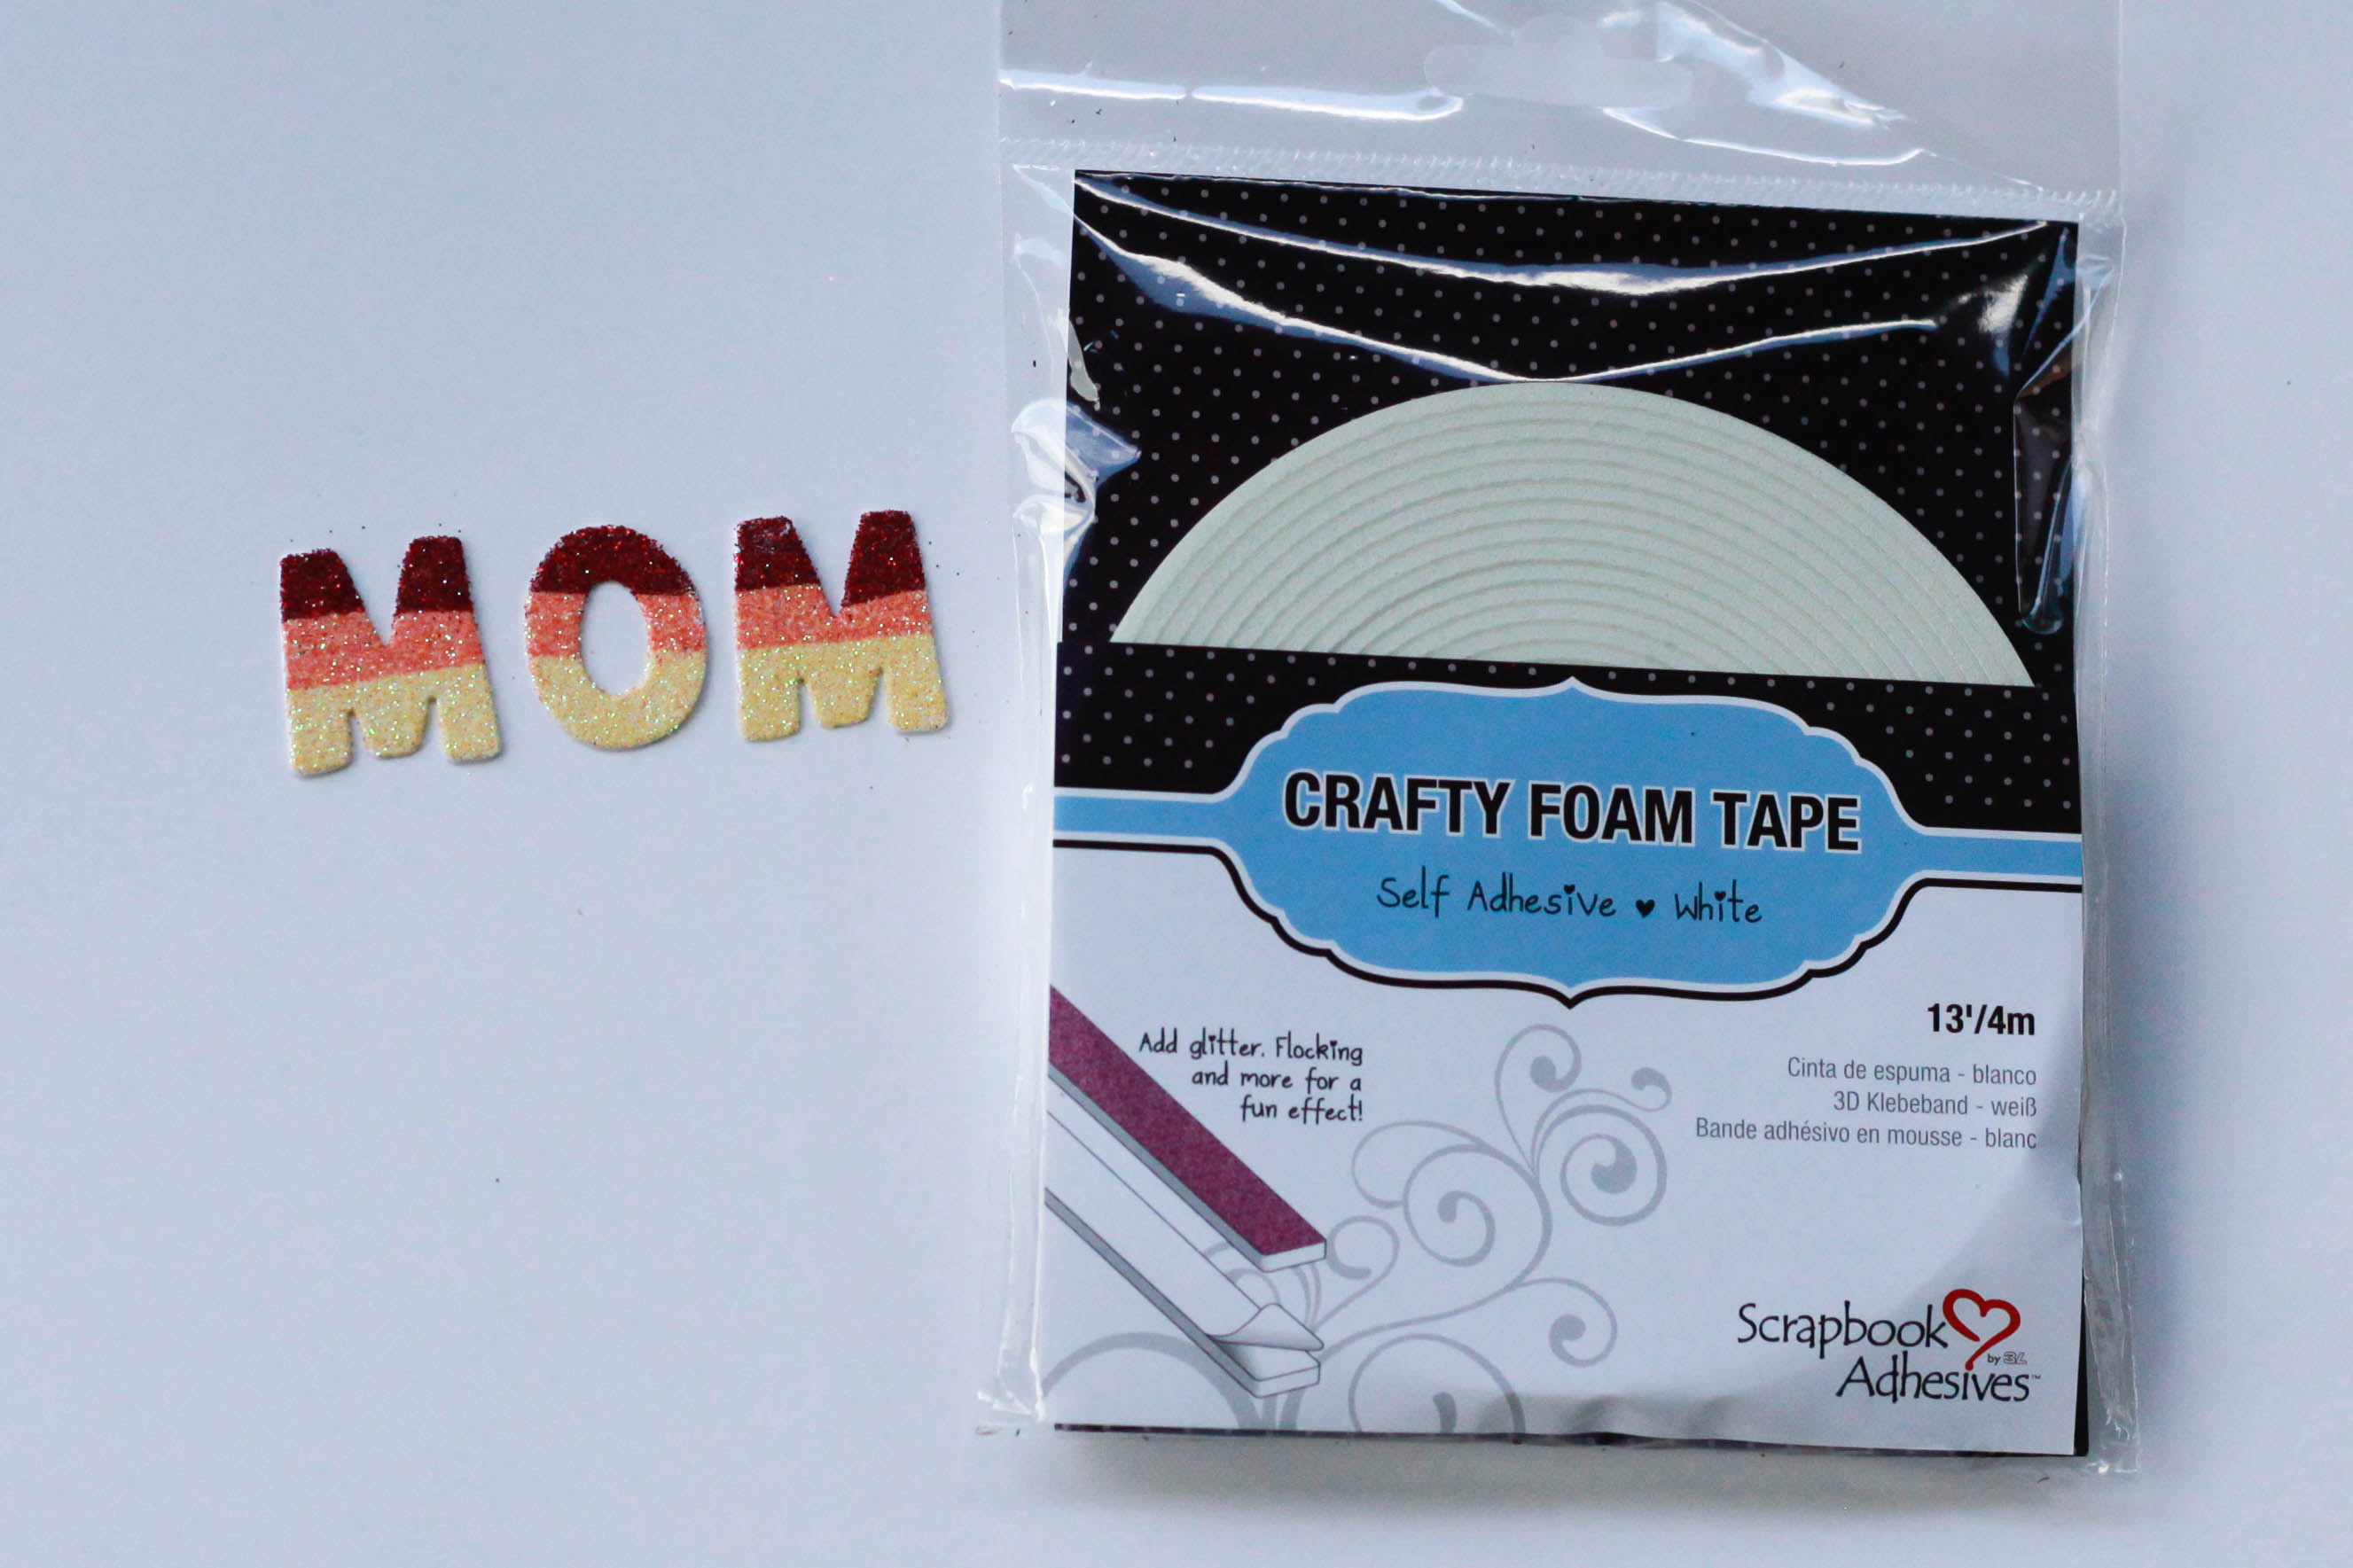
6. I want my stickers to have a little bit of depth, so I am adding Scrapbook Adhesives by 3L Crafty Foam Tape (white) to the back of my die cuts.
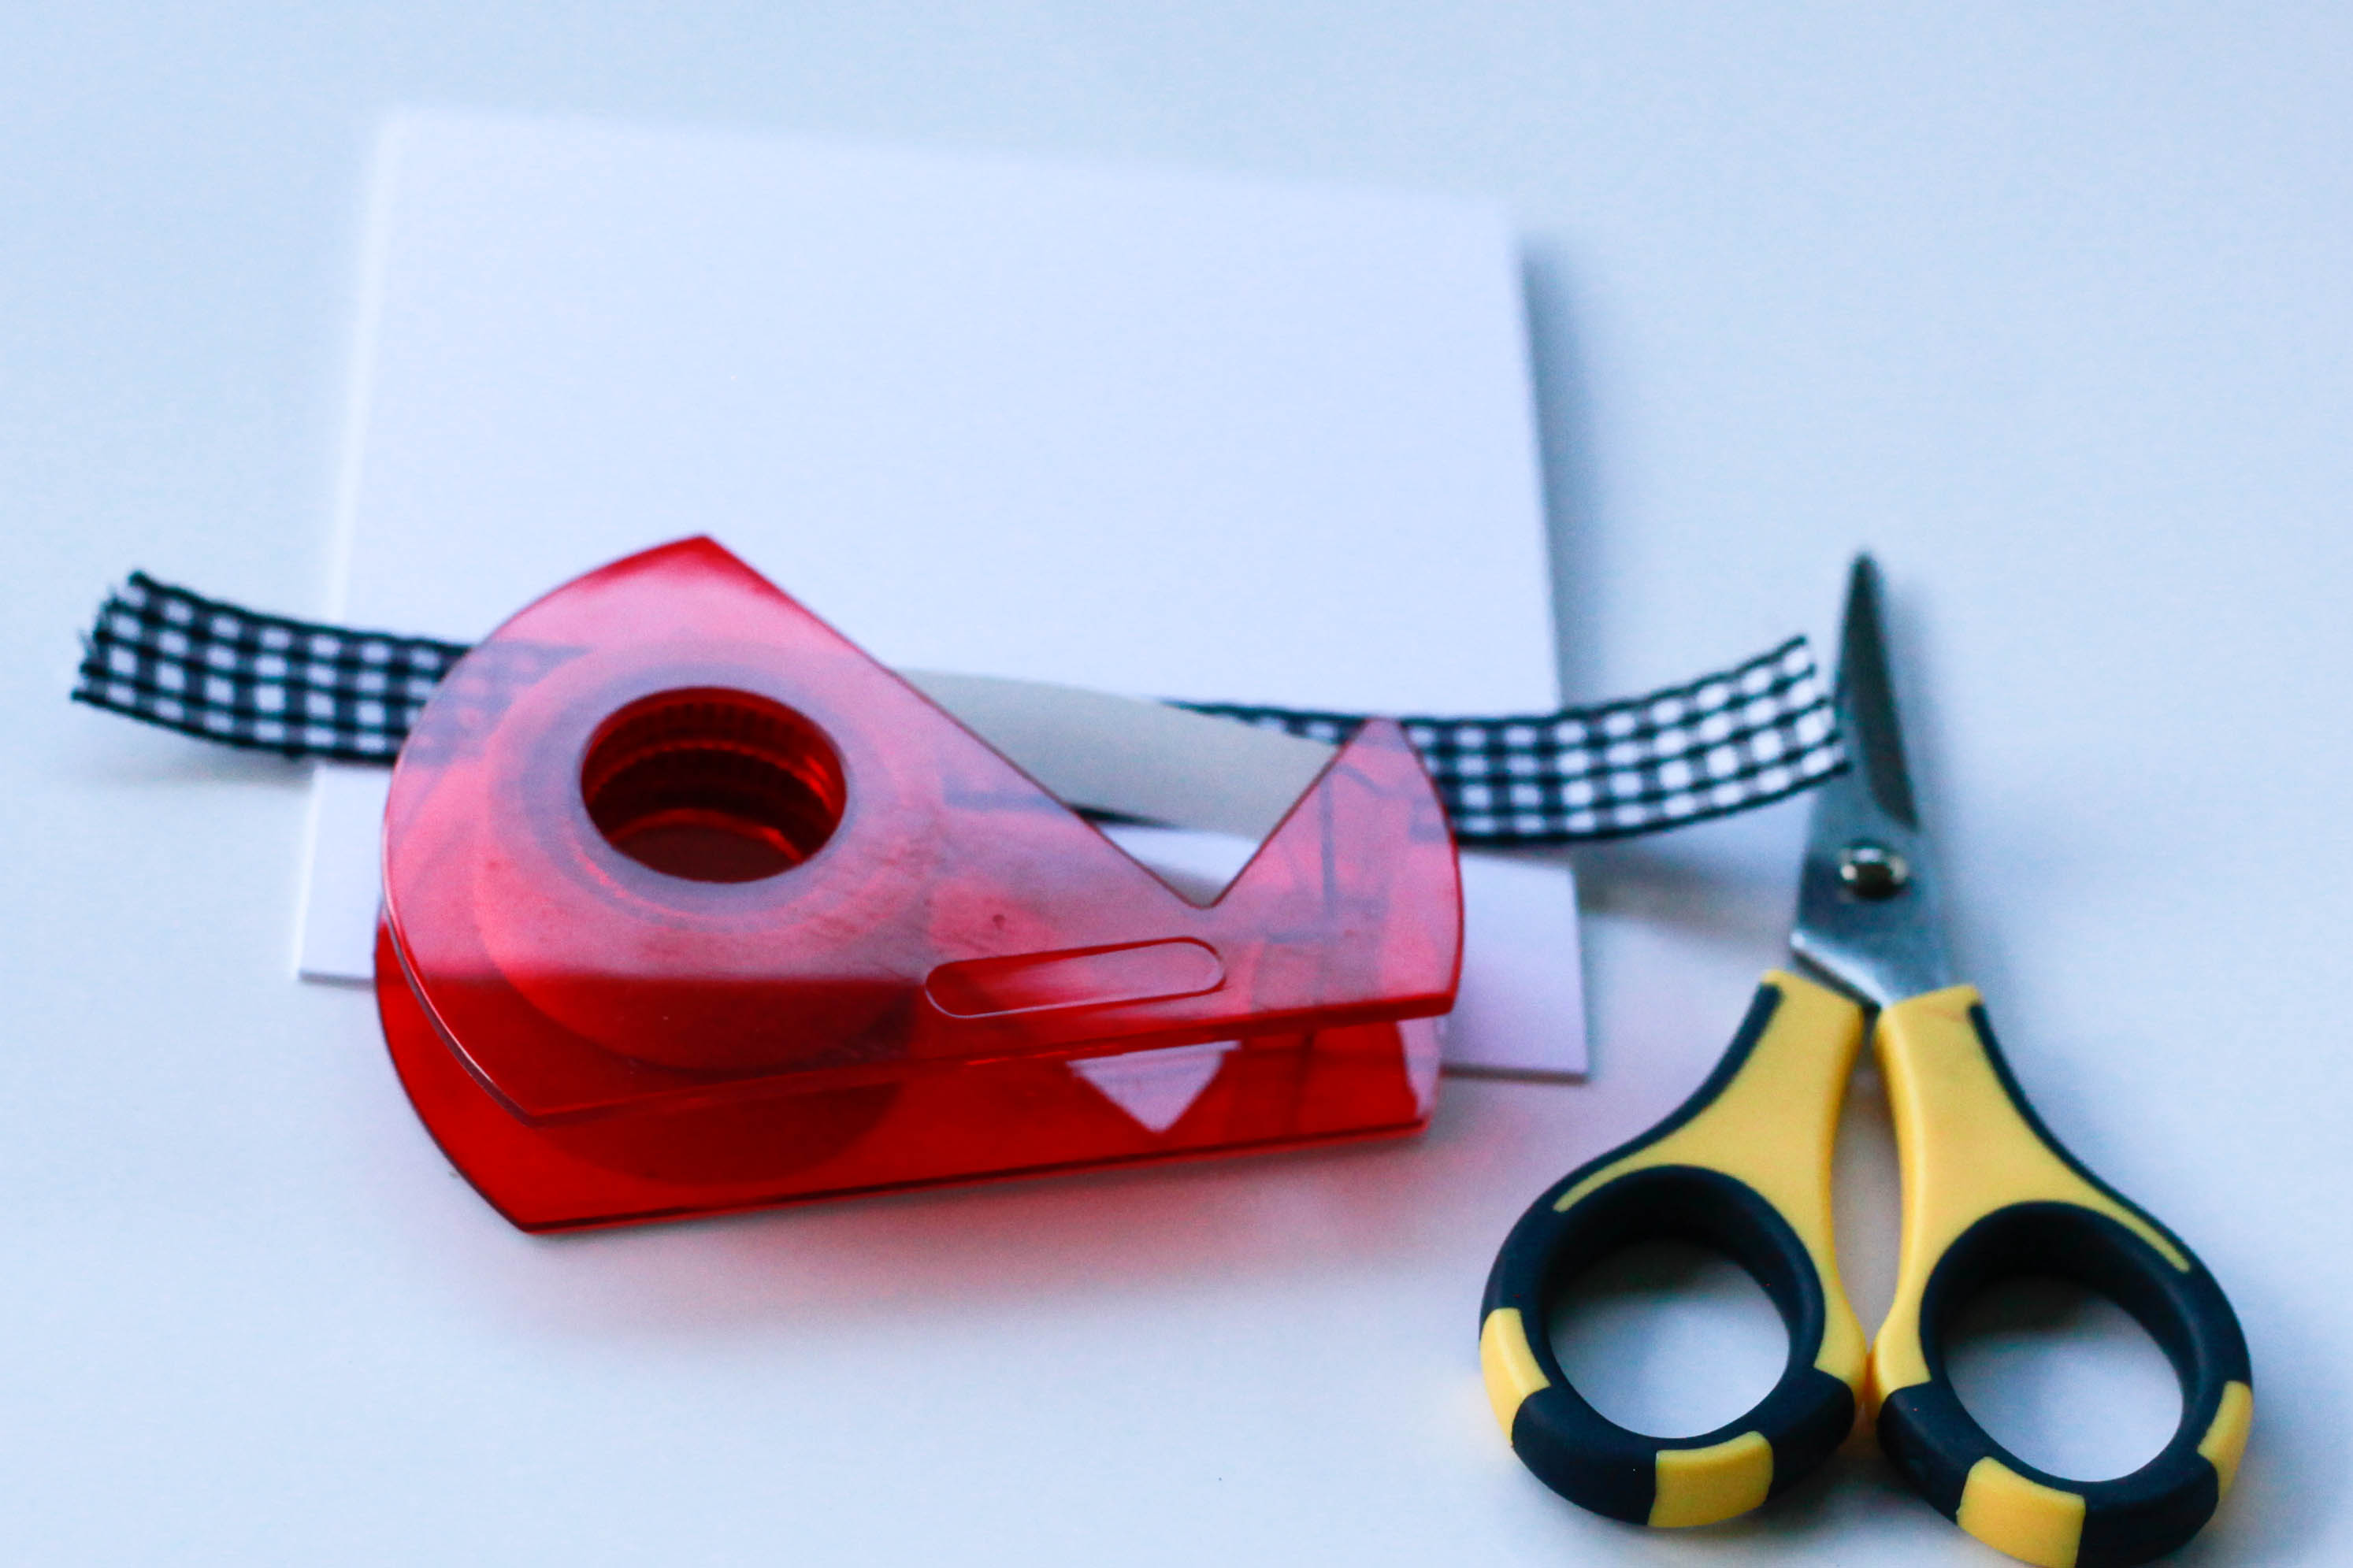
7. I didn’t want to create a bow, or have my ribbon knotted, so I added Scrapbook Adhesives by 3L Crafty Power Tape, to the back of my ribbon, an adhered it to the card & trimmed the excess with scissors.
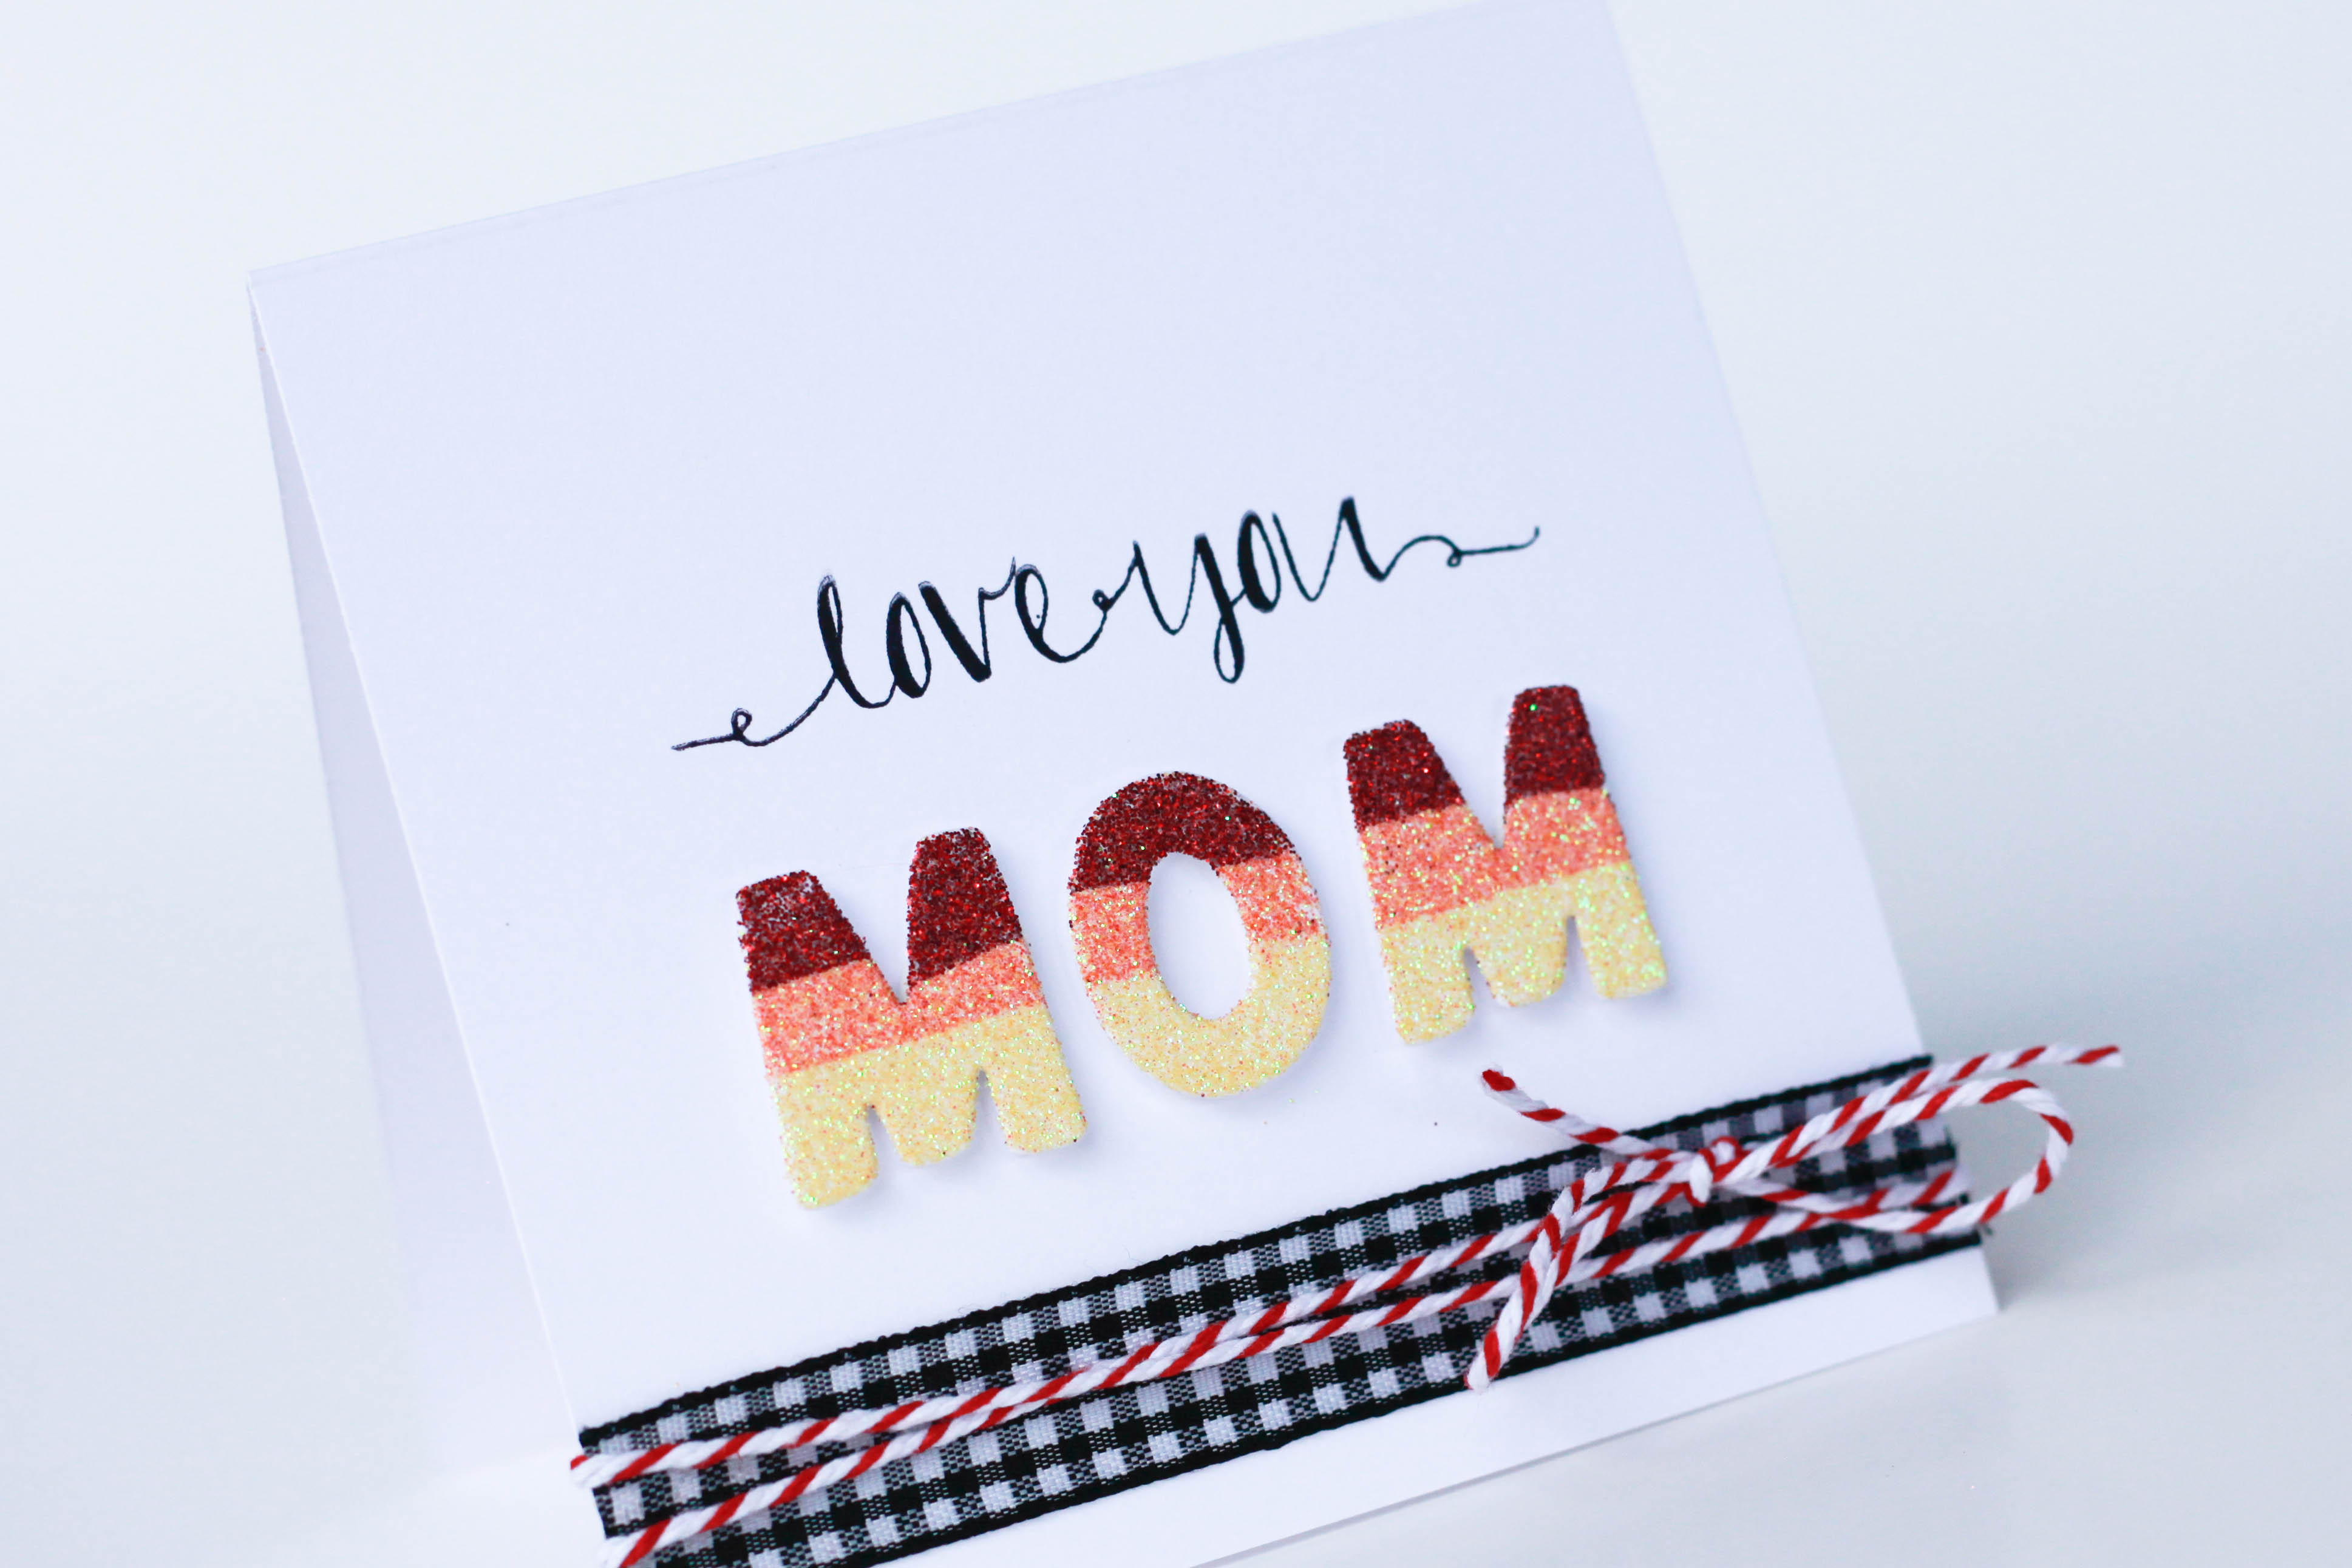 8. Before I adhered my letters to the card, I stamped the sentiment in black ink, applied the die cuts, and added a little bit of twine to pull it all together. This technique can be used with any kind of die cut, not just letters.
Materials Used:
Scrapbook Adhesives by 3L Crafty Foam Tape (white)
Scrapbook Adhesives by 3L Crafty Power Tape
Scrapbook Adhesives by 3L Adhesive Sheets (4×6)
Lawn Fawn dies
Avery Elle stamps
white cardstock
black ink
red, orange & yellow glitter
gingham trim
red bakers twine
By Lisa - papergrace April 26, 2014 - 1:13 pm
I love this!! Love the ombre’ effect and the adhesive sheets are so versatile, right? The colors you used are amazing. Your mom is going to love this, Latisha. BEAUTIFUL!!
By Deborah S April 26, 2014 - 2:21 pm
What a fun, happy and colorful card thank you for a great tutorial as well!