
Latisha here with you today, with a gift card set. Card sets seem like a lot of work, but with a little pre-planning they are super easy to create with just a few supplies.

Instructions:
1. Cut/score red cardstock, so you have 4 card bases measuring 4.25 x 5.5 inches.
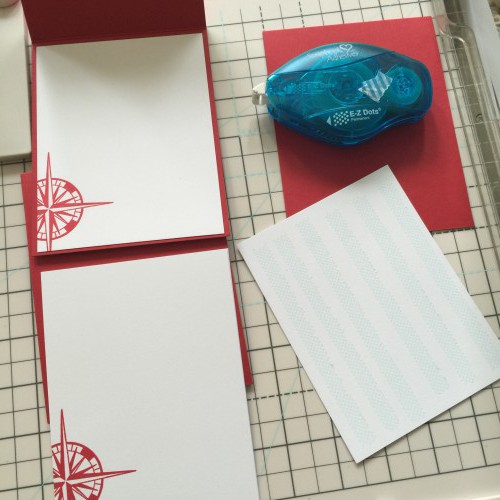
2. Trim white cardstock for the inside of the cards. 8 panels measuring 4 x 5.25 inches. 4 for the inside and 4 for the front.
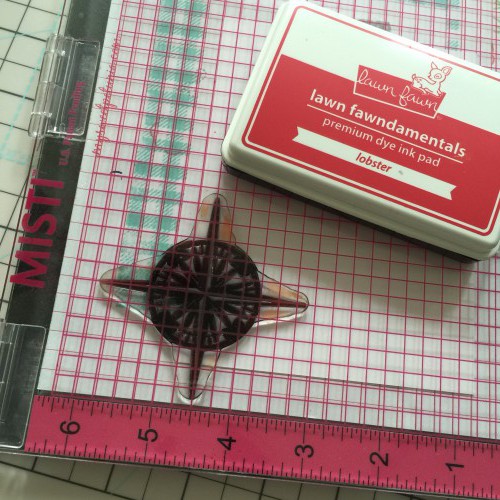
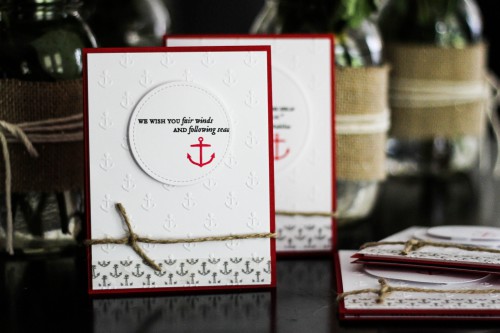
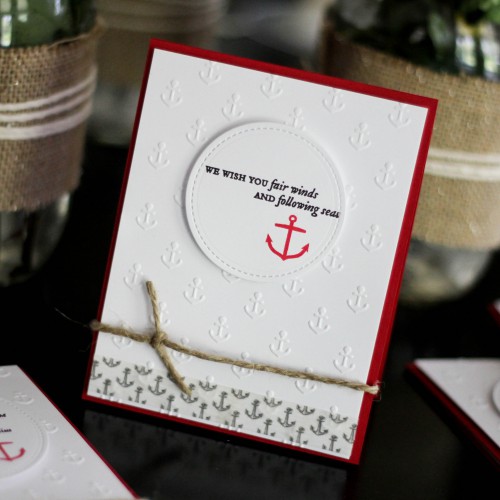
3. Stamp the compass rose onto the white cardstock using red ink.
4. Adhere the stamped panels to the inside of the cards using Scrapbook Adhesives by 3L E-Z Dots Permanent Refillable.
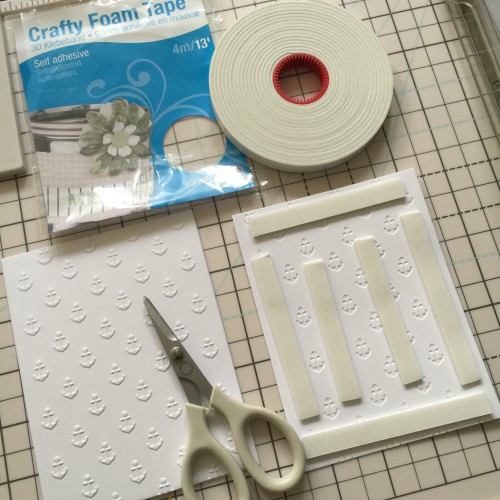
5. With the remaining 4 white panels. Emboss them using and embossing folder and die cut machine of your choice. (check the sandwich for embossing)
6. Adhere the embossed panels to the card front using Scrapbook Adhesives by 3L Crafty Foam Tape (white).
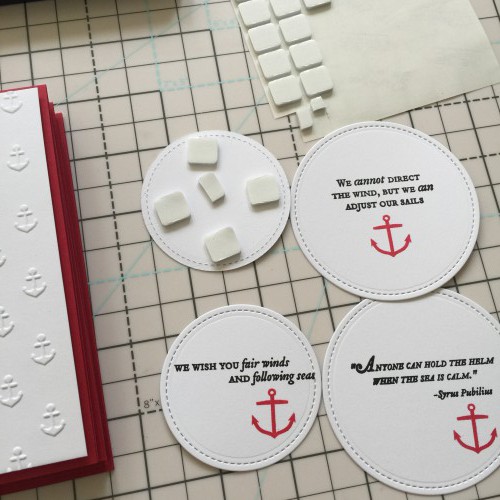
7. Die cut circles using a circle die and white cardstock.
8. Stamp images and sentiments onto the diecuts.
9. Adhere the circle diecuts to the card front using Scrapbook Adhesives by 3L 3D Foam Squares (white, regular).
10. Add twine and washi tape to the bottom of the card to embellish.
Materials Used:
Scrapbook Adhesives by 3L E-Z Dots Permanent Refillable
Scrapbook Adhesives by 3L Crafty Foam Tape white
Scrapbook Adhesives by 3L 3D Foam Squares (white, regular)
Lawn Fawn Ink & dies
stamps
white cardstock
red cardstock
washi tape
scissors
twine
embossing folder
By Ava Gavloski August 14, 2015 - 5:20 pm
love this presentation and great support by scrapbook adhesives