
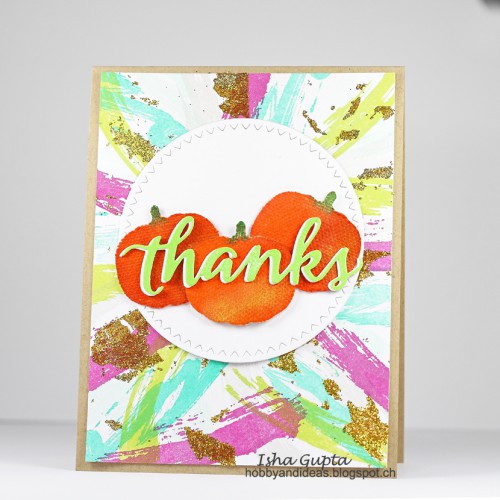
Hi, it’s Isha here.Today, I am guest designing on the blog. As I wrote before, I am really enjoying all the various kinds of adhesives and the various ways to use them! I especially love the new E-Z Runner® Grand, it’s so easy to use and also to refill 🙂 Then there are these Adhesive Sheets, which I used to apply glitter today.
This is how I made my card:
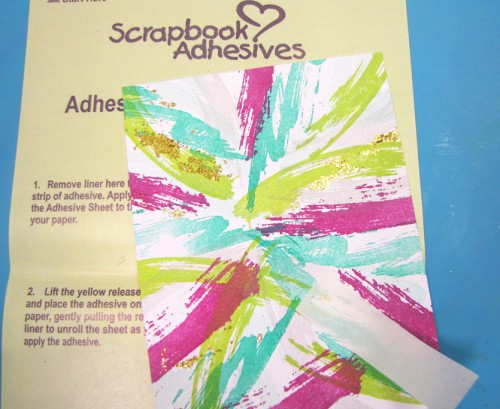
First I stamped the mat layer using various inks and then cut small stripes from the adhesive sheets and just applied it onto the stamped layer randomly. Then I removed the backing paper and applied glitter to it.
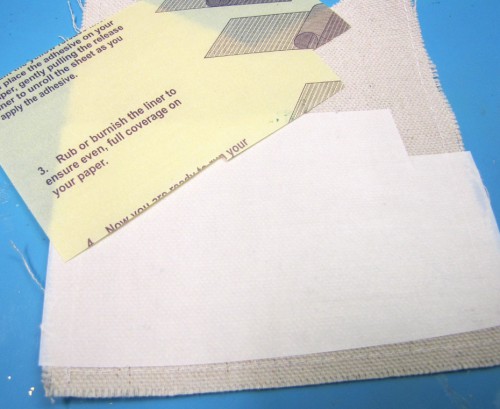
Next, I cut a piece of Adhesive Sheet, removed the yellow liner paper and adhered it to a canvas banner. Now, I removed the backing paper and adhered this canvas to a white cardstock, essentially making my own die cut stickers.
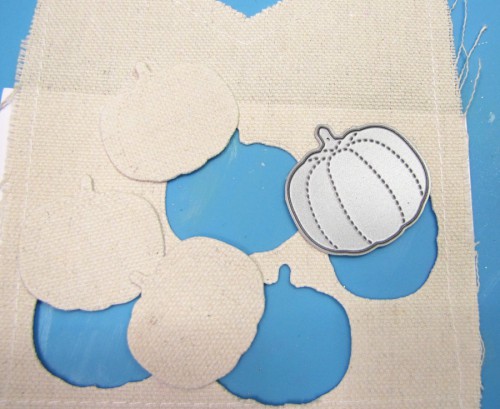
I die cut some pumpkins from this canvas.
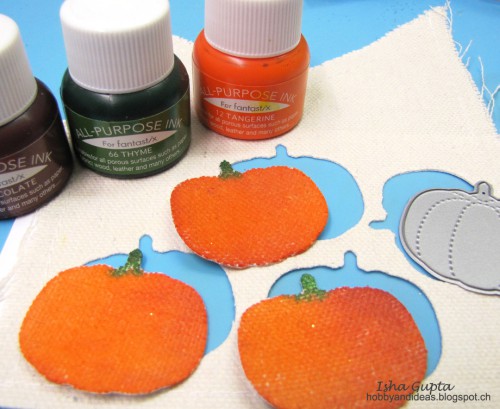
Then I used some inks and colored in the pumpkins.
When these were slightly dry, I brushed some gold pigment powder onto them.
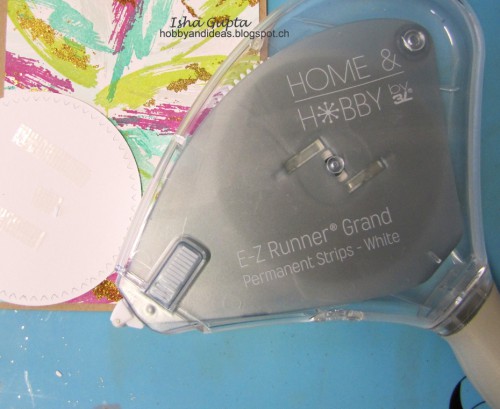
Now, I adhered the mat layer and the die-cut circle to the card base using E-Z Runner® Grand.

Then I used DODZ Small to adhere the 2 side pumpkins. These are so easy to use 🙂
For the center pumpkin, I wanted to give some dimension, so I used 3D Foam Squares.
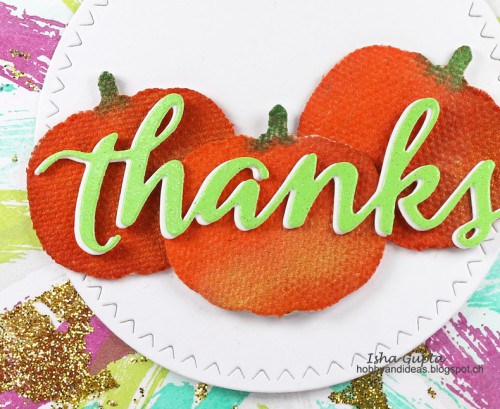
Finally, I adhered the die-cut word “Thanks” 🙂
These various adhesives sure make creating so much easier!
Thanks for stopping by. I will be back soon with some more creations.
Scrapbook Adhesives by 3L®: Adhesive Sheets 4×6″, Dodz Small, 3D Foam Squares
HomeHobby: E-Z Runner® Grand
Other Supplies:
Stamp: Watercolor Brushstrokes (SugarPea Designs); Dies: Sugar Cuts – Thanks, Zig Zag stitched circles, Stitched Autumn Icons (SugarPea Designs) Inks: All Purpose Ink (Tangerine, Chocolate, Thyme), VersaColor (Tropical Green, Chateau Gray, Seafoam), Memento Luxe (Pear Tart, Lilac Poisies) (ImagineCrafts featuring Tsukineko)
By Margie Higuchi September 30, 2015 - 6:53 am
LOVEd how you created those pumpkins – from canvas to gold pigment powder <3 Great texture and such colors!