
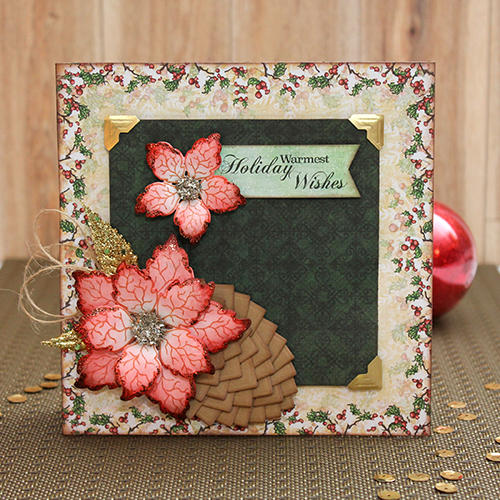
Welcome back, crafty friends! Tracy here, and I love the holidays!! Today I have a tutorial on how to create these super cute and EASY Pinecone Embellishments with Creative Photo Corners. I love creating cards for family and friends. My holiday style is definitely classic, so I wanted to create an embellishment to compliment that.
How to Create Pinecone Embellishments with Creative Photo Corners.
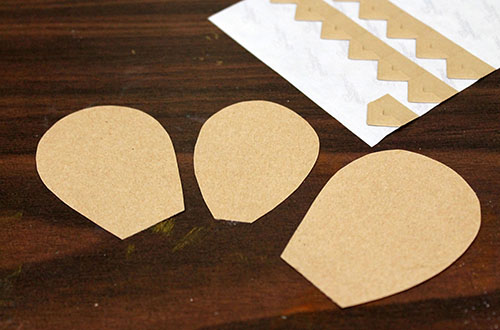
Let’s get started by creating a base from kraft cardstock. Hand cut these shapes in a few different sizes. They do not need to be perfect, as they are going to get covered up.
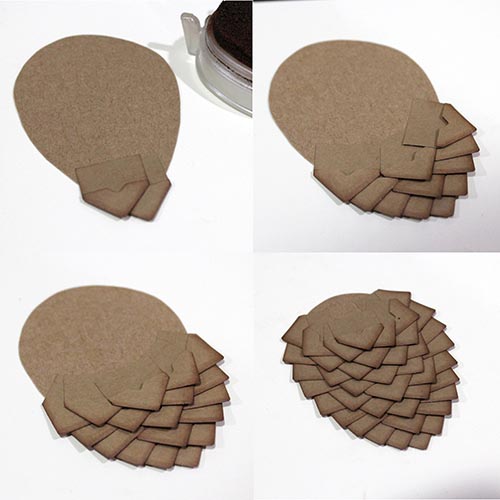
I inked each Creative Photo Corner before adding it to the pinecone base. Start with one point at the bottom, the next layer with 2 points and next, 3 points. Each layer doesn’t add a point, you will just stagger and space them a little differently.
Play with the design and change the angles of the Creative Photo Corners a little bit too. Continue the layers right up to the top.
Once I had my pinecone completed, I moved on to the card base.
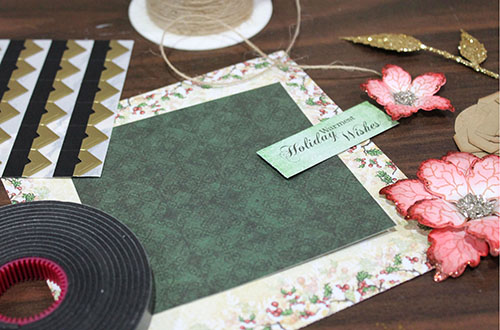
The Card Base
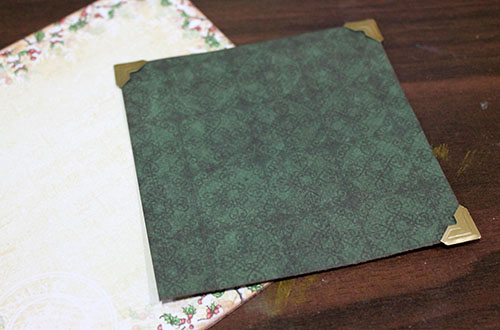
Add just a little bit more shine by placing Creative Photo Corners Gold to the green patterned paper layer.
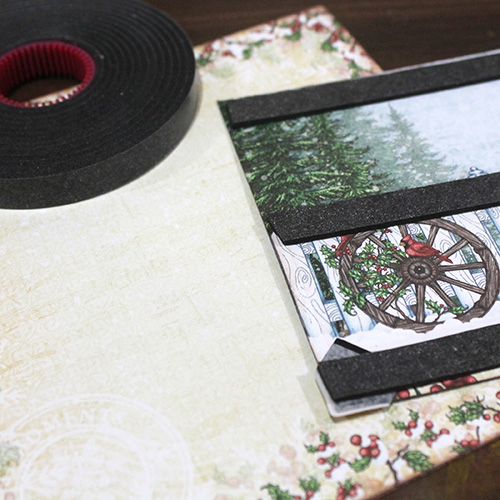
On the back of the 6 x 6″ card background panel, I added Crafty Foam Tape for interest and dimension.
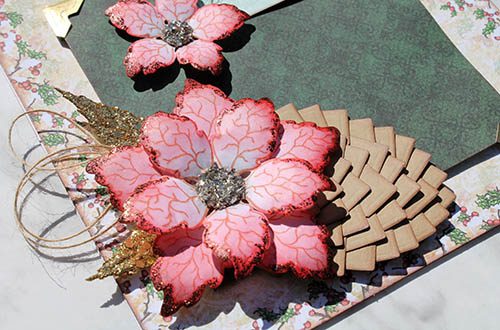
Once my background layers were complete, I was ready to embellish. So I added my pinecone, poinsettias and leaves using Adhesive Dots Large.

Thanks so much for stopping by!
- Creative Time: 1 Hour
- Skill Level: Intermediate
Scrapbook Adhesives by 3L® Supplies:
Creative Photo Corners Gold
Adhesive Dots Large
Creative Photo Corners Kraft
Crafty Foam Tape Black
Other Products Used:
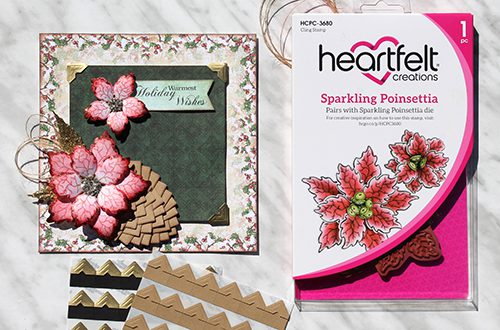
Heartfelt Creations- Festive Holly Paper, Sparkling Poinsettia Stamps and Dies, Glass Glitter, Stickles, Cardstock- White and Kraft, Stampin Up Ink- Riding Hood Red, Burlap String
See a collection of Creative Photo Corner Texture Ideas here:

By Marjorie Dumontier October 12, 2017 - 8:03 am
Oh my goodness!! How brilliant that is to use the photo corners to make a pine cone!