Send a piece of your home to friends through Christmas cards! Do you need a clever and personal design on your Christmas cards?
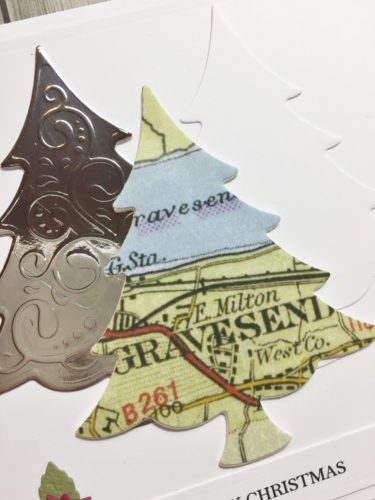
Christine here today with a fun idea for a card design! Cut a Christmas tree shape out of a map of your hometown. A simple design made even easier to use with Scrapbook Adhesives by 3L® products at hand.
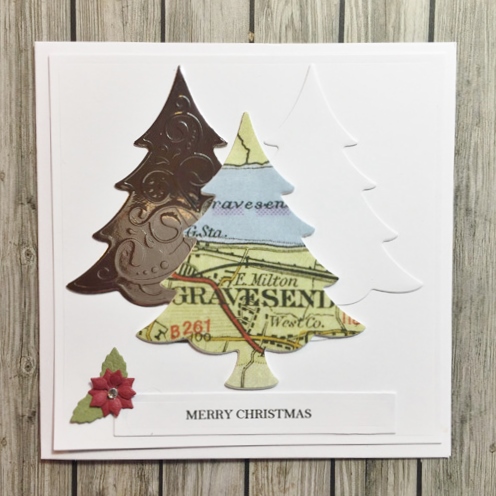
Incorporating home into my Christmas cards
- Firstly I sourced a map of my hometown here in England. I sort of wish it had a nicer name but I really cannot change that! Note: you may find a map of your hometown online or in travel guides.
- Once I found a good map to work with, I positioned my Christmas Tree etched die on top of my hometown and secured with washi tape. Die-cut with a manual die-cutting machine.
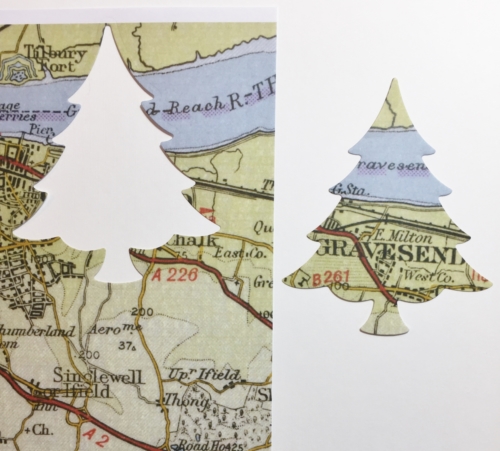
- Because my map was printed onto thin copy paper, I knew it needed backing. I used the same tree die to die cut the shape from a 3D Foam Creative Sheet.
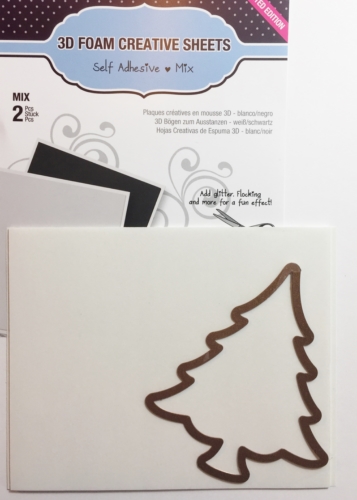
- Peeled off the backing and it affixes my die cut perfectly.
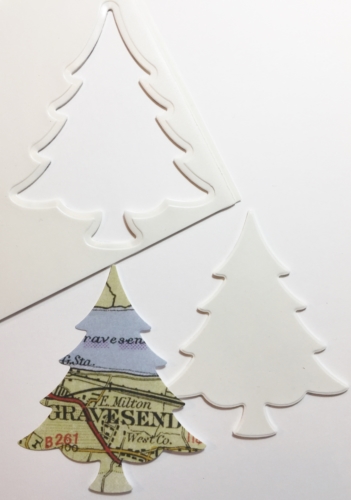
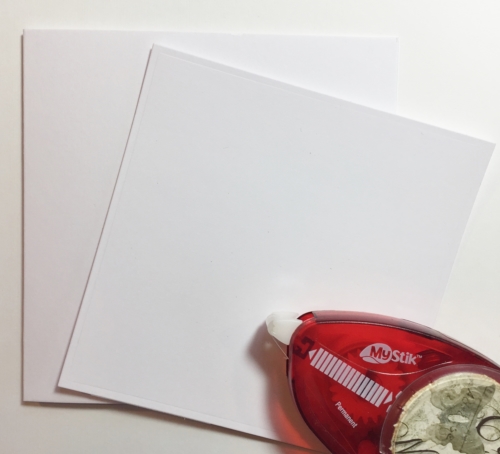
- Prepare the card front by matting a white square with MyStik® Permanent Strips.
- Then affixed a couple more trees to the card front with a sentiment and little poinsettia. This still means the card is quite flat for sending.
It definitely makes your card more personal and it need not be trees, how about map ornaments or a map snowman.
Thanks for stopping by today and don’t forget to check out all the great products on the website.
Scrapbook Adhesives by 3L® Used:
MyStik® Permanent Strips
3D Foam Creative Sheets
Others:
Dies: Spellbinders® Paper Arts (Fancy Tree, Mini Poinsettia)
Printed Map, White Cardstock, Silver Foil Card, Typed Sentiment Label, Gemstone


By Elaine McDonald December 19, 2017 - 6:50 pm
Lovely…..great idea thank you