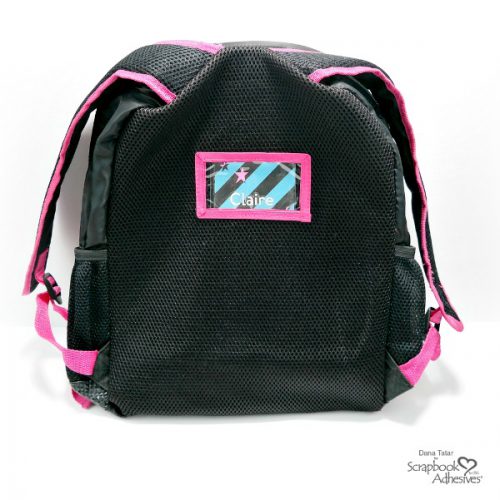
Hi friends! Dana Tatar here with you today sharing a quick craft idea for a child’s backpack during the back-to-school season. My family moved over the Summer, which was equal parts exciting and nerve-racking. My daughters started in a new school a couple weeks ago and I wanted to be sure to have their names somewhere on their belongings. I made way more trips to the lost-and-found last year than I liked and I’m hoping to avoid that this year.

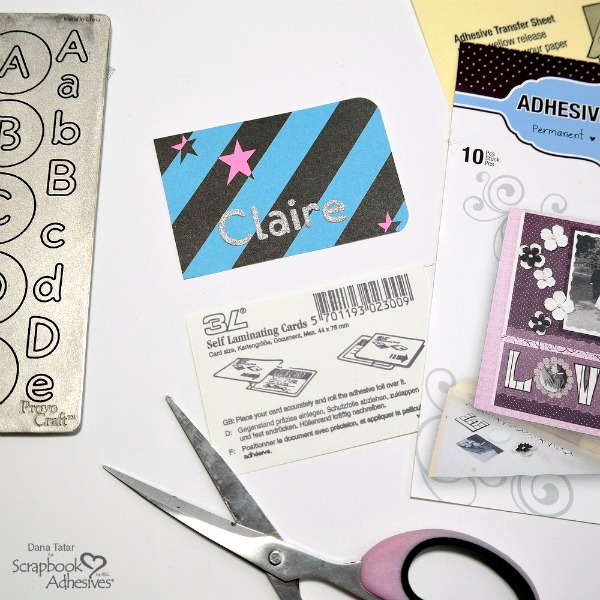
I used Adhesive Sheets and Self-Laminating Cards to create personalized backpack name tags. My daughters selected patterned paper and cardstock in their favorite colors. The cards are clear, so I was able to add contact information to the back of each card.
How to Create Backpack Name Tags
Skill Level: Beginner Project Time: 30 Minutes

Step 1: Cut a piece of patterned paper to fit inside a Self-Laminating Card. Be sure to cut the patterned paper smaller than the card so that the edges seal. Add contact information to the back of the patterned paper.
Step 2: Remove the yellow backing paper from a 4×6 Adhesive Sheet. Align cardstock onto the adhesive. Use any die-cut machine, punches, or scissors to create letters. Remove the backing liner from each letter and adhere to the card.
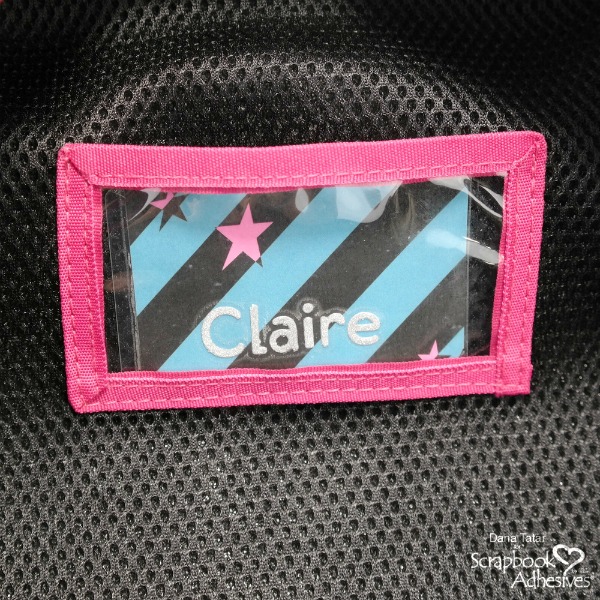
Step 3: Place the completed name tag inside the Self-Laminating Card. Remove the liner and press the sides together to seal.

The laminated name tags fit inside the pockets on my daughter’s backpack. Try this project with the Self-Laminating Tags with Loops if a window pocket is not present on the bag.
Thanks for stopping by today. I hope your school-age family and friends have a great year!
~Dana
Scrapbook Adhesives by 3L® Supplies:
Adhesive Sheets 4×6 Inch
Self-Laminating Pouches – Cards Wallet
Other Supplies: Glitter Cardstock (DCVW); Patterned Paper (Bam Pop!); Letter Dies (ProvoCraft); Die-Cut Machine
Pin It!

