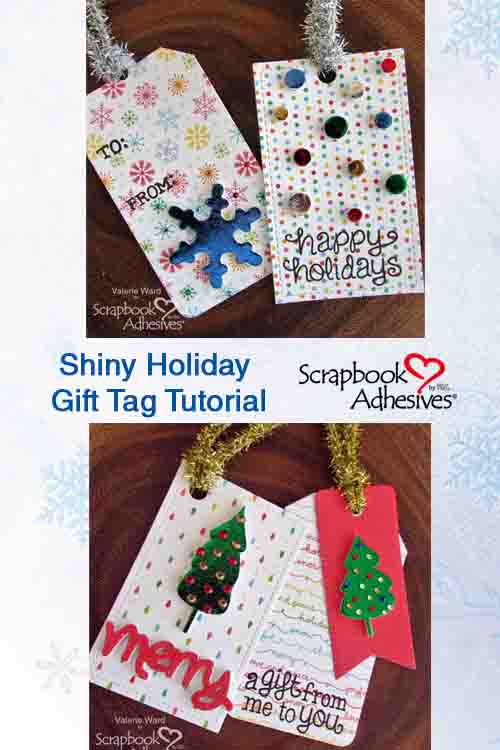
How about some shiny, sparkly holiday gift tags today that have some fun dimension?! I have a tutorial for you today featuring the 3D Foam Holiday Embellishment Kit on this project, along with other trusty Scrapbook Adhesives by 3L® products I used to create them!
Making 3D Foam Embellishments Shiny with Foil
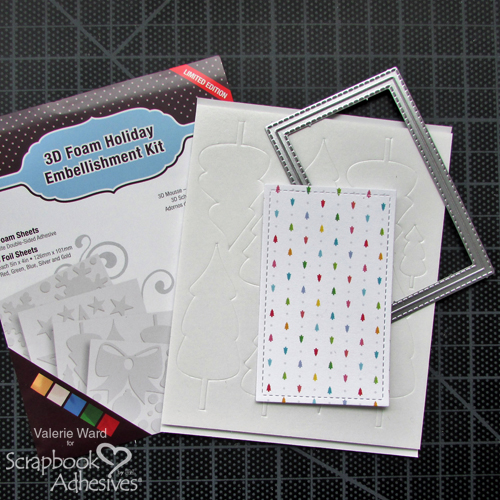
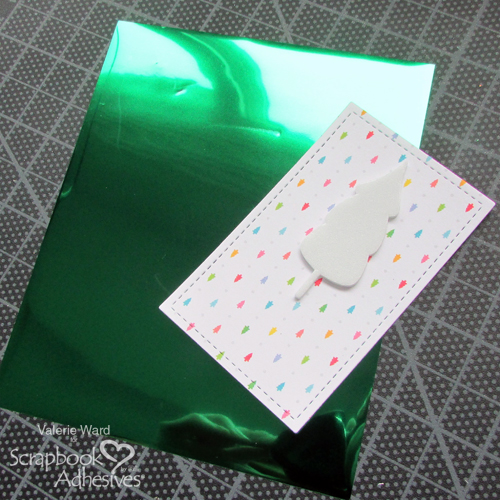
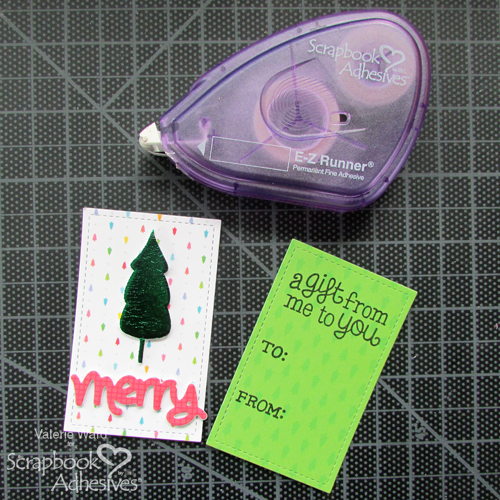
First, die cut your base. On this tag, I used a simple rectangular shape die (for my other tag shape, I used a traditional-shaped-tag die).
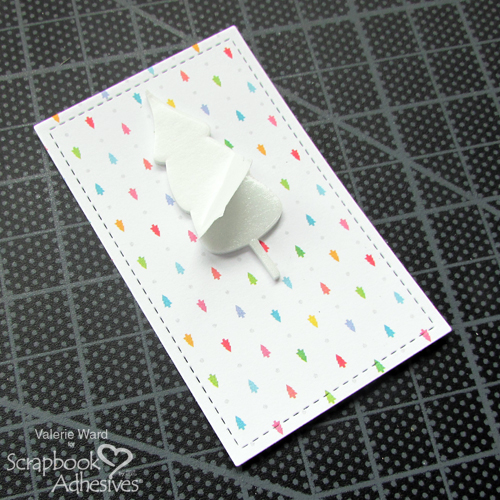
Choose the shape you want from the 3D Foam Holiday Embellishment Kit and attach it to your base; then peel off the top liner to reveal the sticky adhesive.
Pick the color foil you’d like to use; on this tag, I’m using the green sheet.
Lay the sheet, shiny color side up, over the sticky shape, and gently press it onto the shape.
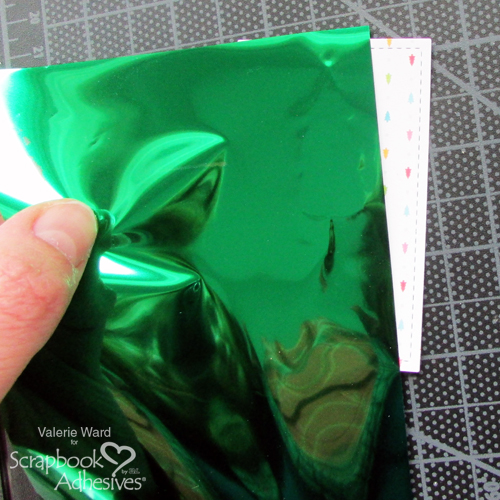
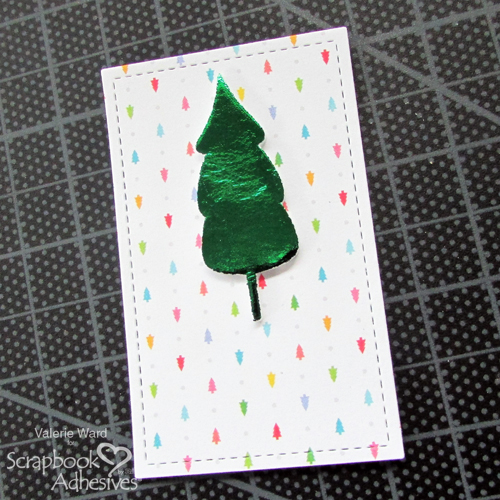
When you peel back the sheet, you’ll have your pretty and shiny 3D shape!
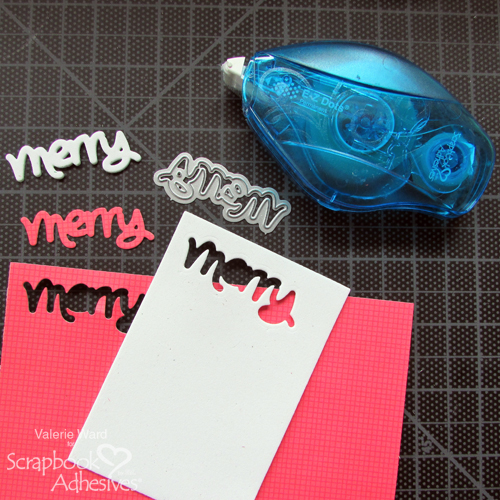
Add the Sentiments
Now you’ll work on the sentiments; I used a combination of dies and stamps. For this tag, I die cut the Merry sentiment using a die. With the die, I die cut the word shape from both patterned paper. I used my E-Z Dots Permanent Refillable Dispenser to adhere the paper word shapes together. I also used the same adhesive to adhere the completed word shape to the tag base under the tree shape.
Adhere the Tags Together
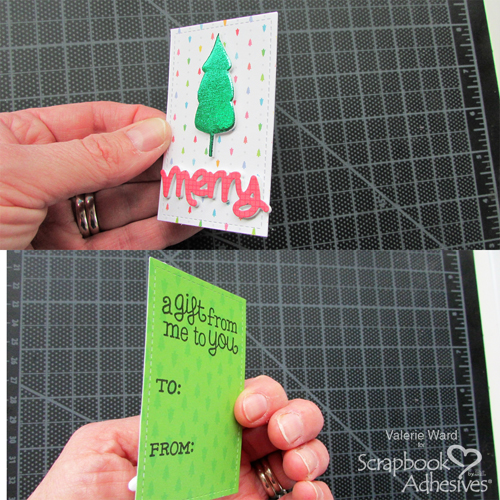
Now you have to stick the front and back pieces of the tag base together (if you have two separate pieces as I do on this one). For this step, I used my E-Z Runner Permanent Fine Adhesive Dispenser.
The front and back…
Your last steps are to punch the hole in the top of the tag with a hole punch tool and thread the ribbon through the hole. That is it!
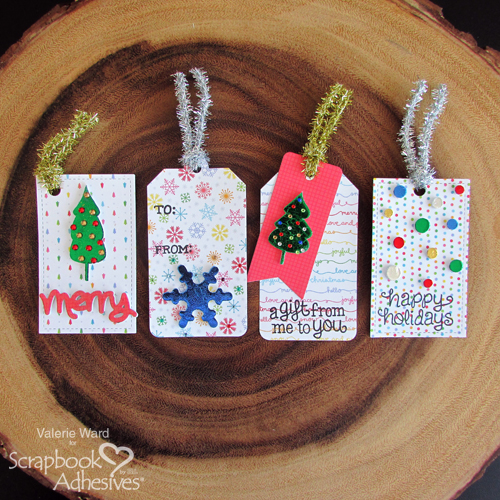
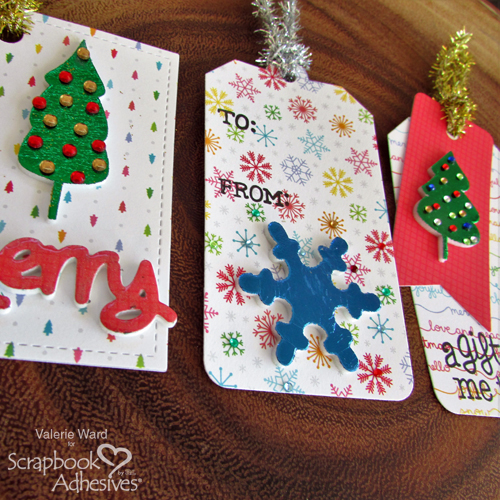
Here are other tags I created with fun holiday embellishments from the same 3D Foam Holiday Embellishment Kit.


Thank you for visiting today, and Happy Shiny Tag Making!
- Creative Time: 30 minutes
Skill Level: Beginner
Materials Used:
Scrapbook Adhesives by 3L®:
3D Foam Holiday Embellishment Kit
E-Z Dots Permanent Refillable Dispenser
E-Z Runner Permanent Fine Adhesive Dispenser
3D Foam Circles White
Other Products Used: tag dies, hole punch, holiday sentiment stamps, to/from stamps, holiday cardstock, bling stickers, tinsel ribbon
Pin It!