
Hello everyone! Are you all set for the holidays? There’s still time to make this Merry and Bright Button Christmas Tree framed home décor piece. Perfect on a mantel, hall table or even on a holiday buffet setting!
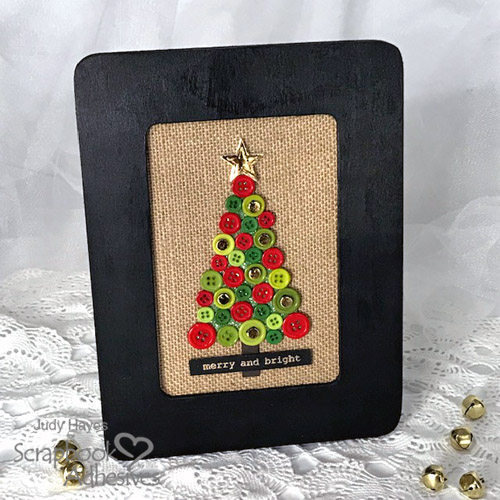
A Merry and Bright Button Christmas Tree Frame
First, paint frame black. Set aside to dry.
Cut burlap paper and cardboard to fit in frame opening by using the paper that was in my frame as a guide. Attach the burlap paper to the cardboard using E-Z Runner® Ultra Refillable Dispenser to make the background.
The Button Christmas Tree
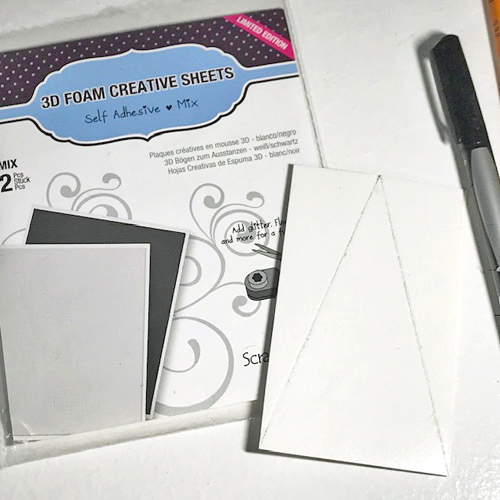
Using a piece of white 3D Foam Creative Sheets, cut it to 2¼ x 3½ʺ rectangle. Mark the center on the 2¼ʺ side and draw lines from the center to the corners to create a triangle. Lastly, cut along lines to create your Christmas tree shape.
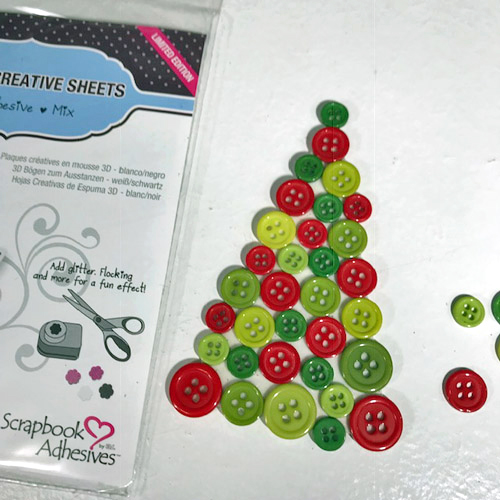
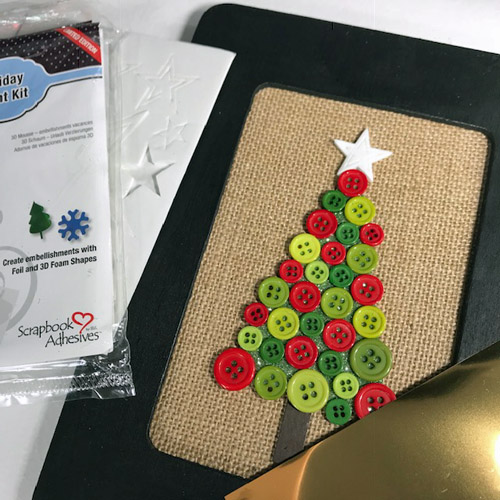
Trim off about ⅛ʺ from the point. Partially peel back liner starting at the top. Place buttons on 3D Foam allowing them to extend beyond edges. Continue to peel the liner and place the buttons until the tree is covered.
Note: I removed the small green button shown at the top in this photo – it acted as a place holder.
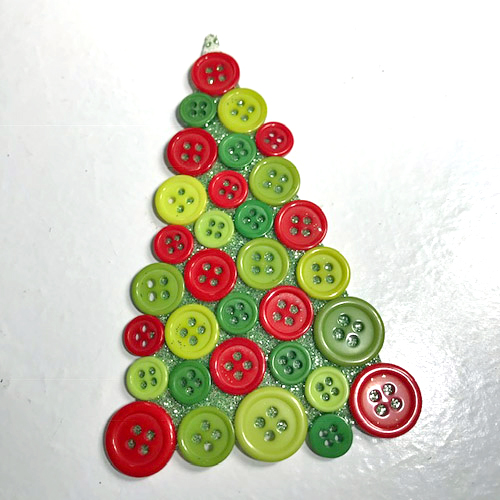
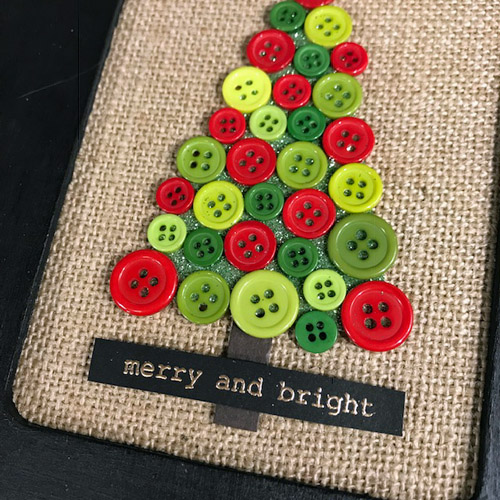
Sprinkle with glitter and shake slightly to settle glitter into buttonholes and spaces between buttons. Remove excess glitter by tapping off or with a small brush. Use lint roller or masking tape to pull off stray glitter, if needed.
The Finishing Details
Place burlap paper and cardboard in the painted frame. Align tree triangle on burlap and fasten by removing its liner from the back. Press in place.
Cut a piece of 3D Foam Creative Sheets for the tree trunk. Remove liner from one side and place it on a scrap of brown cardstock. Trim cardstock slightly larger than 3D Foam piece. Peel the backing and fasten at the base of the tree.
Stamp “merry and bright” on black cardstock. Heat emboss with gold embossing powder. Trim to size. Place small 3D Foam Circles Black Mix on back at each end. Fasten across the tree trunk.
Carefully remove a small star and its outline star together from a sheet from the 3D Foam Holiday Embellishment Kit. Place at the top of the tree.
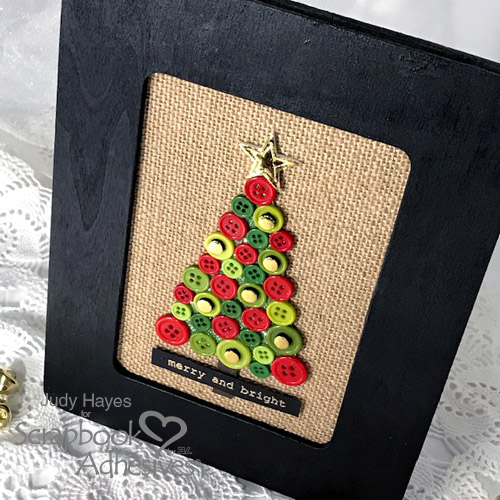
Take the top liner off of the star. Place gold foil shiny side up on the star, rub to transfer the color, and peel the foil to reveal the foiling. Reapply if there are any missed areas.
Place small circles from 3D Foam Circles Black Mix on top of some of the buttons on the tree. Remove top liner from the 3D Circles and cover with gold foil. Rub and remove foil. Repeat to cover all of the circles.

Tada! Merry and Bright Button Christmas Tree is done!
Have a Merry and Bright Holiday season!
Judy Hayes
Creative Time: 60 minutes
Skill Level: Intermediate
Materials Needed:
Scrapbook Adhesives by 3L®
3D Foam Creative Sheets
3D Foam Holiday Embellishment Kit
E-Z Runner® Ultra Refillable Dispenser
3D Foam Circles Black Mix
Other
Unfinished Wood Craft Frame, Art Glitter Ultra Fine Opaque Leaf, DecoArt Americana Satin Paint, DCWV Burlap Paper, Memory Box Typewriter Holiday Sentiments, Imagine Crafts/Tsukineko Versafine Onyx Black ink, Ranger Queens Gold Embossing Powder, Green, and Red Buttons, Black Cardstock, Brown Cardstock
Save It to Pinterest!

Visit our Website and Blog!
Sign up for our Newsletter so you never miss a contest or giveaway!


