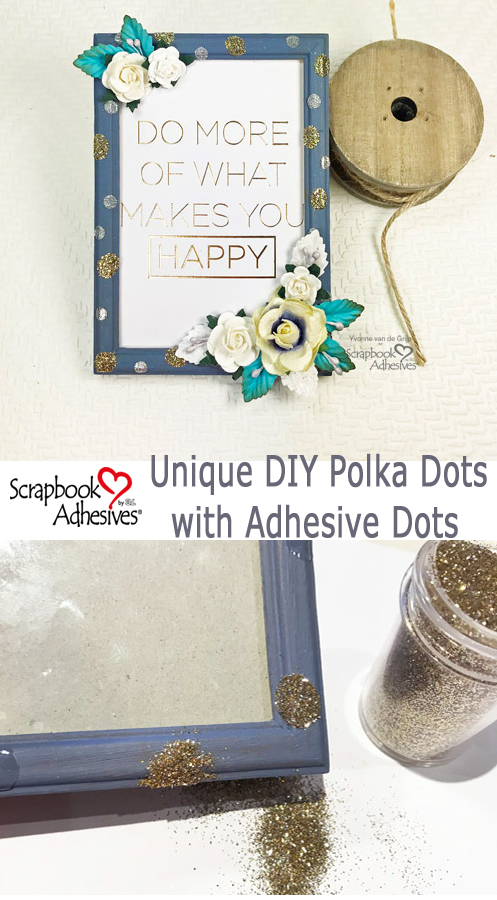
Hi everyone, Yvonne here with a cute and unique DIY Polka Dot Photo Frame…..yep, with lots of glittered Adhesive Dots to Wear Your Adhesive on the Outside on a home decor project! I love framing favorite moments and quotes to put them on display in my home.

What’s more fun than embellishing some boring photo frame into a unique piece of artwork? Let me show you how simple it is to create your own unique photo frame. Come on and let’s get started!
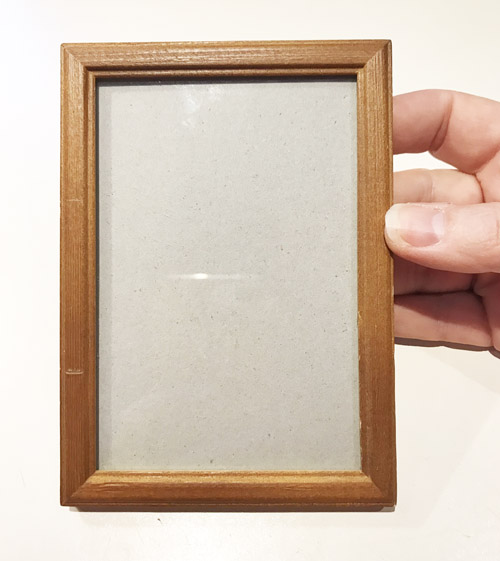
Before the Polka Dot
As you can see, I used an ordinary wooden photo frame bought at a dollar store. But it had a shine or vanish finish so I lightly sanded before painting. Make sure to wipe to get the dust off the frame.
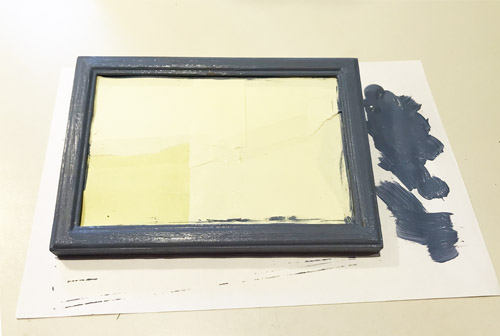
With a brush, I applied a blue-gray color paint on the frame. Let it dry between coats and when the desired color is achieve set aside to dry thoroughly.
Wear Your Adhesive on the Outside with Glitter
In a random pattern, I adhered lots of Adhesive Dots Medium Ultra Thin to the photo frame. Once I was satisfied with the coverage, I removed the Adhesive Dots’ clear liners.
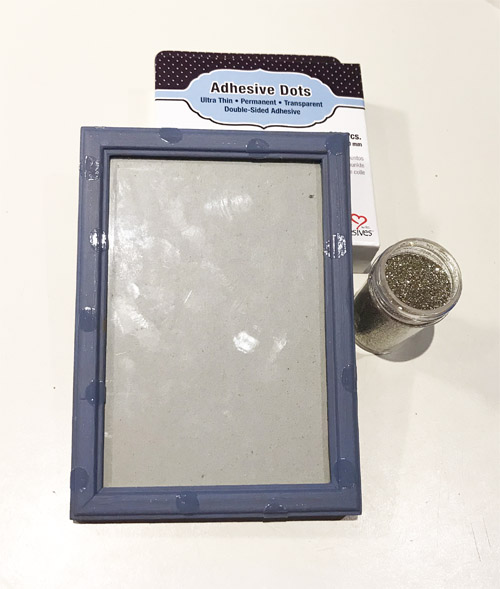
For sparkle, sprinkle gold glitter over the Adhesive Dots Medium Ultra Thin and gently press/rub the glitter with fingers into the Adhesive Dots for extra secure hold. Then tap off the excess.
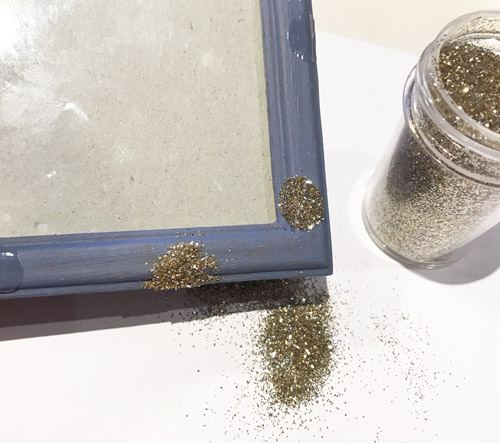
Just to make it more interesting, I dded Adhesive Dots Mini to the photo frame for a fun pattern. When I liked the placement of the dots, I peeled off the liners and sprinkled silver glitter silver on top. Again, pressed and rubbed with my fingers to secure it and tapped off the excess.
Designer Tip: After tapping off the glitter, use a soft brush to remove any stubborn excess glitter. DO NOT try to blow it off! Not a good idea….now it’s all over my desk and on my face…LOL!!!
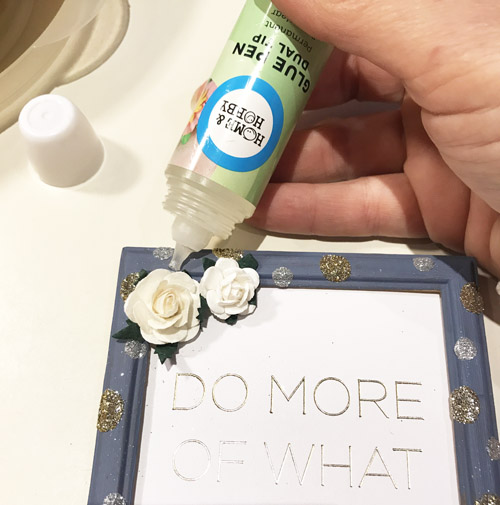
After the Polka Dot
Place the quote into the photo frame. On the upper left corner and lower right corner of the frame, adhere a cluster of mulberry flowers, leaves and stems with the Dual Tip Glue Pen.
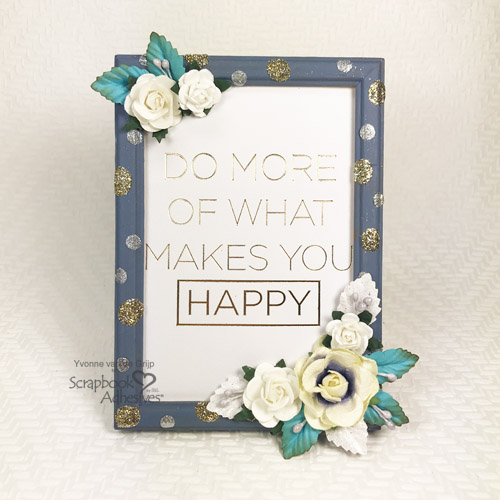
And just like that, your unique frame is ready to be displayed in your home!
Happy crafting,
Yvonne
Creative Time: 30 minutes (without paint drying time)
Skill Level: Intermediate
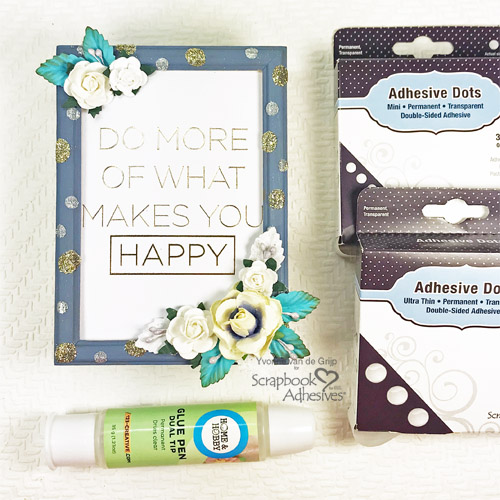
Materials Needed
Scrapbook Adhesives by 3L®
Adhesive Dots Medium Ultra Thin
Adhesive Dots Mini
HomeHobby by 3L®
Dual Tip Glue Pen
Other
Photo Frame, Blue-Grey Chalk Paint, Brush, Printed Quote, Scissors, Mulberry Flowers, Leaves, Stamens, Gold and Silver Glitter
Pin It!