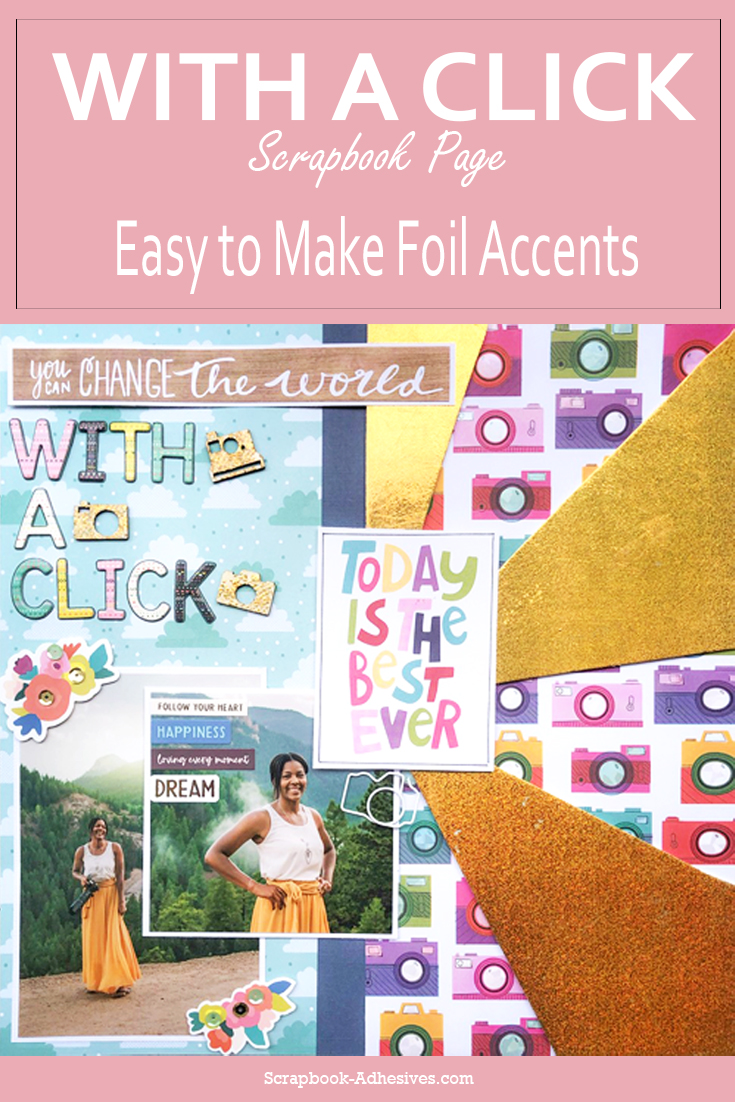
Hey there, Latrice Murphy here today guest designing! I am sharing a fun Summer page with some DIY foil accents for a bold look. The weather is still very unpredictable here in the Midwest. I love revisiting photos so I pulled out some great images from my business shoot last Summer in Colorado.
When choosing colors for this layout I went bold and pulled colors from the photo. Loved the blues and golds. I love to mix solids with patterns and adding small embellishments to accent.
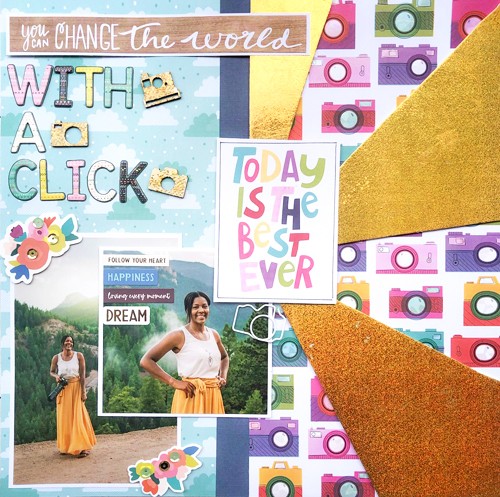
Creating DIY Foil Accents
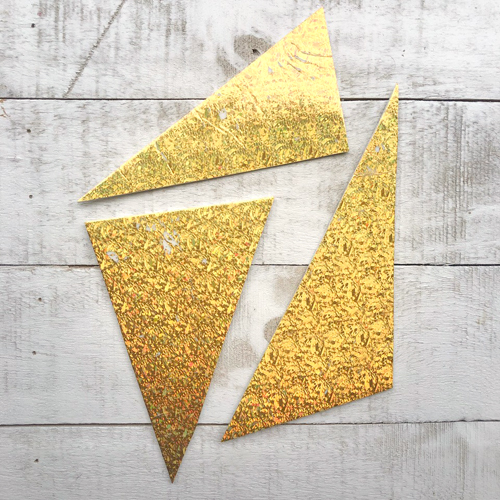
Begin the page by creating a sunburst from cardstock and use it as a template. Using that template, I cut the sunburst patterns from the 3D Foam Creative Sheets Medium White. Just peel off one side and place it onto your Metallic Transfer Foil Gold Holographic Sheet. Rub, rub, rub and done! I totally recommend this DIY Foil Accents technique! It’s so amazing and a fast way to add interest. These 3D Foam Creative sheets are perfect for die cutting also.
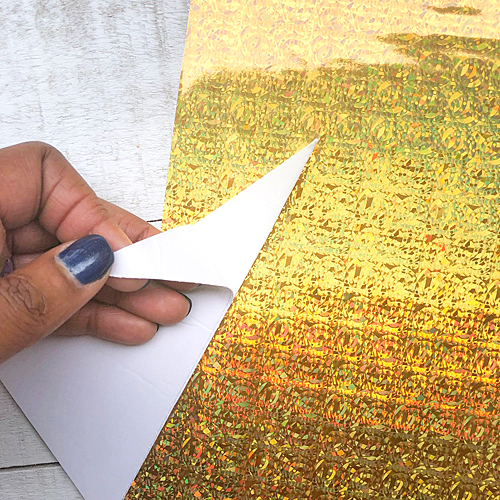
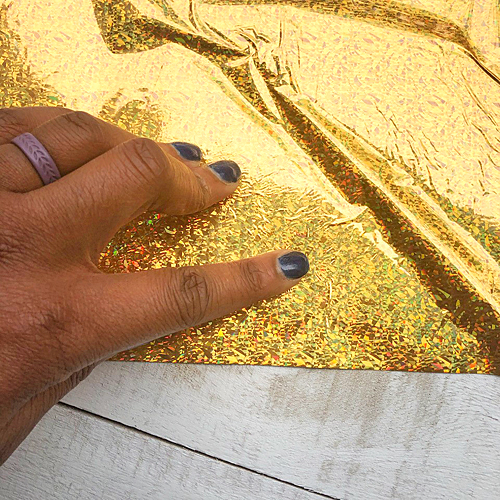
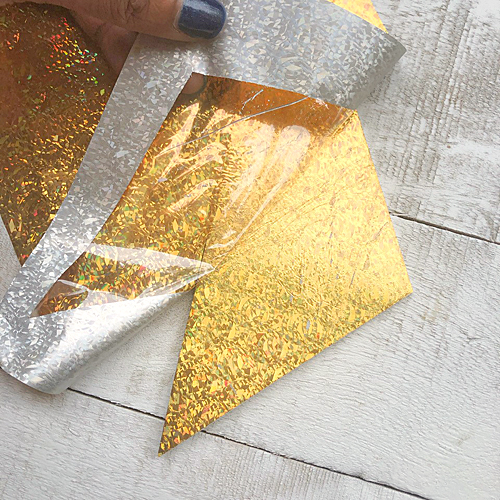
To complete the page, I layered one 4 x 4-inch photo with a 4 x 6-inch photo and lift one side with a few 3D Foam Squares. For my wood veneer cameras, I used a little bit of the E-Z Dots® Permanent and foiled on top for more sparkle. Add a couple cardstock stickers and chipboard letters for the title.
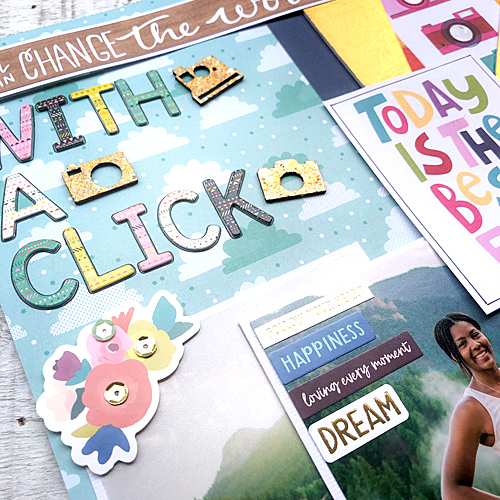
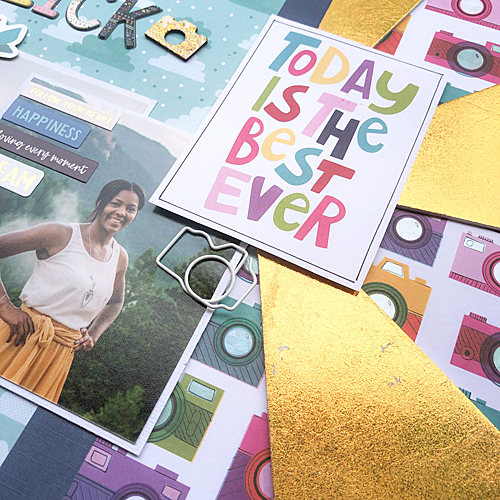
This was a fun layout to create! The 3D Foam Creative Sheets Medium White are so fun to work with and who doesn’t love the Metallic Transfer Foil Sheets Holographic!
Thanks for stopping by today. Go out and create.
– Latrice
Creative Time: 60 minutes
Skill Level: Intermediate
Materials Needed
Scrapbook Adhesives by 3L®
E-Z Dots® Permanent Refillable Dispenser
3D Foam Creative Sheets Medium White
Metallic Transfer Foil Sheets Holographic Colors
3D Foam Squares Mix White
Other
Solid Cardstock (American Crafts); Patterned Paper and Chipboard Stickers (Pink Paislee); Wood Veneer and Sequins (Studio Calico); Camera Paper Clip
Pin It!
Visit our Website and Blog!
Sign up for our Newsletter so you never miss a contest or giveaway!


