
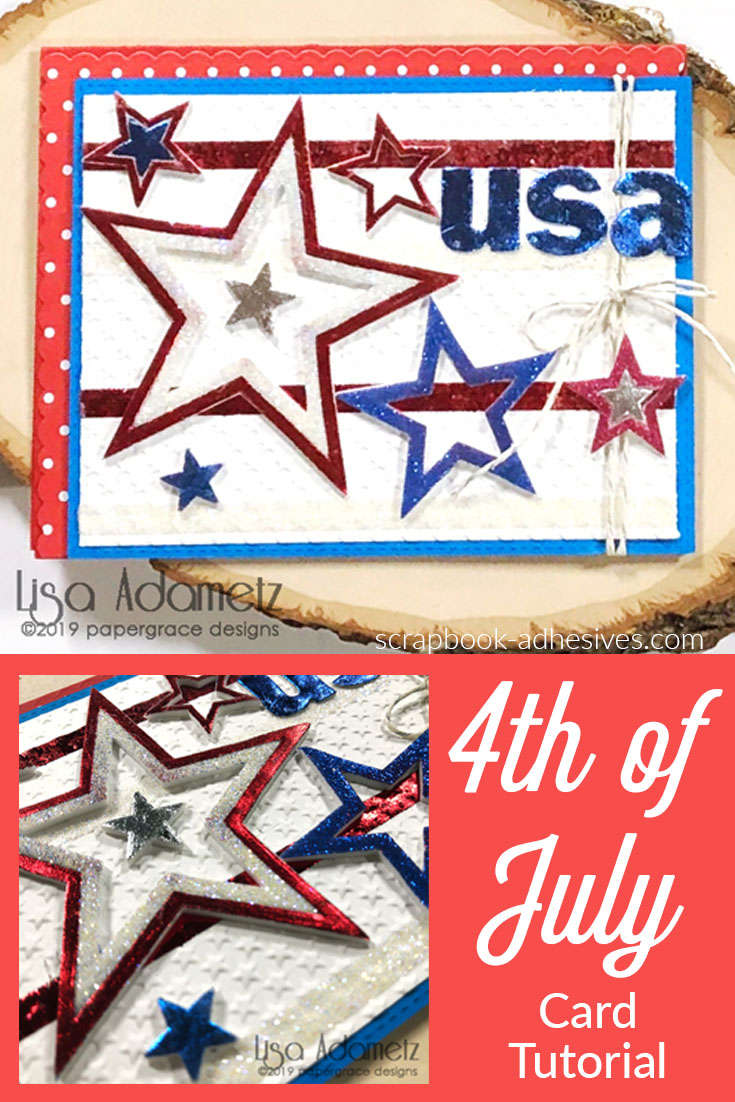
Hi everyone, it’s Lisa Adametz guest blogging today. I’m so happy to share with you my Sparkling 4th of July card. If you’ve seen my previous posts, you may notice that I have a love for all things red, white and blue, including our beautiful flag. Enjoy my tutorial on how I used the 3D Foam Stars to create my card.
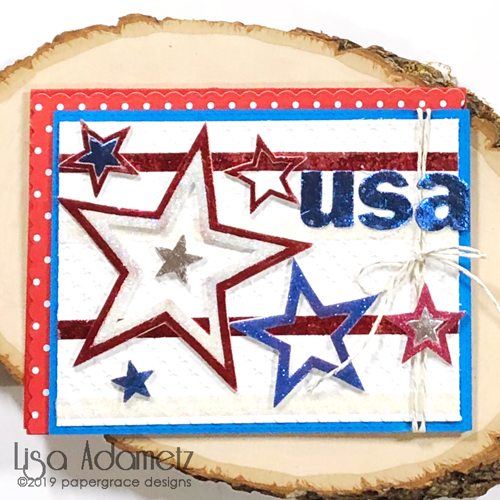
Sparkling 4th of July Card Steps
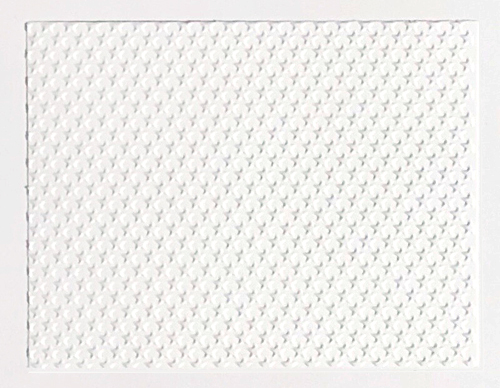
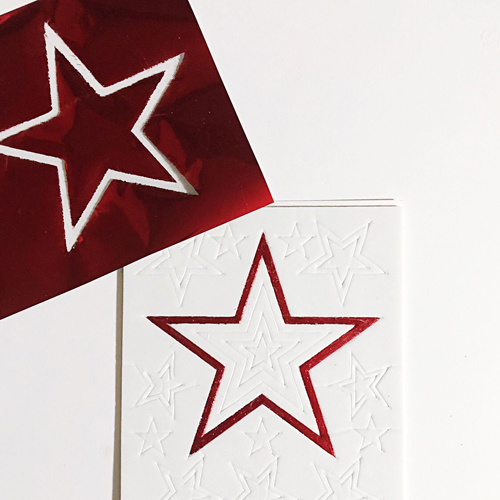
To create a textured background, I embossed white cardstock with a stars embossing folder.
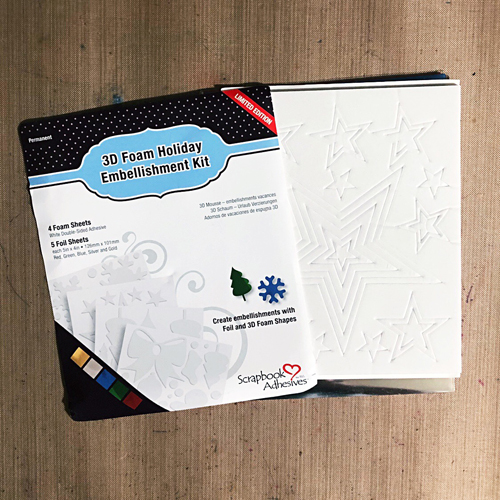
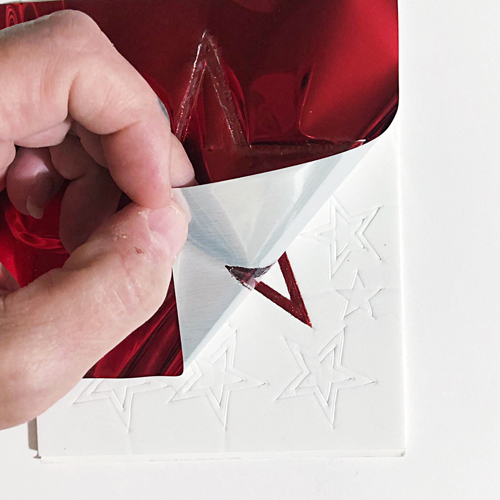
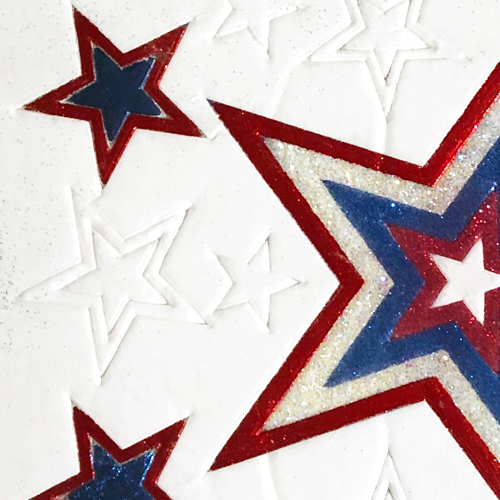
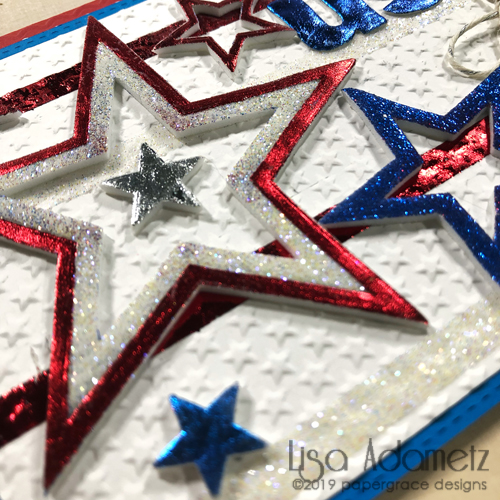
I’m using 3D Foam Stars from the 3D Foam Holiday Embellishment Kit, which also includes Red, Blue and Silver Foil sheets. Starting with the large nested star, remove one liner and add red, blue or silver foil. To do this, place the foil sheet on the exposed adhesive with the pretty sided color facing up. Then rub gently all over the shape to transfer the foil and peel it off. For extra sparkle, apply a very fine glitter onto the inner portions of the largest star. Make sure to burnish and remove excess glitter.
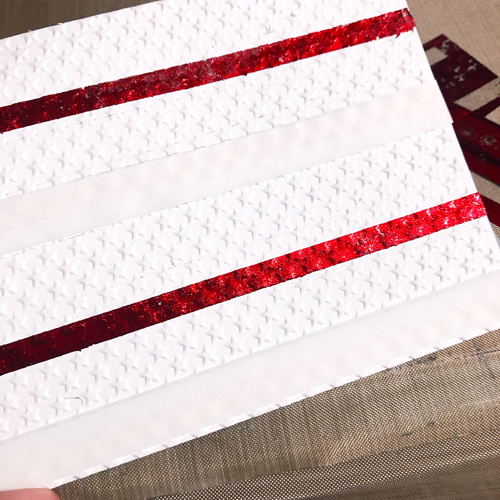
Creating the Sparkling Stripes
For the stripes, I like to use Crafty Power Tape. Lay out the tape strips across the textured card panel. Cut the excess ends and burnish it to the panel. Remove the liner and add Metallic Transfer Foil or glitter onto the tape stripes.

Next, carefully apply the stars to the card front. Use either tweezers or the tip of a pair of scissors to retail the shapes.
Now adhere the card front to a slightly larger layer of blue cardstock. My very favorite adhesive is the E-Z Runner® Ultra Strong Refillable Dispenser. Wrap the right side of the piece with twine at this point.
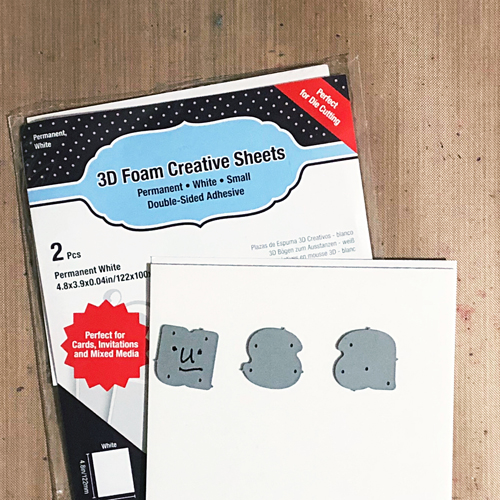
Die-cut the letters USA from 3D Foam Creative Sheets Small White. Use the blue foil from the 3D Foam Holiday Embellishment Kit to foil the letters. Now adhere the letters to the card.
Next die-cut patterned paper and adhere it to cover the card base. Apply Thin 3D Foam Squares White Mix to the back of the blue cardstock. Adhere the entire blue piece (with stars on the front) offset to the bottom and right side of the card base.
Thank you for having me! I wish you all a safe and happy sparkling Independence Day!
Lisa
Creative Time: 45 minutes
Skill Level: Intermediate
Materials Needed
Scrapbook Adhesives by 3L®
E-Z Runner® Ultra Strong Refillable Dispenser
3D Foam Holiday Embellishment Kit
3D Foam Creative Sheets Small White
Crafty Power Tape 81 ft.
Thin 3D Foam Squares White Mix
Pin It!
Visit our Website and Blog!
Sign up for our Newsletter so you never miss a contest or giveaway!


By Mel July 1, 2019 - 4:29 am
So stunning! Love all that amazing depth and sparkle.
By Lisa July 1, 2019 - 11:32 am
Thank you so much, Mel! I’m so thrilled that you love my sparkly 4th of July card. ♥