Hi friends! Dana Tatar here today sharing a tutorial for sweet back to school apple treat bags. My daughter loves to bake and craft with me. The other day we baked sparkly apple granola bites and made personalized tags to share with her friends.
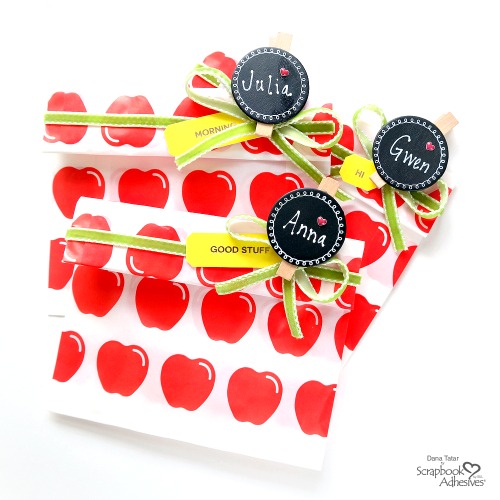
The apple treat bags came with the baking mix, so I dressed up and I’m using some of my favorite go-to adhesives. A bright green ribbon and a small chalkboard name clip helped to give these sweet treats a special personalized touch.
A-peel-ing Embellishments
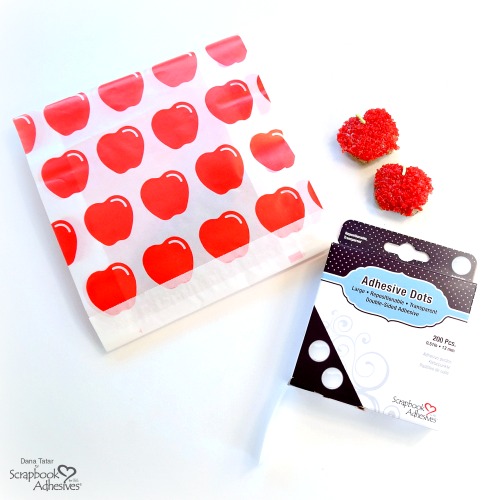
To begin, insert several apple bites or other sweet treats into the pre-made bag. Next, place an Adhesive Dot Large Repositionable on the backside of the bag. Finally, fold the top edge of the bag down over the Adhesive Dot and press to seal. This will keep the bag closed, but easy to open and reseal. Insert the treat into the apple print bag.
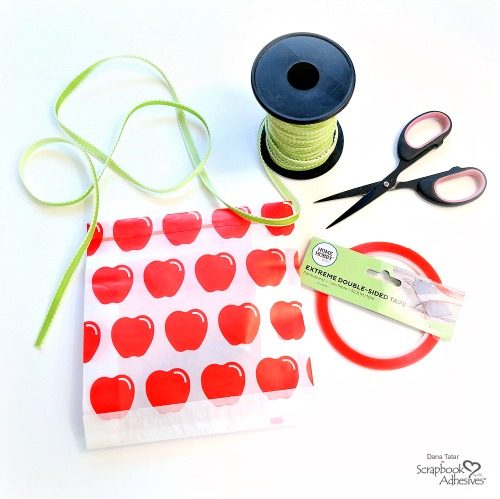
Place your filled apple treat bags face down on a work surface. Apply Extreme Double-Sided Tape 1/8 inch around the top edge of the bag. Then peel off the red liner and press the ribbon onto the adhesive to secure the ribbon.
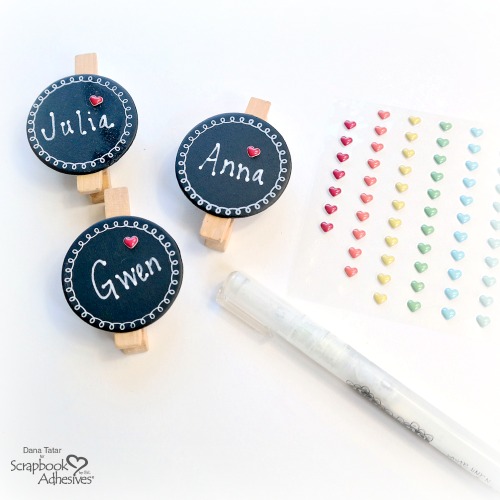
Personalize chalkboard clips with names using a white paint pen. Apply a small heart sticker for a fun pop of color.
Apple-y Ever After
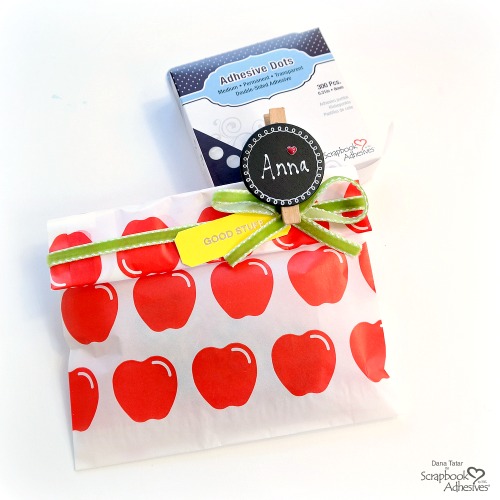
Fold down the top edge of the treat bag and secure with a clothespin clip. Next, apply an Adhesive Dot Medium to the underside of a sentiment tag. Tuck the tag under the clip and press to seal.
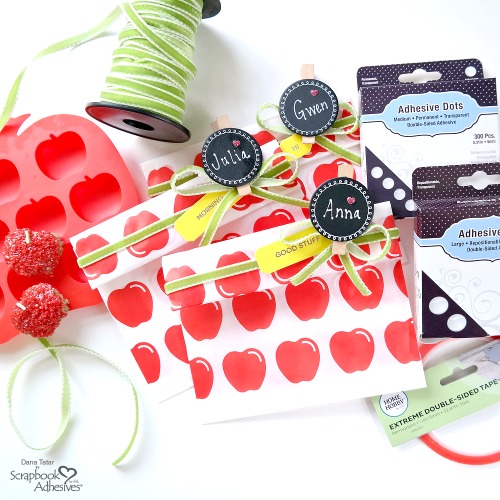
Have fun passing these sweet treats out to friends. Give one to the teacher and move straight to the top of the class!
Thanks for Visiting!
Dana
Creative Time: 15 Minutes
Skill Level: Beginner
Materials Needed
Scrapbook Adhesives by 3L®
HomeHobby by 3L®
Other
Apple Print Treat Bags; Ribbon (Maya Road); Chalkboard Clips (American Crafts); Sentiment Die-Cuts (Studio Calico); Small Heart Stickers; White Paint Pen (Ranger)
Love It. Pin It!
Visit our Website and Blog!
Sign up for our Newsletter so you never miss a contest or giveaway!


