
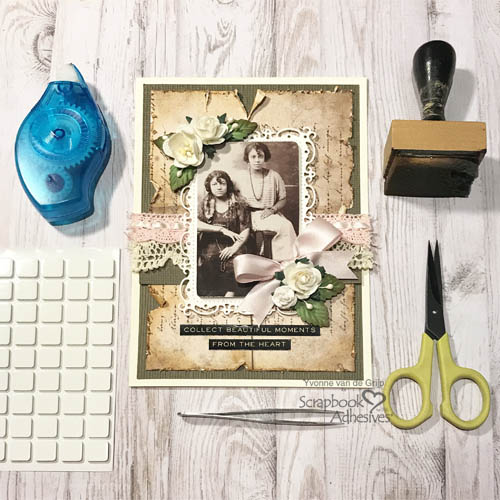
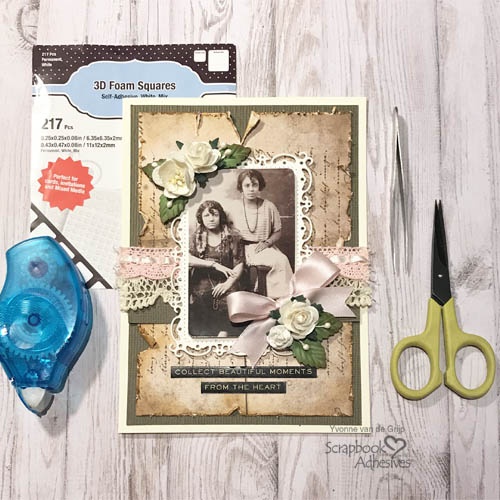
Hi everyone, Yvonne, here with a photo vintage card, Beautiful Moments Vintage Photo Card. I came across this lovely photo I just needed to get crafty right away and make it into a beautiful vintage card. With Scrapbook Adhesives by 3L products, it’s super easy to assemble the card. Come on and let me show you how I made this card.
Vintage Photo Card Base
Make a white rectangle-shaped card base from creme cardstock. Then I adhered a dark brown panel onto the card base with the E-Z Runner® Petite Permanent Dots Refillable Dispenser.
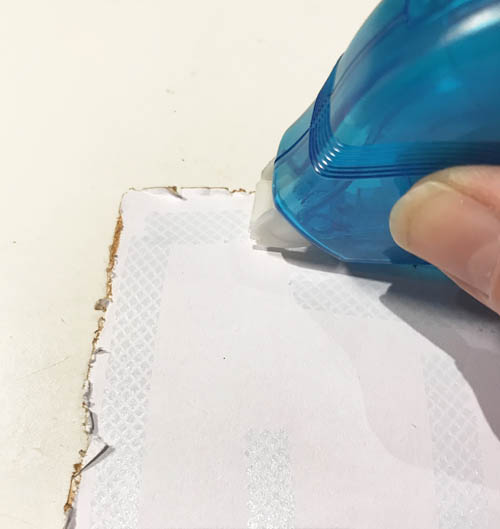
For the top panel, I used a piece of patterned paper which I altered with a paper distress tool. Then the edges were inked with brown ink and an ink blending tool for an even older look.
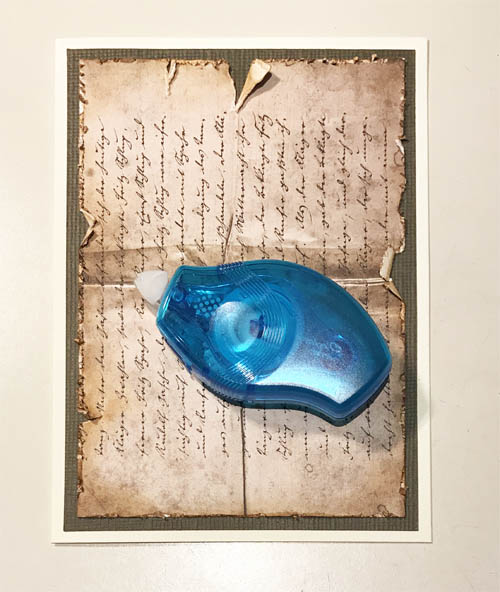
Add the altered panel onto the card base using the E-Z Runner® Petite Permanent Dots Refillable Dispenser.
The Ribbons and Cardstock Layer
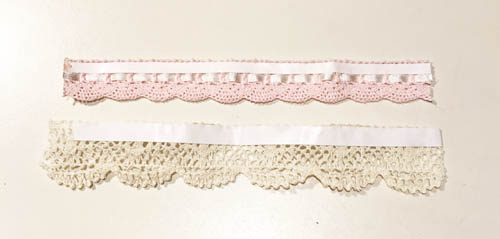
Glue can leave shiny residue through the ribbon when adhering. Therefore, my easy solution is the Premium Double-Sided Tape 1/4in.
Simply adhere the Premium Double-Sided Tape 1/4in to the back of the ribbon, remove the liner and adhere to your card. No stain or residue and instant adhering…so no drying time. Yep…it’s that easy!
For my vintage photo card, I used two pieces of ribbon. I used a combination of Premium Double-Sided Tape 1/4in and Premium Double-Sided Tape 1/8in because of the ribbon design. Next, adhere the ribbons on the card base.
For the layer beneath the ribbons, I cut a strip from brown cardstock and adhered it with the E-Z Runner® Petite Permanent Dots Refillable Dispenser to the card front. Just tuck the strip under the adhered ribbons.

Photo Panel
Die-cut and embossed a swirly frame from creme cardstock. Trim the photo to fit the frame. Then I adhered the photo to the frame using 3D Foam Squares White Mix.

Adhere the stacked frame onto the card base with 3D Foam Squares White Mix for extra dimension.
Embellishing Touches
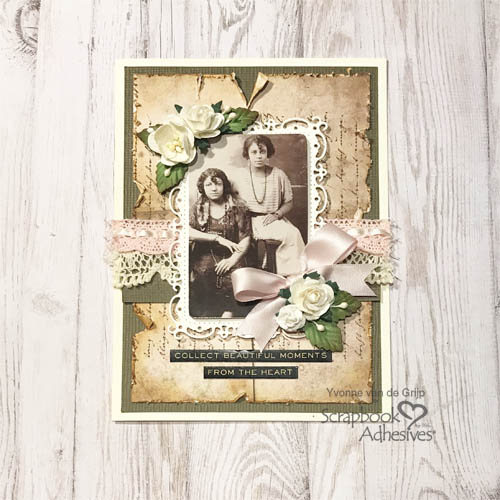
The bow was adhered with Premium Double-Sided Tape 1/4in to prevent that glue residue. Following up with adhering the flowers, stamens, and leaves to the card using the Dual Tip Glue Pen. Lastly, I added a sentiment sticker. And voila, your vintage photo card is ready.
I hope you enjoyed the tutorial and wish you happy crafting!
Hugs from Holland,
Yvonne van de Grijp
Creative Time: 50 minutes
Skill Level: Intermediate
Materials needed:
Scrapbook Adhesives by 3L®
3D Foam Squares White Mix
E-Z Runner® Petite Permanent Dots Refillable Dispenser
HomeHobby™ by 3L
Premium Double-Sided Tape 1/8-in
Premium Double-Sided Tape 1/4-in
Dual Tip Glue Pen
Other
Craft Dies and Die Cutting Machine: Spellbinders® Paper Arts (Nestabilities Timeless Rectangles, and Platinum 6 Die-Cutting and Embossing Machine); Creme and Brown Cardstock; Patterned Cardstock: DCWV (Tattered Time); Photo and Stickers: Idea-ology by Tim Holtz (Found Relatives Photo and Citations Sentiment Stickers); Ribbons; Mulberry Flowers, Stamens, and Leaves; Brown Inkpad; Ink Blending Tool; Paper Distresser; Paper Trimmer; Tweezers; Bone Folder
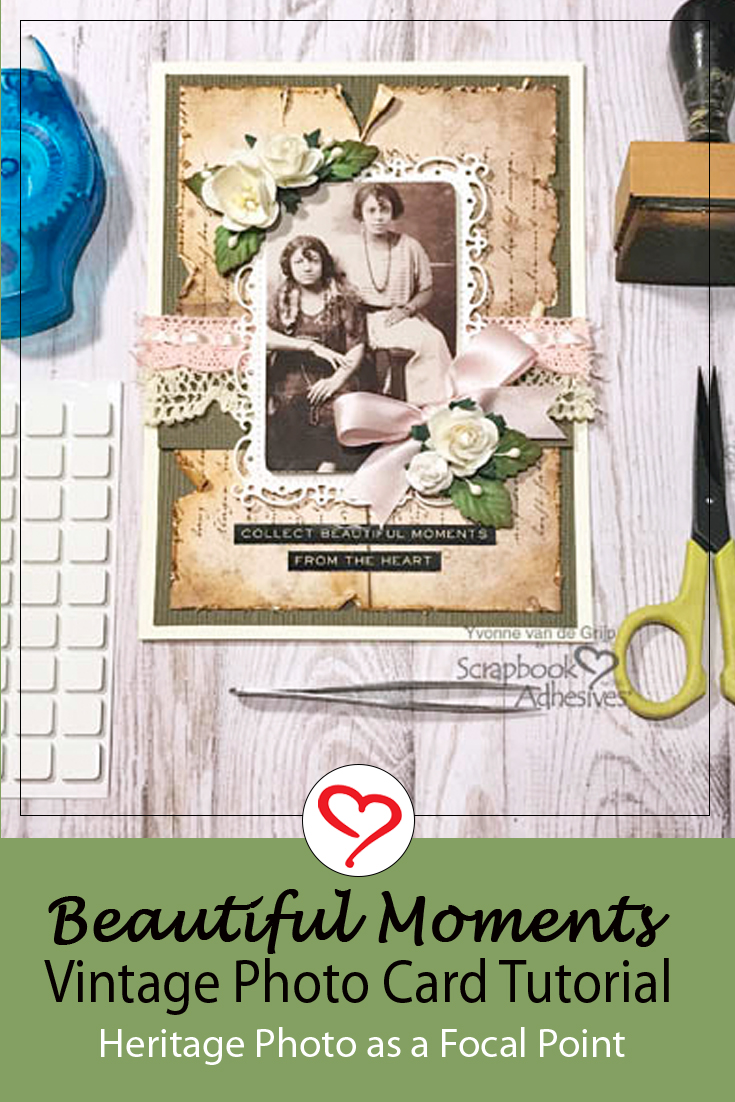
Love It! Save It to Pinterest!
Visit our Website and Blog!
Sign up for our Newsletter so you never miss a contest or giveaway!


