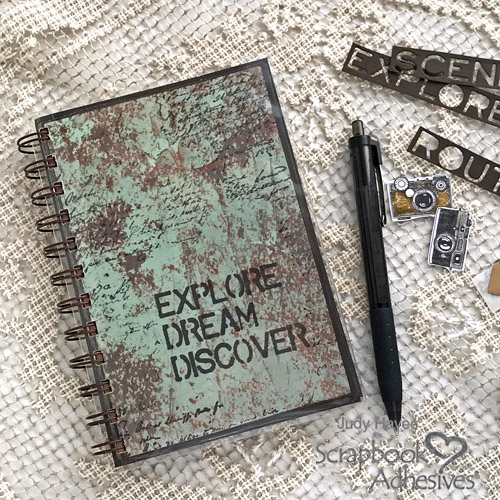
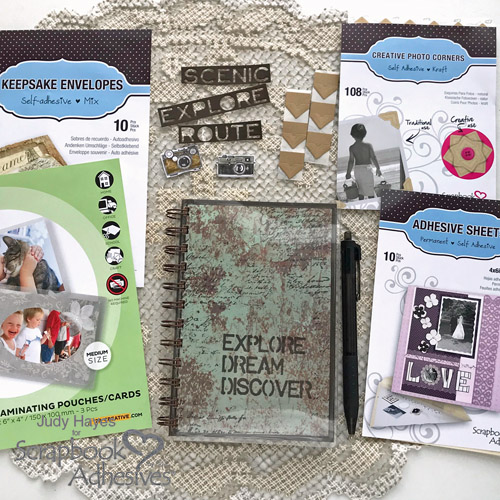
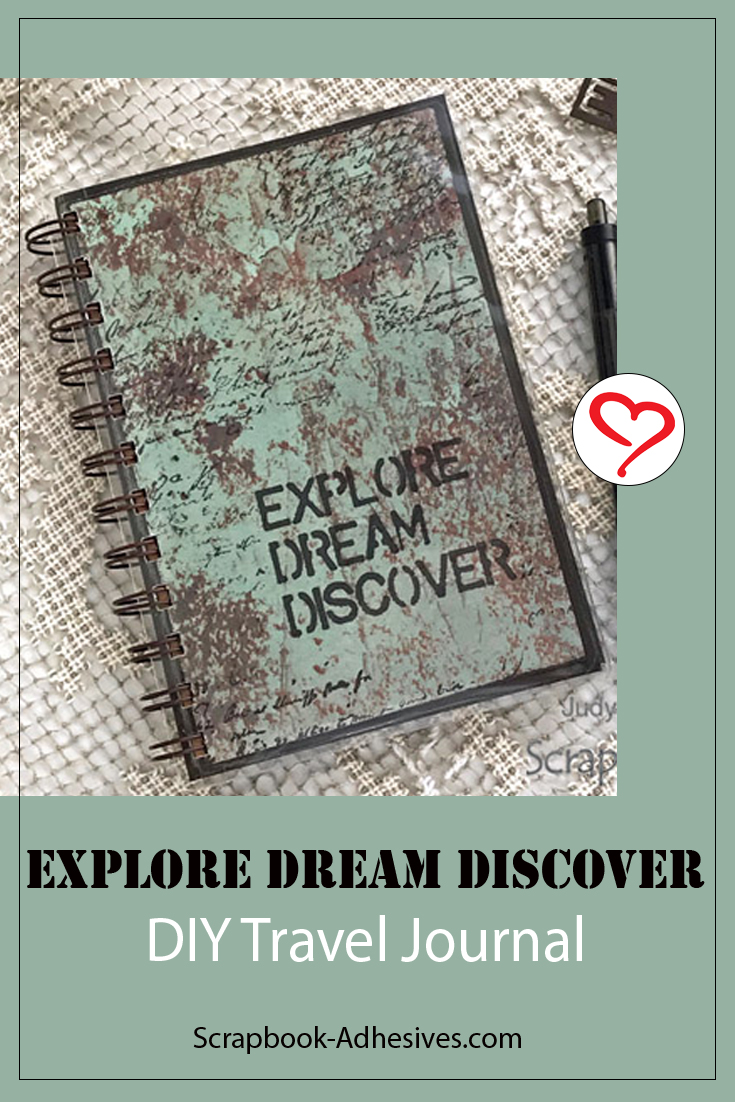
Hello! It’s Judy here today. I’ve put together a DIY Travel Journal to take on a trip this month. Can you believe I made the covers with Self-Laminating Pouches – Cards Medium? I’m super pleased with how nice they look!
DIY Travel Journal Step Outs
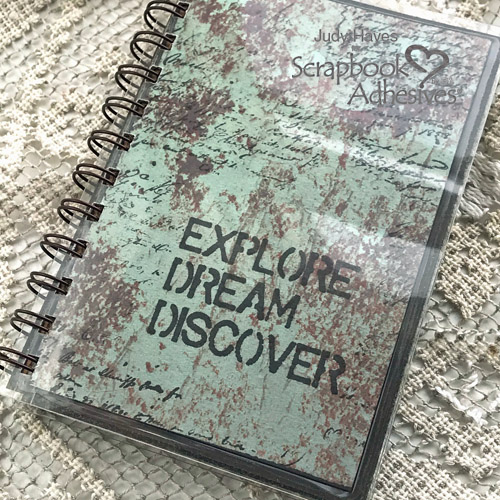
Each cover consists of a Self-Laminating Card, patterned paper and heavy card stock. Attach the two together using Adhesive Sheets 4×6 inch. I stamped the script design randomly on outside of covers and added a title to the front cover.
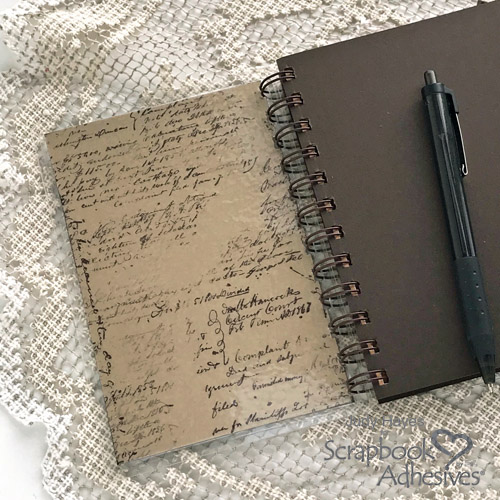
The inside covers are stamped with the script design. Once the ink dries, placed each of the covers into Self-Laminating Pouches – Cards Medium and firmly sealed the edges. Inside the cover, I added a brown card stock page that shows through the clear edge of the Self-Laminating Card. This also serves to hide page edges if the alignment is off a little when binding it.
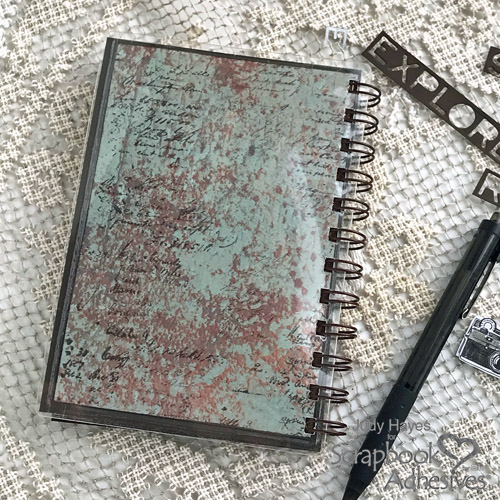
The back cover looks very much like the front without the title.
Making the Inside Pages
Cut the inside pages to 4 x 6 inches from heavier text paper and mixed media paper. Three sections divide the book using Kraft card stock and the mixed media paper in the center section. The reason I like to create these books is that I can choose the papers! To bind the pages together, use a binding machine and attach them together with O-wire rings.
Creating the Dividers
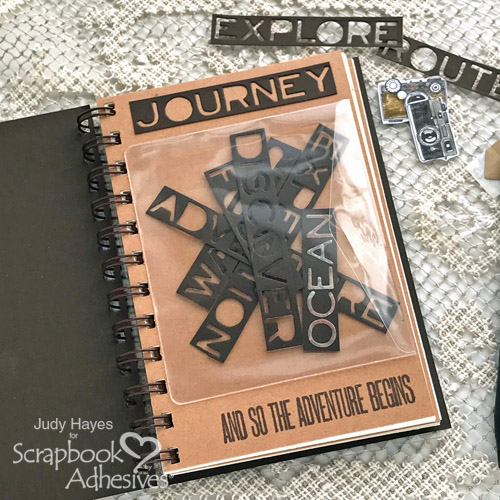
Three sizes of Keepsake Envelopes Mix were added to the dividers. These will be perfect for tickets or other memorabilia collected on a trip. For now, I’ve tucked in some die cut labels that I can add to my journal pages as I make entries. Apply Adhesive Sheets 4×6 inch on the back of the paper and die-cut the label shapes for stickers. Simply remove adhesive backing and stick them in place.
Tip: Use leftover letters to make more labels by putting them on strips of card stock that have Adhesive Sheets applied to the back. Letters are adhesive-backed so its easy to do! The ocean label was done that way.
Other Details
Apply Adhesive Sheets 4×6 inch to the back of the patterned paper with cameras on it and cut them out for stickers. Add a pocket on a divider and add the camera stickers in. Then when you used the stickers up, you can use the pocket can hold memorabilia.
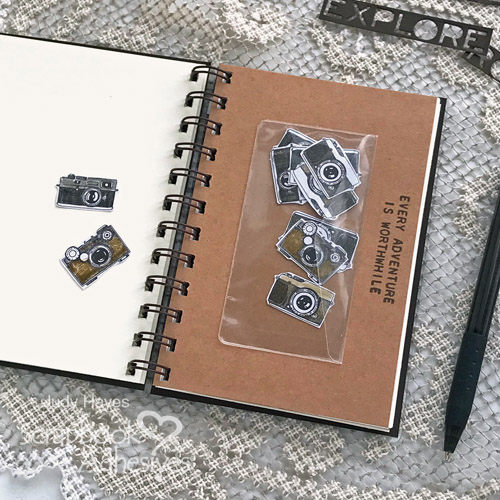
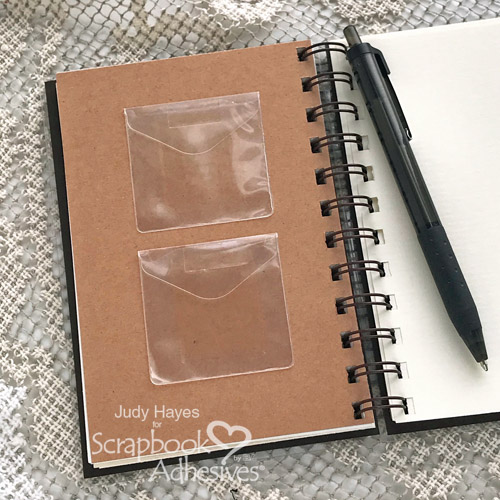
More keepsakes can be tucked into another divider with two small pockets!
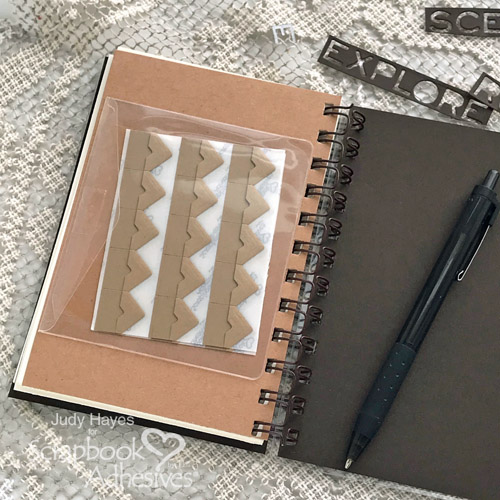
A pocket at the back of the journal has Creative Photo Corners Kraft tucked inside. Use them to place a photo or keepsake to a page. When the pocket is empty, it can hold a keepsake!
I’m looking forward to filling this journal with notes, sketches and stories from my trip.
Thanks for Visiting!
Judy Hayes
Creative Time: 90 minutes
Skill Level: Intermediate/Advanced
Materials Needed
Scrapbook Adhesives by 3L®
HomeHobby™ by 3L
Other
Patterned Papers: Authentique Paper (Durable “Weathered” Paper); Cardstock: Bazzill Basics (Tan) and WorldWin Paper (Cocoa); Tool: Bind-It-All Machine and O-Wire; Inks: Imagine Crafts/Tsukineko (Versafine Clair Fallen Leaves Ink); Stickers: Simple Stories (Graduation – Cameras); Craft Dies: Sizzix (Tim Holtz Traveler Words); Stamps: Stampers Anonymous (Life Quotes by Tim Holtz, Documented, Ledger Script and Nature’s Wonder); Kraft Cardstock; Cream Paper; Mixed Media Paper
Love It? Save It to Pinterest!
Visit our Website and Blog!
Sign up for our Newsletter so you never miss a contest or giveaway!


