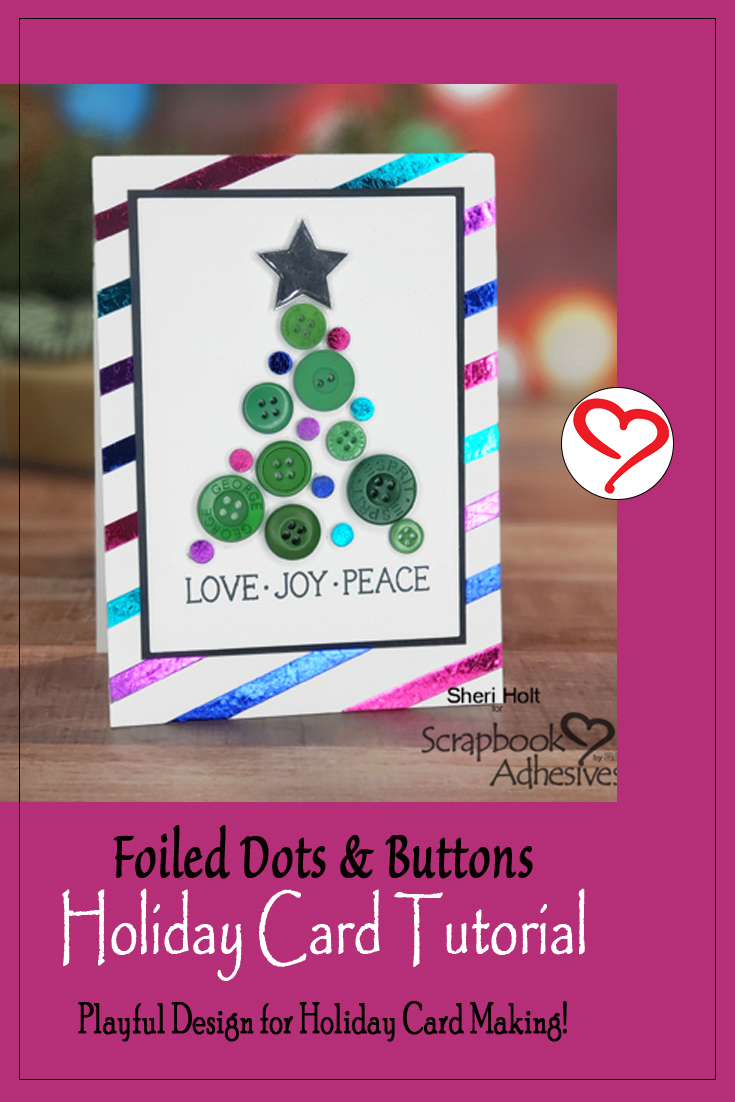
Hello, Sheri here again and I have a very quick & easy card that uses foiled dots and buttons accents to create a custom holiday card. Let me show you how!
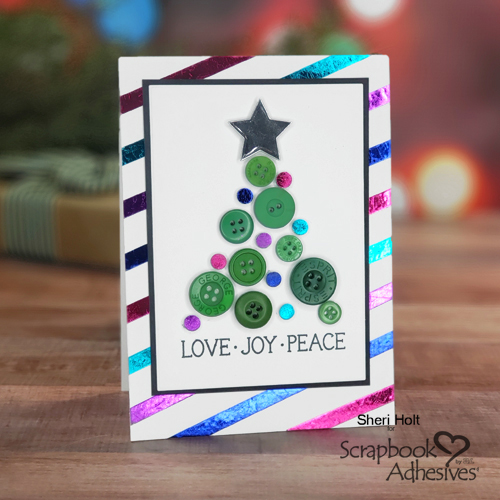
It only takes a few ingredients to create this one-of-a-kind card with lots of shine. I created my own background to match my focal image using adhesives and Metallic Transfer Foil Sheets in Variety Colors.
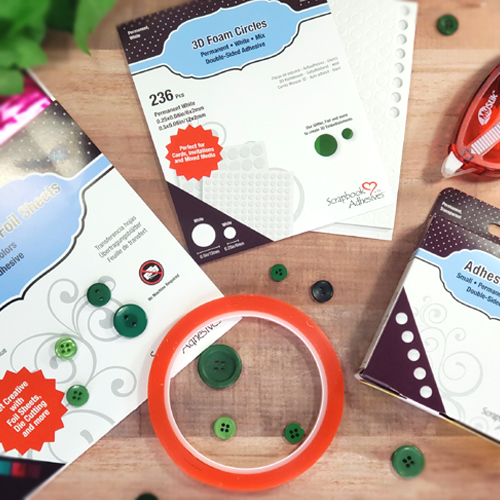
Foiled Dots & Buttons Tree
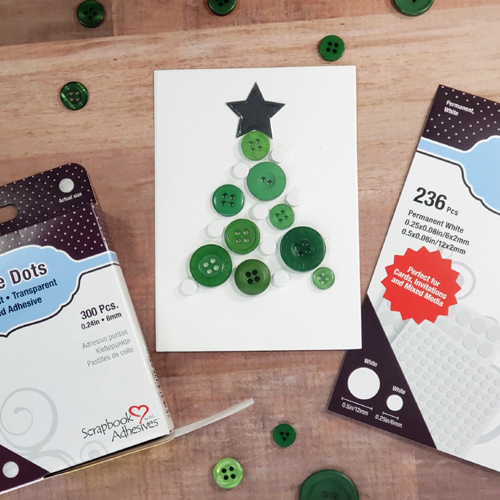
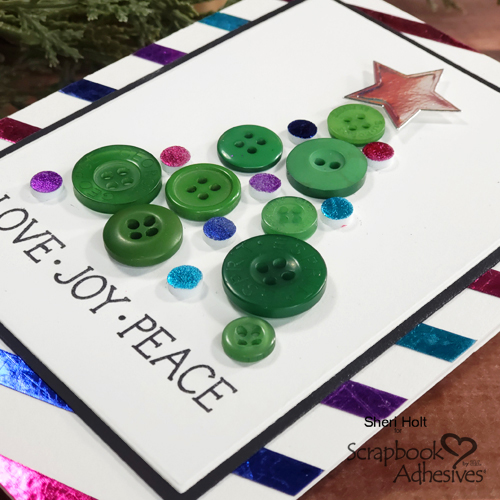
On a card panel, place various sized buttons to form a tree. Fill in the gaps of the tree with 3D Foam Circles in small size until I got my desired shape. Next, I picked up each button and attached small Adhesive Dots to the back and put back in place.
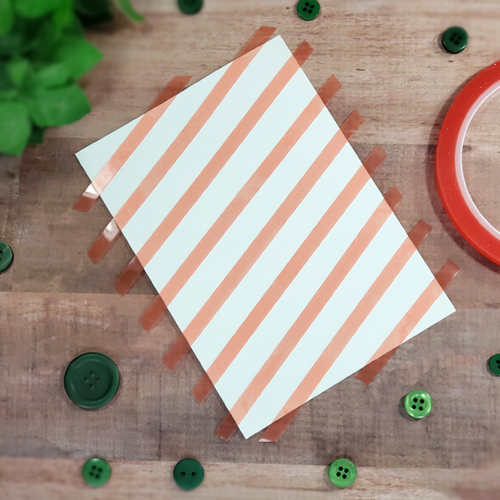
Foiled Stripes
To create my background, I simply added stripes with Extreme Double-Sided Tape ¼ inch to the front of my card base. One by one lay each color foil on the tape (color side up) and pressed to transfer each color.
Once my background was complete, I used the same process with the foam circles on my tree. Designer’s Tip: press with the end of an eraser head to make sure the circle was completely covered.
A simple stamped sentiment and black matting completed my focal image. I attached the panel to my custom background with the MyStik® Permanent Strips Dispenser.
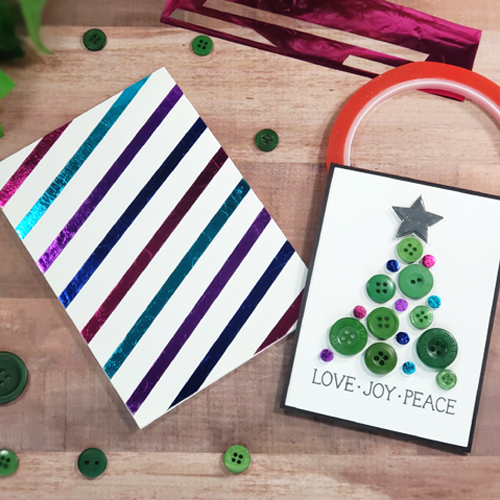
I hope you try this easy foiling method like my Foiled Dots & Buttons Holiday Card!
Sheri Holt
Creative Time: 20 minutes
Skill Level: Beginner
Materials needed:
Scrapbook Adhesives by 3L®
MyStik® Permanent Strips Dispenser
Adhesive Dots – Small
3D Foam Circles Mix – White
Metallic Transfer Foil Sheets Variety
HomeHobby™ by 3L
Extreme Double-Sided Tape ¼ inch
Save It!
Visit our Website and Blog!
Sign up for our Newsletter so you never miss a contest or giveaway!


By Jaqui S December 7, 2020 - 4:58 pm
Would love to create this holiday card, but would need to get green buttons first.