
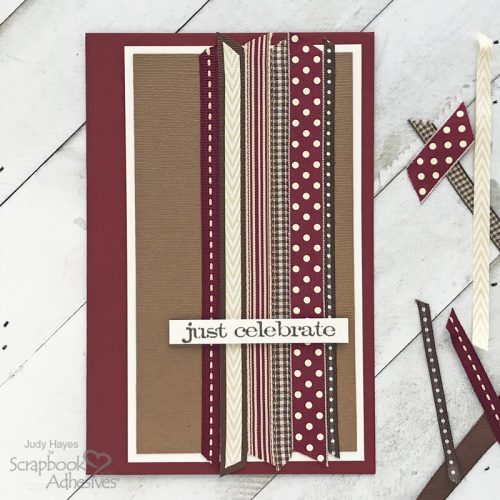
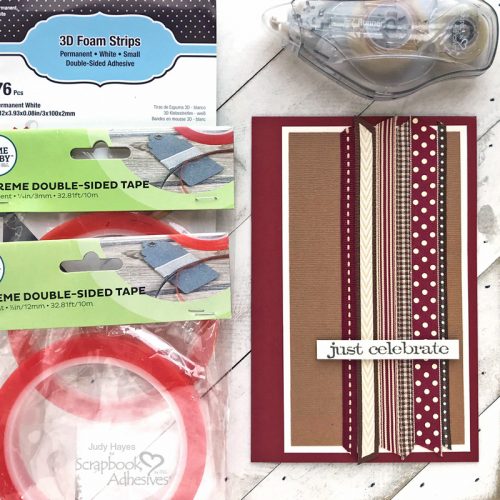
Hello friends! Today, I raided my stash of ribbons to make this card. I’m on a mission to reduce some of my stash….ultimately this didn’t make a dent in it but it’s a fun way to use ribbons! So easy with Extreme Double-Sided Tape!
Ribbon Card Background Prep
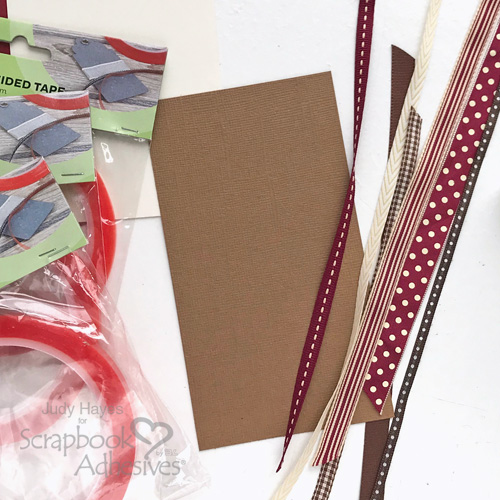
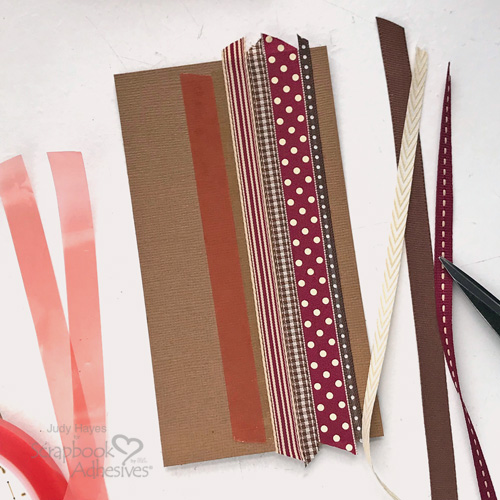
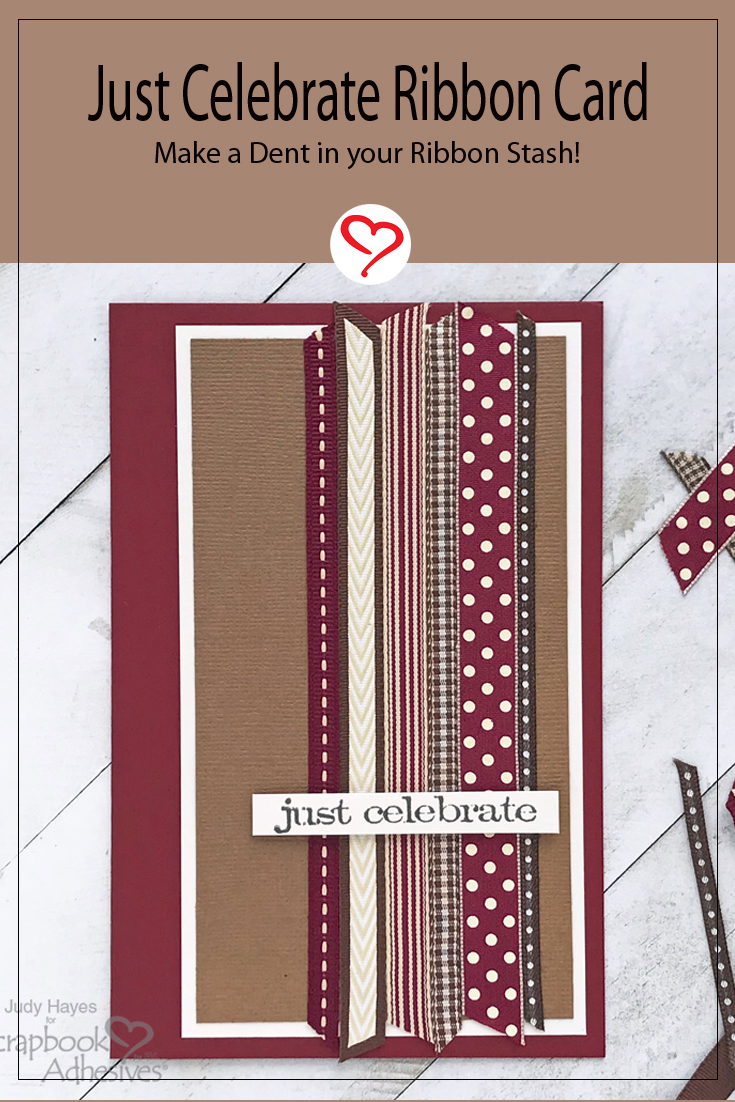
Choose an assortment of red, brown, and cream ribbons in a variety of patterns and sizes, I used seven types on this card. Cut a piece of Walnut cardstock to 3.25 x 5.75 inches.
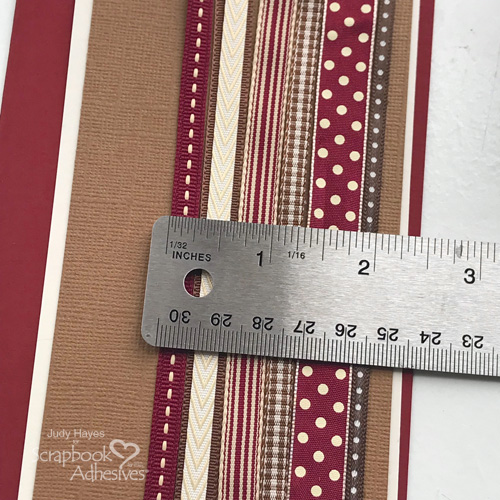
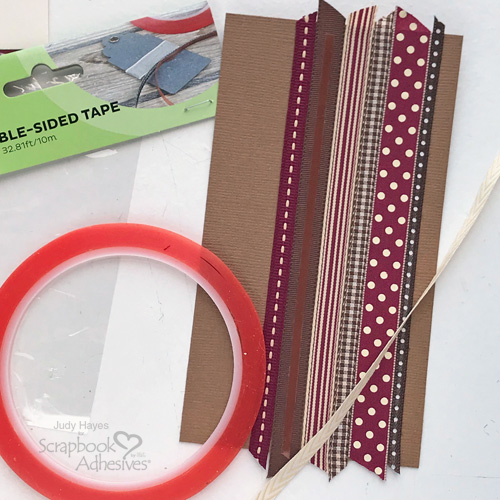
Layout the ribbon pattern as desired. This will help determine the width of the ribbon border. Use measurement to choose what size Extreme Double-Sided Tape to best use for the project. For this card, four pieces of Extreme Double-Sided Tape 1/2in will hold all the ribbon.
Designer Tip: Take a photo to help remember the ribbon pattern.
Assemble the Ribbon Background
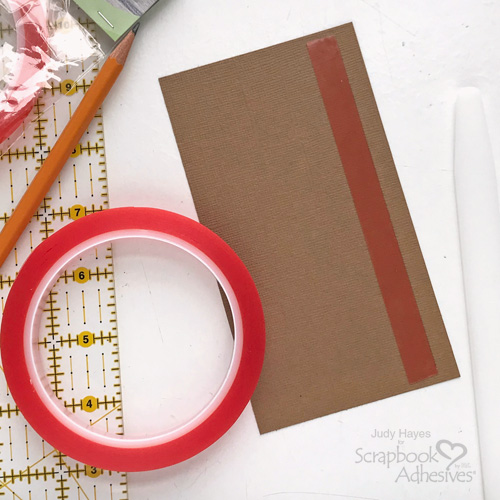
Draw a pencil line along the cardstock edge to mark the placement of the Extreme Double-Sided Tape 1/2in.
Apply the Extreme Double-Sided Tape 1/2in along pencil line. Firmly press in place. Continue to add three more pieces of the Extreme Double-Sided Tape 1/2in next to each other and press firmly in place.
Remove the liner on tape near the edge. Hold the first ribbon at each end to pull it straight but not stretched, align with the tape edge, and press in place. Trim ribbon ends to extend slightly beyond cardstock. Continue to remove the tape liner and add ribbons aligning each against the edge of the previous ribbon. Press in place.
Add Extreme Double-Sided Tape 1/8in centered over the wider brown ribbon. Place a narrow cream ribbon over it and press in place.
Make the Card
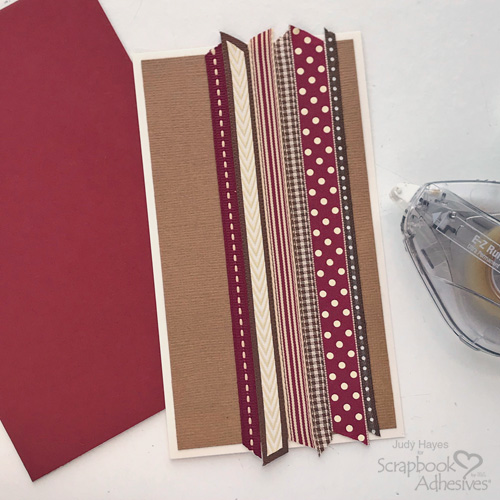
Cut a piece of 8.5 x 6.5-inch deep red cardstock and fold it in half to form a 4.25 x 6.5-inch card. Next, cut a piece of Walnut Cream cardstock to 3.75 x 6.125-inch.
Apply adhesive with E-Z Runner® Ultra Strong Refillable Dispenser to the back of the ribbon piece and adhere it to the Walnut Cream mat. Use E-Z Runner® Ultra Strong Refillable Dispenser to apply adhesive to the back and fasten it on the card front.
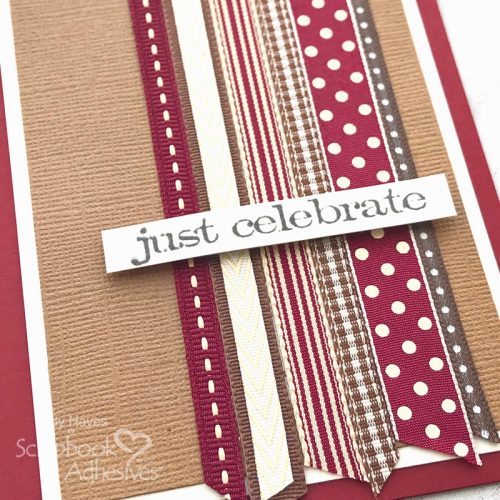
Stamp Greeting
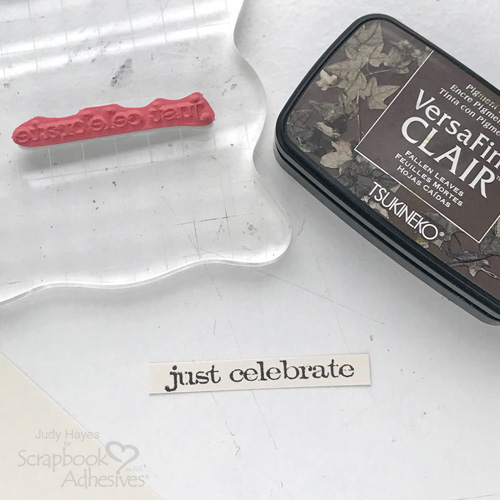
Stamp the greeting on Walnut Cream cardstock with Fallen Leaves ink. Trim to narrow strip.
Complete Card
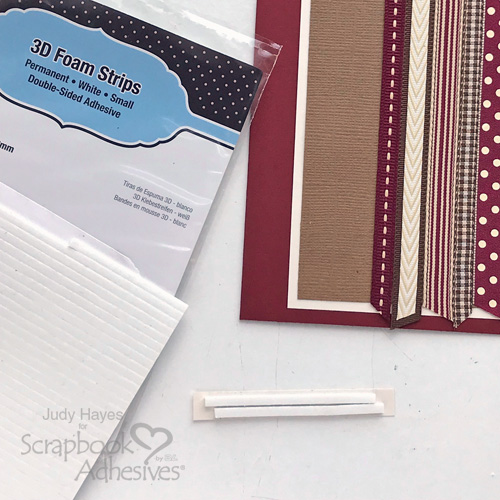
Secure 3D Foam Strips to back of greeting strip. Remove liners and attach the greeting across ribbons on the card front.
Why not make up a few ribbon cards without a greeting to have on hand? So quick to add a greeting and send it off!
Thanks for Visiting!
Judy Hayes
Creative Time: 30 Minutes
Skill Level: Easy
Materials Needed
Scrapbook Adhesives by 3L®
HomeHobby™ by 3L
Other Supplies: Bazzill® Basics Cardstock (Walnut Cream, Walnut); Stampers Anonymous Tim Holtz Stamp Set (Simple Sayings); Tsukineko® Versafine Clair™ Ink (Fallen Leaves); Cardstock (Deep Red); Assorted Red, Cream and Brown Ribbons
Save it to Pinterest!
Visit our Website and Blog!
Sign up for our Newsletter so you never miss a contest or giveaway!


