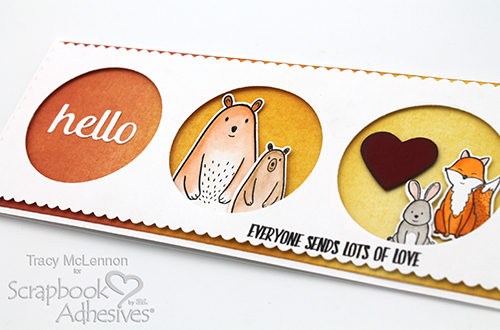
Hello crafty friends! Tracy here, and today I have a fun and easy little tutorial on how I created this Dimensional Hello Slimline Card. Here are all of the details.
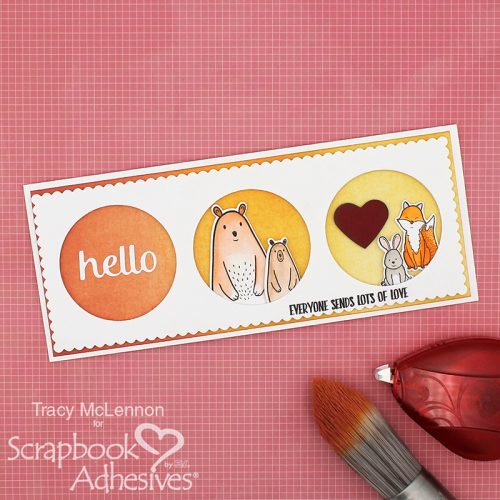
Hello Slimline Card Base
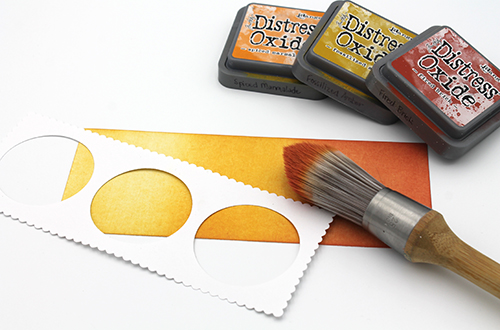
First die cut the scalloped slimline card front from white cardstock, then die cut the circle openings. Next, cut a mat for the card front also using white cardstock. Using Distress Oxide Inks and a blending brush I added color to that white cardstock mat.
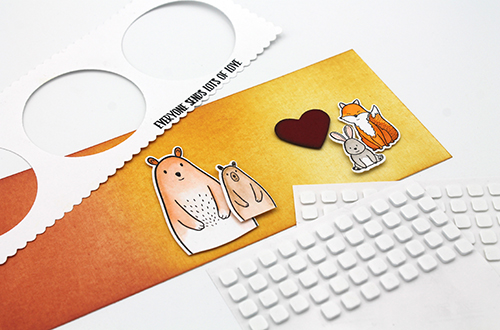
Stamp the little animal images onto white cardstock, and add color using Zig Clean Color Markers and a waterbrush. Stamp the card sentiment in the bottom right hand corner of the die cut front piece. Then using Thin 3D Foam Squares White Mix and 3D Foam Squares White Mix, add the little animal pieces to the inked mat using the die cut front as a guide.
Add the die cut front piece to the inked mat of the card using 3D Foam Squares White Mix. Adhere the Dimensional Slim Line card front to the white cardstock card base using E-Z Runner® Permanent Strips Refillable Dispenser.
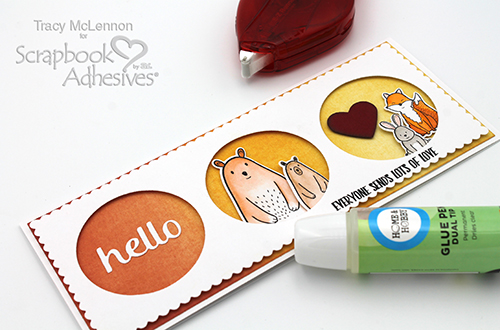
Add the “Hello” die cut sentiment to the card using the Dual Tip Glue Pen.
Thanks so much for stopping by!
Tracy
Creative Time: 45 minutes
Skill Level: Intermediate
Materials needed:
Scrapbook Adhesives by 3L®
E-Z Runner® Permanent Strips Refillable Dispenser
Dual Tip Glue Pen by HomeHobby™ by 3L
Thin 3D Foam Squares White Mix
3D Foam Squares White Mix
Other:
Distress Oxide Ink (Fired Brick, Spiced Marmalade, Fossilized Amber); Blending Brush; Picket Fence Studios (Slim Line Die Cutting System- Scallop Framed Dies, Forest Critters Stopping by to Say Hey Stamp and Die); Staz On Ink- Jet Black; White Cardstock; Waterbrush; Zig Clean Color Markers
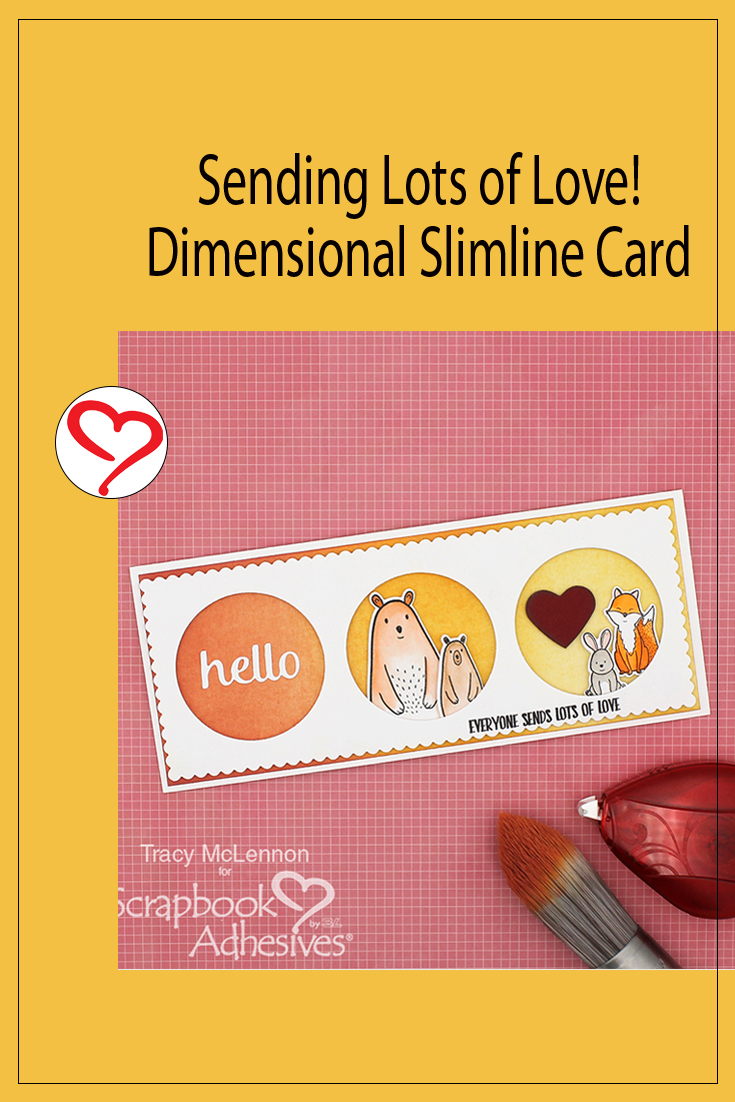
Save to Pinterest!
Visit our Website and Blog!
Sign up for our Newsletter so you never miss a contest or giveaway!


