Hi, Connie here with a Smile Dimensional Step Card that looks really FUN featuring 3D Foam Adhesive. The foam adhesive gives extra interest to the card and makes the embellishments pop off the page. Kind of like an explosion of excitement to a card!
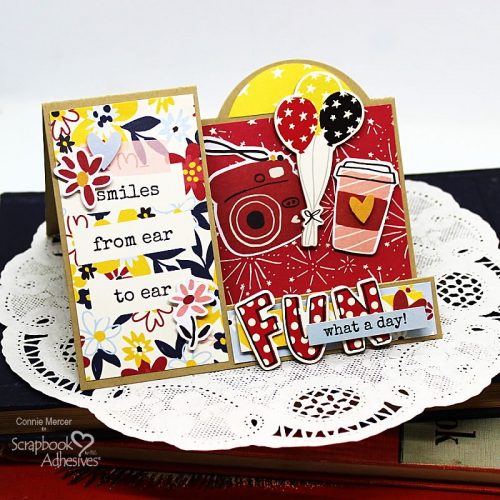
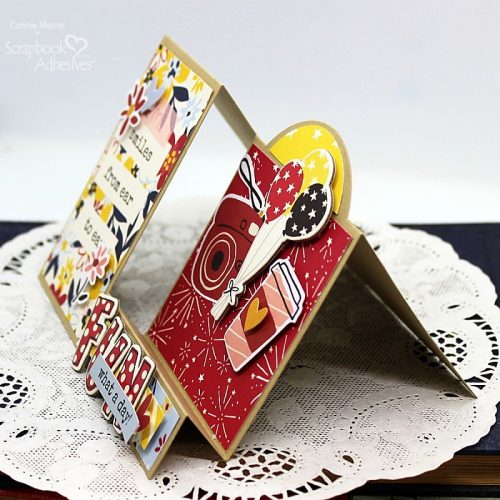
Assembling the Step Card
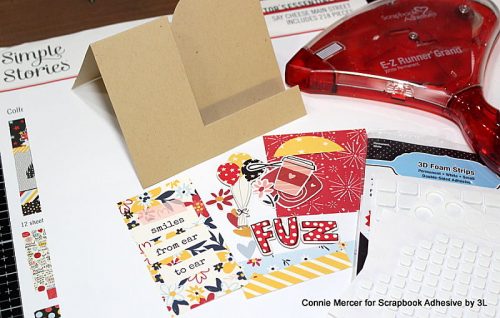
Before starting, we need to create the step card base by die-cutting it through a manual machine. Then measure and cut the patterned papers to fit the different areas of the card. This takes a few minutes to complete. Now the fun part! Deciding on what chipboard and embellishments to add.
Embellishing the Step Card
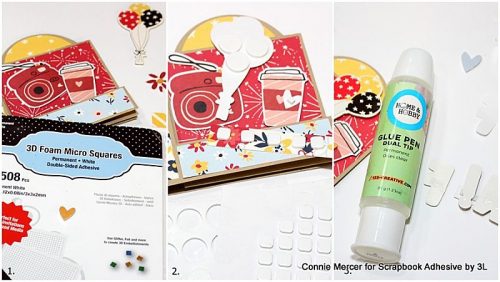
- 1. Adhere the pattern paper pieces to the card front using the E-Z Runner Grand Refillable Dispenser. Take the small heart embellishment and adhere using the 3D Foam Squares Micro White .
2. Using the 3D Squares White Mix and 3D Foam Circles White Mix for the larger embellishments for a strong hold.
3. The Dual Tip Glue Pen by HobbyHome is used to secure the chipboard word (FUN) to the bottom of the card. The word sticker is adhered with 3D Foam Strips Large White.
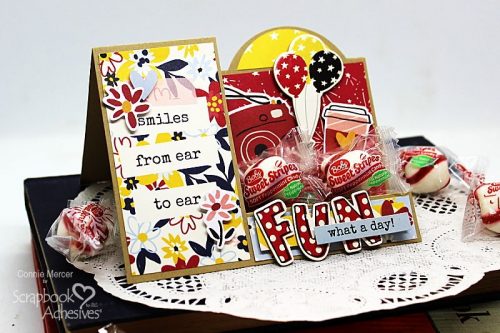
Thanks for stopping by and I hope you enjoyed this super fun Smile Dimensional Step Card project!! It can also double as a treat stand too.
Connie Mercer
Creative Time: 45 Minutes
Skill Level: Intermediate
Materials Needed
Scrapbook Adhesives by 3L®
3D Foam Squares White Mix, 3D Foam Circles White Mix, 3D Foam Squares Micro White and 3D Foam Strips Large White
E-Z Runner® Grand Refillable Dispenser
HomeHobby™ by 3L
Dual Tip Glue Pen
Other: Patterned Paper: Simple Stories (Say Cheese Main Street), Die: Sizzix (Lori Whitlock Design Die), Kraft Cardstock
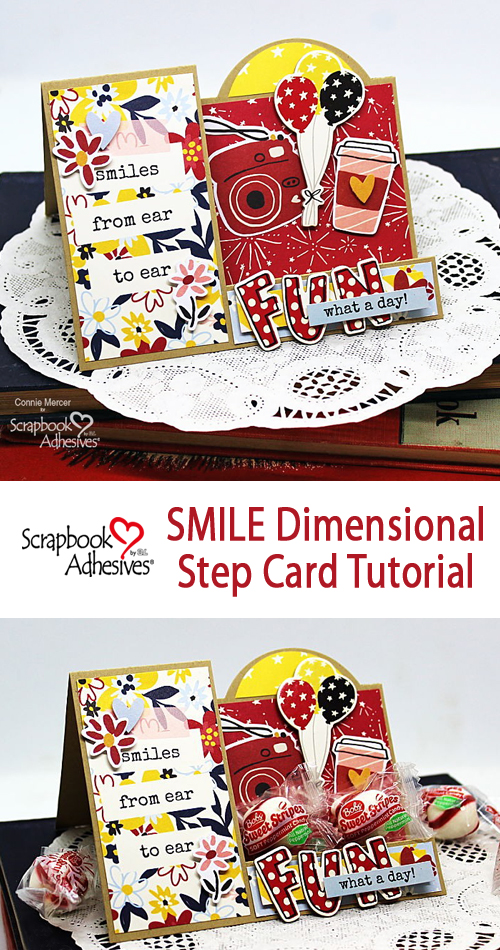
Save to Pinterest!
Visit our Website and Blog!
Sign up for our Newsletter so you never miss a contest or giveaway!


By diane legendre March 19, 2022 - 2:35 pm
hi all, have a good day. diane
By Rosé McCluskey March 23, 2022 - 11:50 am
Thanks your adhesive is my favorite. I love the red hand held one, the thin red double sided and foam for 3D!!
EZ runner is the best. I tell people not to try the others. Thanks.