
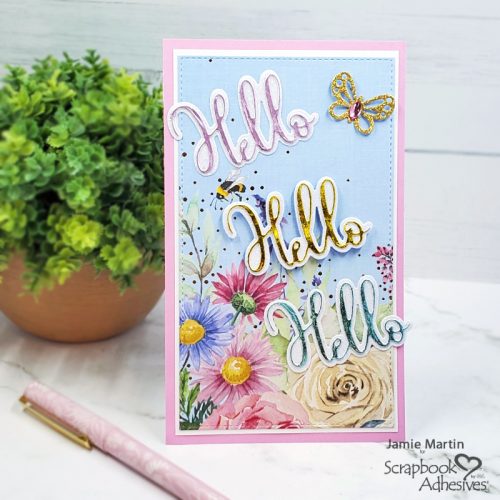
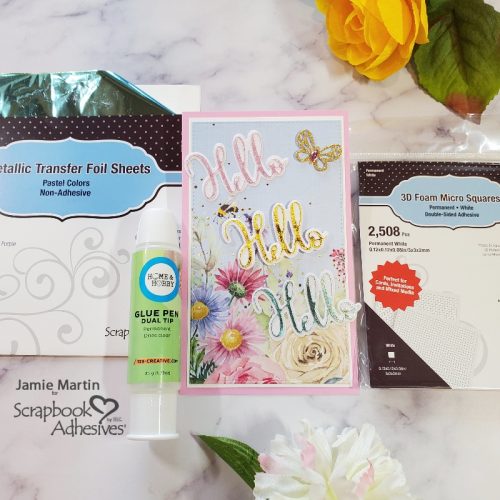
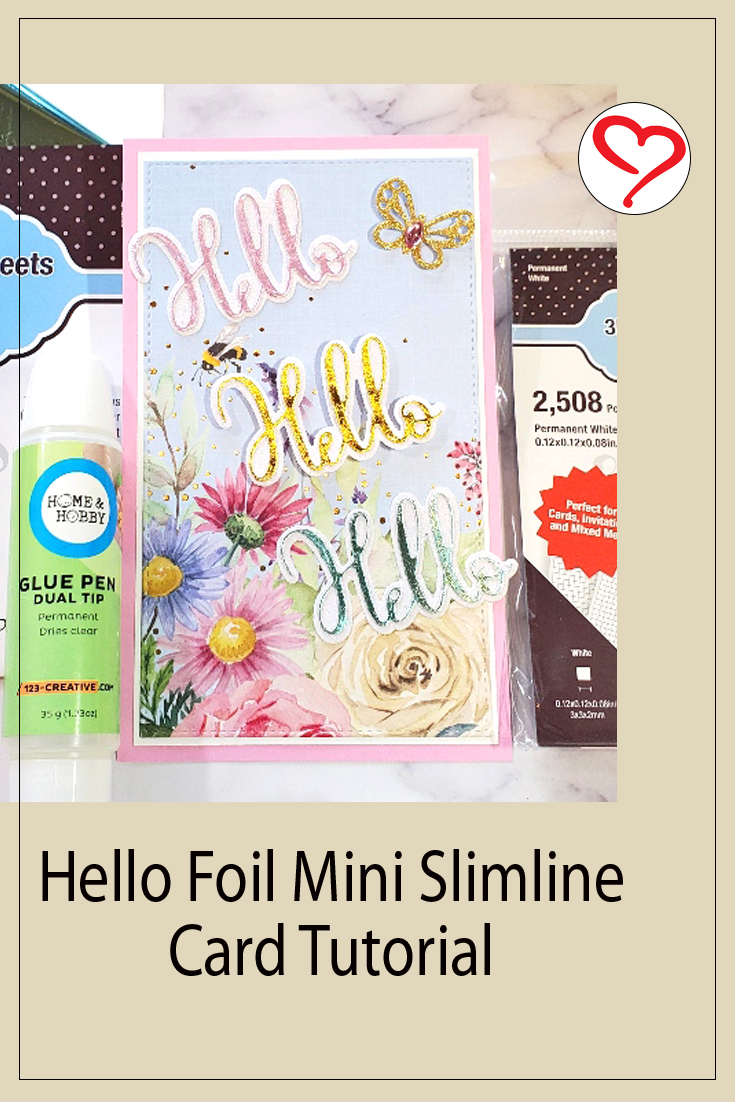
Hi, Jamie Martin here with you today and I have a Hello Foil Mini Slimline Card using the beautiful Metallic Transfer Foil Sheets in Pastel Colors and Adhesive Sheet 4″ x 6″ for my sentiment. It’s just the right amount of color, shimmer, and shine for my hello card. The best part? No special tools are required for foiling!
Hello Foil Sentiment
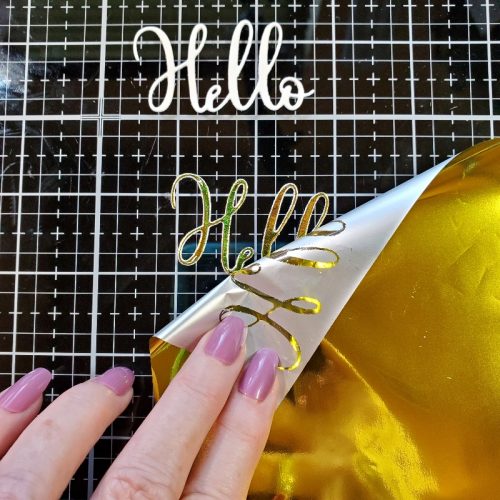
To make the words, apply a sheet of Adhesive Sheet 4″ x 6″ on the top of a white cardstock panel. Next, place the Hello die on top of the cardstock and die-cut three times.

Peel off the top liner from the HELLO words and place a piece of yellow foil from the Metallic Transfer Foil Sheets in Pastel COLOR SIDE UP over the exposed adhesive side. With your fingertip, gently rub to transfer the color to the HELLO word.
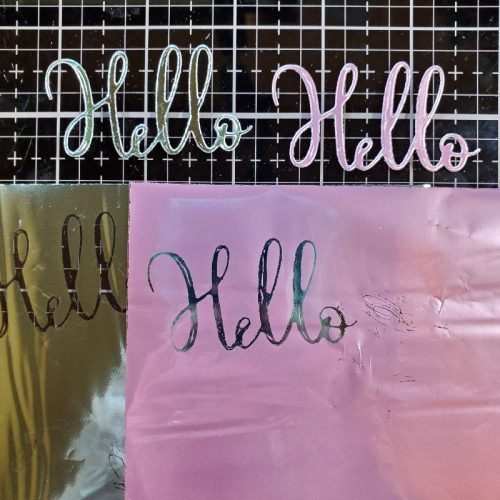
Repeat the same foiling steps with the other HELLO words in pink and blue foils from the Metallic Transfer Foil Sheets in Pastel.
Sentiment Placement
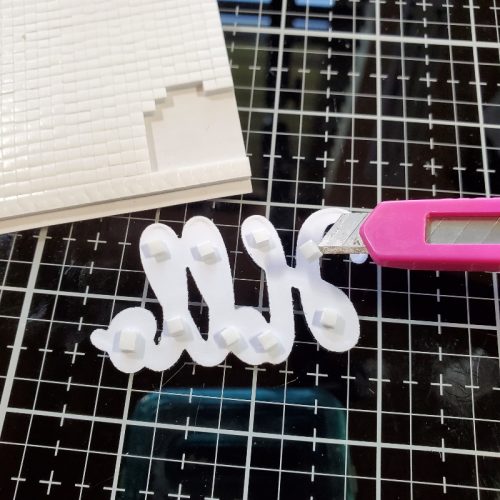
3D Foam Micro Squares were used on the back of the yellow foil Hello to pop it up. The other two words were glued flat using the Dual Tip Glue Pen.
Hello Foil Card Base
With a mini slimline die, die-cut a piece of decorative paper and use the Dual Tip Glue Pen to mat to a slightly larger white panel. Then onto a pink card base.
Final Touches
A small butterfly was die-cut from gold glitter paper and glued to the top right of the card front. Lastly, add a self-adhesive gem to its body. Now it’s ready to give away!
Skill Level: Beginner
Creative Time: 35 minutes
Materials Needed:
Scrapbook Adhesives by 3L®
Metallic Transfer Foil Sheets Pastel Colors
3D Foam Micro Squares
Adhesive Sheets 4″ x 6″
HomeHobby™ by 3L
Dual Tip Glue Pen
Save to Pinterest!
Visit our Website and Blog!
Sign up for our Newsletter so you never miss a contest or giveaway!


