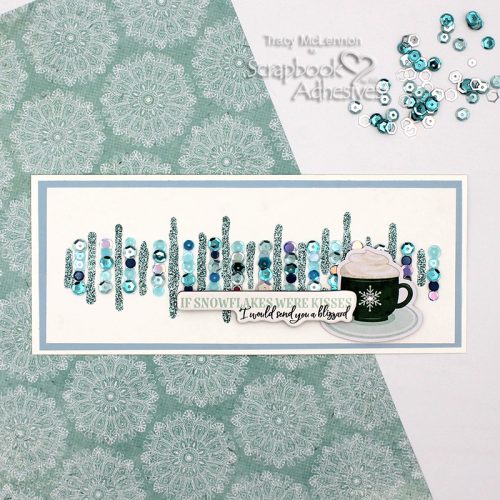
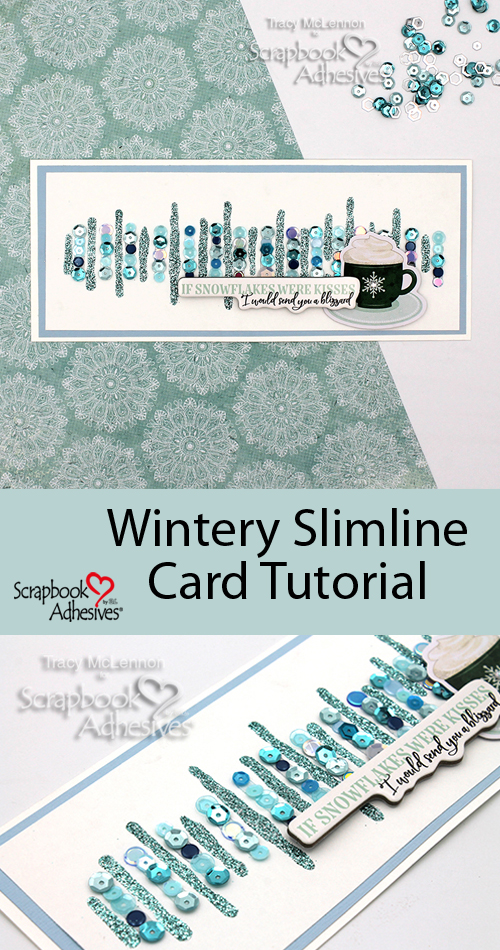
Hello crafty friends! Tracy here, and today I have a pretty little Wintery Slimline Card to share. With the seasons changing and the days getting shorter, I thought I would embrace the winter mood. Here are all of the details on how I created my Wintery Slimline Card.
Warm Winter Crafting
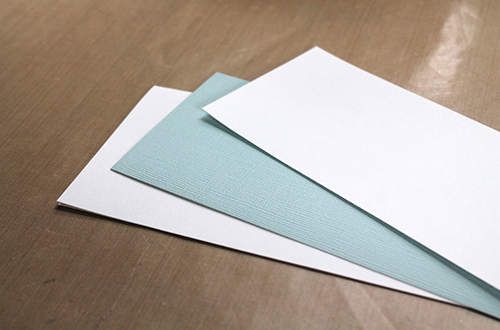
Start your creation by cutting the cardstock layers. I used white and light blue cardstock for the base of my Wintery Slimline Card.
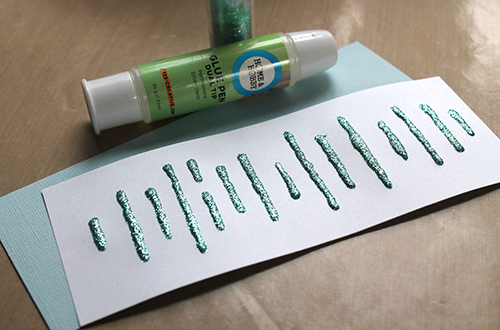
Using the Dual Tip Glue Pen add lines of liquid adhesive to the white cardstock card front. Then add the ultra-fine glitter. Let dry completely.
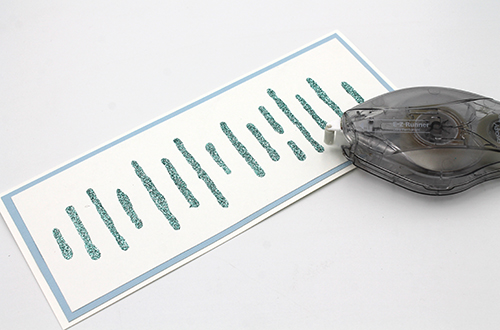
Once completely dry, adhere the cardstock layers of the Wintery Slimline Card together using the E-Z Runner® Ultra Strong Refillable Dispenser.
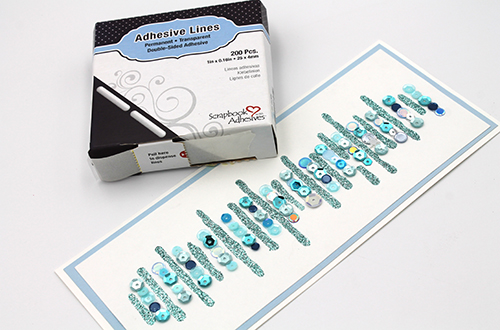
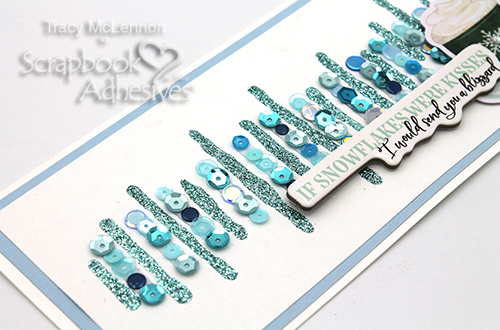
I wanted lots of texture and shine. So add an Adhesive Line between each of the glitter lines. Add sequins to each of the Adhesive Lines. I ended up using a mixture of a few sequin mixes.
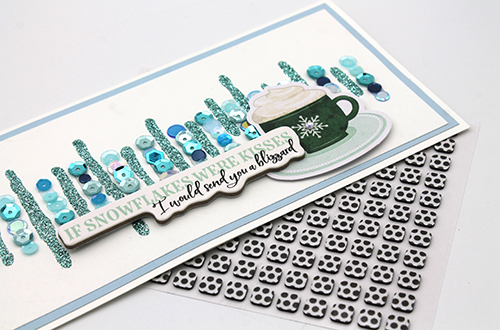
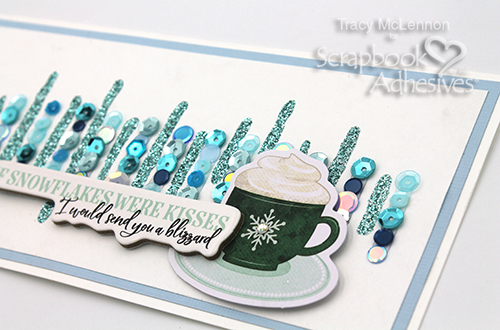
I chose 2 coordinating embellishments for the front of my Wintery Slimline Card. Add these embellies using Thin 3D Foam Squares Black Mix. The final touch was to add a little gem to the coffee cup embellishment.
Thanks so much for stopping by!
Tracy
Skill Level: Easy
Creative Time: 45 minutes (not including dry time)
Materials Needed:
Scrapbook Adhesives by 3L®
E-Z Runner® Ultra Strong Refillable Dispenser
Thin 3D Foam Squares Black Mix
Adhesive Lines
HomeHobby by 3L®
Dual Tip Glue Pen
Other:
Cardstock (White, Blue); Spiegelmom Scraps Sequins Mix; Ultra-fine Glitter; Vicki Boutin- Embellishments
Save to Pinterest!
Visit our Website and Blog!
Sign up for our Newsletter so you never miss a contest or giveaway!


