
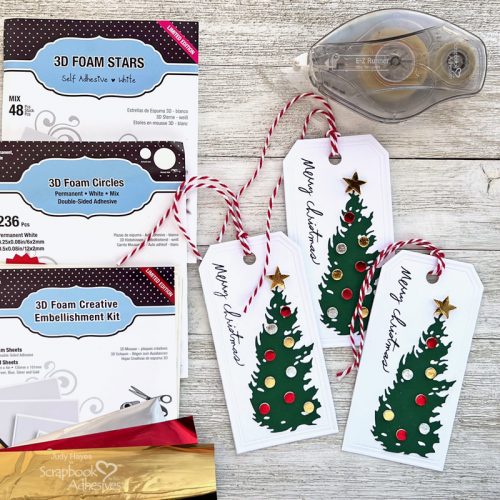
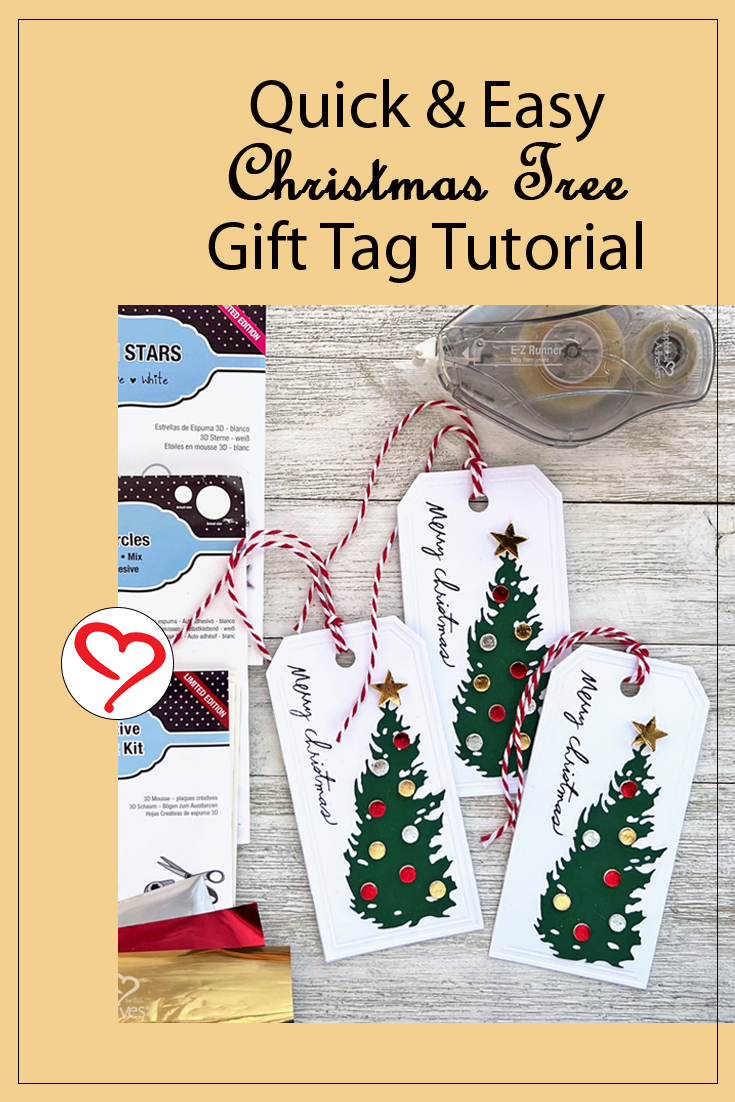
Hello crafty friends! I’ve put together an easy Christmas Tree Tag for holiday packages. Metallic gold foil on 3D Foam Circles White and 3D Foam Stars to decorate a die-cut tree on a white tag. It’s so easy to make and mass produce. Simply die-cut the pieces and gather supplies whenever you have a few minutes and assemble at another time.

Basic Supplies
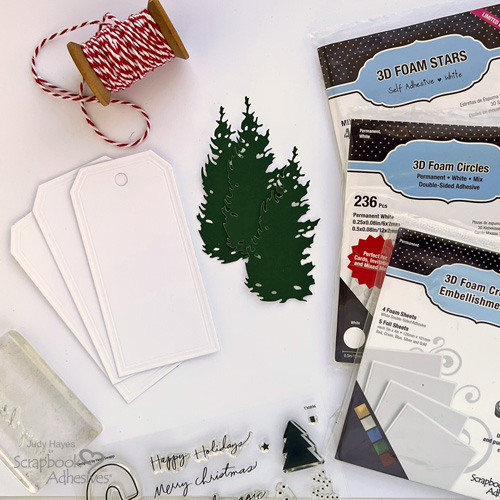
Each tag requires a 2.25 x 4.75-inch white tag, a green cardstock tree die-cut shape, a holiday greeting stamp, ink, and red baker’s twine. Of course, you need your adhesives so grab 3D Foam Circles White Mix, 3D Foam Stars, E-Z Runner® Ultra Strong Refillable Dispenser, and 3D Foam Creative Embellishment Kit with Foil. Let’s get started!
Stamp Greeting
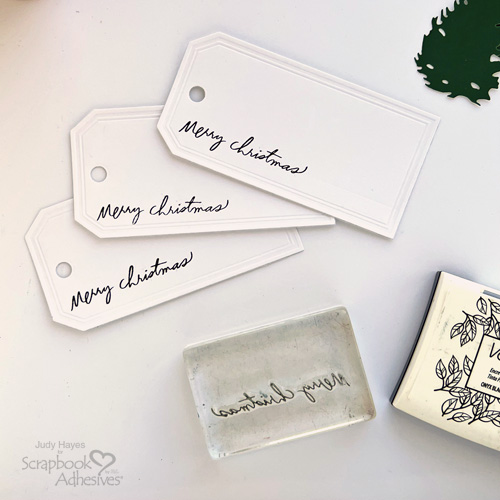
Use black ink to stamp “Merry Christmas” along the left edge of the tag.
Attach the Trees
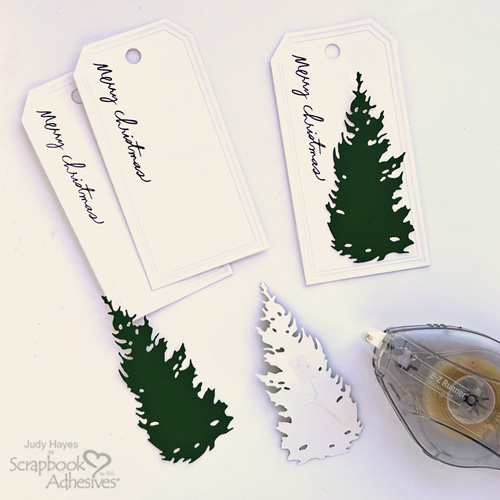
Apply E-Z Runner® Ultra Strong Refillable Dispenser to the backs of the tree shapes and place them on the tags. No need to apply adhesive to the top of the tree as the 3D Foam Stars will hold it in place.
Star Placement
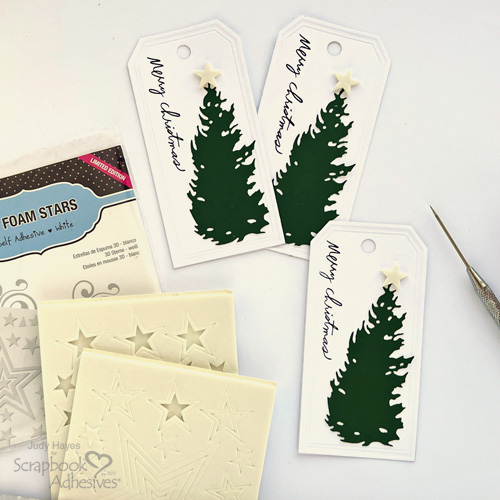
Place a small star from 3D Foam Stars on top of each tree. Keep the liner on the star.
Add 3D Foam Circles
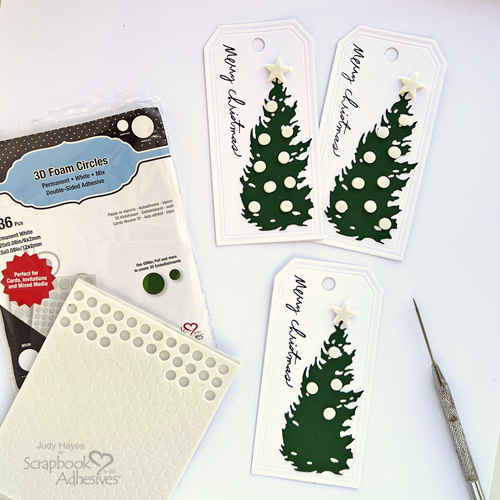
Randomly place small circles from 3D Foam Circles White Mix on the tree with top liners in place.
Wear Your Adhesive on the Outside with Foil
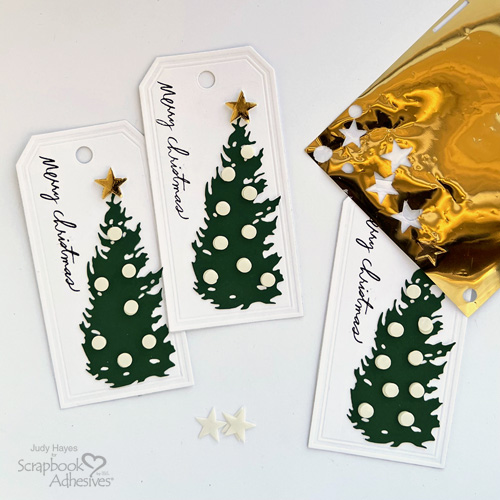
Remove the liner from the 3D Foam Star. Place a piece of gold foil from the 3D Foam Creative Embellishment Kit with Foil over the exposed adhesive color side UP. Gently rub with a fingertip to transfer the color to the star. Peel away the foil to reveal the color. If there are missed areas, reapply the foil.
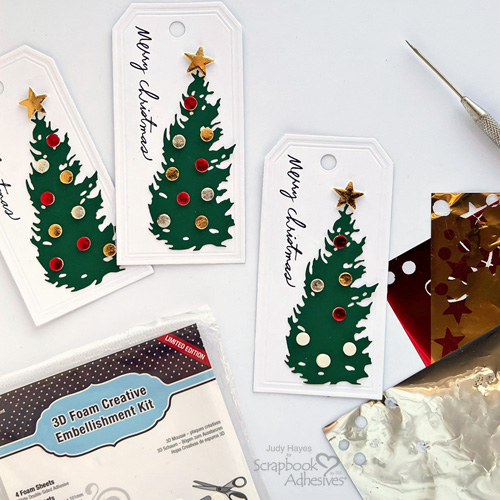
Determine foil color placement for the 3D Foam Circles on the trees. Then apply the foiling steps as above but do them one by one to avoid mixing of colors (unless you want that look). I’ve used a combination of red, gold, or silver foil from the 3D Foam Creative Embellishment Kit with Foil.
Finishing Touches
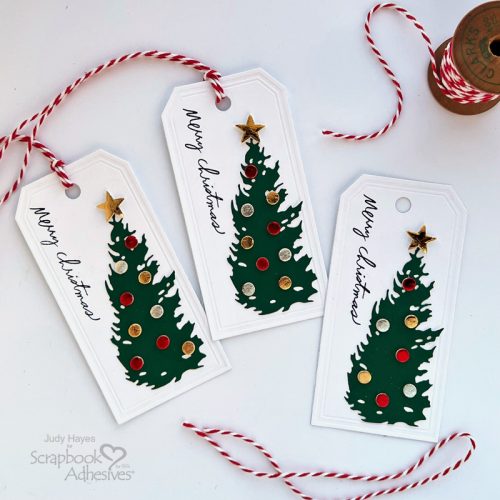
Thread a 12-inch piece of red and white twine through the tag hole and finished! Designer’s Tip: You can grab the 3D Holiday Embellishment Kit with Foil for more holiday pre-cut foam shapes (it also includes the 3D Foam Stars).
Repeat as many times as desired to make lots of tags! I hope you enjoyed this quick and easy Christmas Tag! Try this idea on a holiday card too. So many different ideas with this Wear Your Adhesive on the Outside concept!
Thanks for Visiting!
Judy Hayes
Creative Time: 15 minutes
Skill Level: Beginner
Materials Needed:
Scrapbook Adhesives by 3L®
3D Foam Circles White Mix and 3D Foam Stars
3D Foam Creative Embellishment Kit with Foil or 3D Holiday Embellishment Kit with Foil
E-Z Runner® Ultra Strong Refillable Dispenser
Other
Stamp: Heidi Swapp (To & From); Ink: Tsukineko (Versafine Onyx Black Ink Pad); Craft Dies: Sizzix (Framed Tags and Twig & Stump by Tim Holtz); White and Green Cardstock; Red/White Twine
Save to Pinterest!
Visit our Website and Blog!
Sign up for our Newsletter so you never miss a contest or giveaway!


