
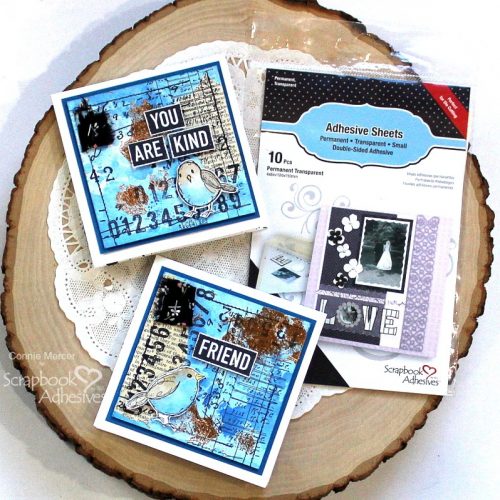
Hi, Connie here to share a couple of Memo Pads that are fun to create and Scrapbook Adhesives by 3L makes it easy! I love EASY!!! I’m using Adhesive Sheets 4×6 and Metallic Foil Transfer Sheets Nature Color to create a distressed look. Let me show you. Super fun one 🙂
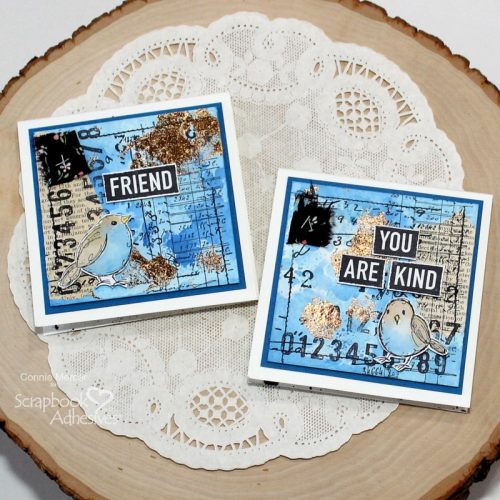
These make really cute gifts and the perfect assembly line craft. You can make several at one time. That is what I did here.
Create the Cover Panel
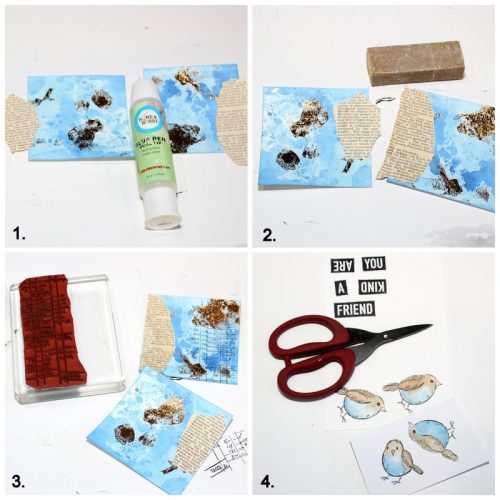
- 1. I’ve used the Wear Your Adhesive on the Outside technique on the background with adhesive sheets and foils. See those steps in my More Than Enough Card. Next, adhere the ephemera with the Dual Tip Glue Pen to the fronts. It measures 3 1/4″ x 3 1/4″.
2. Sand the edges to remove excess ephemera hanging over the edges.
3. Use stamps or stencils to create a mixed media style memo cover.
4. Stamp focal birds image and sentiments. Then cut them out.
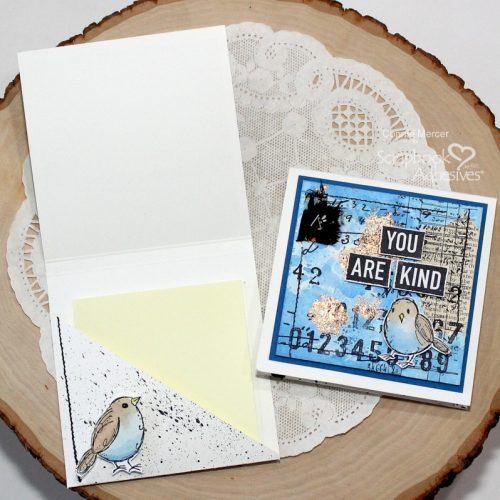
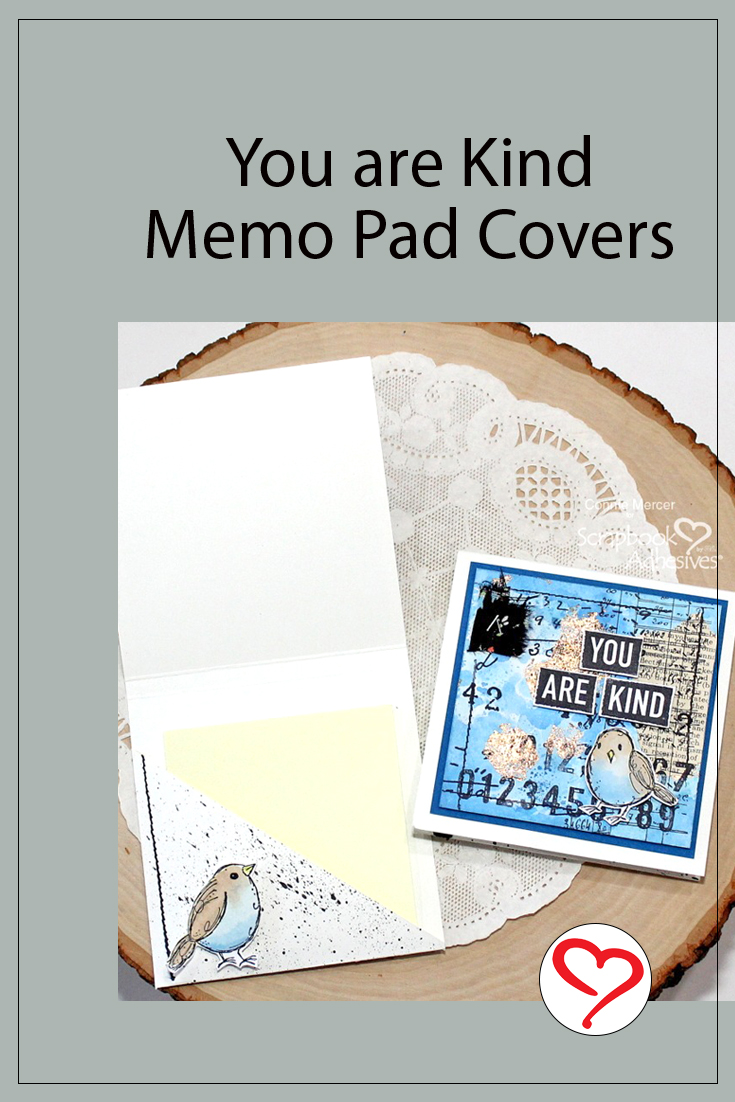
Make the Folder
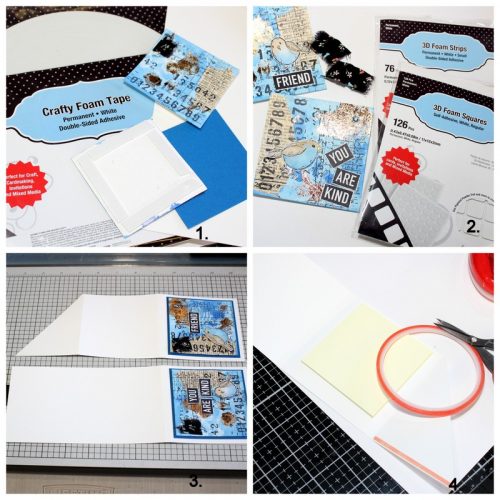
- 1. Adhere memo pad fronts to cardstock blue mat 3 1/2″x 3 1/2″ using Crafty Foam Tape 108′.
2. Using 3D Foam Squares White mix to adhere birds. Use 3D Foam Strips to add words.
3. Adhere memo fronts to white cardstock 3 3/4″ x 11 with the E-Z Runner Grand Refillable Dispenser and score above the blue mat line. This gives you three sections. Cut the top section at an angle creating a pocket for the memo pad.
4. Fold the angle cut up and adhere with Extreme Double-Sided Tape 1/4″ to secure the pocket.
Add stitching and bird to the inside of the pocket. I used stamps to achieve that look.
Thanks for stopping by!
Connie Mercer
Creative Time: 60 minutes
Skill Level: Intermediate
Materials Needed:
Scrapbook Adhesives by 3L®
Crafty Foam Tape 108′
Adhesive Sheets 4×6
3D Foam Squares White Mix
3D Foam Strips
Metallic Transfer Foil/Nature
E-Z Runner Grand Refillable Dispenser
HomeHobby™ by 3L
Dual Tip Glue Pen
Extreme Double-Sided Tape 1/4″
Other: Post-It-Note Pads, Stamps: Darkroom Door, Ink: Ranger Ink
Save to Pinterest!
Visit our Website and Blog!
Sign up for our Newsletter so you never miss a contest or giveaway!


