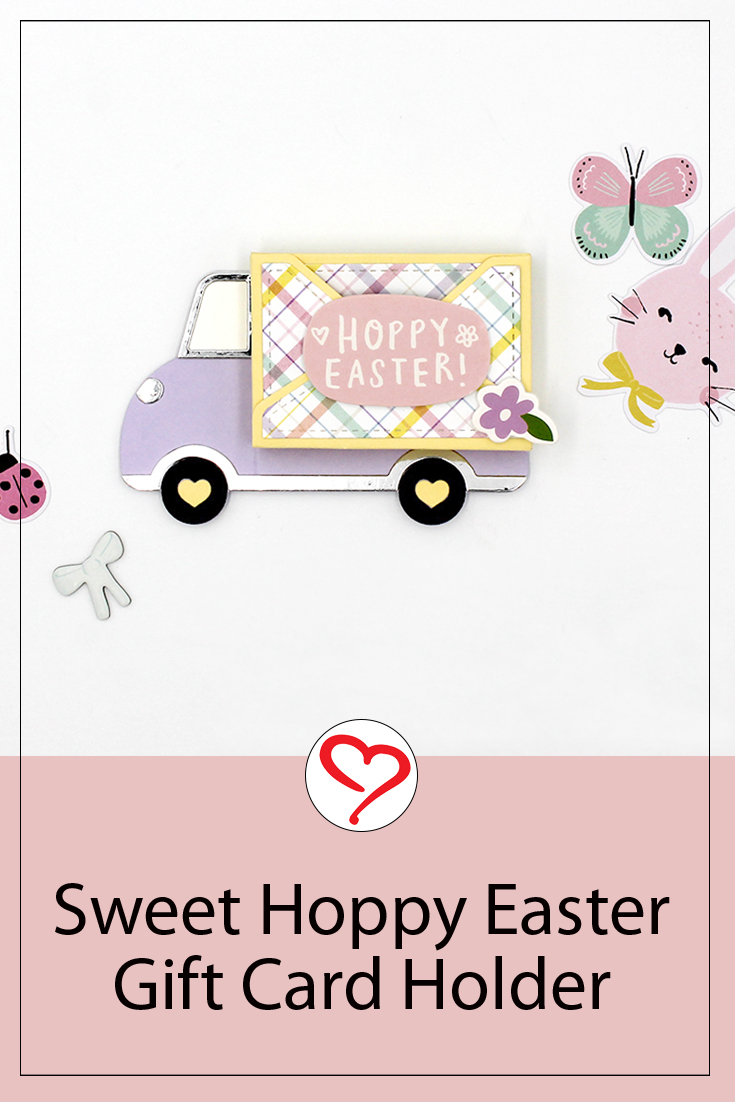
Hello crafty friends! Tracy here, and today I have such a fun little seasonal project to share with you. Here are all of the details on how to create this Hoppy Easter Gift Card Holder.
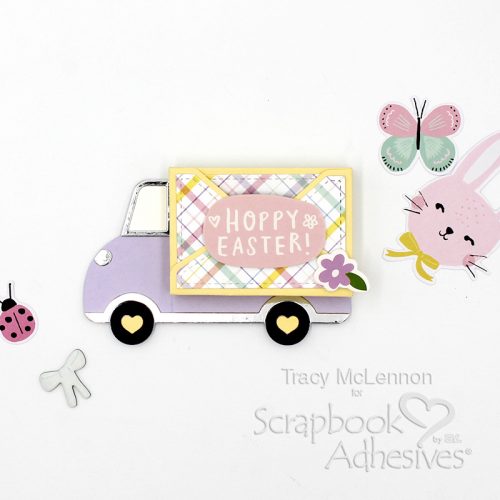
Hoppy Easter Card Base
First I took the Love Truck die set, and I cut out all of my layers from cardstock, foiled cardstock, and patterned paper. These are all of the pieces needed to create the Hoppy Easter Gift Card Holder.
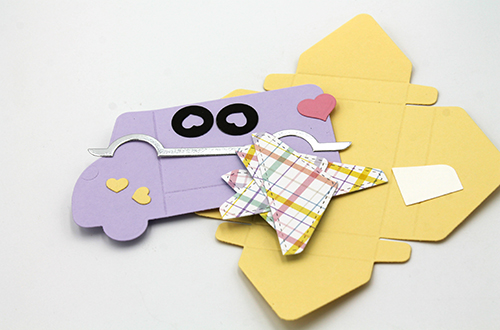
Start by adhering all of the pieces to the base of the Gift Truck using the Dual Tip Glue Pen.
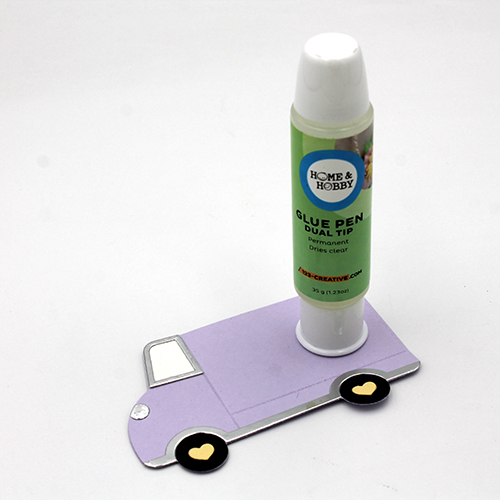
Add the patterned paper pieces to the cardstock ‘truck box’ using the E-Z Runner® Ultra Strong Refillable Dispenser. Using the E-Z Runner® Ultra Strong Refillable Dispenser will ensure that your Easter Gift Card Holder stays together on those high touch surfaces.
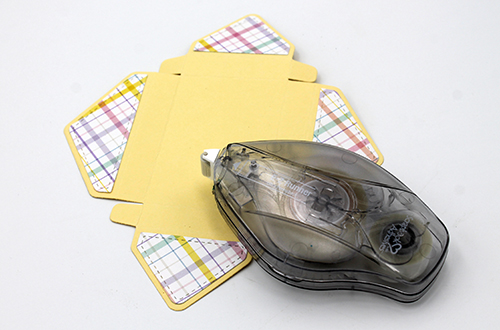
Continue using the E-Z Runner® Ultra Strong Refillable Dispenser to assemble the ‘truck box’ completely. For this piece, I plan to tuck the top flap of the box for presentation.
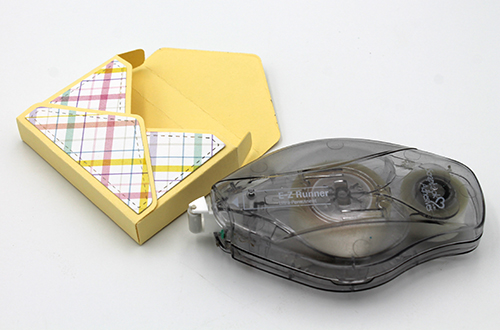
And again attach the ‘truck box’ to the base of the piece.
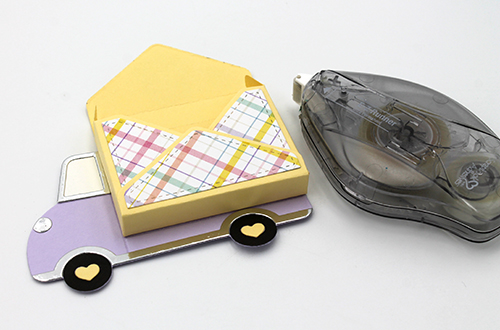
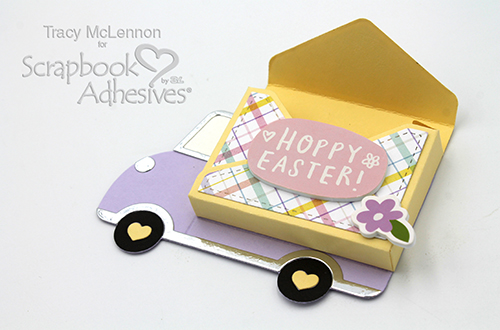
The final step is to add the chosen embellishments to this Easter Gift Card Holder. I chose to use coordinating dimensional stickers.
Thanks so much for stopping by!
Tracy
Creative Time: 40 minutes
Skill Level: Intermediate
Materials needed:
Scrapbook Adhesives by 3L®
E-Z Runner® Ultra Strong Refillable Dispenser
Home Hobby™ by 3L:
Dual Tip Glue Pen
Other: Patterned Papers: Simple Stories (Easter Collection): Craft Die: Pixie Dust Designs (Love Truck Die); White, Yellow, Lavender, and Silver Cardstock
Save to Pinterest!
Visit our Website and Blog!
Sign up for our Newsletter so you never miss a contest or giveaway!


