
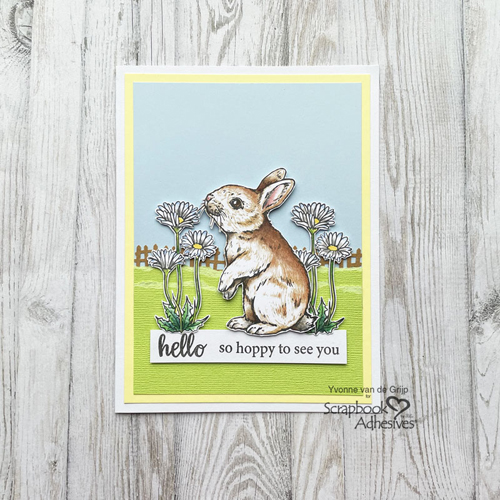
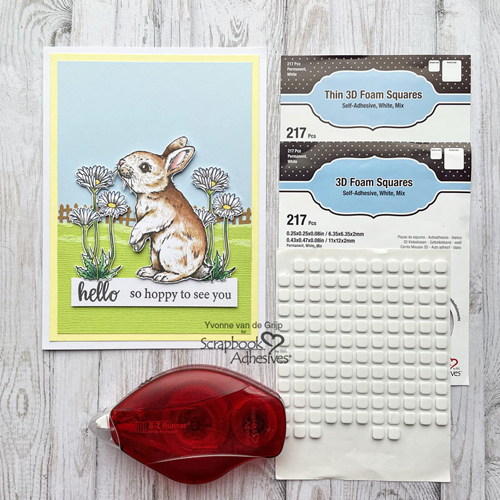
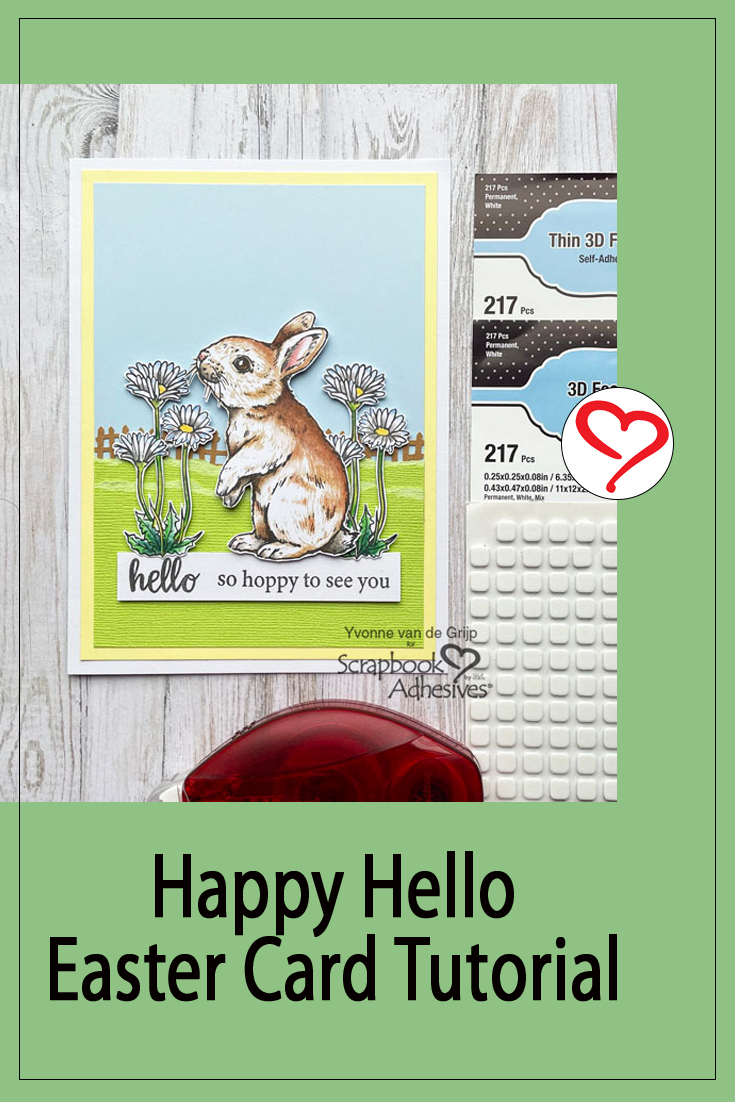
Hi everyone, Yvonne here! With Easter coming up I made this cute Happy Bunny Card. If you like to make a card without the traditional Happy Easter Quote, this is the card to make. And with Scrapbook Adhesives by 3L adhesives, it’s super easy to assemble this card! Wanna join me?
Top Card Panel
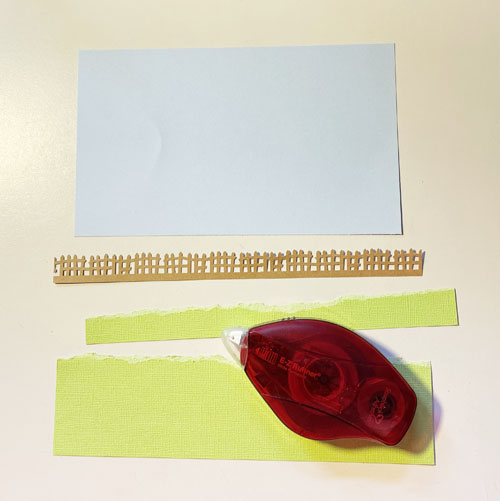
The top card panel of this Happy Bunny card is all about layering. Start by punching a fence from brown cardstock. Then tear two strips from bright green cardstock.
Adhere the fence to the bottom of a pale blue card panel using the E-Z Runner® Permanent Strips Refillable Dispenser. Layer the two torn green strips to the bottom of the card panel and trim it to a rectangle card panel.
Bunny Fun
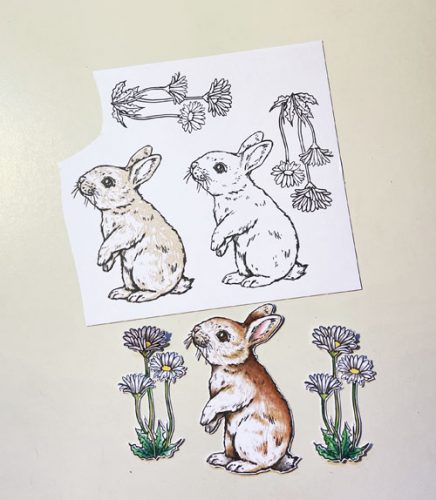
Stamp the bunny and two daisy images on white cardstock with black ink. I used a color layering bunny stamp: stamped the fur with soft brown ink, and colored with pencils for more depth. After coloring the daisies, fussy cut them all out using a combination of a fine-tip pair of scissors and a craft knife.
Creating Dimension
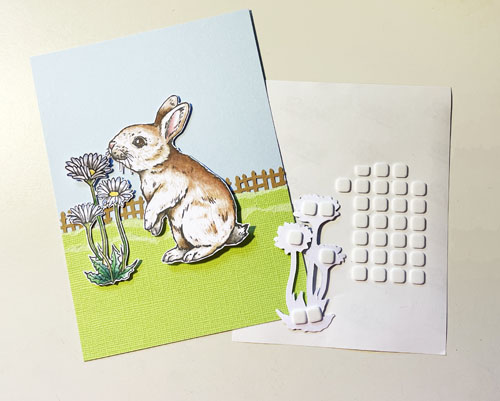
For dimension, I used Thin 3D Foam Squares White Mix to adhere the daisies onto the top card panel. To vary the height (popping it up more), I used 3D Foam Squares White Small Size on the bunny.
Finishing Touch
Mat the top card panel to a yellow panel and then onto a white cardstock card base with the E-Z Runner® Permanent Strips Refillable Dispenser. To finish, stamp the sentiment with black ink onto a white cardstock strip, and adhere it to the card front using Thin 3D Foam Squares White Mix.
And voilá, the Happy Easter Card is ready. I hope you enjoyed the tutorial and wish you happy crafting!
Creative Time: 50 minutes
Skill Level: Intermediate
Materials needed:
Scrapbook Adhesives by 3L®
E-Z Runner® Permanent Strips Refillable Dispenser
3D Foam Squares White Small Size
Thin 3D Foam Squares White Mix
Other: Stamp: Hero Arts® (Color Layering Bunny); Coloring Pencils: Faber Castell (Polychromos Pencils); Black and Sand Ink; Acrylic Block; White, Yellow, Soft Blue, Brown, and Green Cardstock; Scissors; Paper Trimmer; Craft Knife
Save to Pinterest!
Visit our Website and Blog!
Sign up for our Newsletter so you never miss a contest or giveaway!


