
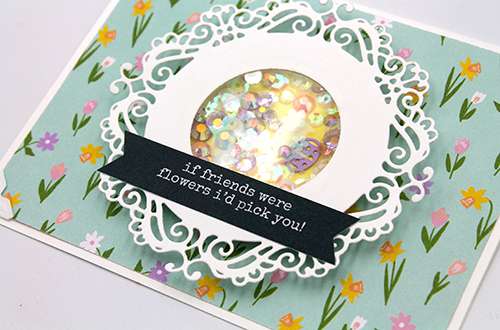
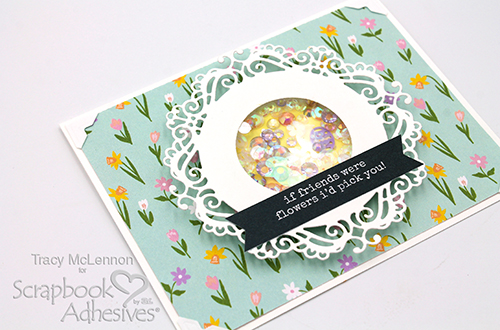
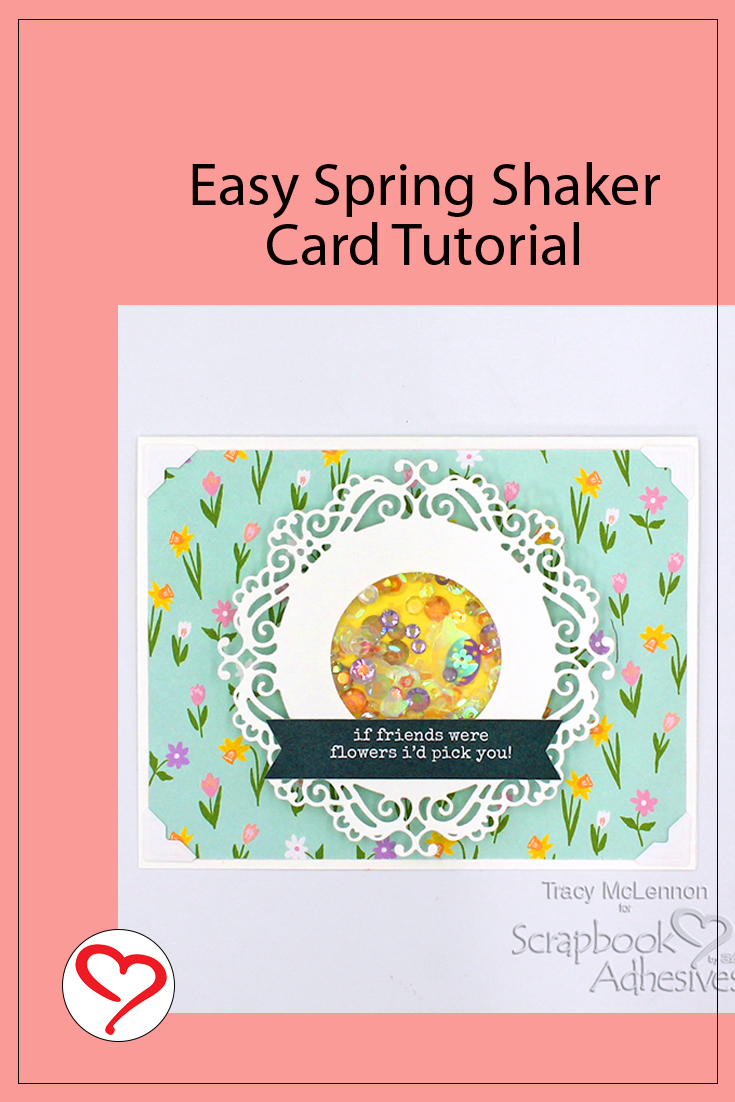
Hello crafty friends! Tracy here, and today I have a sweet little Spring Shaker Card to share. It’s so easy with the3D Foam Circle Frames White, nothing to cut because it’s already pre-cut for you…and in several sizes to choose from. Here are all the details.
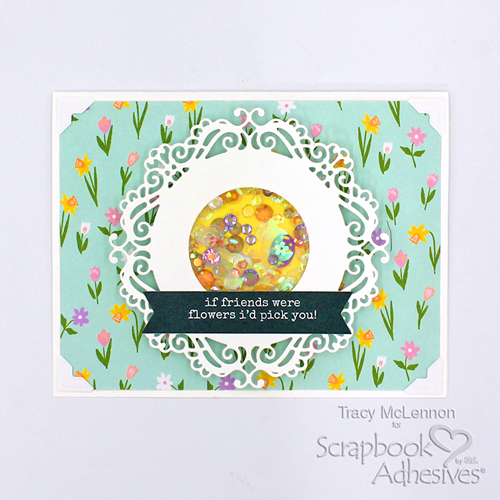
Create the Spring Shaker Feature
Die-cut the shaker parts and a piece of acetate that will fit behind the frame. Attach the frame and the acetate using the E-Z Runner® Ultra Strong Refillable Dispenser.
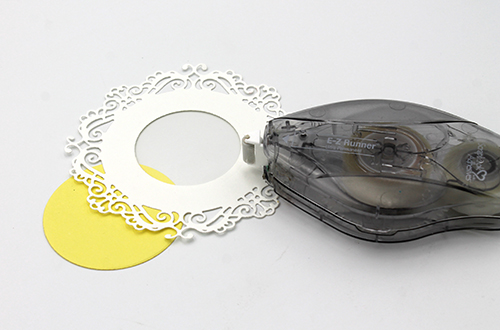
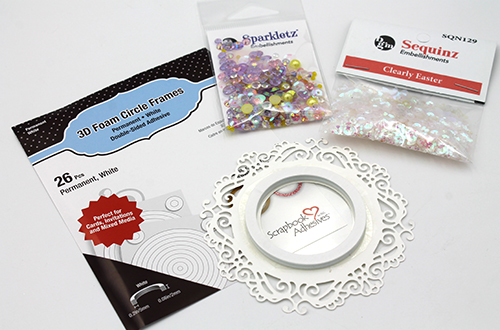
Gather your chosen shaker bits for your Easter Shaker Card. I chose a combo of these two Buttons Galore & More mixes. Stack two of the same size 3D Foam Circle Frames White (there are two sheets in a pack). Then add the shaker bits inside. Then peel off the liner from the circle frame and add the yellow cardstock shaker back to secure the bits inside.
Assemble the Card Front
Cut a white cardstock card base and a piece of coordinating patterned paper for the card front. Adhere the patterned paper to the card base using a combo of E-Z Runner® Ultra Strong Refillable Dispenser and Creative Photo Corners White. This will ensure the heavier shaker card front will stay in place.
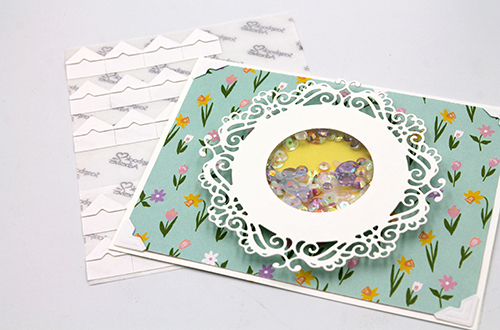
The Sentiment
The final simple touch for this Spring Shaker Card is to add the sweet sentiment banner using the E-Z Runner® Ultra Strong Refillable Dispenser.
Thanks so much for stopping by!
Tracy
Creative Time: 30 mins
Skill Level: Beginner
Materials Needed:
Scrapbook Adhesives by 3L®
E-Z Runner® Ultra Strong Refillable Dispenser
E-Z Runner® Ultra Strong Refill
Creative Photo Corners White
3D Foam Circle Frames White
Other: Patterned Paper: Simple Stories; Craft Die: Heartfelt Creations; Shaker Bits: Buttons Galore & More (Sequinz in Clearly Easter, and Sparkletz in Happy Easter); White and Yellow Cardstock; Acetate
Save to Pinterest!
Visit our Website and Blog!
Sign up for our Newsletter so you never miss a contest or giveaway!


