
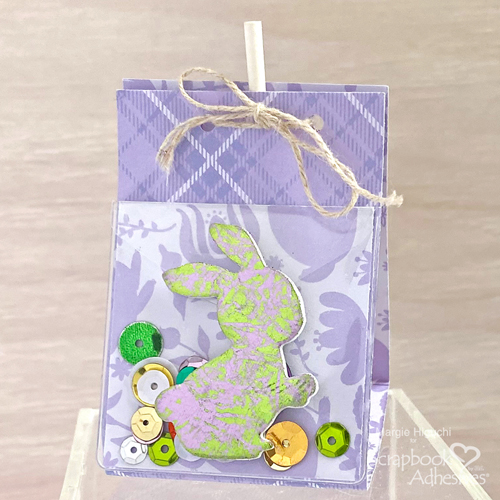
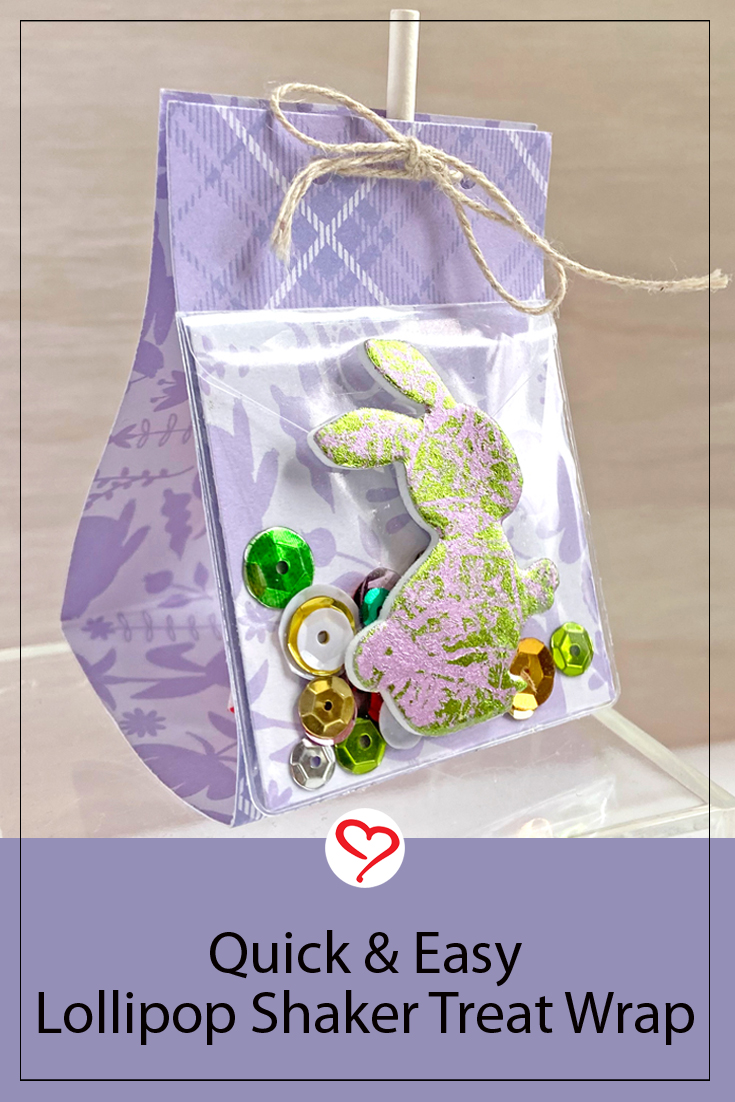
Hi everyone! Margie here today to share this really easy project. Depending on the papers and 3D Foam Shape, you can change it up for any occasion. I’m featuring the Easter Shaker Lollipop Wrap. This project is a make ‘n take at a retailer’s symposium last spring…which is why mine is an Easter-theme. LOL!
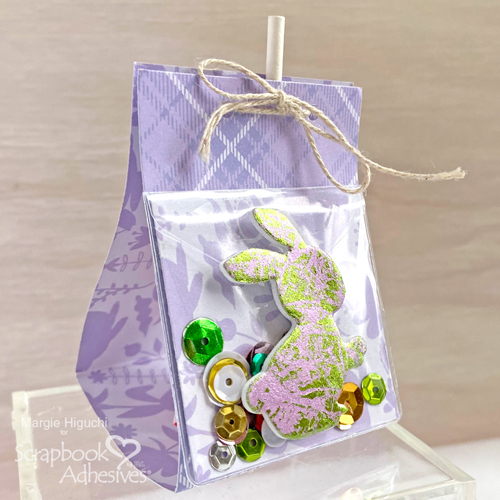
Lollipop Wrap Base
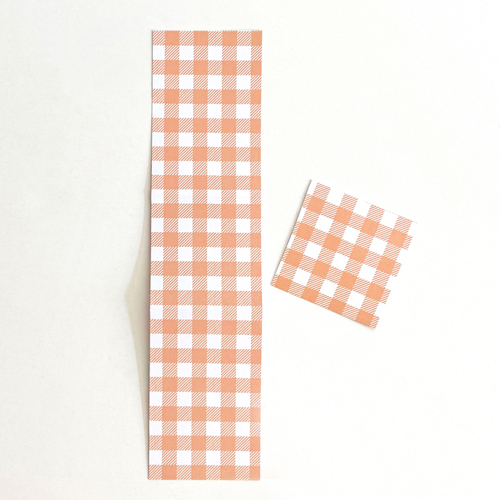
Cut a strip of 2 x 10-inch patterned paper and then cut a 2-inch square off one of the ends. The strip is the base of the wrap. On the long side (10-inch) up of the paper strip, score at 3-inch and 5-inch. Burnish the folds.
Shaker Feature
Add the 2-inch square paper into the smallest Keepsake Envelopes Mix. Then fill a pinch of sequins in the envelope but don’t overfill. Remove the white front liner and fold the flap down to close.

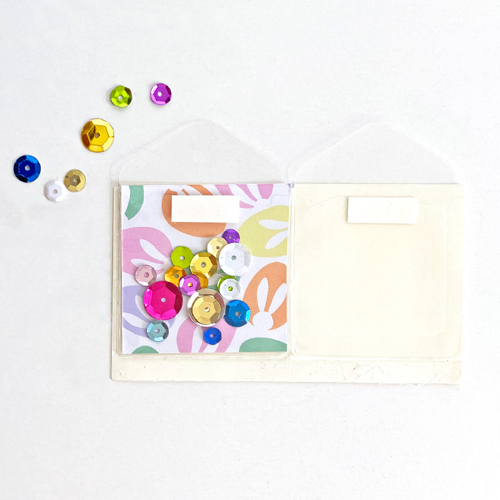
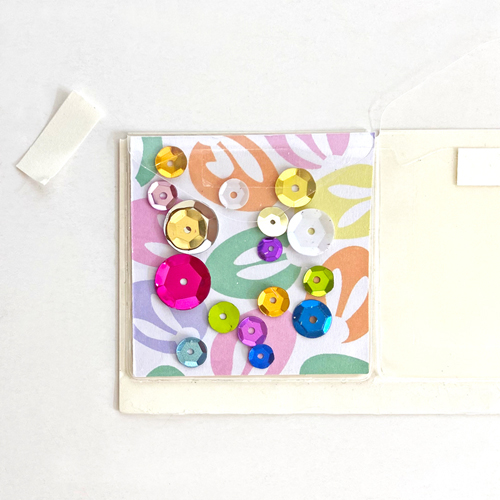
Remove the shaker envelope from its liner and place it in line with the bottom edge of the wrap. This will give the top area room for the twine closure.
Center a 3D Foam Easter Shape of your choice over the flap. Peel off the top liner and place your choice of Metallic Transfer Foil Sheets Pastel Colors. Make sure the foil color is facing you and put the foil down to rub with your fingertip to transfer the color. Remove the foil to reveal the results!
Assemble the Lollipop Wrap
Add an Adhesive Dots 3D to the bottom of the lollipop and place it in the center of the wrap. Using the candy stem, punch a hole on each side of it. Thread the twine and knot a bow.
I hope you are inspired by this project to make for other occasions. Share with me by linking your post under this post’s comments. I would love to see them!
Thanks for Visiting!
Margie Higuchi
Creative Time: 15 mins
Skill Level: Beginner
Materials Needed:
Scrapbook Adhesives by 3L®
Metallic Transfer Foil Sheets Pastel Colors
Other: Patterned Papers: Reminisce (Easter Collection); Twine; Sequins; Hole Punch
Click Preferred Retailers List
Save to Pinterest!
Visit our Website and Blog!
Sign up for our Newsletter so you never miss a contest or giveaway!


