
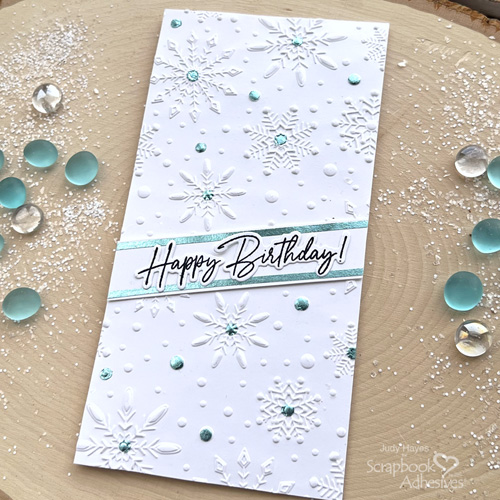
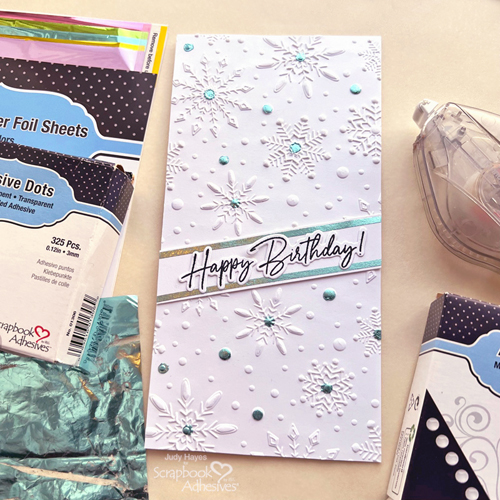
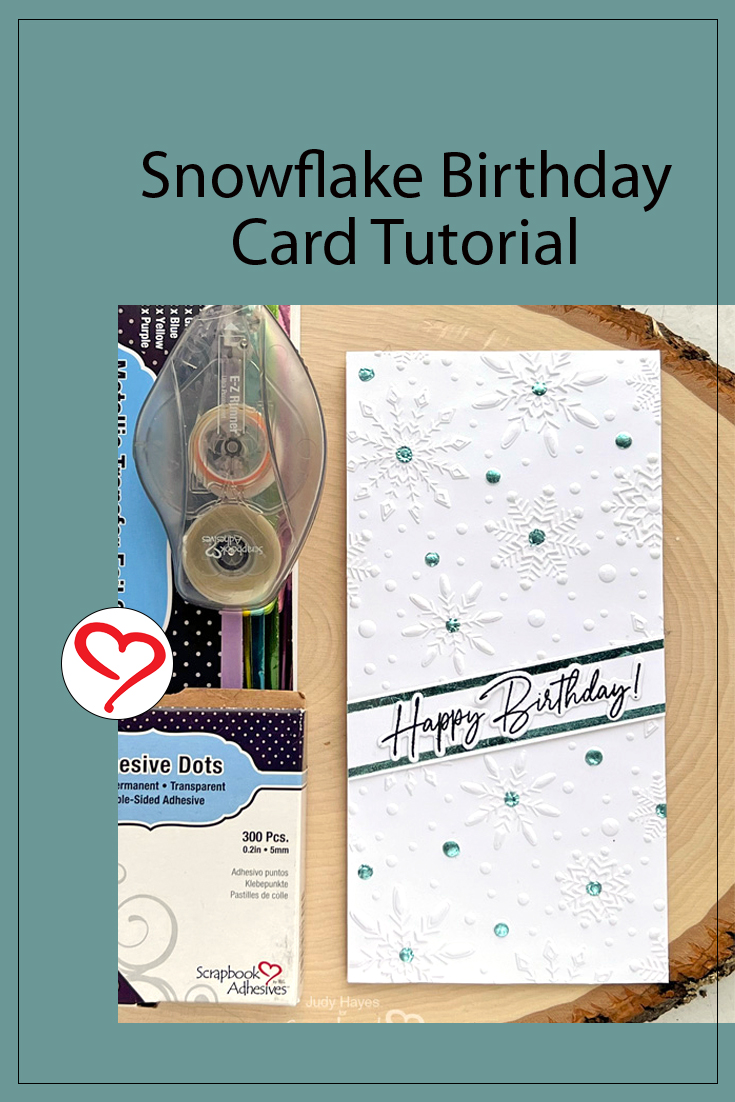
Hi, Judy here today! I’ve put together a Snowflake Birthday Card with metallic foil shine that’s perfect for a winter birthday. Adhesive Dots Micro and Adhesive Dots Mini together with Metallic Transfer Foil Sheets Pastel Colors highlight snowflake centers and add borders to the greeting band.
Snowflake Birthday Card Pieces
Make the card base by folding in half an 8 x 8 white cardstock to form a 4 x 8-inch slimline card. Also from white cardstock, cut a 4.25 x 8.25-inch panel, 1 x 5-inch strip, and a 1.5 x 4-inch piece.
Snowflake Birthday Panel
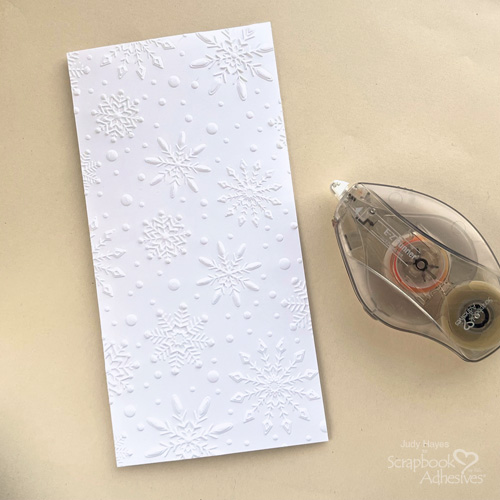
Emboss the 4.25 x 8.25-inch cardstock panel with a snowflake embossing folder and die-cut machine. Next, trim to 4 x 8 inches. Apply adhesive on the back using E-Z Runner® Ultra Strong Refillable Dispenser and attach it to the card front.
Wear Your Adhesive on the Outside with Adhesive Dots and Metallic Foils
Place Adhesive Dots Micro to the centers of the smaller snowflakes. Peel off the liner of one of the adhesive dots and start with a very light tap of the blue foil from Metallic Transfer Foil Sheets Pastel Colors to the exposed adhesive. Make sure the color side is facing you. Repeat until the dot is covered with foil and then press firmly. Continue to remove liners and apply foil to dots.
Designer Tip: If the foil sheet is pressed too firmly at first, it may adhere completely to the adhesive dot and be hard to peel away because its shape is small. It works best to start lightly.
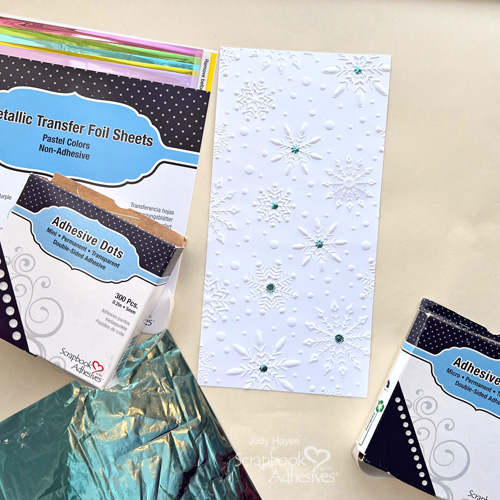
Next, attach Adhesive Dots Mini to the centers of larger snowflakes. Repeat the foiling steps. Randomly accent the panel with a few Adhesive Dots Mini or Adhesive Dots Micro between snowflakes and apply foil.
Sentiment Strip Outline
Apply a piece of Premium Double-Sided Tape 1/8in. on each long edge of the 1 x 5-inch white cardstock strip.
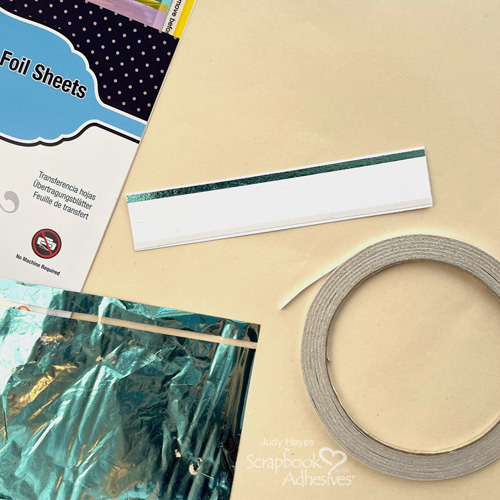
Remove the liner, and cover it with blue foil from Metallic Transfer Foil Sheets Pastel Colors. Remember color side facing you to press and peel away the foil. Reapply the foil until full coverage is achieved. Repeat the process with the other side.
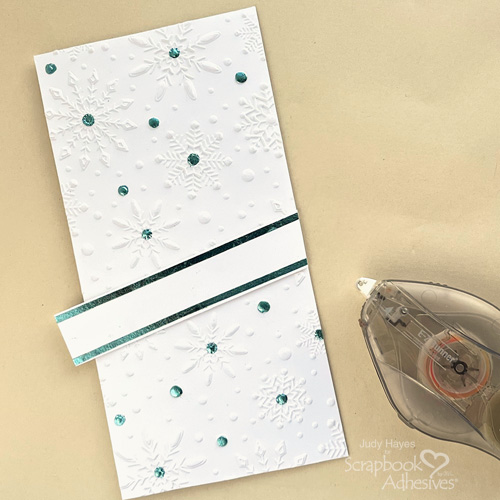
Apply E-Z Runner® Ultra Strong Refillable Dispenser on the back of the strip and secure it at an angle to the panel. Trim the ends even with the edge.
The Greeting
Stamp “Happy Birthday” with black ink on a 1.5 x 4-inch piece of white cardstock. Align coordinating die, tape in place, and pass through die cutting machine.
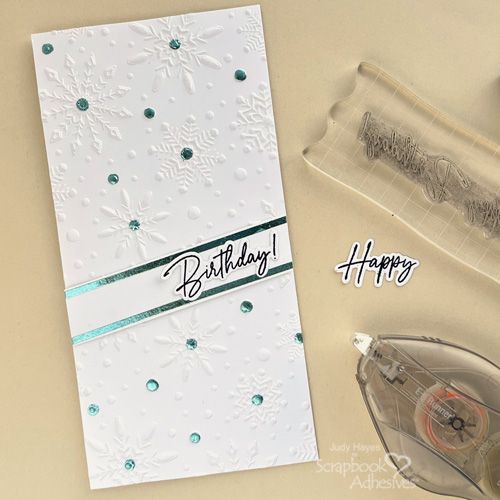
Use E-Z Runner® Ultra Strong Refillable Dispenser to apply a small amount of adhesive to the back of “Happy” and “Birthday” and fasten to strip on the card.
Now it’s ready to send! I hope you enjoy the Snowflake Birthday Card tutorial and try a little sparkle in your next card creation.
Thanks for visiting!
Judy Hayes
Creative Time: 20 mins
Skill Level: Intermediate
Materials Needed:
Scrapbook Adhesives by 3L®
E-Z Runner® Ultra Strong Refillable Dispenser
Metallic Transfer Foil Sheets Pastel Colors
Adhesive Dots Micro, Adhesive Dots Mini
HomeHobby™ by 3L
Premium Double-Sided Tape 1/8in.
Other: Stamp: Pinkfresh Studio (Happy Birthday Sentiments); Ink: Tsukineko (Versafine Onyx Black); Craft Dies: Pinkfresh Studio (Happy Birthday Sentiments); Embossing Folder: Spellbinders (Flurry of Snowflakes); White Cardstock
Click Preferred Retailers List
Save to Pinterest!
Visit our Website and Blog!
Sign up for our Newsletter so you never miss a contest or giveaway!


