
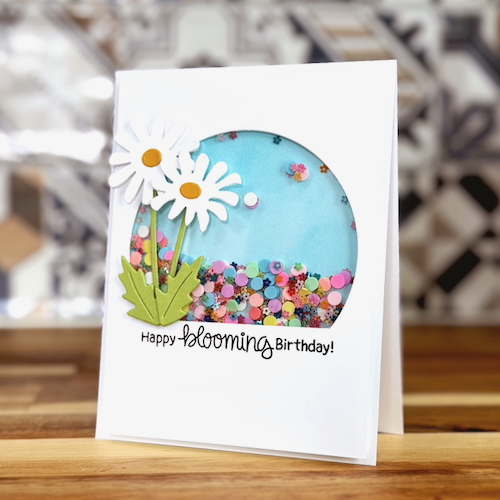
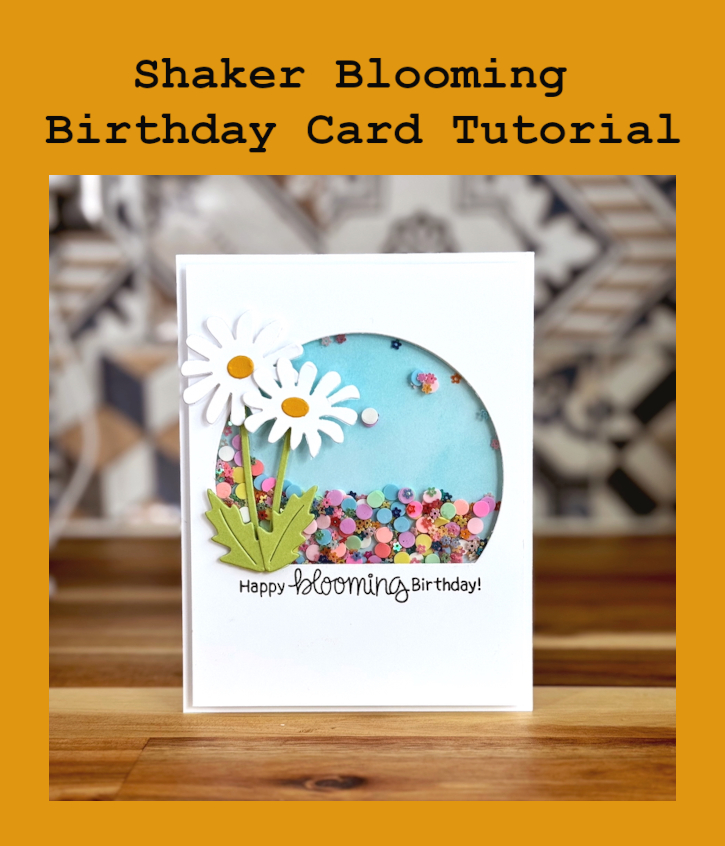
Hi, Jingle here with you today and we are Shaking Up a Blooming Birthday Card to add FUN to a card! I don’t know about you, but I am ready to see some fresh flowers! Today, I am going to show you how to create this sweet floral shaker birthday card using some Scrapbook Adhesive by 3L products that make the process easier than ever!
Create the Blooming Birthday Panel
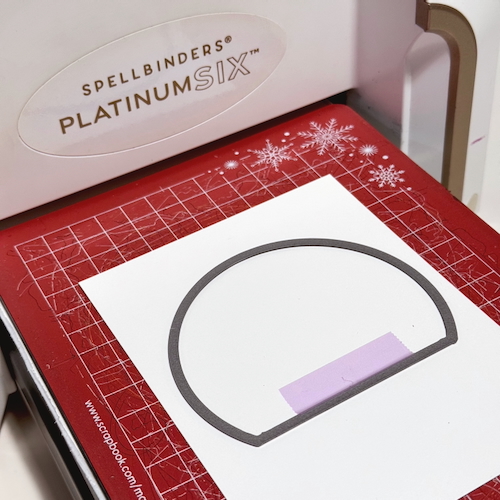
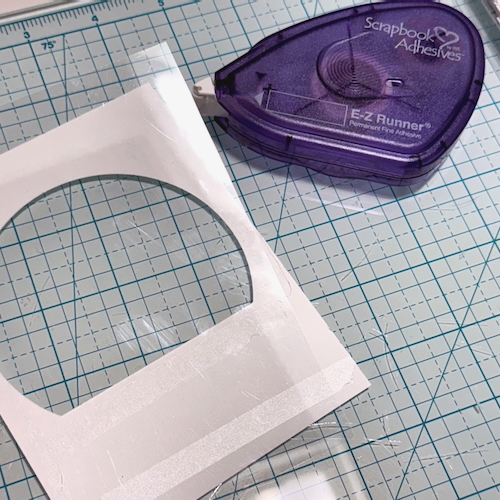
Center and die-cut a window shape (I used a circular arch from MFT) on a card panel. Behind the panel, using the E-Z Runner® Permanent Fine Adhesive Dispenser , secure a piece of acetate just smaller than your panel. This will serve as the cover or your shaker.
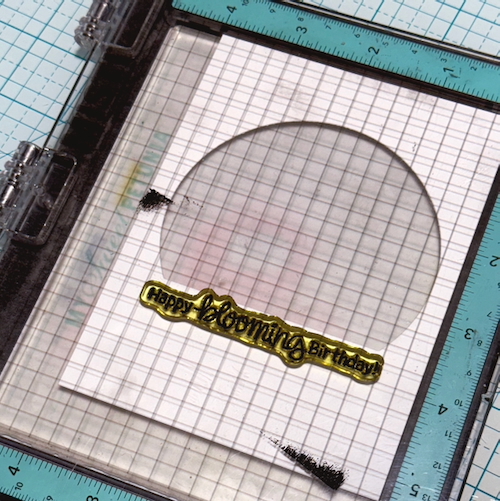
Using a stamp positioner, stamp your sentiment on the front of your panel under the window. Designer’s Tip: Stamp the sentiment before moving on. The panel will become bulkier with the shaker feature. It’s always nice to have a flat surface for stamping!
Building the Blooming Birthday Shaker Feature
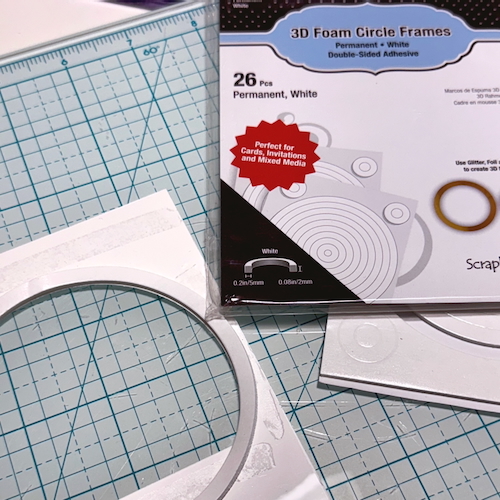
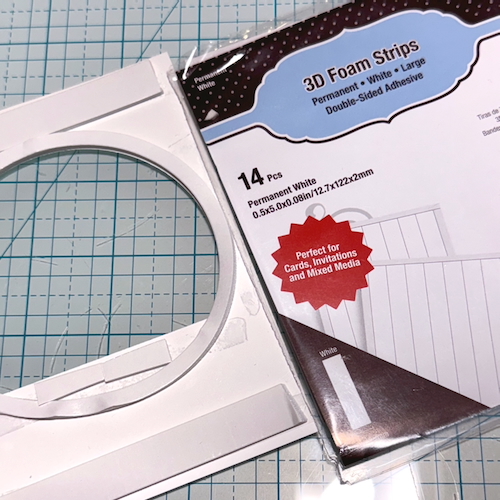
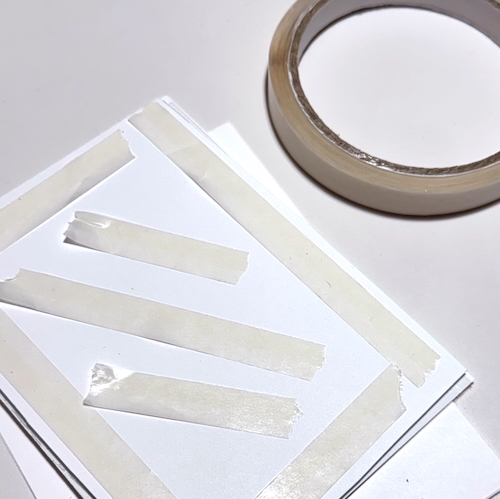
Using a combination of 3D Foam Circle Frames in White and 3D Foam Strips Large White, I create a nice frame around the window on the back side of the panel, adding more at the top and bottom so you are able to securely adhere the shaker to your background.
Finish the Shaker Feature
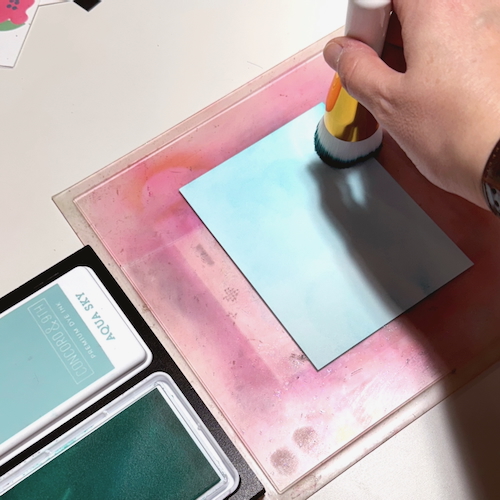
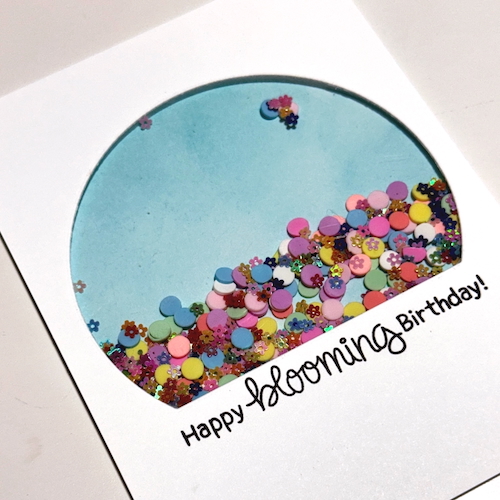
Ink blend a second panel and set aside to dry. Fill your shaker window panel with clay bits and sequins. Once you have enough in there, remove the adhesive liners and secure the second inked panel over the window panel. Flip it over and shake!
Decorate and Assemble the Blooming Birthday Card
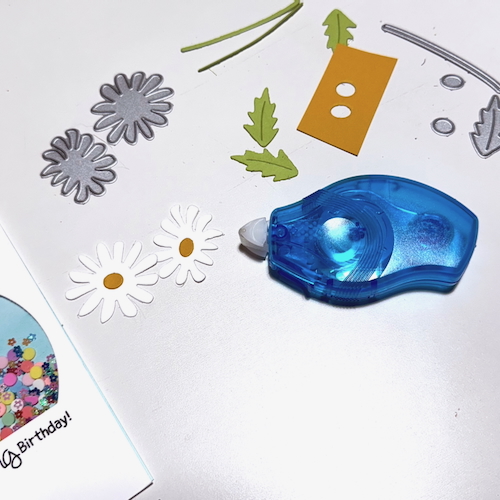
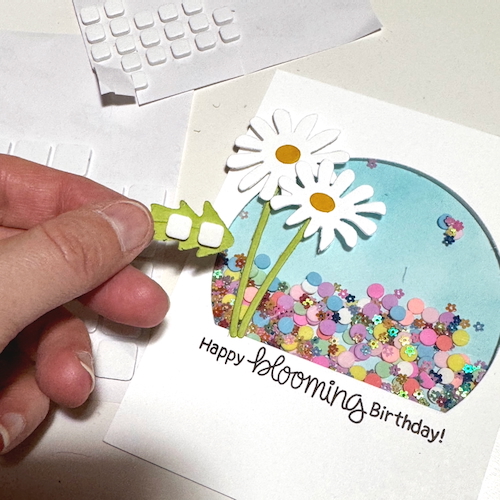
To finish out the card design. let’s add some die cuts! Die-cut your daisy pieces and adhere to the front of the card using the E-Z Runner® Petite Permanent Dots Refillable Dispenser. Designer’s Tip: The dot adhesive is great to use on die-cut shapes as it hits the paper and skips the gaps. I used some 3D Foam Squares White Mix to pop up the leaves for interest.
Finally, adhere your entire shaker panel to the card base with Crafty Power Tape Polybag 81ft. I like to use the Crafty Power Tape here because it handles the extra weight you may have added with your shaker.
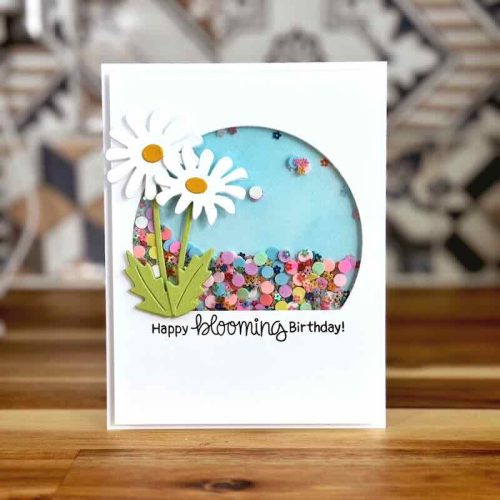
And now the Shaker Blooming Birthday Card is completed! I truly hope you have enjoyed crafting with me today! I can’t wait to see what you create!
Thanks for stopping by!
Jennifer Ingle (aka Jingle)
Creative Time: 40 mins
Skill Level: Intermediate
Materials Needed:
Scrapbook Adhesives by 3L®
3D Foam Circle Frames in White, E-Z Runner® Permanent Fine Adhesive Dispenser (aka Vellum Runner), E-Z Runner® Petite Permanent Dots Refillable Dispenser, 3D Foam Squares White Mix, Crafty Power Tape Polybag 81ft. and 3D Foam Strips Large White
Other: Stamp: Newton’s Nook (Loads of Blooms); Ink: Concord & 9th (Aqua Sky) and Tsukineko (Versafine Onyx Black); Craft Dies: Newton’s Nook (Daisies Die Set) and MFT (Circular Arch Die); Stamp Position: My Sweet Petunia; White, Green and Yellow Cardstock
Click Preferred Retailers List
Save to Pinterest!
Visit our Website and Blog!
Sign up for our Newsletter so you never miss a contest or giveaway!


