
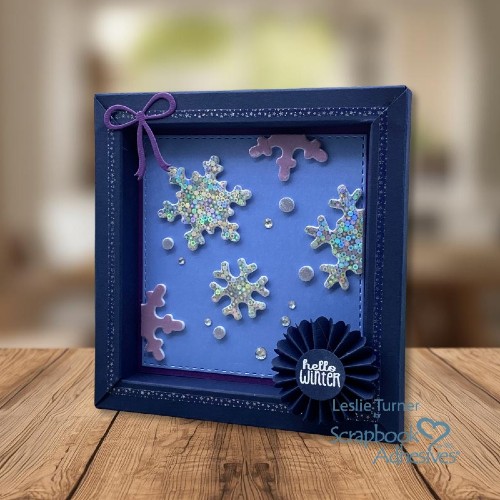
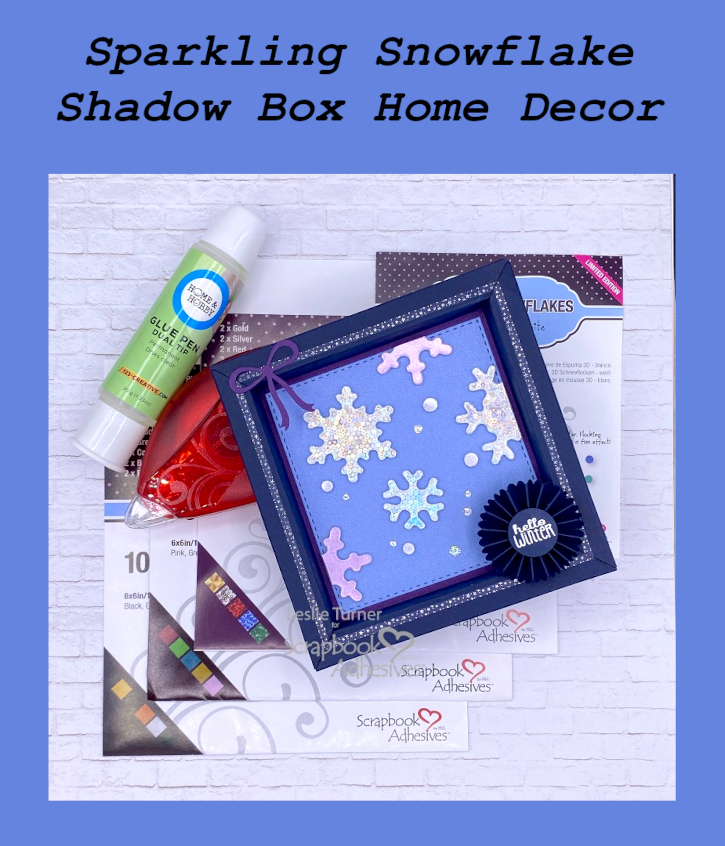
Hey everybody, happy weekend! Are you managing to keep warm and cozy while the snowflakes fly?! So far, so good here! Leslie here with you today, sharing a tutorial for making a Snowflake Shadow Box. I love making Winter-themed pieces of decor to display on the mantel or side table.
This features the “Wear Your Adhesive on the Outside” technique which is one of my new favorites! I used a punch board to make this shadow box but they can easily be hand-cut and scored. Or cut with an electronic cutting machine and an SVG cut file. Lots of options and I’m glad we have Google nowadays, lol!
Assemble the Snowflake Shadow Box
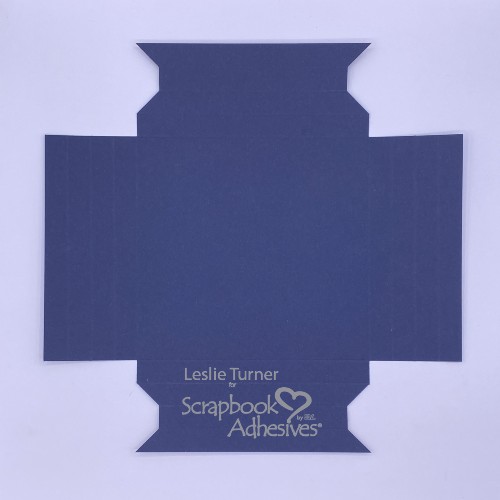
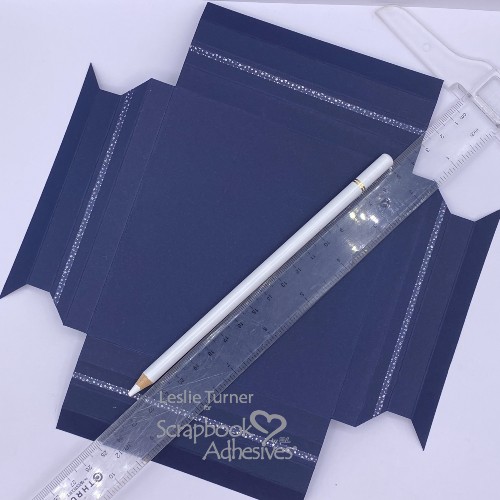
Using a punch board, I created this 5″ x 5″ shadow box which is 1/2″ deep. Begin by scoring and punching a 9″ x 9″ sheet of navy cardstock per the punch board instructions. Four score lines 1/2″ apart on all four sides. Next, fold the cardstock on all the score lines.
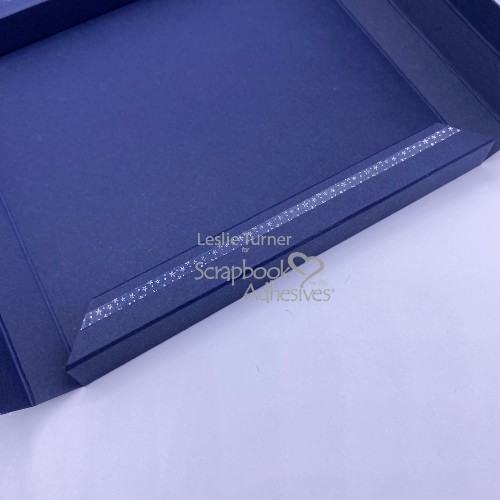
Add skinny washi tape just inside the third score line on one side for a little accent. Then, do a ‘dry run’ fold on that side to make sure the washi tape is where you want it. If placement is good, mark the remaining three sides using a ruler and white charcoal pencil. Of course, the beauty of washi tape is having the ability to move it slightly if necessary.
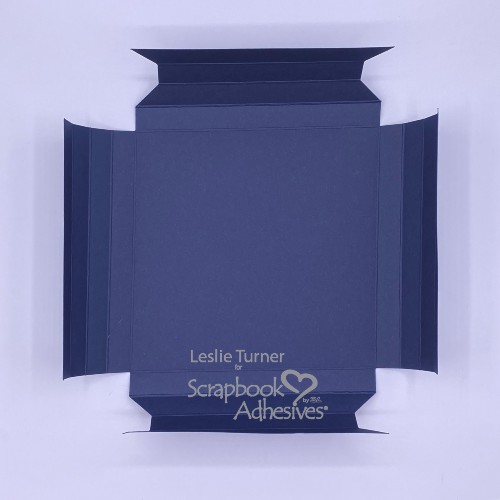
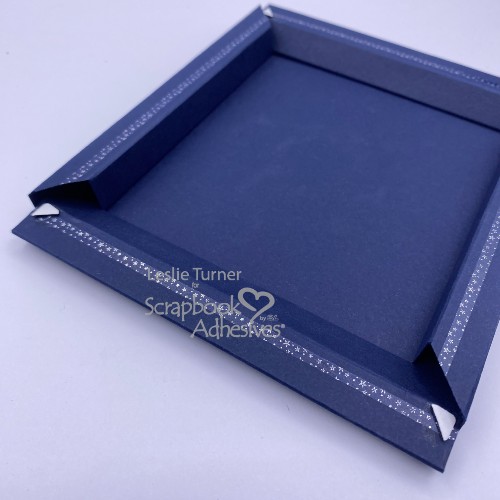
Construct the shadow box by folding one side (without the angles) in first and securing with E-Z Runner® Permanent Strips Refillable Dispenser. Cut a small square from the Thin 3D Foam Squares Black Mix in half diagonally and place one half on each end. Don’t pull the backing off yet. Repeat this process on the opposite side (without the angles).
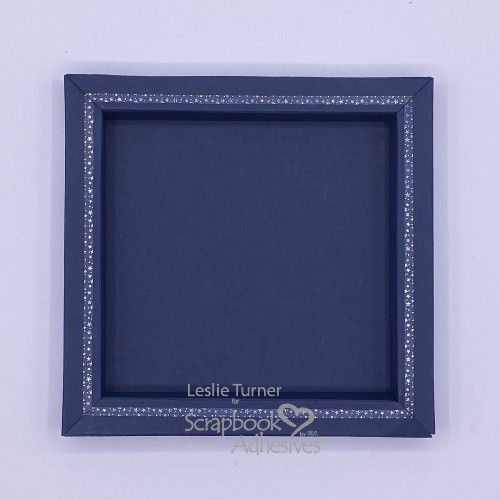
Likewise, fold in the sides with the angles and secure with E-Z Runner® Permanent Strips Refillable Dispenser. Now pull the backing off the foam squares on both sides, tuck under the connecting angled sides, and lightly press. Shadow box is now complete.
Create Snowflake Panel & Elements
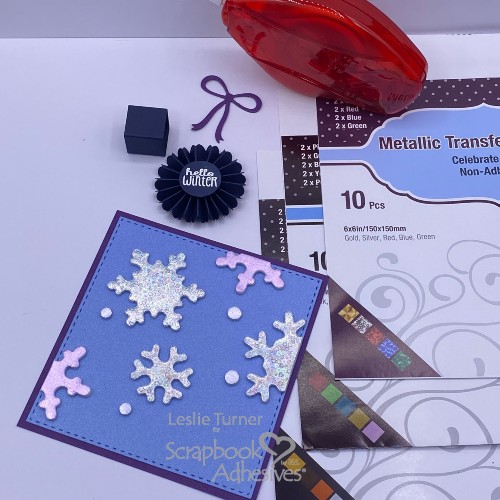
Let’s create the snowflake panel which is the star of the show. Die cut a stitched square that’s slightly smaller than the size of the shadow box opening from metallic blue cardstock. Adhere it to a dark purple panel with E-Z Runner® Permanent Strips Refillable Dispenser. The purple cardstock should be cut to the exact size of the opening.
Employ the “Wear Your Adhesive on the Outside” technique using four snowflakes and four circles from the 3D Foam Snowflakes. Silver holographic was a great choice from the Metallic Transfer Foil Sheets Celebrate Colors for three snowflakes. Additionally, I chose purple from the Pastel Colors for the fourth snowflake, cut in half. Lastly, I grabbed some gray from the Nature Colors for the four circles.
Rosettes seem to be making a come-back lately, so I fashioned one from the navy cardstock with a stamped/embossed sentiment. Also fashioned a hollow square box to anchor the rosette. Accordingly, we need a bow of some sort, so I die cut a delicate bow from dark purple cardstock.
Complete the Snowflake Shadow Box
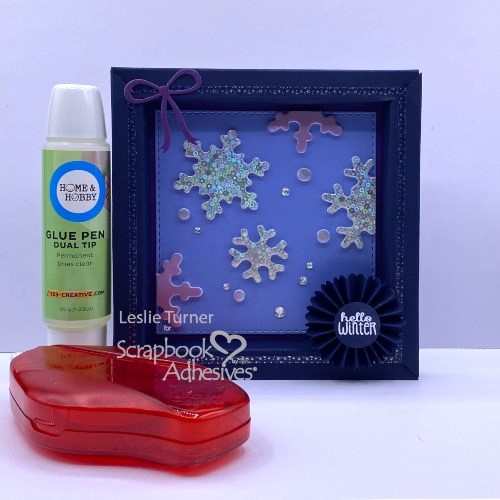
Once again using the E-Z Runner® Permanent Strips Refillable Dispenser, adhere the snowflake panel into the opening. Add a few random dots of glue from the Dual Tip Glue Pen and press some clear iridescent gemstones in place. Once again use the Dual Tip Glue Pen to adhere the bow and the rosette with anchor.
And last but not least, create a simple triangular shaped tube to adhere to the back of the shadow box so it will stand for display. The E-Z Runner® Permanent Strips Refillable Dispenser is a good option for assembling and adhering this piece.

Thanks for visiting!
Leslie
Creative Time: 60 mins
Skill Level: Intermediate
Materials Needed:
Scrapbook Adhesives by 3L®
E-Z Runner® Permanent Strips Refillable Dispenser
Thin 3D Foam Squares Black Mix
3D Foam Snowflakes
Metallic Transfer Foil Sheets Celebrate Colors, Metallic Transfer Foil Sheets Pastel Colors and Metallic Transfer Foil Sheets Nature Colors
HomeHobby™ by 3L
Dual Tip Glue Pen
Other: Cardstock: CutCardStock Basis Navy, Plum, and Stardream Metallic Vista
Sentiment stamp: Prickley Pear Stamps Winter Truck
Ink: Brutus Monroe Clear Embossing Ink and Alabaster Embossing Powder
Dies/Punches: Love From Lizi Stitched Square Nested Cutting Dies, Coco & Reno Mini Tag Flip Cutting Dies, Stampin’ Up 1/2″ and 3/4″ circle punches
Accessories: We R Makers Shadow Box Punch Board, MAMBI skinny washi tape, Mini MISTI, Big Shot, clear iridescent gemstones
Click Preferred Retailers List
Save to Pinterest!
Visit our Website and Blog!
Sign up for our Newsletter so you never miss a contest or giveaway!


