
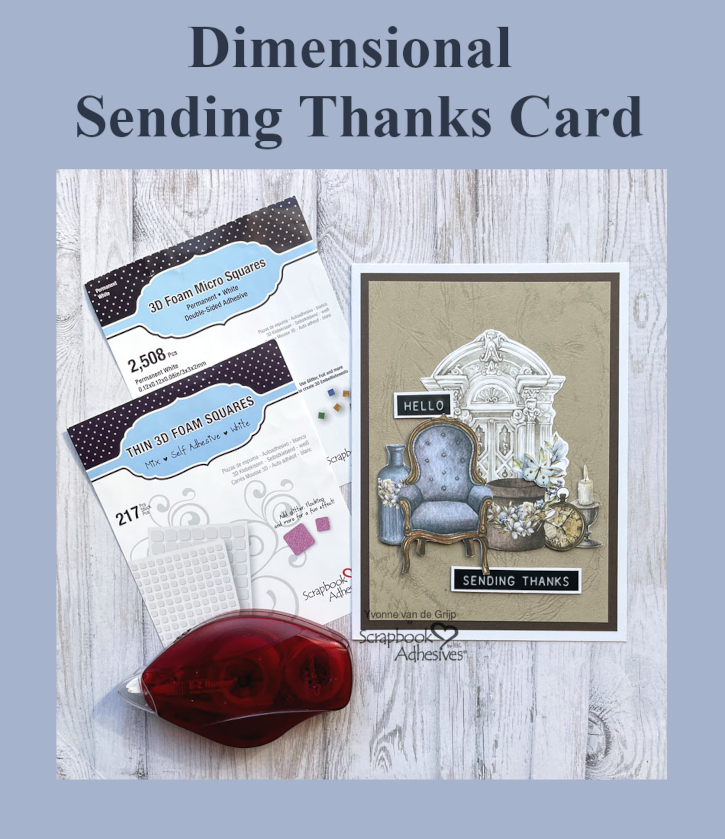
Hi everyone, Yvonne here with a new card. I love clustering together fussy cut elements. To level up, create layers for an interesting Dimensional Sending Thanks Card. I love the elegance and classical vibe this card brings 🙂 This card is suitable for beginner card makers too. Shall we get started?
Dimensional Sending Thanks Card Panel
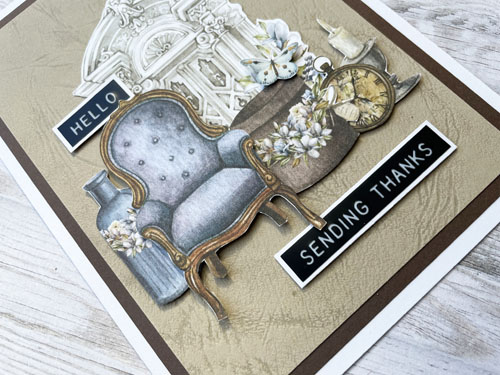
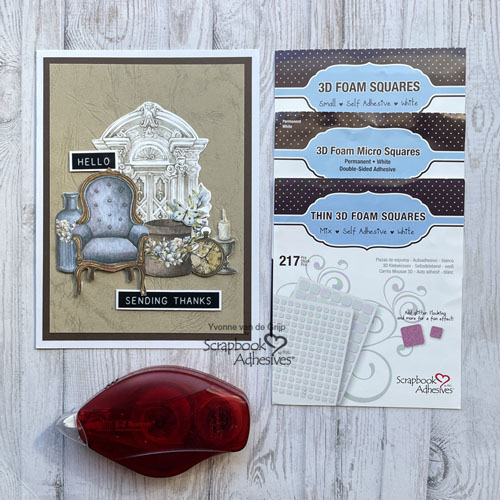
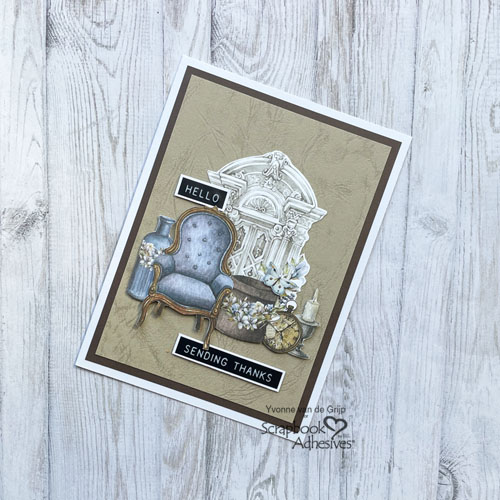
Start by fussy cutting elements. I always like to cut more elements than I need so I can pick the best combination for my Dimensional Sending Thanks Card. Then adhere onto a beige cardpanel. Start by adhering the back element (the arch) using the E-Z Runner® Permanent Strips Refillable Dispenser as your adhesive.
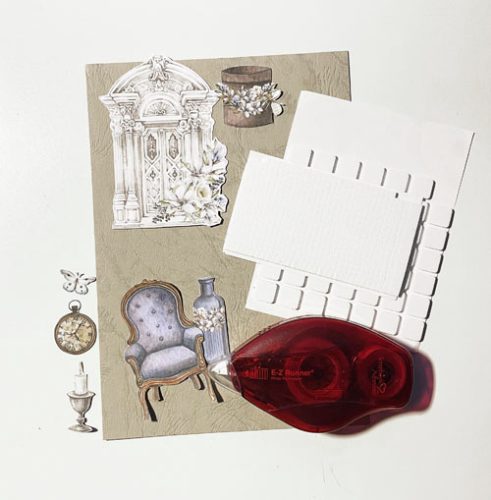
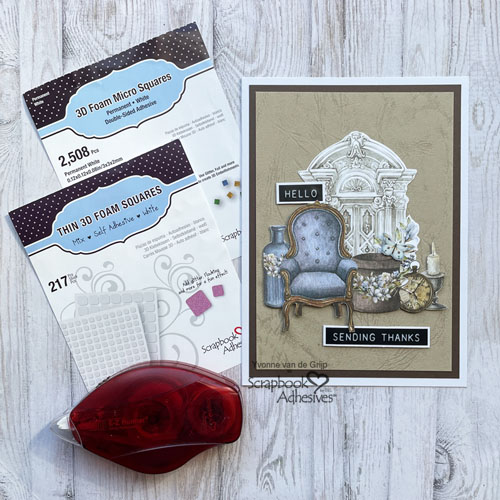
Then adhere the chair using 3D Foam Squares White Mix. For the smaller parts I used 3D Foam Squares Micro White. Next tuck the other elements using Thin 3D Foam Squares White Mix as our adhesive. This way you create a depth on your Dimensional Sending Thanks Card.
Card Base
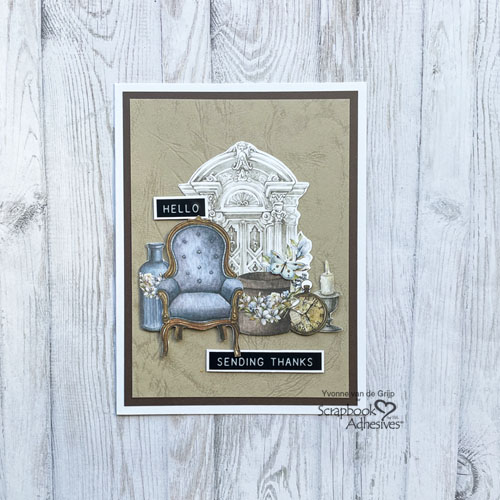
Adhere the top card panel onto a brown card panel and next onto a white card base using the E-Z Runner® Permanent Strips Refillable Dispenser as your adhesive.
Finishing Touch
For a finishing touch I adhered some sticker sentiments onto white cardstock and cut it (using scissors) to a banner. Then adhered them onto the card using Thin 3D Foam Squares White Mix.
And voilá….your Dimensional Sending Thanks Card is ready. I hope you enjoyed this simple tutorial and wish you happy crafting.
Creative Time: 40 minutes
Skill Level: Intermediate
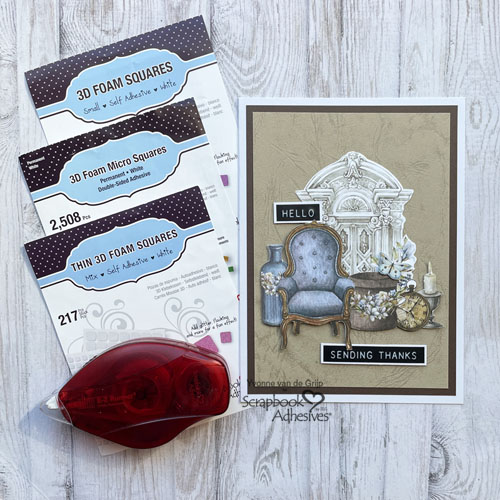
Materials needed:
Scrapbook Adhesives by 3L®:
E-Z Runner® Permanent Strips Refillable Dispenser
Thin 3D Foam Squares White Mix
Other: Paper Elements: Craft O’Clock (Vintage Sky Extras Set); Sentiments: Tim Holtz® (Sentiment Label Stickers); White, Beige and Brown Cardstock; Paper Trimmer; Scissors; Tweezers
Save to Pinterest!
Visit our Website and Blog!
Sign up for our Newsletter so you never miss a contest or giveaway!


